




Connect to BugHerd Data from PowerBuilder via JDBC

The CData JDBC driver for BugHerd is a standards-based control that can be used from any platform or development technology that supports JDBC, including PowerBuilder. This article shows how to use the CData JDBC Driver for BugHerd in PowerBuilder.
This article shows how to create a basic PowerBuilder application that uses the CData JDBC Driver for BugHerd to retrieve data.
Connect to BugHerd Data from PowerBuilder
Follow the steps below to use the Database Painter tool to create a database profile based on an JDBC URL for BugHerd. You can use a database profile to save connection properties. In the Database Painter, you can graphically manipulate data as well as execute SQL queries.
Add the driver JAR to the PowerBuilder classpath. Set the CLASSPATH system environment variable to the path to the driver JAR, located in the lib subfolder of the installation directory.
Note: If you are using PowerBuilder Classic, you can also add the path to the driver JAR by clicking Tools -> System Options -> Java.
- Click Tools -> Database Painter.
- Right-click the JDBC node and click New Profile.
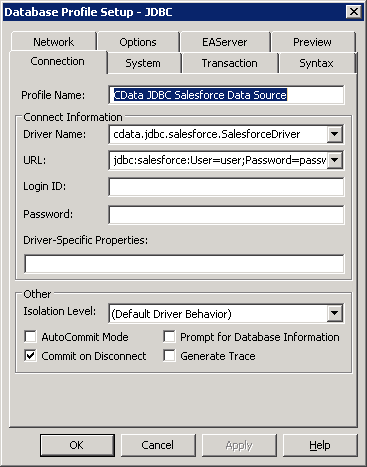
- In the Database Profile Setup dialog, enter the following:
- Profile Name: Enter a user-friendly name for the profile.
- Driver Name: Enter the class name of the driver, cdata.jdbc.api.APIDriver
- URL: Enter the JDBC URL.
Start by setting the Profile connection property to the location of the BugHerd Profile on disk (e.g. C:\profiles\BugHerd.apip). Next, set the ProfileSettings connection property to the connection string for BugHerd (see below).
BugHerd API Profile Settings
BugHerd uses HTTP Basic authentication with an API key as the username. To obtain an API key:
- Sign in to your BugHerd account at https://www.bugherd.com
- Navigate to Settings > General Settings
- Locate the API Key section and copy the generated key
After obtaining your API key, set the following connection properties:
- AuthScheme: Set this to APIKey.
Set the following in the ProfileSettings connection property:
- APIKey: Set this to your BugHerd API key. The driver uses the key as the Basic auth username and sets the password internally to the literal value 'x' as required by BugHerd.
Built-in Connection String Designer
For assistance in constructing the JDBC URL, use the connection string designer built into the BugHerd JDBC Driver. Either double-click the JAR file or execute the jar file from the command-line.
java -jar cdata.jdbc.api.jarFill in the connection properties and copy the connection string to the clipboard. A typical JDBC URL is below:
jdbc:api:Profile=C:\profiles\BugHerd.apip;AuthScheme=APIKey;ProfileSettings='APIKey=your_api_key';
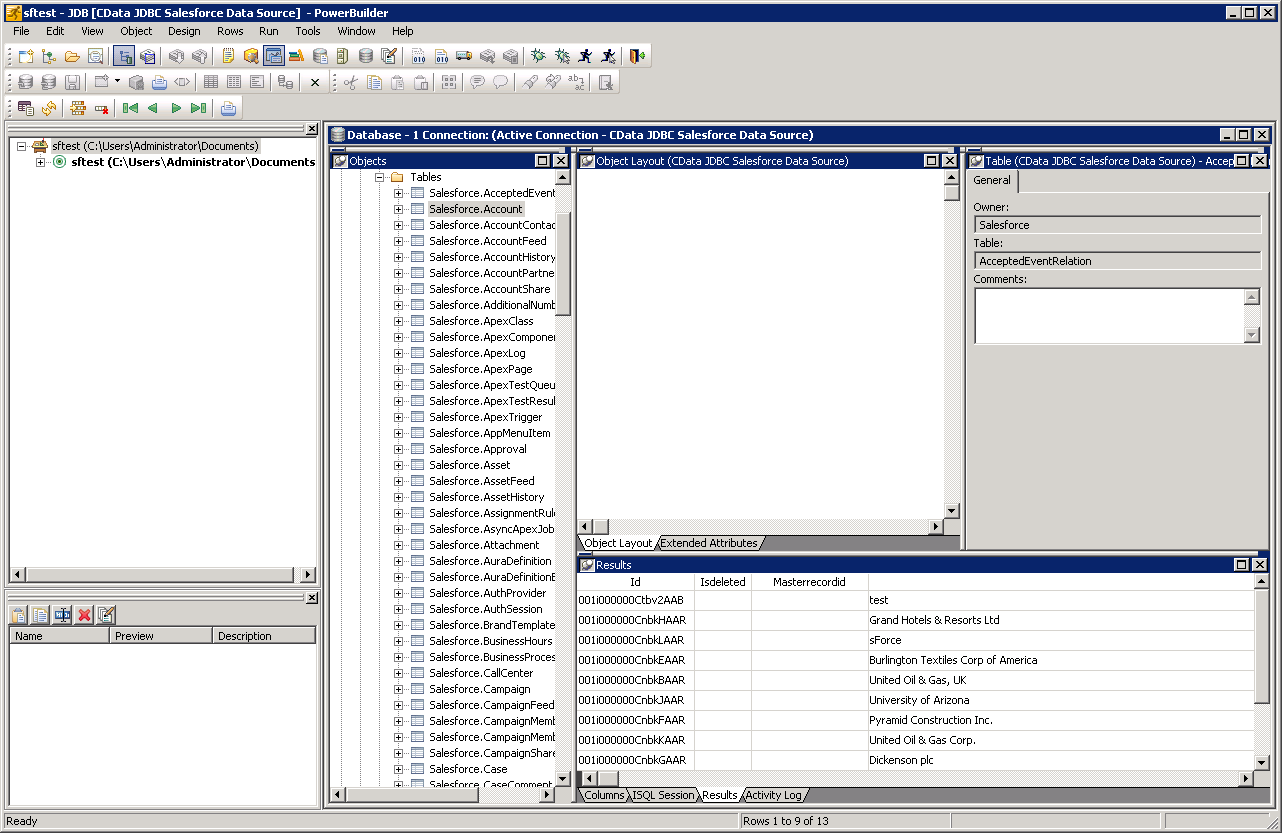
- To view and modify a table, right-click a table and then click Edit Data -> Grid.
Using BugHerd Data with PowerBuilder Controls
You can use standard PowerBuilder objects to connect to JDBC data sources and execute queries. The following example shows how to retrieve BugHerd data into a DataWindow. You can add the following code to the open method:
SQLCA.DBMS = "JDBC"
SQLCA.AutoCommit = False
SQLCA.DBParm = "Driver='cdata.jdbc.api.APIDriver',URL='jdbc:api:Profile=C:\profiles\BugHerd.apip;AuthScheme=APIKey;ProfileSettings='APIKey=your_api_key';";
CONNECT USING SQLCA;
dw_tasks.SetTransObject(SQLCA);
dw_tasks.Retrieve();