




Import Real-Time Buildkite Data via JDBC in ColdFusion to Build Applications

Adobe ColdFusion is a web and mobile application development platform. It uses its own scripting language, ColdFusion Markup Language (CFML), to create data-driven websites as well as generate remote services, such as REST.
When ColdFusion is paired with the CData API Driver for JDBC, you can link your ColdFusion web and mobile applications to operational Buildkite data. This allows for your applications to be more robust and complete. This article details how to use the JDBC driver to create a table populated with Buildkite data from within a ColdFusion markup file.
With built-in optimized data processing, the CData JDBC Driver offers unmatched performance for interacting with live Buildkite data. When you issue complex SQL queries to Buildkite, the driver pushes supported SQL operations, like filters and aggregations, directly to Buildkite and utilizes the embedded SQL engine to process unsupported operations client-side (often SQL functions and JOIN operations). Its built-in dynamic metadata querying allows you to work with and analyze Buildkite data using native data types.
Configuring the Connection to Buildkite
You will need a JDBC connection string to establish a connection between Coldfusion and Buildkite.
Start by setting the Profile connection property to the location of the Buildkite Profile on disk (e.g. C:\profiles\Buildkite.apip). Next, set the ProfileSettings connection property to the connection string for Buildkite (see below).
Buildkite API Profile Settings
Buildkite uses HTTP API key authentication. Your Buildkite API access token is used to authenticate requests as a Bearer token. You can generate or view your tokens at https://buildkite.com/user/api-access-tokens.
After setting the following connection properties, you are ready to connect:
- AuthScheme: Set this to APIKey.
- APIKey: Set this to your Buildkite API access token.
- Organization: Set this to your Buildkite organization slug (e.g. acme-inc).
Built-in Connection String Designer
For assistance in constructing the JDBC URL, use the connection string designer built into the Buildkite JDBC Driver. Either double-click the JAR file or execute the jar file from the command-line.
java -jar cdata.jdbc.api.jar

Adding a Data Source and Creating a Table
After configuring the connection, follow the steps below to add the CData JDBC Driver to ColdFusion's lib directory, add a new data source, test the connection, create a ColdFusion markup file, and, finally, make a real-time connection with Buildkite data and display it in a table written in the ColdFusion Markup Language, or CFML:
-
Copy the JDBC Driver for Buildkite and lic file from "C:\Program Files\CData\CData API Driver for JDBC\lib" to
"C:\ColdFusion2021\cfusion\wwwroot\WEB-INF\lib".
            cdata.jdbc.api.jar
            cdata.jdbc.api.lic
Note: If you do not copy the .lic file with the jar, you will see a licensing error that indicates you do not have a valid license installed. This is true for both the trial and full versions.
-
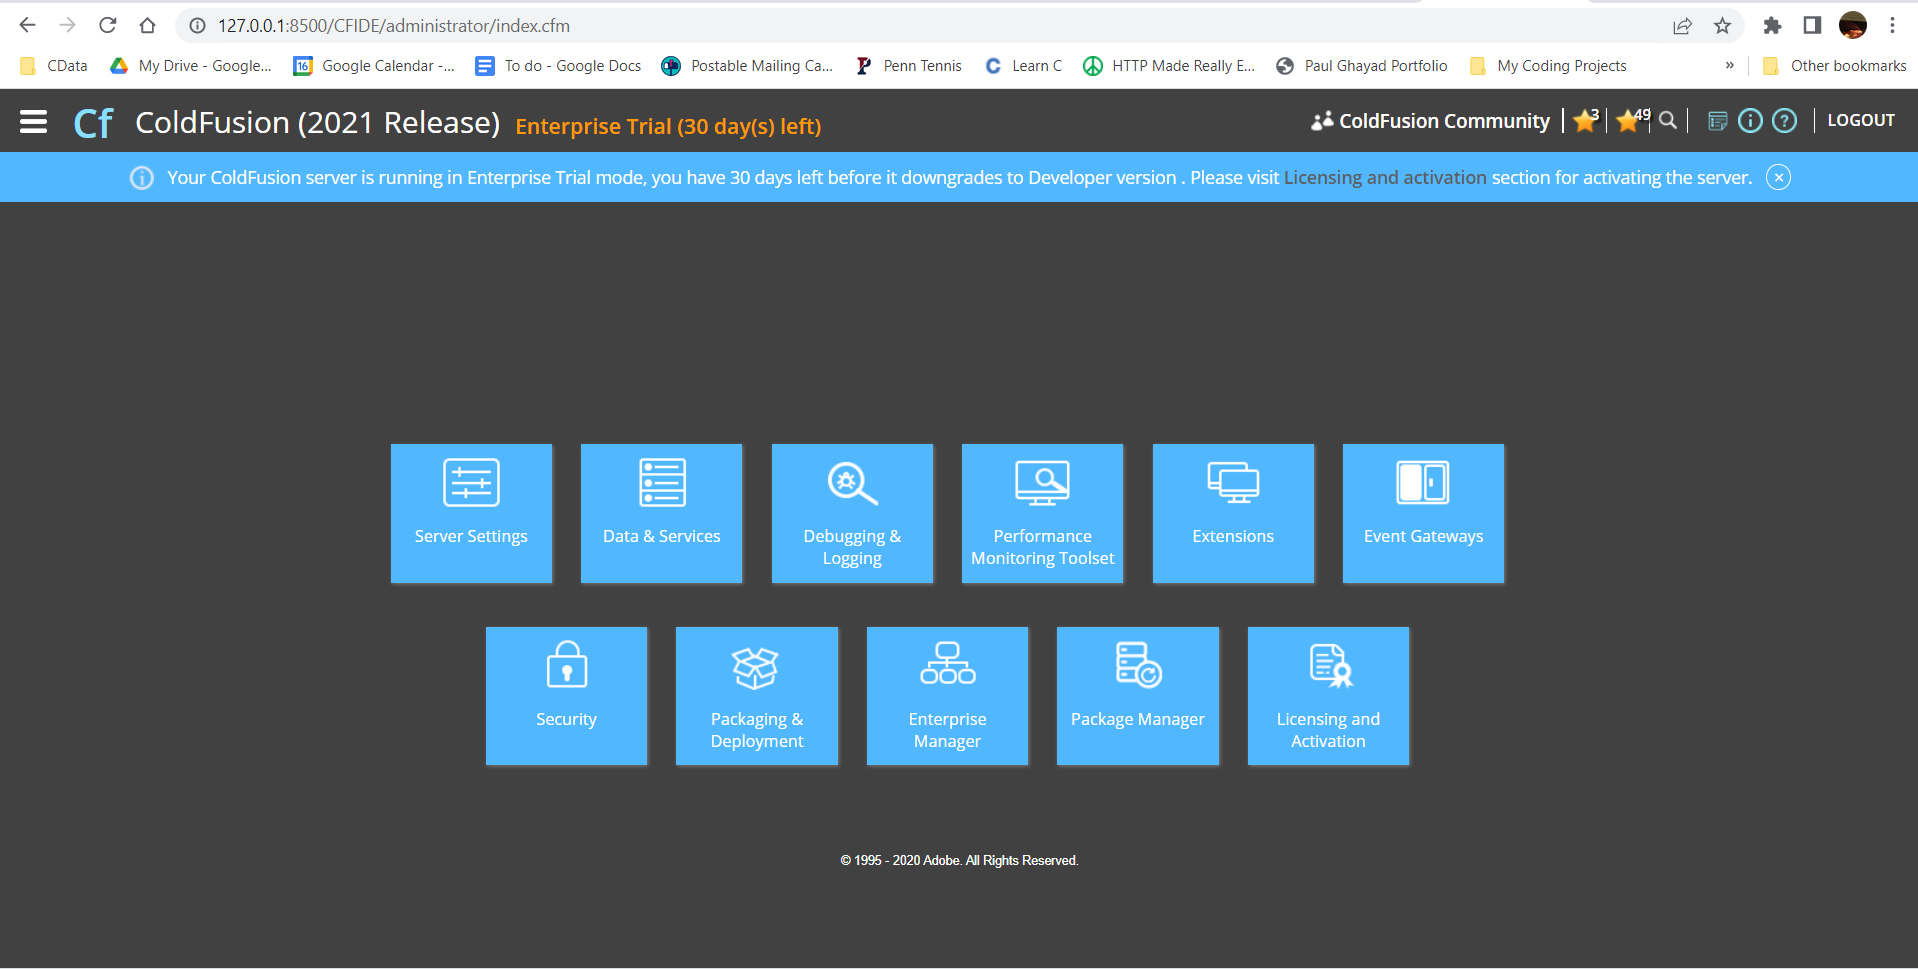
From the ColdFusion administrator interface, choose Data & Services.
-
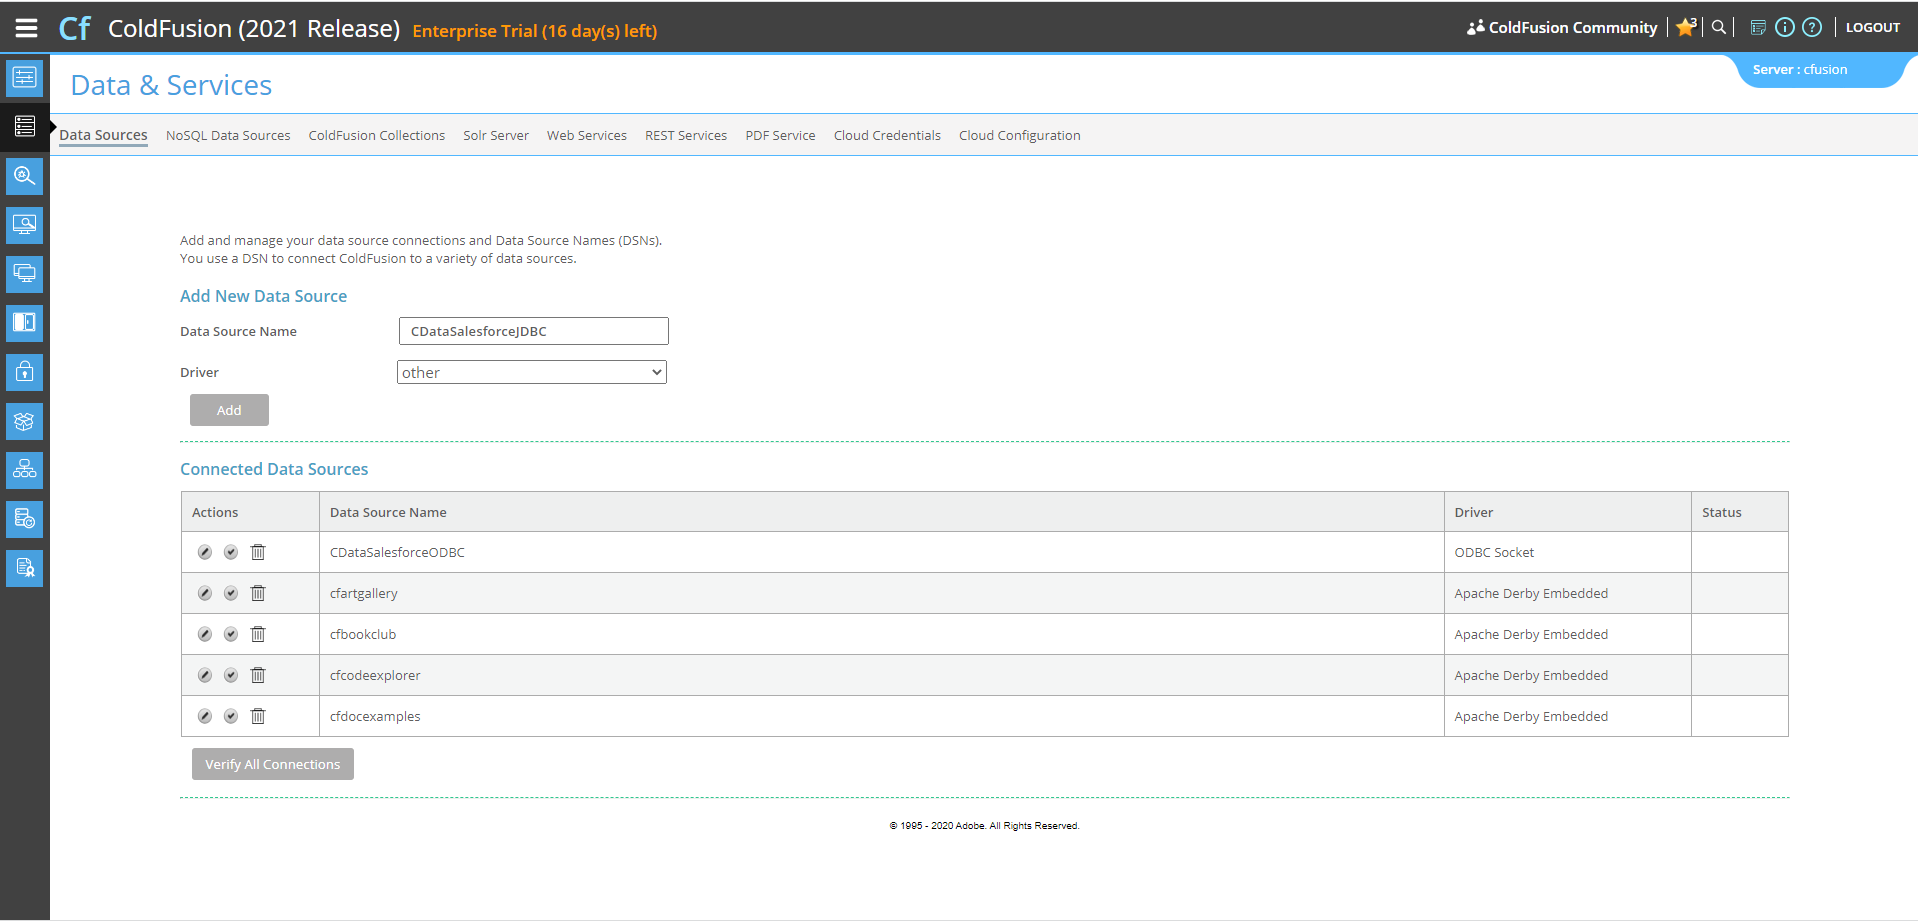
Here, we can "Add New Data Source". The data source name can be any name, provided it conforms to the ColdFusion
variable naming conventions. For our JDBC driver, choose "other", then click the "Add" button.
-
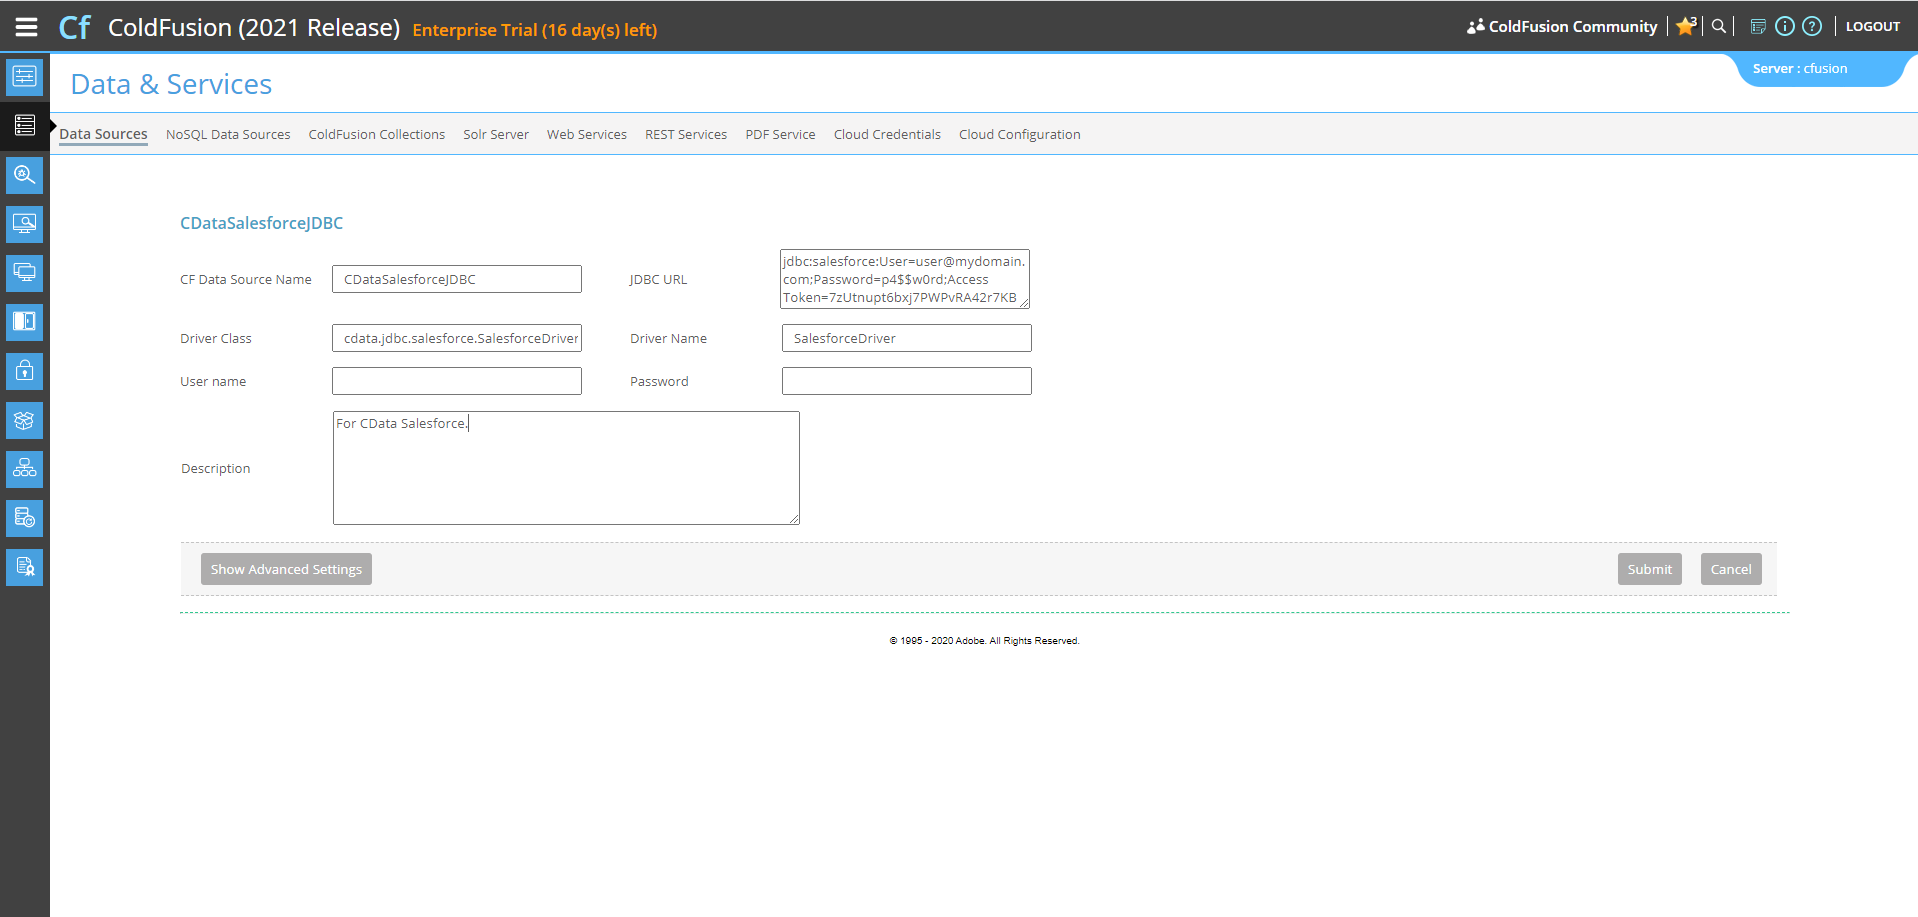
Next, populate the driver properties.
- JDBC URL will need to be in the format: jdbc:api:|connectionString|.
- A typical connection string looks like this:
jdbc:api:Profile=C:\profiles\Buildkite.apip;AuthScheme=APIKey;ProfileSettings='APIKey=your_api_key;Organization=your_organization_slug';
- The Driver Class is: cdata.jdbc.api.APIDriver
- The Driver Name is arbitrary and simply used to recognize the data source in the ColdFusion administration console.
-
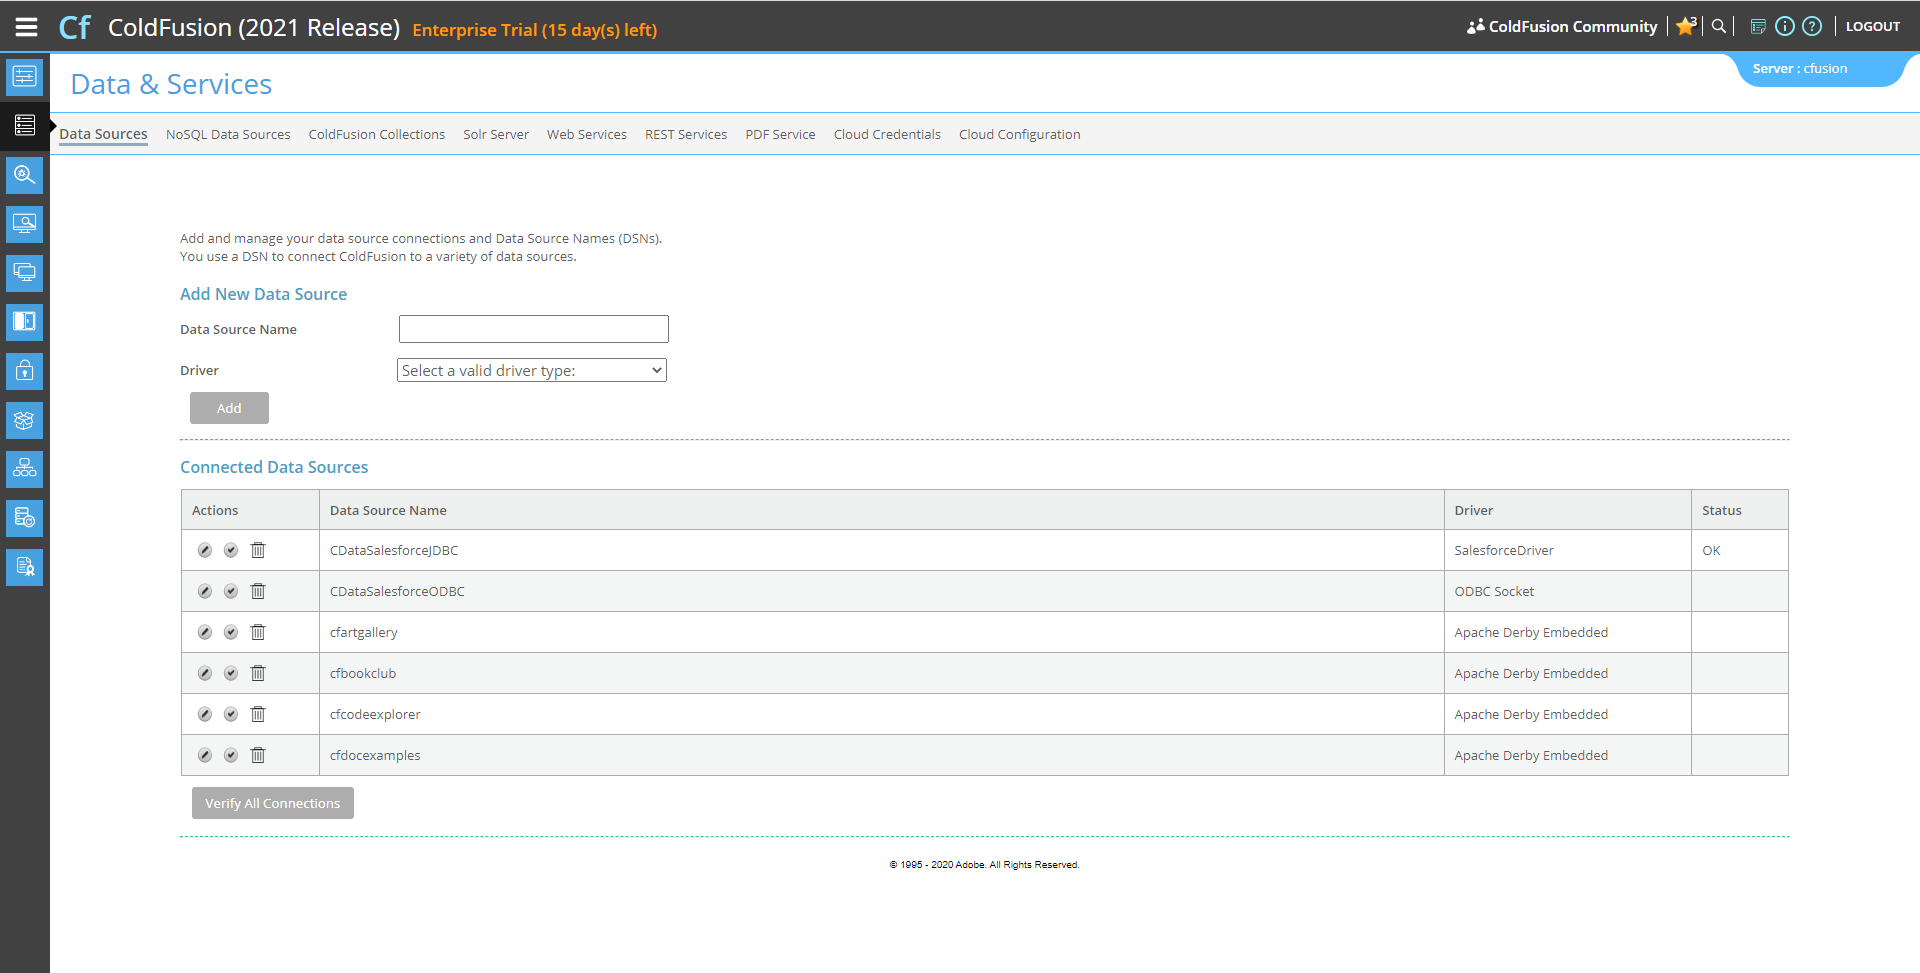
Now, test the connection by clicking the check mark to the left of the CDataBuildkiteJDBC data source you just created.
When the data source reports an "OK" status, it is ready for use.
-
Next, create a new ColdFusion Markup file (.cfm) and place it in the wwwroot directory ("C:\ColdFusion2021\cfusion\wwwroot")
for ColdFusion.
The following code queries the data source:
        <cfquery name="BuildkiteQuery" dataSource="CDataBuildkiteJDBC">
          SELECT * FROM Builds
        </cfquery>
And a CFTable can be used to quickly output the table in HTML:<cftable query = "BuildkiteQuery" border = "1" colHeaders colSpacing = "2" headerLines = "2" HTMLTable maxRows = "500" startRow = "1"> <cfcol header="<b>Id</b>" align="Left" width=2 text="Id"/> <cfcol header="<b>BuildNumber</b>" align="Left" width=15 text="BuildNumber"/> ... </cftable>Full code, including the HTML portion is available below:<html> <head><title>CData Software | Buildkite Builds Table Demo </title></head> <body> <cfoutput>#ucase("Buildkite Builds Table Demo")#</cfoutput> <cfquery name="BuildkiteQuery" dataSource="CDataBuildkiteJDBC"> SELECT * FROM Builds </cfquery> <cftable query = "BuildkiteQuery" border = "1" colHeaders colSpacing = "2" headerLines = "2" HTMLTable maxRows = "500" startRow = "1"> <cfcol header="<b>Id</b>" align="Left" width=2 text="Id"/> <cfcol header="<b>BuildNumber</b>" align="Left" width=15 text="BuildNumber"/> ... </cftable> </body> </html> -
Finally, run the code locally in a browser at the default port of 8500. It produces a table populated with Buildkite data!
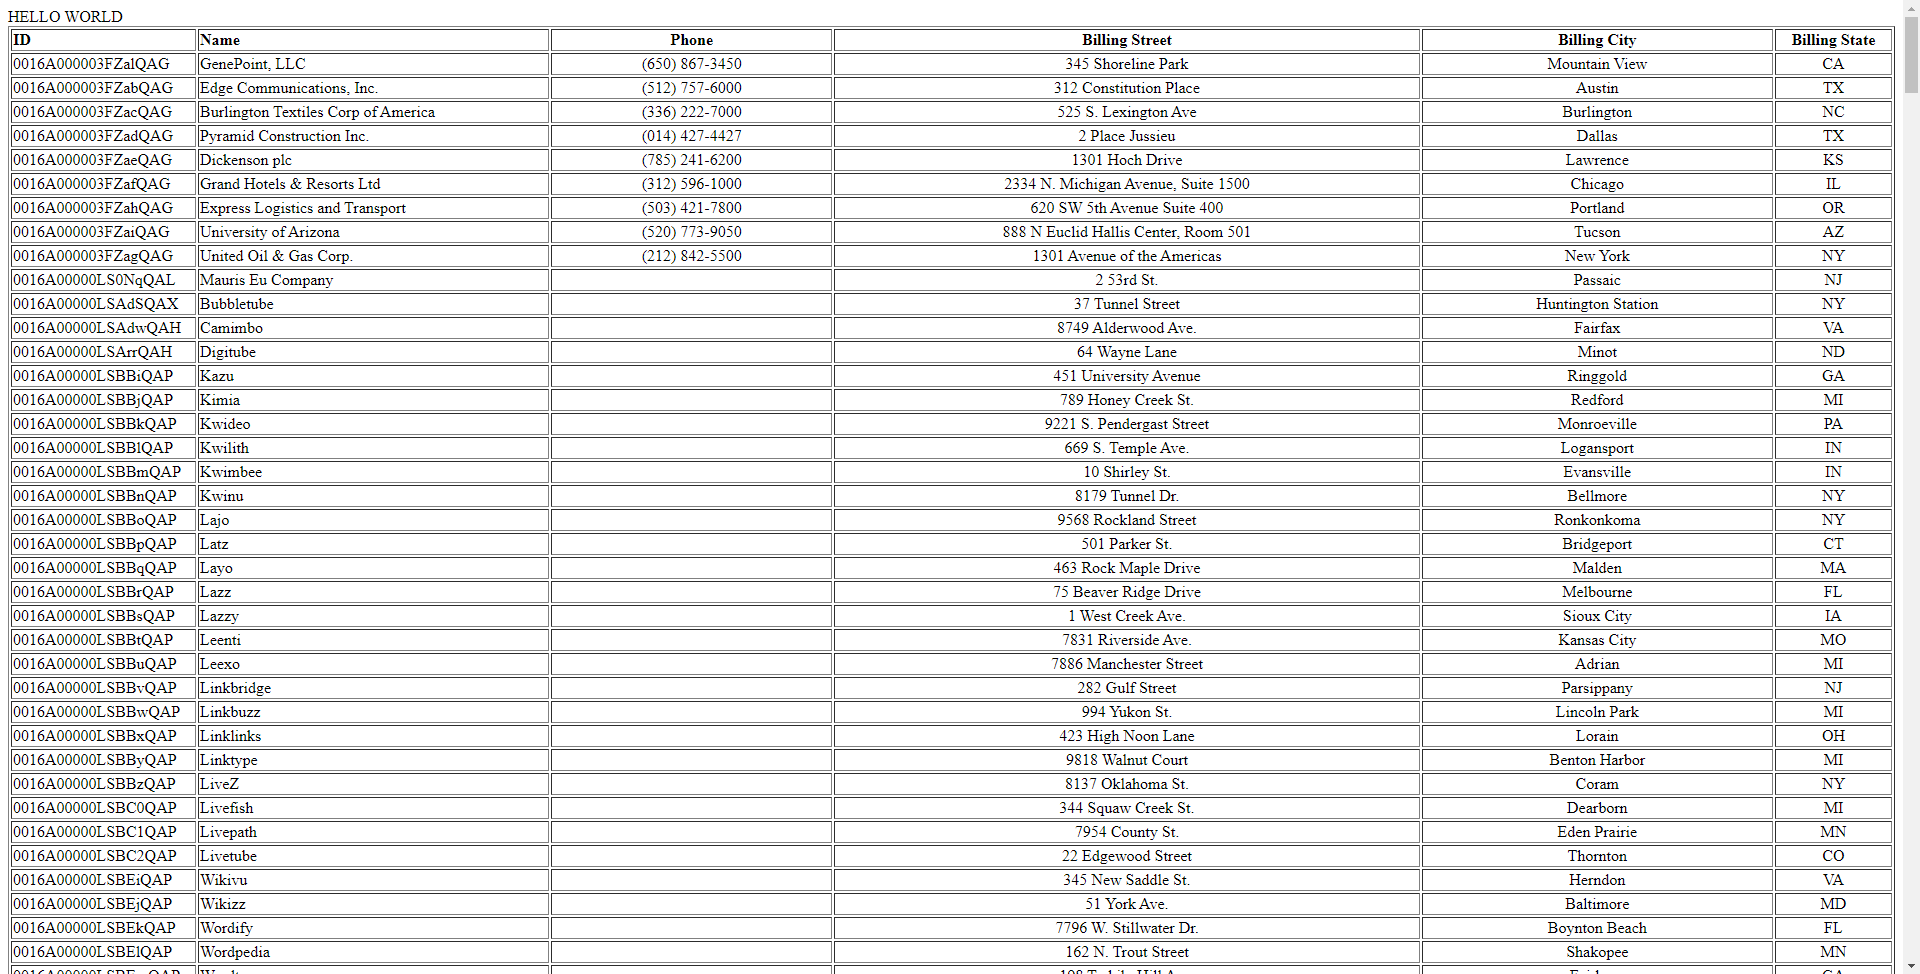
As a note, the CData JDBC Drivers also support parameterized queries using the cfqueryparam element. For example:
SELECT * FROM Account WHERE name = Get Started Today
Download a free, 30-day trial of the CData JDBC Driver for Buildkite and start building Buildkite-connected applications with Adobe ColdFusion. Reach out to our Support Team if you have any questions.