




Access Buildkite Data in Mule Applications Using the CData JDBC Driver

The CData API Driver for JDBC connects Buildkite data to Mule applications enabling read functionality with familiar SQL queries. The JDBC Driver allows users to easily create Mule applications to backup, transform, report, and analyze Buildkite data.
This article demonstrates how to use the CData API Driver for JDBC inside of a Mule project to create a Web interface for Buildkite data. The application created allows you to request Buildkite data using an HTTP request and have the results returned as JSON. The exact same procedure outlined below can be used with any CData JDBC Driver to create a Web interface for the hundreds of available data sources.
- Create a new Mule Project in Anypoint Studio.
- Add an HTTP Connector to the Message Flow.
- Configure the address for the HTTP Connector.
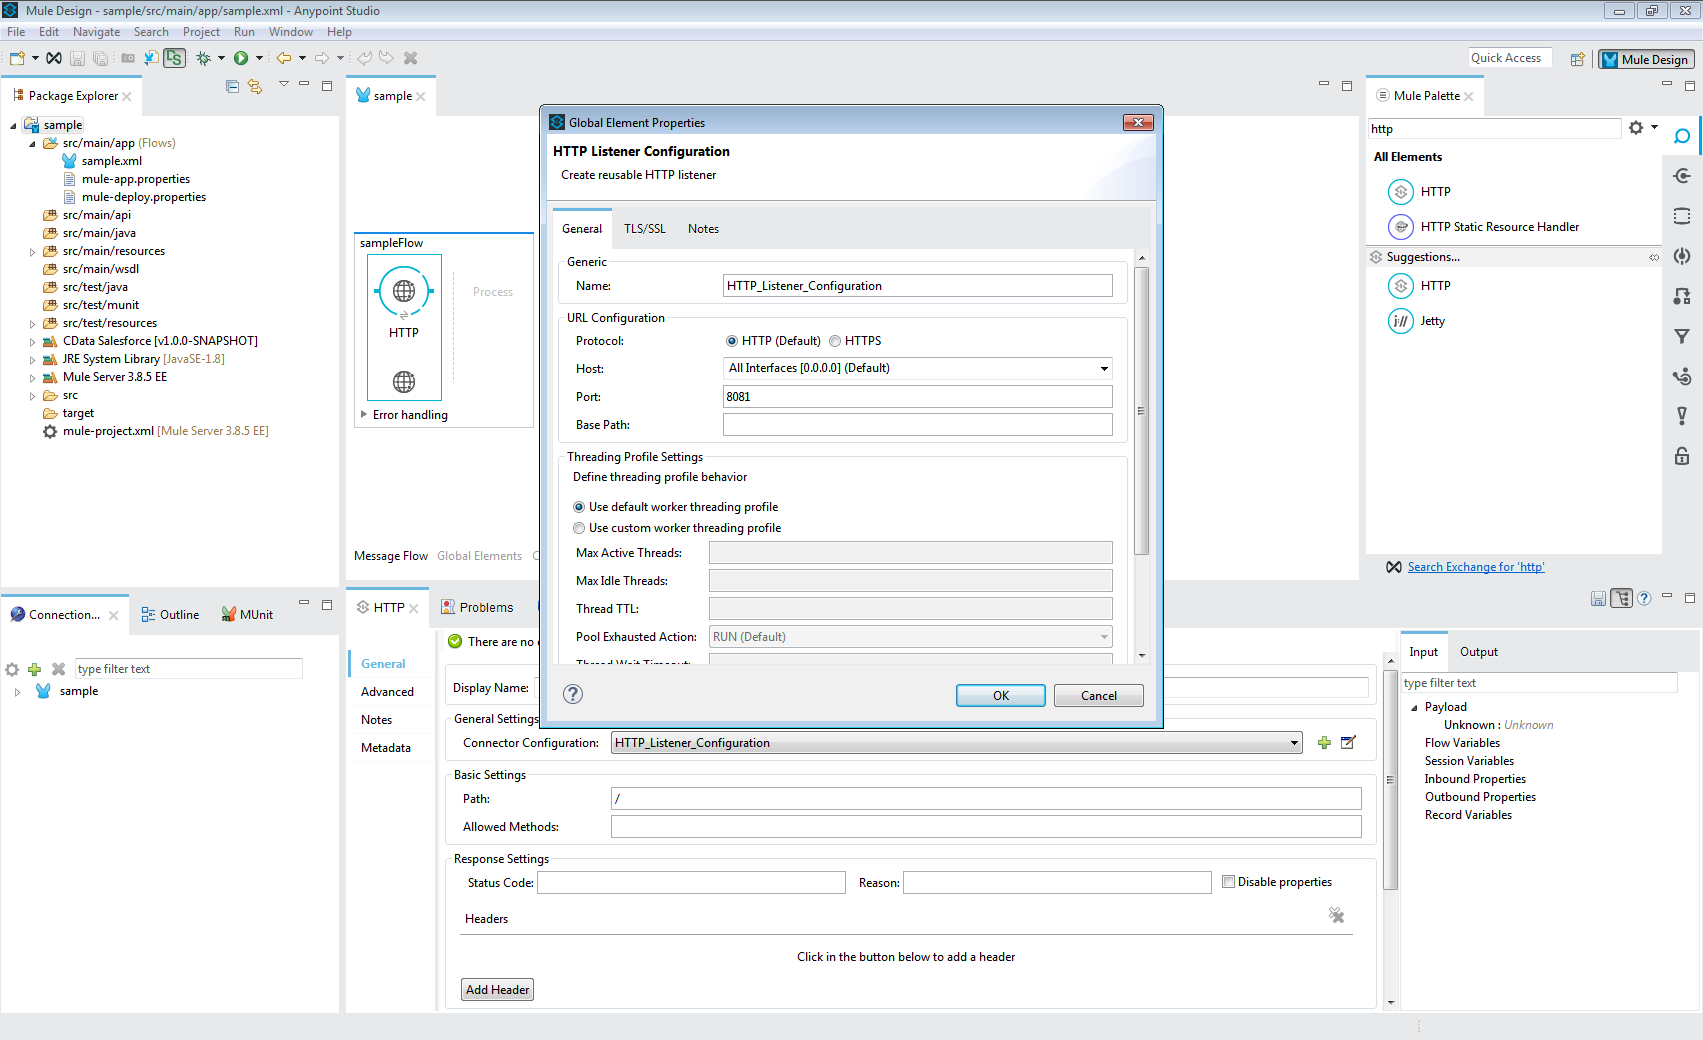
- Add a Database Select Connector to the same flow, after the HTTP Connector.
- Create a new Connection (or edit an existing one) and configure the properties.
- Set Connection to "Generic Connection"
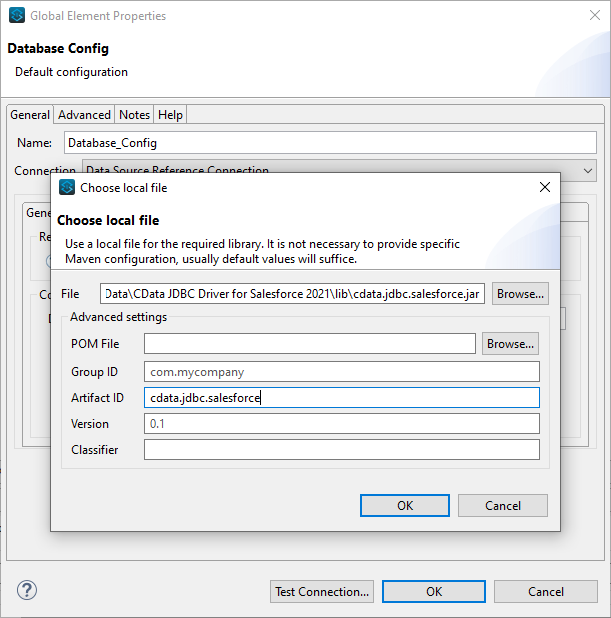
- Select the CData JDBC Driver JAR file in the Required Libraries section (e.g. cdata.jdbc.api.jar).
- Set the URL to the connection string for Buildkite
Start by setting the Profile connection property to the location of the Buildkite Profile on disk (e.g. C:\profiles\Buildkite.apip). Next, set the ProfileSettings connection property to the connection string for Buildkite (see below).
Buildkite API Profile Settings
Buildkite uses HTTP API key authentication. Your Buildkite API access token is used to authenticate requests as a Bearer token. You can generate or view your tokens at https://buildkite.com/user/api-access-tokens.
After setting the following connection properties, you are ready to connect:
- AuthScheme: Set this to APIKey.
- APIKey: Set this to your Buildkite API access token.
- Organization: Set this to your Buildkite organization slug (e.g. acme-inc).
Built-in Connection String Designer
For assistance in constructing the JDBC URL, use the connection string designer built into the Buildkite JDBC Driver. Either double-click the JAR file or execute the jar file from the command-line.
java -jar cdata.jdbc.api.jarFill in the connection properties and copy the connection string to the clipboard.
- Set the Driver class name to cdata.jdbc.api.APIDriver.
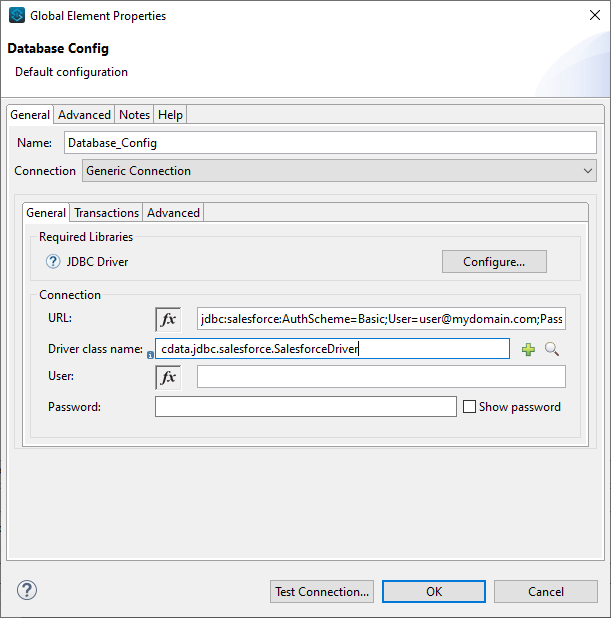
- Click Test Connection.
- Set the SQL Query Text to a SQL query to request Buildkite data. For example:
SELECT Id, BuildNumber FROM Builds WHERE State = 'passed'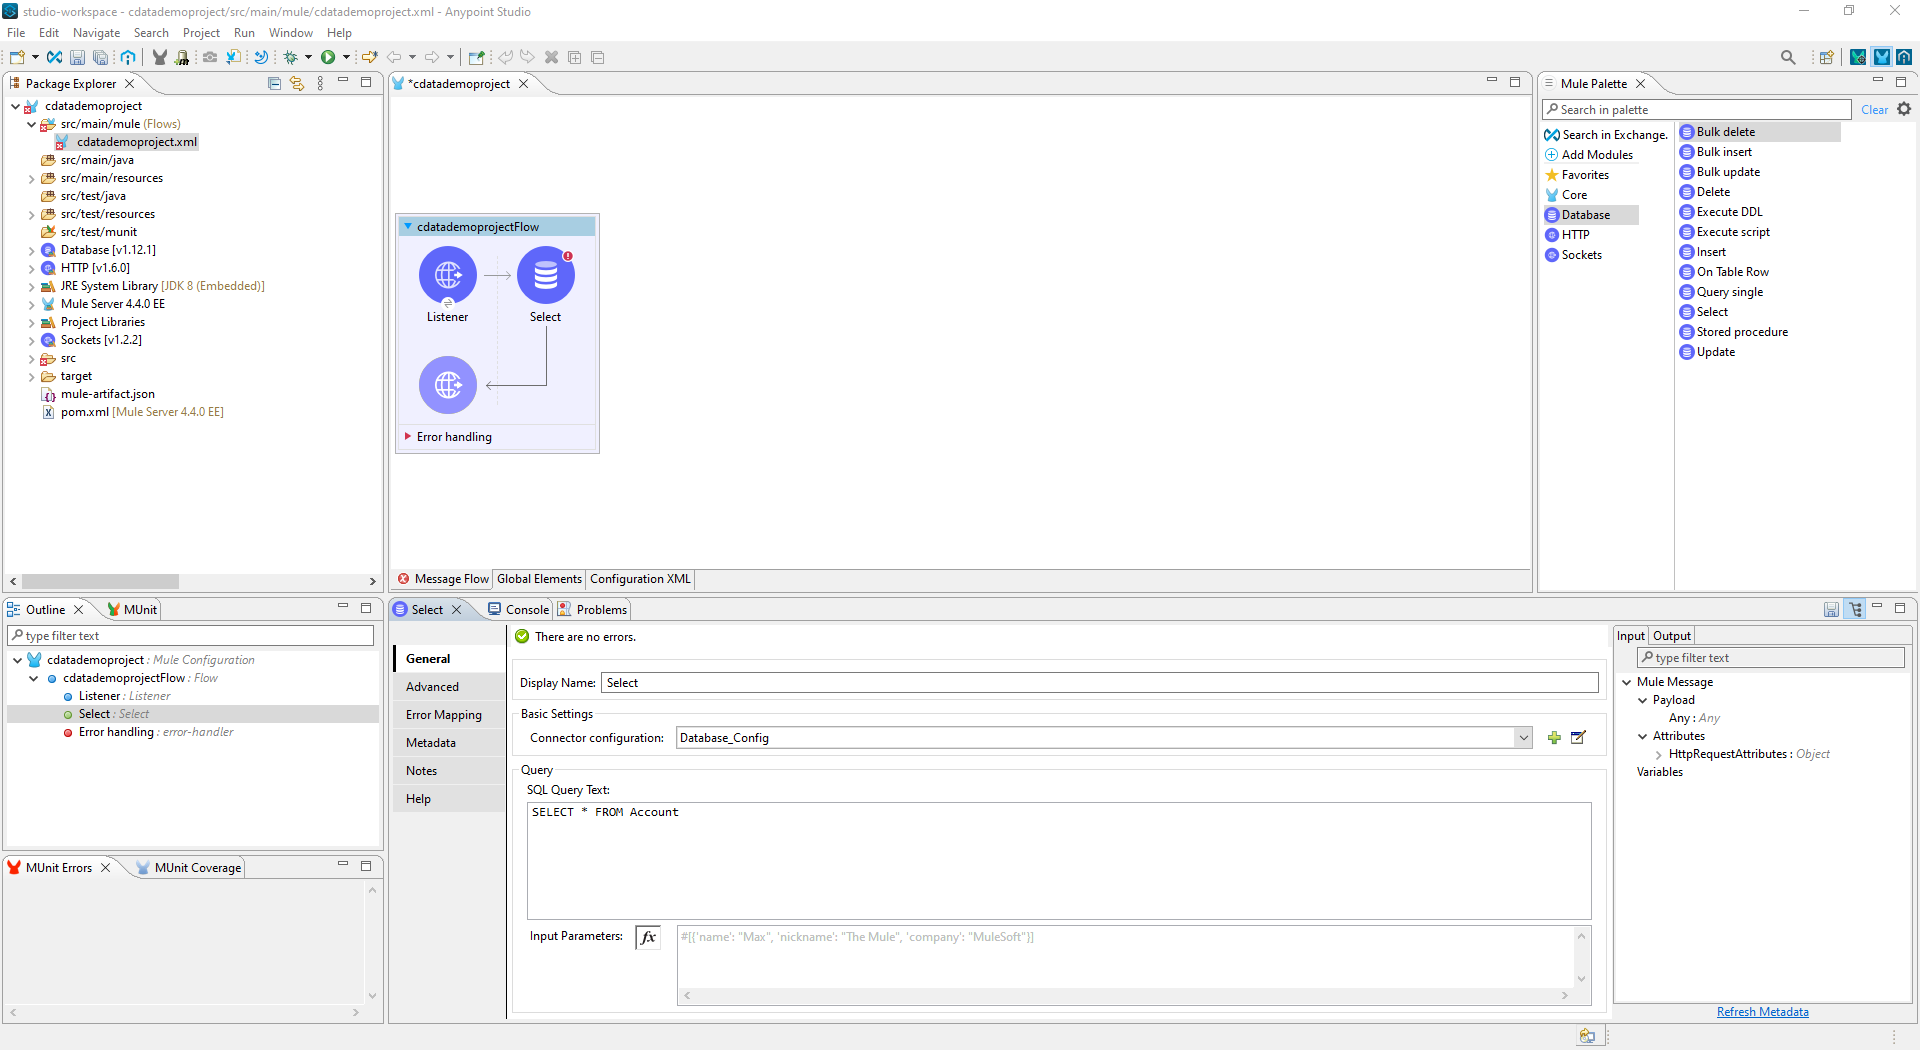
- Add a Transform Message Component to the flow.
- Set the Output script to the following to convert the payload to JSON:
%dw 2.0
output application/json
---
payload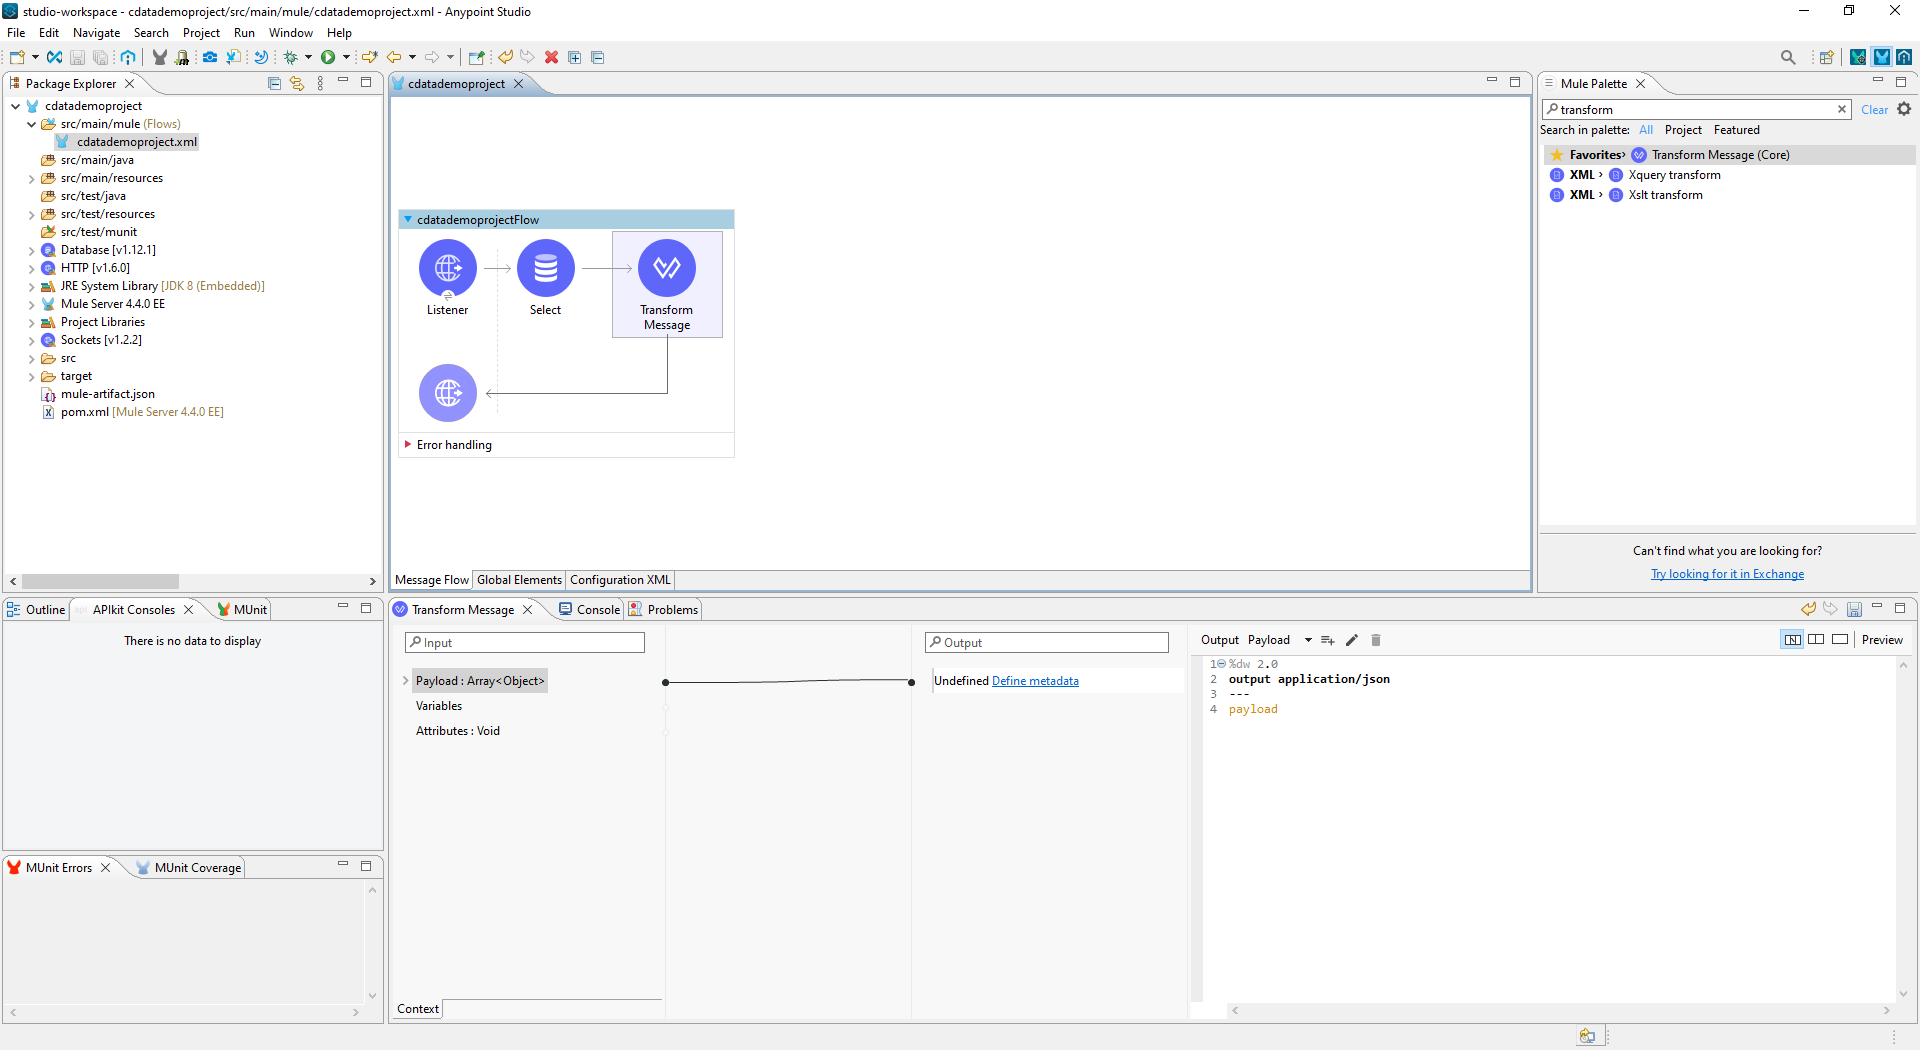
- To view your Buildkite data, navigate to the address you configured for the HTTP Connector (localhost:8081 by default): http://localhost:8081. The Buildkite data is available as JSON in your Web browser and any other tools capable of consuming JSON endpoints.
At this point, you have a simple Web interface for working with Buildkite data (as JSON data) in custom apps and a wide variety of BI, reporting, and ETL tools. Download a free, 30 day trial of the JDBC Driver for Buildkite and see the CData difference in your Mule Applications today.