




Create Datasets from Buildkite in Domo Workbench and Build Visualizations of Buildkite Data in Domo

Domo helps you manage, analyze, and share data across your entire organization, enabling decision makers to identify and act on strategic opportunities. Domo Workbench provides a secure, client-side solution for uploading your on-premise data to Domo. The CData ODBC Driver for Buildkite links Domo Workbench to operational Buildkite data. You can build datasets from Buildkite data using standard SQL queries in Workbench and then create real-time visualizations of Buildkite data in the Domo service.
The CData ODBC Drivers offer unmatched performance for interacting with live Buildkite data in Domo due to optimized data processing built into the driver. When you issue complex SQL queries from Domo to Buildkite, the driver pushes supported SQL operations, like filters and aggregations, directly to Buildkite and utilizes the embedded SQL Engine to process unsupported operations (often SQL functions and JOIN operations) client-side. With built-in dynamic metadata querying, you can visualize and analyze Buildkite data using native Domo data types.
Connect to Buildkite as an ODBC Data Source
If you have not already, first specify connection properties in an ODBC DSN (data source name). This is the last step of the driver installation. You can use the Microsoft ODBC Data Source Administrator to create and configure ODBC DSNs.
Start by setting the Profile connection property to the location of the Buildkite Profile on disk (e.g. C:\profiles\Buildkite.apip). Next, set the ProfileSettings connection property to the connection string for Buildkite (see below).
Buildkite API Profile Settings
Buildkite uses HTTP API key authentication. Your Buildkite API access token is used to authenticate requests as a Bearer token. You can generate or view your tokens at https://buildkite.com/user/api-access-tokens.
After setting the following connection properties, you are ready to connect:
- AuthScheme: Set this to APIKey.
- APIKey: Set this to your Buildkite API access token.
- Organization: Set this to your Buildkite organization slug (e.g. acme-inc).
When you configure the DSN, you may also want to set the Max Rows connection property. This will limit the number of rows returned, which is especially helpful for improving performance when designing reports and visualizations.
After creating a DSN, you will need to create a dataset for Buildkite in Domo Workbench using the Buildkite DSN and build a visualization in the Domo service based on the dataset.
Build a Dataset for Buildkite Data
You can follow the steps below to build a dataset based on a table in Buildkite in Domo Workbench using the CData ODBC Driver for Buildkite.
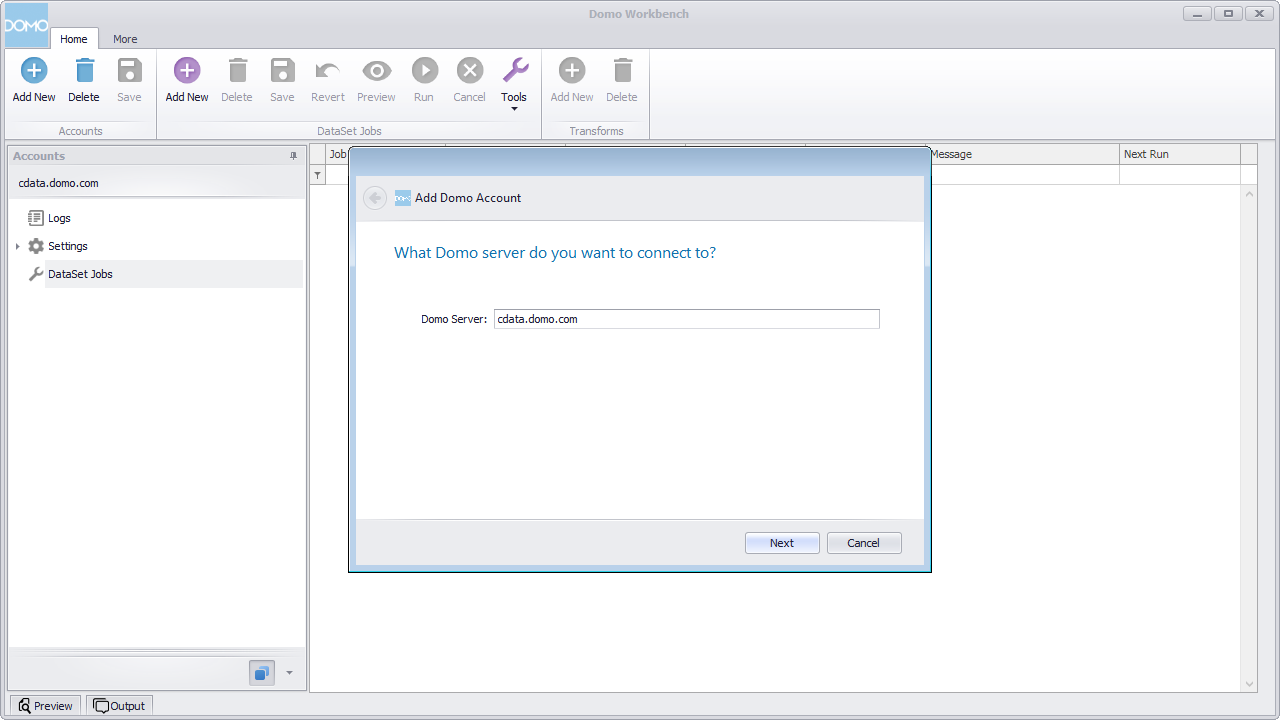
- Open Domo Workbench and, if you have not already, add your Domo service server to Workbench. In the Accounts submenu, click Add New, type in the server address (i.e., domain.domo.com) and click through the wizard to authenticate.
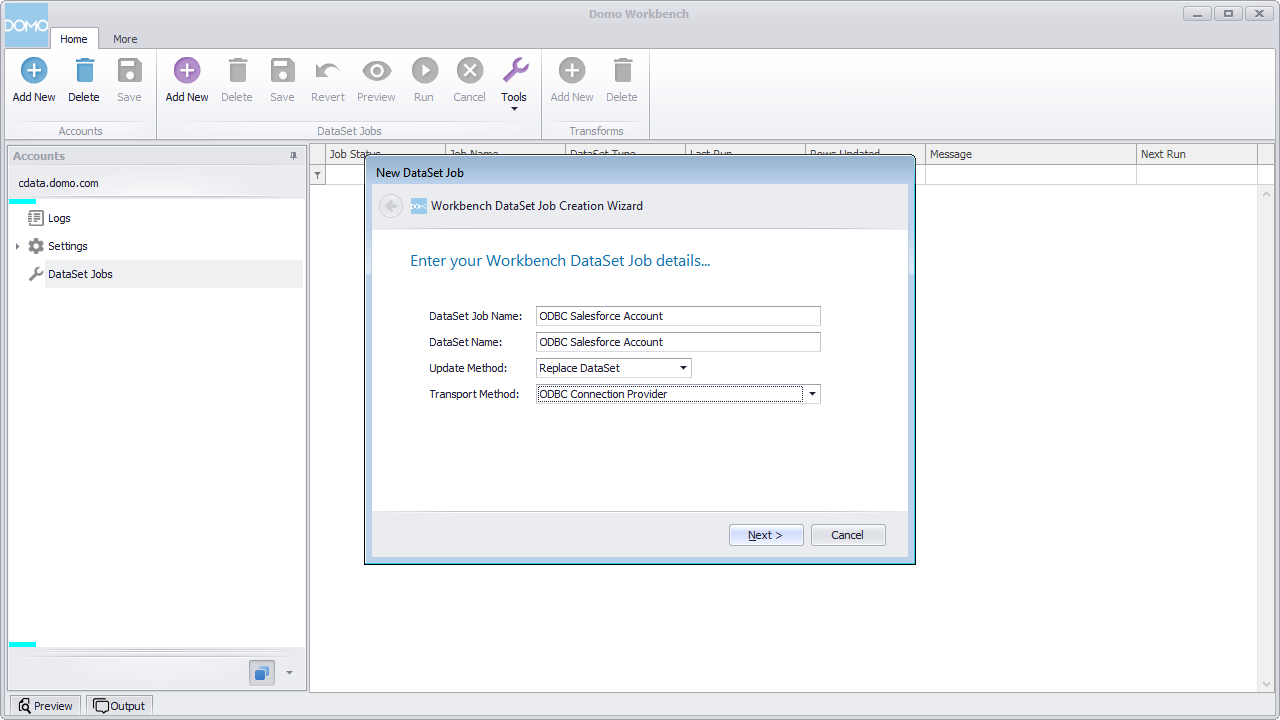
- In the DataSet Jobs submenu, click Add New.
- Name the dataset job (i.e., ODBC Buildkite Builds), select ODBC Connection Provider as the transport method, and click through the wizard.
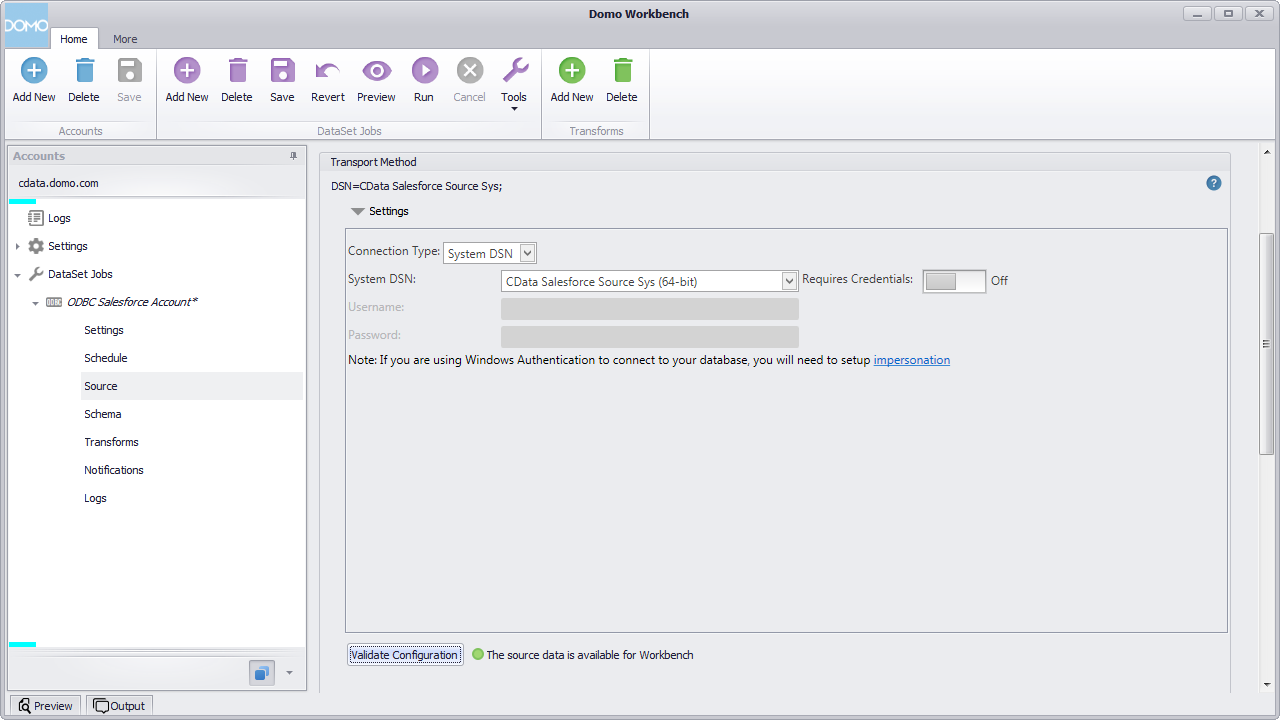
- In the newly created DataSet Job, navigate to Source and click to configure the settings.
- Select System DSN for the Connection Type.
- Select the previously configured DSN (CData API Sys) for the System DSN.
- Click to validate the configuration.
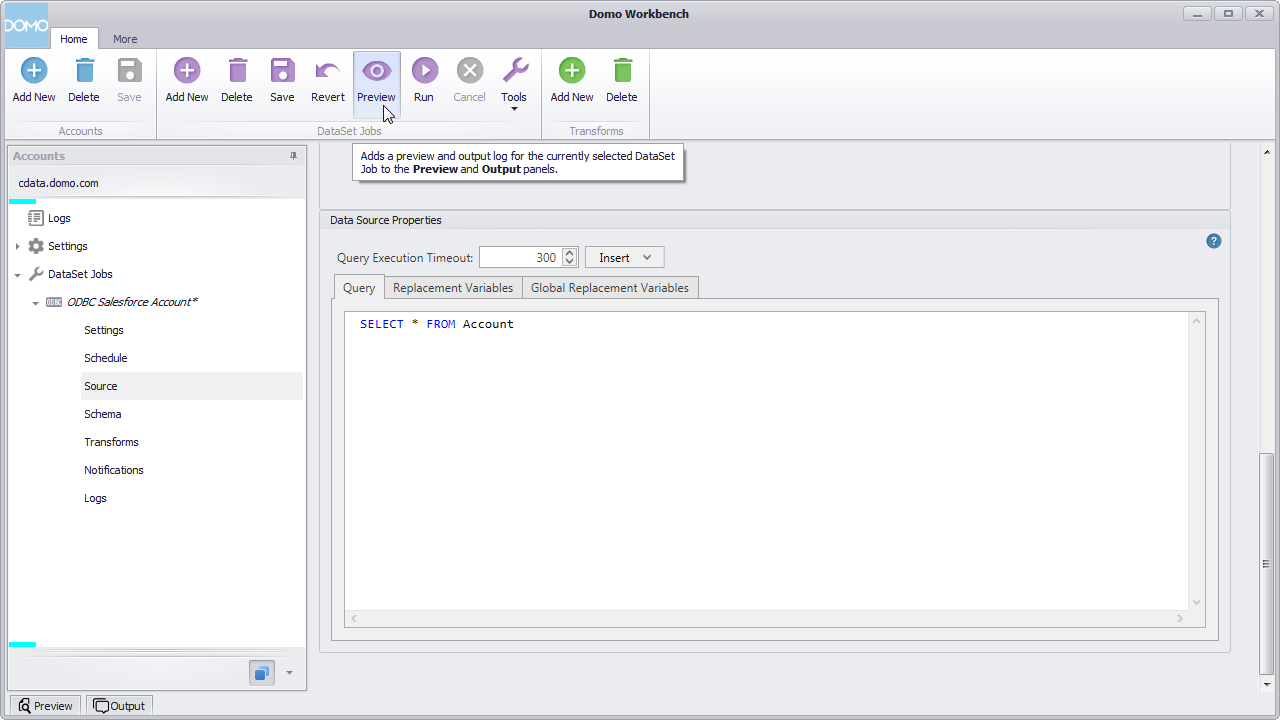
- Below the settings, set the Query to a SQL query:
NOTE: By connecting to Buildkite data using an ODBC driver, you simply need to know SQL in order to get your data, circumventing the need to know Buildkite-specific APIs or protocols.SELECT * FROM Builds - Click preview.
- Check over the generated schema, add any transformations, then save and run the dataset job.
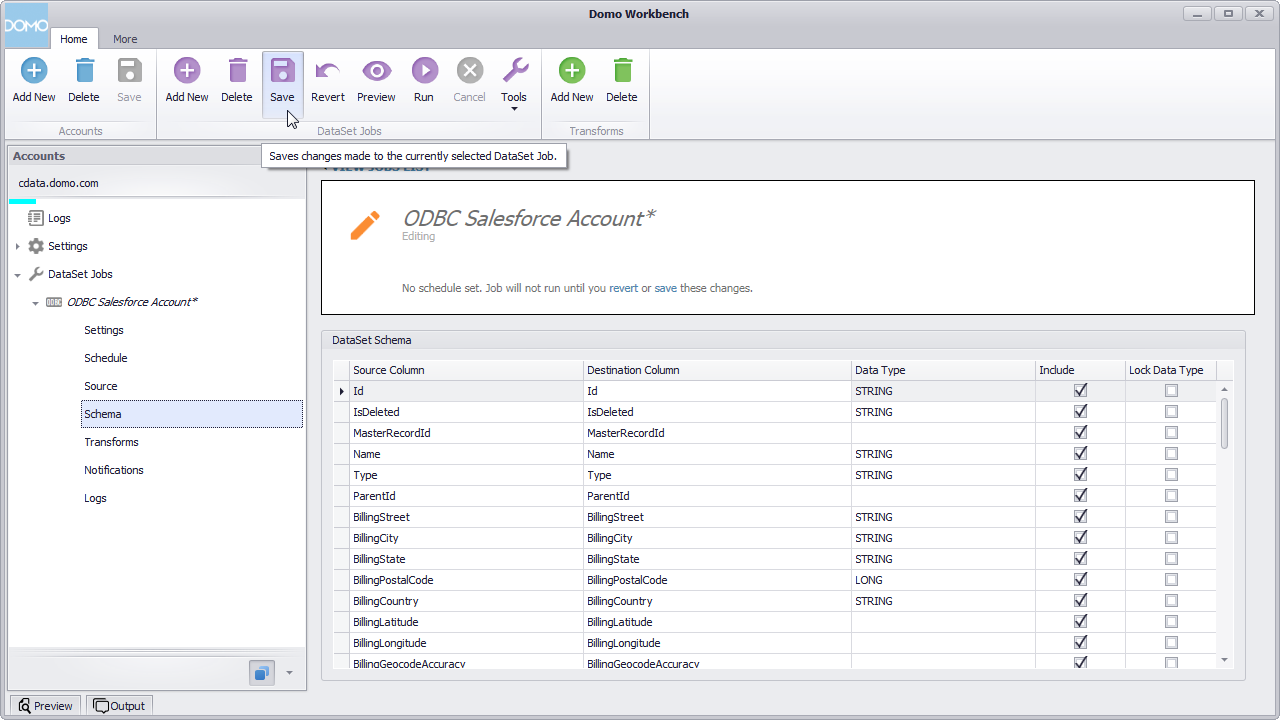
With the dataset job run, the dataset will be accessible from the Domo service, allowing you to build visualizations, reports, and more based on Buildkite data.
Create Data Visualizations
With the DataSet Job saved and run in Domo Workbench, we are ready to build visualizations of the Buildkite data in the Domo service.
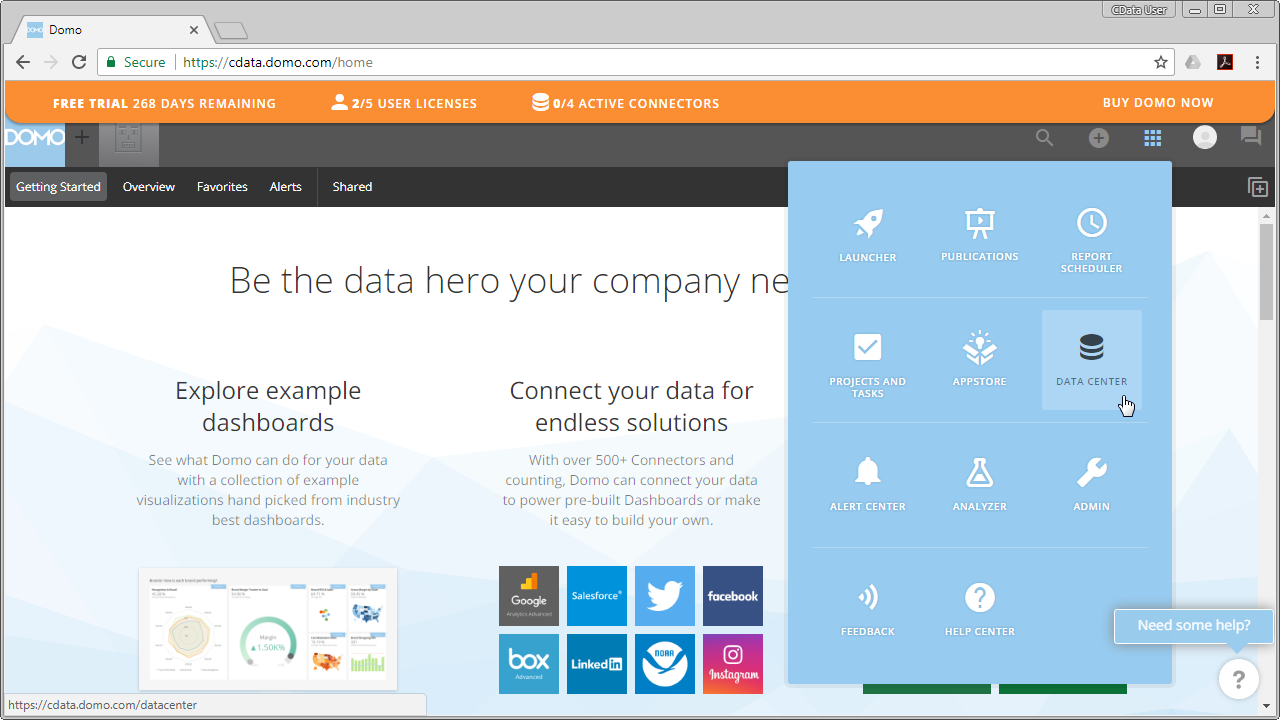
- Navigate to the Data Center.
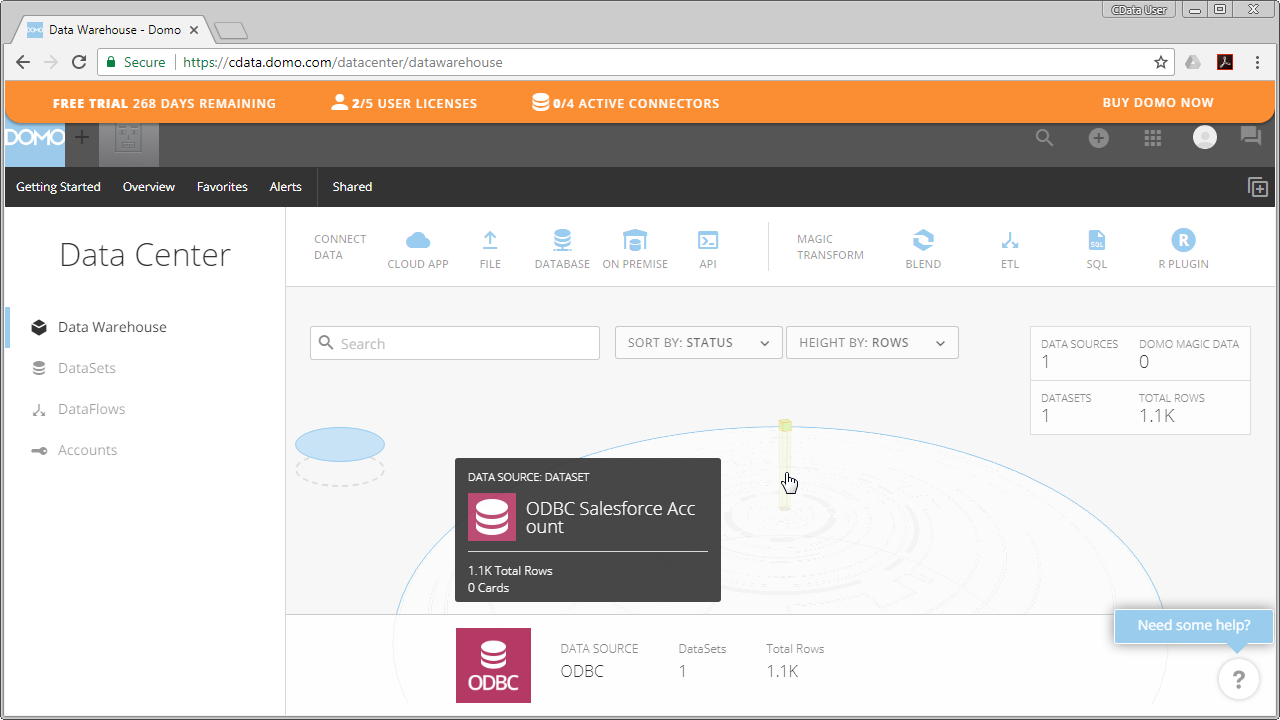
- In the data warehouse, select the ODBC data source and drill down to our new dataset.
- With the dataset selected, choose to create a visualization.
- In the new card:
- Drag a Dimension to the X Value.
- Drag a Measure to the Y Value.
- Choose a Visualization.
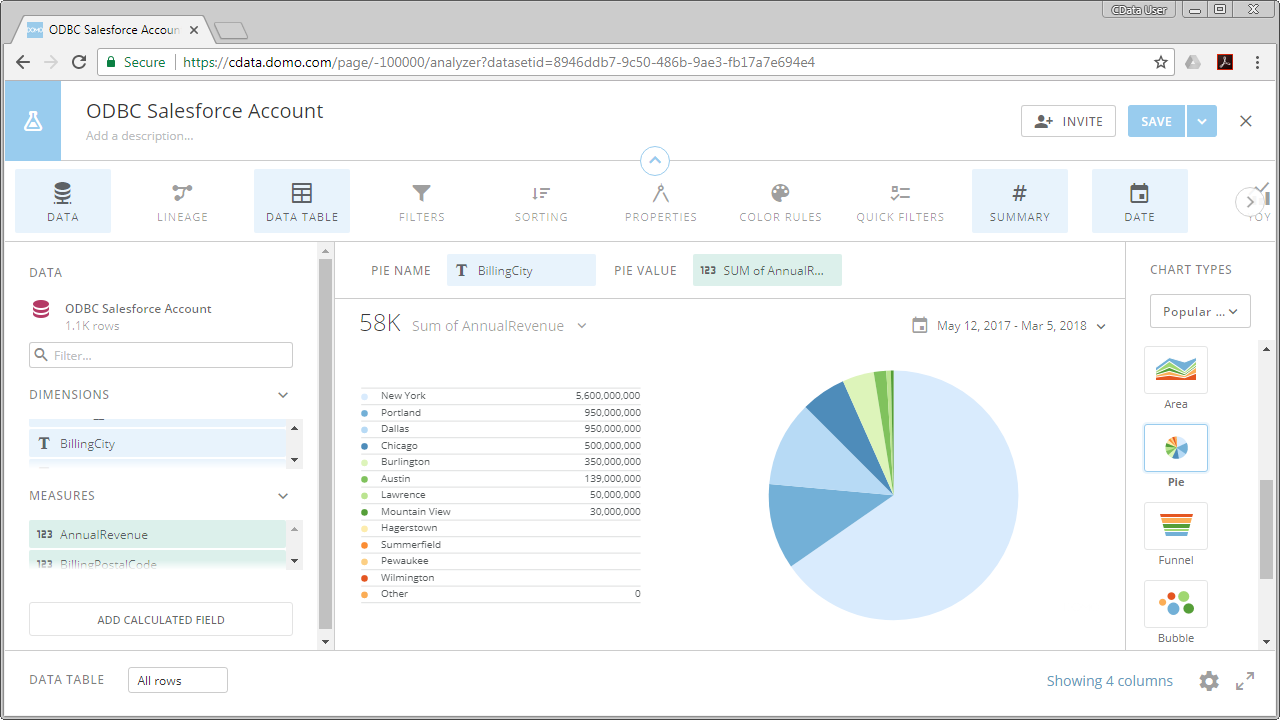
With the CData ODBC Driver for Buildkite, you can build custom datasets based on Buildkite data using only SQL in Domo Workbench and then build and share visualizations and reports through the Domo service.