Create Canny Reports on JasperReports Server

The CData JDBC driver for Canny enables you to provide access to Canny data across the enterprise. This article shows how to deploy the driver on JasperReports server and create a simple report based on a reporting domain, a business view of Canny data.
Deploy the Driver JAR
Follow the steps below to deploy the driver JAR on JasperReports Server. The instructions below contain specifics for Canny and the Tomcat server bundled with JasperReports Server. If you are using JBoss AS 7 instead of Tomcat, you can follow the standard process to deploy the Canny JDBC Driver on JBoss.
- Copy the driver JAR and .lic file, located in the lib subfolder of the installation directory, to the lib subfolder of the apache-tomcat folder, located in the JasperReports Server installation directory.
-
Navigate to apache-tomcat -> webapps -> jasperserver-pro -> META-INF and add the following resource entry to the context.xml file:
<Resource name="jdbc/api" auth="Container" type="javax.sql.DataSource" driverClassName="cdata.jdbc.api.APIDriver" url="jdbc:api:Profile=C:\profiles\Canny.apip;ProfileSettings='APIKey=your-canny-api-key';" maxActive="20" maxIdle="10" maxWait="-1" factory="com.jaspersoft.jasperserver.tomcat.jndi.JSCommonsBasicDataSourceFactory"/>Specify the required connection properties in the JDBC URL -- the url attribute.
Start by setting the Profile connection property to the location of the Canny Profile on disk (e.g. C:\profiles\Canny.apip). Next, set the ProfileSettings connection property to the connection string for Canny (see below).
Canny API Profile Settings
Canny uses a secret API key to control access to the API. The API key is sent as a JSON body parameter named 'apiKey' in every HTTP POST request to the Canny API endpoints.
To authenticate with the Canny API, you need your company-level secret API key. You can find this key in your Canny account under Settings > API.
After setting the following connection properties, you are ready to connect:
- AuthScheme: Set this to APIKey.
- APIKey: Set this to your Canny company-level secret API key from the Settings > API page in your Canny dashboard.
Built-in Connection String Designer
For assistance in constructing the JDBC URL, use the connection string designer built into the Canny JDBC Driver. Either double-click the JAR file or execute the jar file from the command-line.
java -jar cdata.jdbc.api.jarFill in the connection properties and copy the connection string to the clipboard.

When you configure the JDBC URL, you may also want to set the Max Rows connection property. This will limit the number of rows returned, which is especially helpful for improving performance when designing reports and visualizations.
-
Navigate to jasperserver-pro -> WEB-INF and add the following reference to the web.xml file:
Canny data JSP jdbc/api javax.sql.DataSource Container - Restart the server.
Create the Canny JDBC Data Source
Follow the steps below to map the Canny JDBC driver to a JDBC data source:
- Log into JasperReports Server and click Create -> Data Source.
- In the Type menu, select JNDI Data Source.
- In the Service Name box, enter the JDNI lookup defined in the resource definition in the web.xml file. In the example, the lookup is "jdbc/api".
- Click Save to create the Data Source.
Create a Domain
A domain is a metadata and access-control layer that surfaces a relevant business view to report creators. Follow the steps below to select Canny columns, apply filters, and execute SQL to create a domain.
- Click Create -> Domain. Enter an Id for the domain and select a save location.
- Click Browse in the Data Source section and select the Canny data source you created.
- In the Domain Design section, click Create with Domain Designer.
- Select the schema containing your tables.
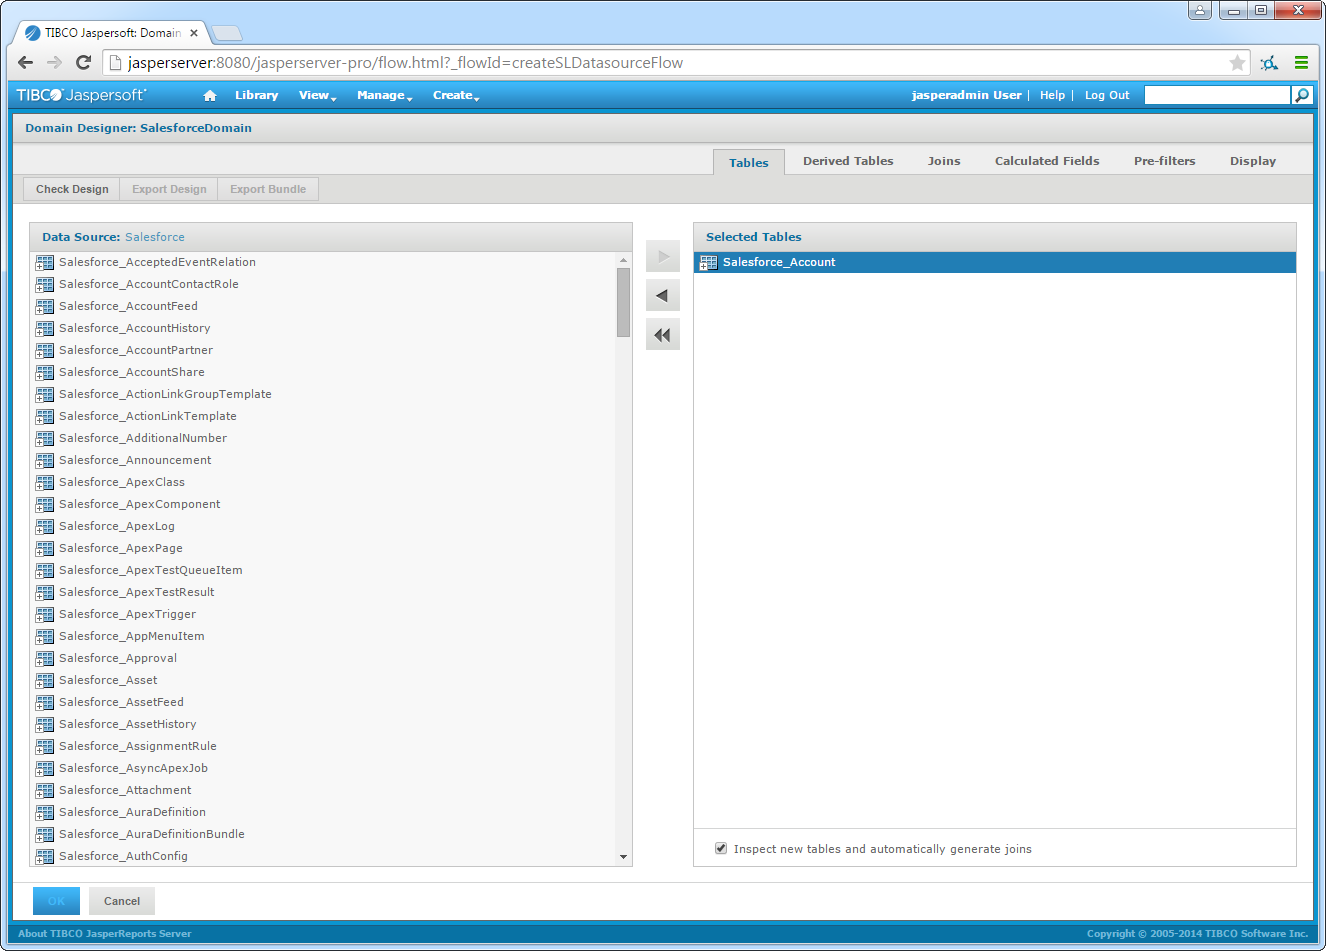
- On the Tables tab, select a table in the Data Source pane and then click the arrow to add them to the Selected Tables pane.
- On the Derived Tables tab, you can define domains based on SQL queries. For example,
SELECT Id, Name FROM Boards WHERE IsPrivate = 'false'
- On the Joins tab, you can join tables by selecting the columns you want to build the join condition and selecting the join type.
- On the Pre-Filters tab, drag and drop columns to define search criteria that filters the data exposed through the domain.
- On the Display tab, select Canny data into the data sets presented to the user.
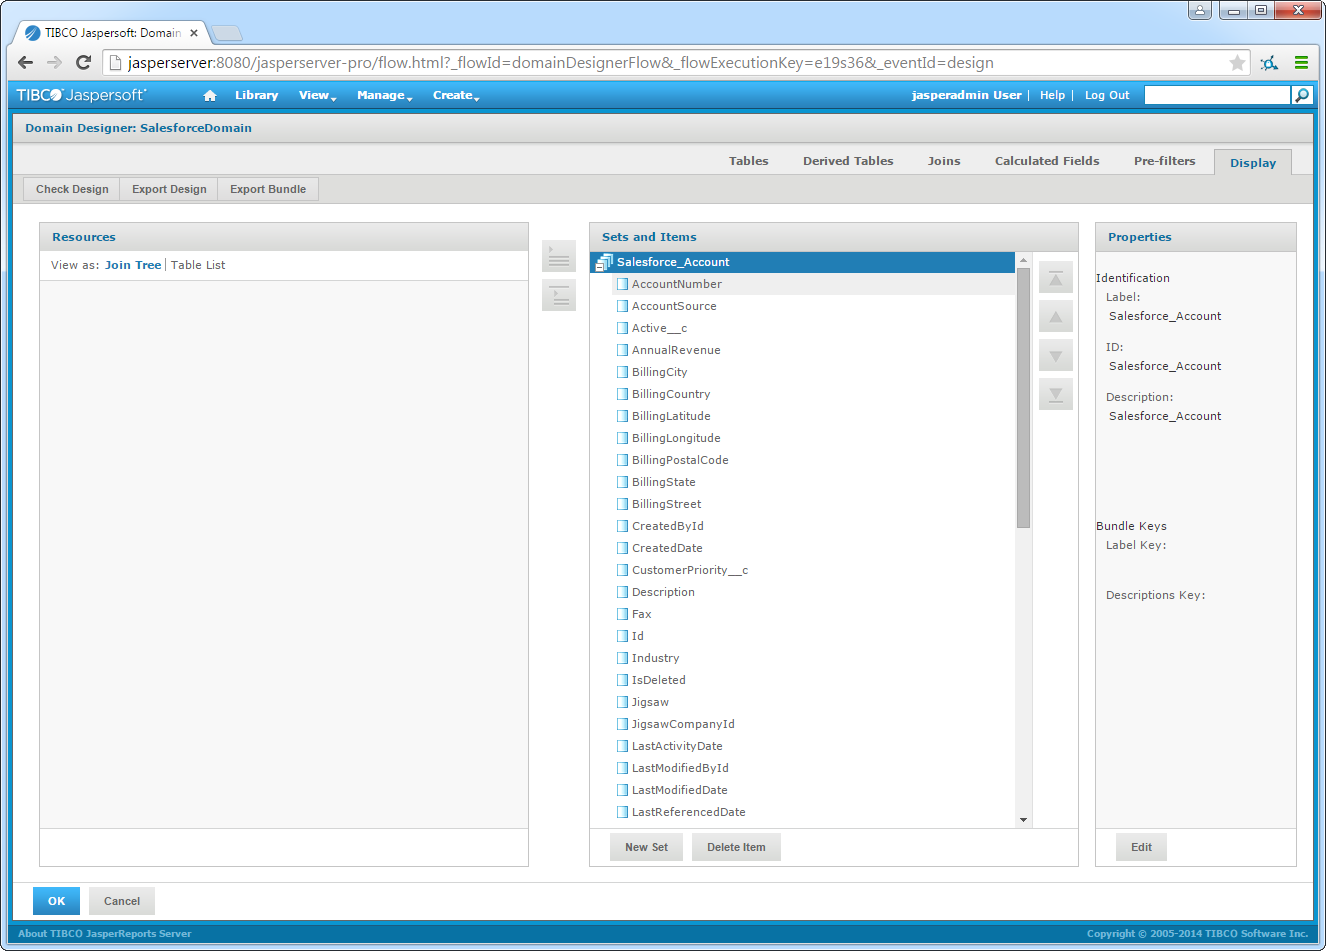
- Click OK to accept your changes and click Submit to create the domain.
Explore Data in Real Time
After you have created a domain, you are ready to connect to data. Follow the steps below to create an Ad Hoc View in the Ad Hoc Editor.
- Click Create -> Ad Hoc View.
-
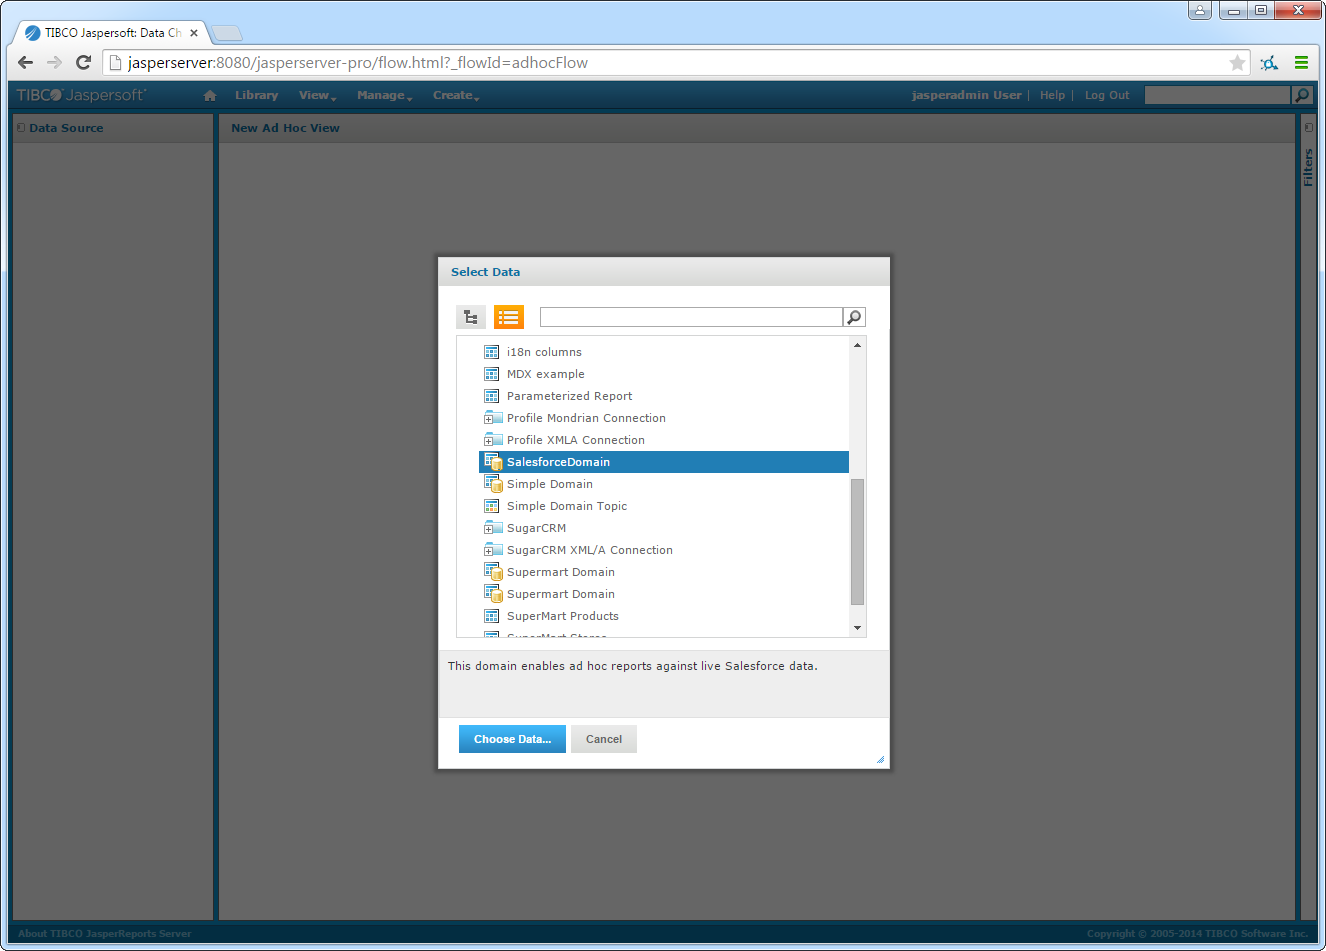
In the resulting dialog, select the Canny domain you created.
-
On the Choose Data page, select columns that you want to use in the view. In the Pre-Filters section, you can create filters based on the selected fields. In the Display section, you can modify column information as presented by the domain.
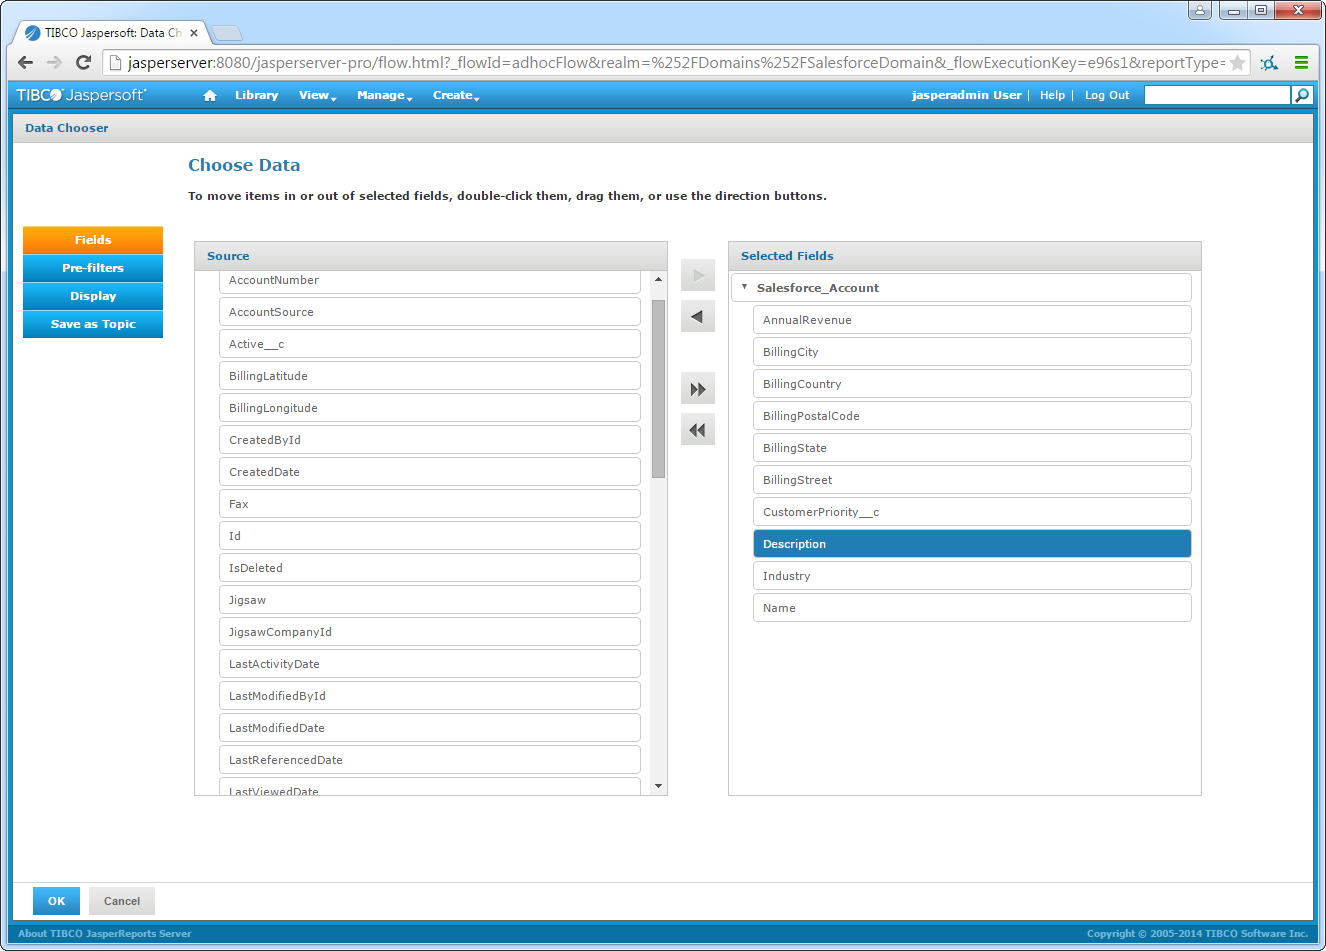
- After completing the wizard, select the view type and add columns to the view. JasperSoft uses the metadata of the driver to detect the available dimensions and measures, based on the data type. Drag dimensions and measures onto the Columns and Rows boxes. Right-click a measure to change the summary calculation. Drag the Columns slider to the the desired data level in the Filters section.
- To access updates to the data as you design the view, change the menu selection from Sample Data to Full Data in the design mode toolbar. As you make changes, JasperSoft Server executes the underlying SQL queries to the driver.
- Save the view.
Create a Real-Time Report
You can now create reports hosted on JasperSoft Server. To do so from the Ad Hoc Editor, click Save Ad Hoc View and click Create Report.