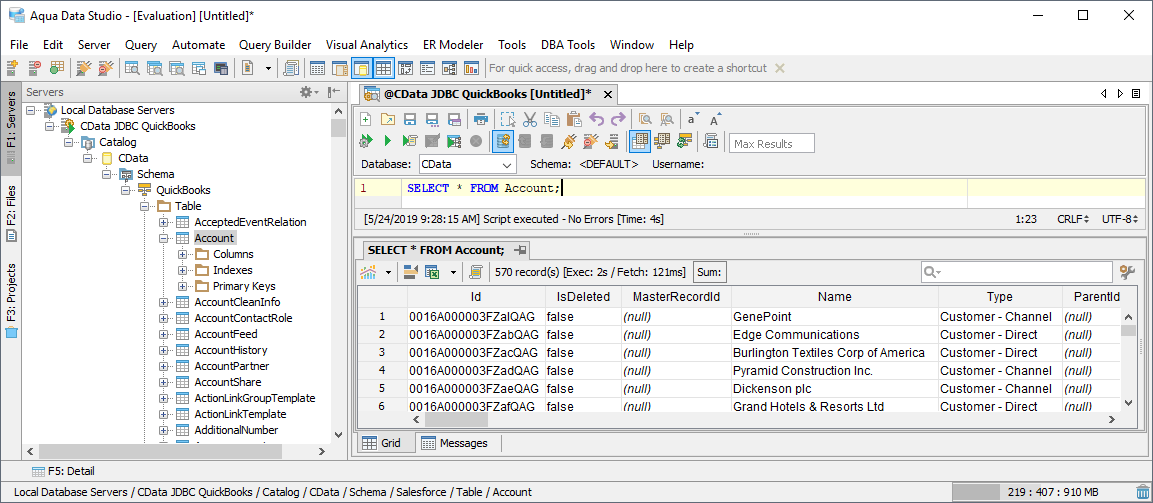
Connect to Clarifai Data in Aqua Data Studio

The CData JDBC Driver for Clarifai integrates Clarifai data with wizards and analytics in IDEs like Aqua Data Studio. This article shows how to connect to Clarifai data through the connection manager and execute queries.
Create a JDBC Data Source
You can use the connection manager to define connection properties and save them in a new JDBC data source. The Clarifai data source can then be accessed from Aqua Data Studio tools.
- In Aqua Data Studio, select Register Server from the Servers menu.
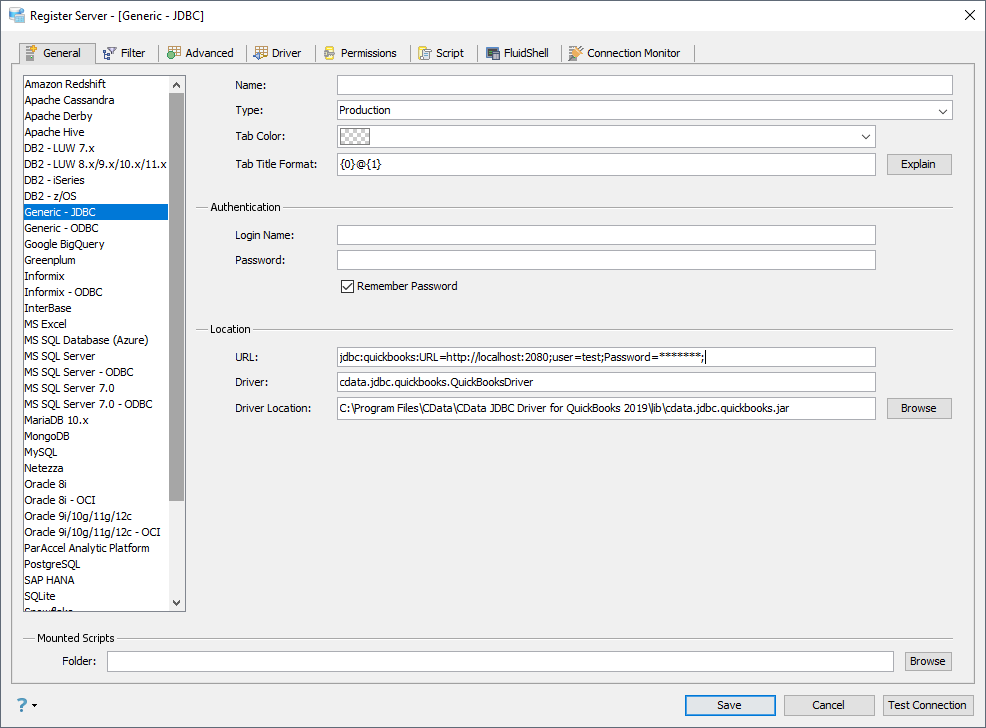
- In the Register Server form, select the 'Generic - JDBC' connection.
- Enter the following JDBC connection properties:
- Name: Enter a name for the data source; for example, Clarifai.
- Driver Location: Click the Browse button and select the cdata.jdbc.api.jar file, located in the lib subfolder of the installation directory.
- Driver: Enter the Driver's class name, cdata.jdbc.api.APIDriver.
URL: Enter the JDBC URL, which starts with jdbc:api: and is followed by a semicolon-separated list of connection properties.
Start by setting the Profile connection property to the location of the Clarifai Profile on disk (e.g. C:\profiles\Clarifai.apip). Next, set the ProfileSettings connection property to the connection string for Clarifai (see below).
Clarifai API Profile Settings
Clarifai uses Personal Access Tokens (PATs) for authentication. To obtain a PAT:
- Log in to your Clarifai account at https://clarifai.com.
- Navigate to your profile settings and select Security.
- Click Create Personal Access Token.
- Select the required scopes and click Create Token.
- Copy the generated token (it will only be shown once).
After obtaining your Personal Access Token, set the following connection properties:
- AuthScheme: Set this to APIKey.
Set the following in the ProfileSettings connection property:
- APIKey: Set this to your Clarifai Personal Access Token (PAT).
Built-in Connection String Designer
For assistance in constructing the JDBC URL, use the connection string designer built into the Clarifai JDBC Driver. Either double-click the JAR file or execute the jar file from the command-line.
java -jar cdata.jdbc.api.jarFill in the connection properties and copy the connection string to the clipboard.
 A typical JDBC URL is below:
jdbc:api:Profile=C:\profiles\Clarifai.apip;AuthScheme=APIKey;ProfileSettings='APIKey=your_personal_access_token';
Query Clarifai Data
You can now query the tables exposed.