




How to import Clarifai Data into Apache Solr

The Apache Solr platform is a popular, blazing-fast, open source enterprise search solution built on Apache Lucene.
Apache Solr is equipped with the Data Import Handler (DIH), which can import data from databases and, XML, CSV, and JSON files. When paired with the CData JDBC Driver for Clarifai, you can easily import Clarifai data to Apache Solr. In this article, we show step-by-step how to use CData JDBC Driver in Apache Solr Data Import Handler and import Clarifai data for use in enterprise search.
Create an Apache Solr Core and a Schema for Importing Clarifai
- Run Apache Solr and create a Core.
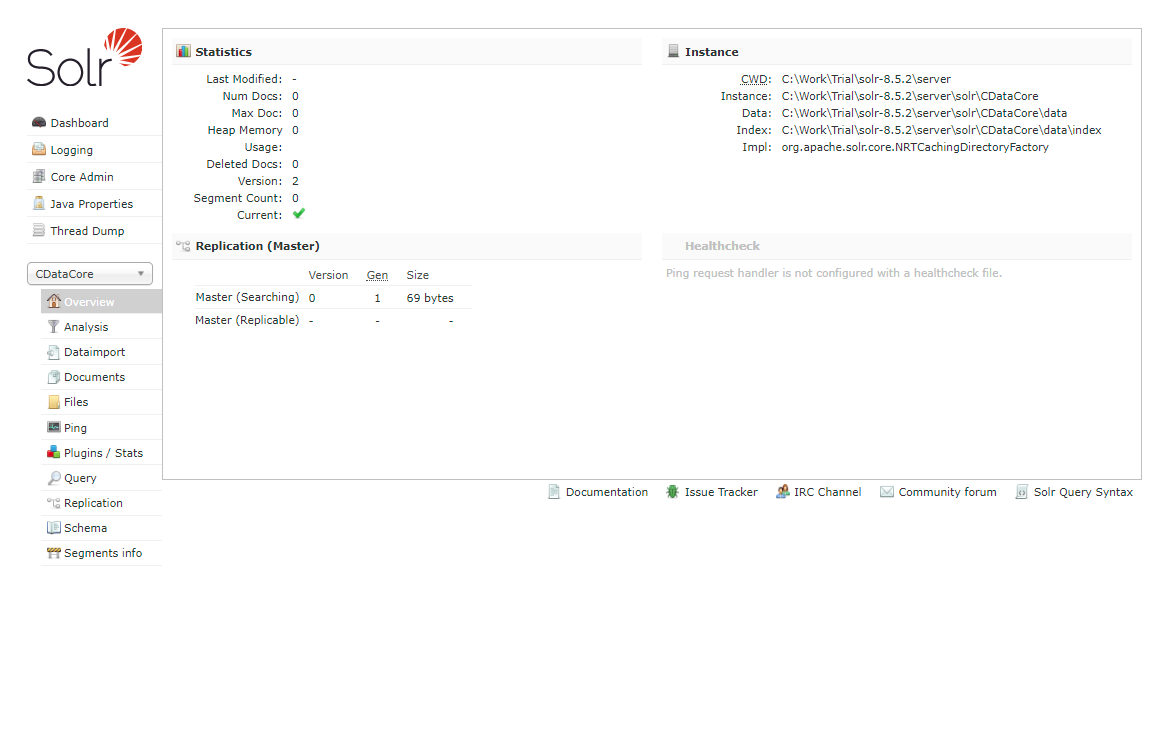
For this article, Solr is running as a standalone instance in the local environment and you can access the core at this URL: http://localhost:8983/solr/#/CDataCore/core-overview> solr create -c CDataCore - Create a schema consisting of "field" objects to represent the columns of the Clarifai data to be imported and a unique key for the entity. LastModifiedDate, if it exists in Clarifai, is used for incremental updates. If it does not exist, you cannot do the deltaquery in the later section. Save the schema in the managed-schema file created by Apache Solr.
- Install the CData Clarifai JDBC Driver. Copy the JAR and license file (cdata.api.jar and cdata.jdbc.api.lic) to the Solr directory.
- CData JDBC JAR file: C:\Program Files\CData\CData JDBC Driver for Clarifai ####\lib
- Apache Solr: solr-8.5.2\server\lib
APIUniqueKey
Now we are ready to use Clarifai data in Solr.
Define an Import of Clarifai to Apache Solr
In this section, we walk through configuring the Data Import Handler.
- Modify the Config file of the created Core. Add the JAR file reference and add the DIH RequestHander definition.
<lib dir="${solr.install.dir:../../../..}/dist/" regex="solr-dataimporthandler-.*\.jar" /> <requestHandler name="/dataimport" class="org.apache.solr.handler.dataimport.DataImportHandler"> <lst name="defaults"> <str name="config">solr-data-config.xml</str> </lst> </requestHandler> - Next, create a solr-data-config.xml at the same level. In this article, we retrieve a table from Clarifai, but you can use a custom SQL query to request data as well. The Driver Class and a sample JDBC Connection string are in the sample code below.
<dataConfig> <dataSource driver="cdata.jdbc.api.APIDriver" url="jdbc:api:Profile=C:\profiles\Clarifai.apip;AuthScheme=APIKey;ProfileSettings='APIKey=your_personal_access_token';"> </dataSource> <document> <entity name="Apps" query="SELECT Id,APIColumn1,APIColumn2,APIColumn3,APIColumn4,APIColumn5,APIColumn6,APIColumn7,LastModifiedDate FROM Apps" deltaQuery="SELECT Id FROM Apps where LastModifiedDate >= '${dataimporter.last_index_time}'" deltaImportQuery="SELECT Id,APIColumn1,APIColumn2,APIColumn3,APIColumn4,APIColumn5,APIColumn6,APIColumn7,LastModifiedDate FROM Apps where Id=${dataimporter.delta.Id}"> <field column="Id" name="Id" ></field> <field column="APIColumn1" name="APIColumn1" ></field> <field column="APIColumn2" name="APIColumn2" ></field> <field column="APIColumn3" name="APIColumn3" ></field> <field column="APIColumn4" name="APIColumn4" ></field> <field column="APIColumn5" name="APIColumn5" ></field> <field column="APIColumn6" name="APIColumn6" ></field> <field column="APIColumn7" name="APIColumn7" ></field> <field column="LastModifiedDate" name="LastModifiedDate" ></field> </entity> </document> </dataConfig> - In the query section, set the SQL query that select the data from Clarifai. deltaQuery and deltaImportquery define the ID and the conditions when using incremental updates from the second import of the same entity.
- After all settings are done, restart Solr.
	> solr stop -all
	> solr start
Run a DataImport of Clarifai Data.
- Execute DataImport from the URL below:
http://localhost:8983/solr/#/CDataCore/dataimport//dataimport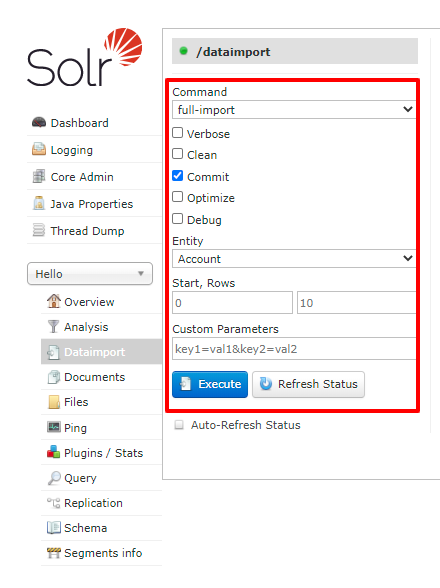
- Select the "full-import" Command, choose the table from Entity, and click "Execute."
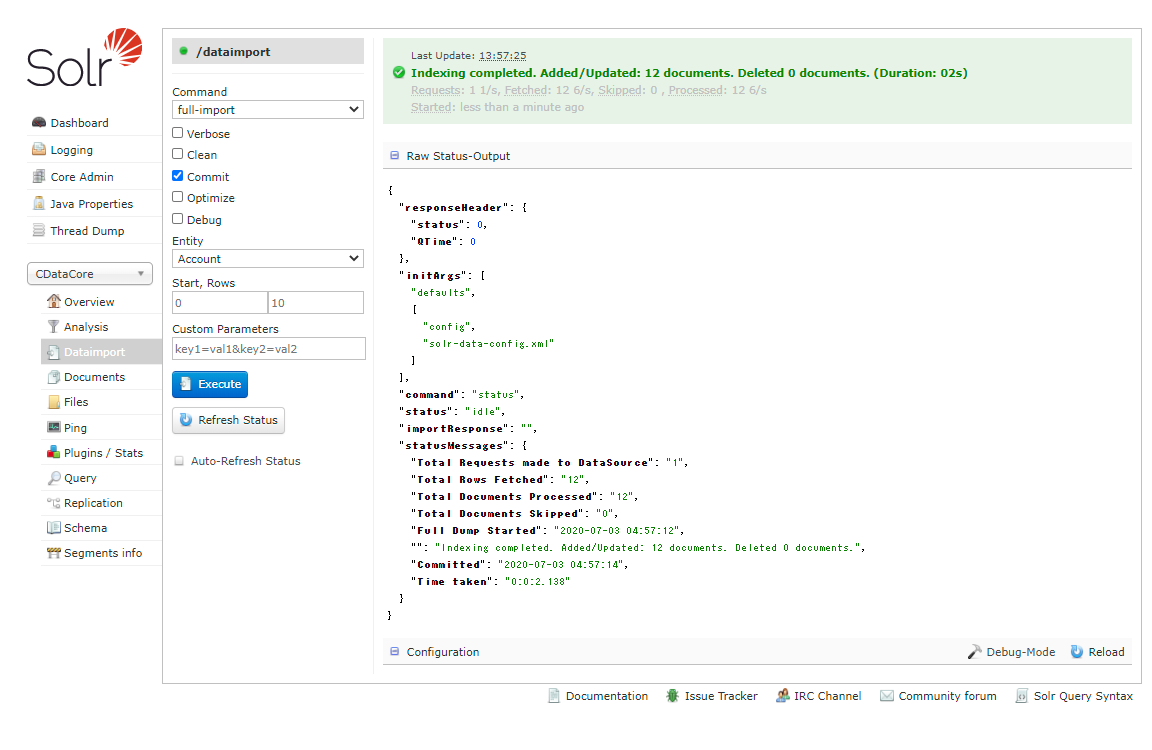
- Check the result of the import from the Query.
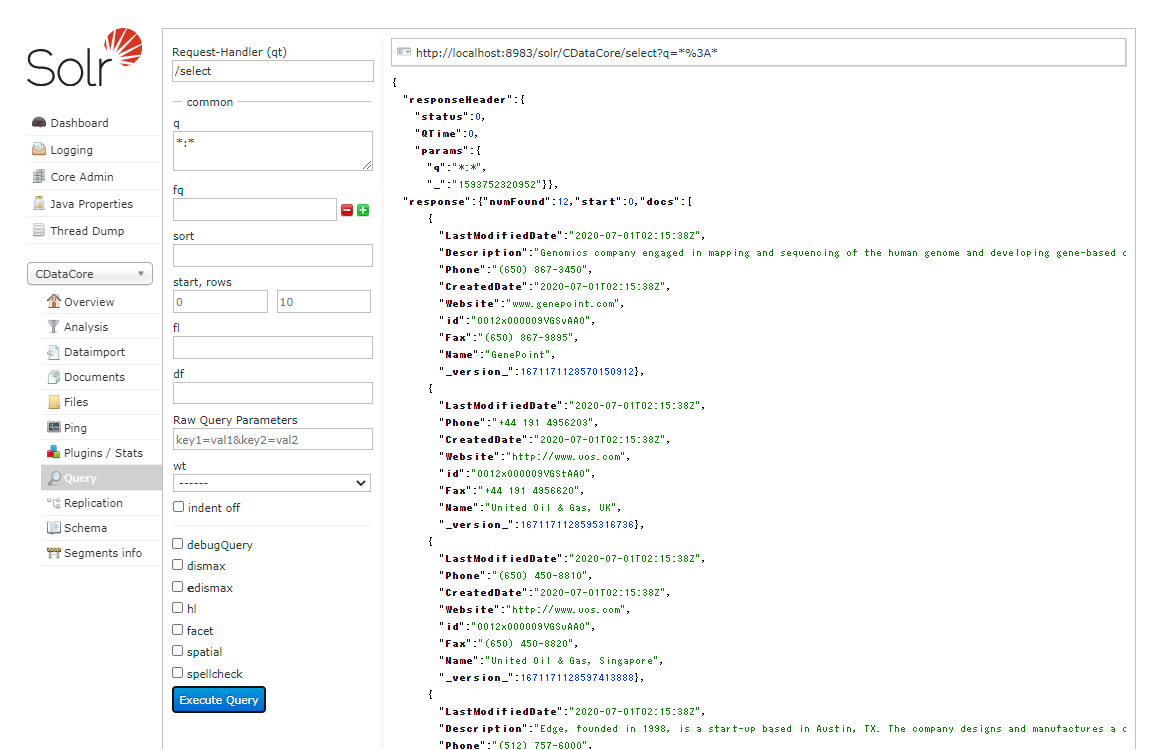
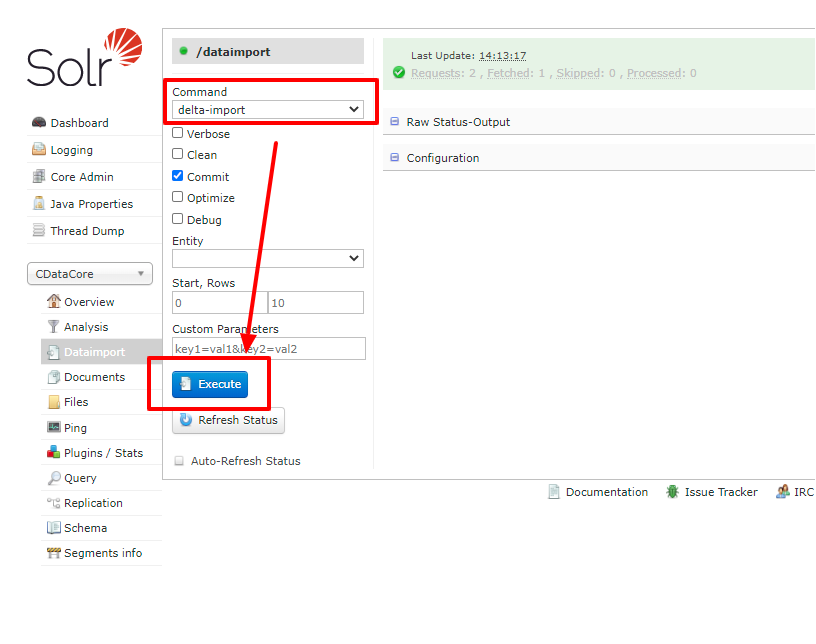
- Try an incremental update using deltaQuery. Modify some data in the original Clarifai data set. Select the "delta-import" command this time from DataImport window and click "Execute."
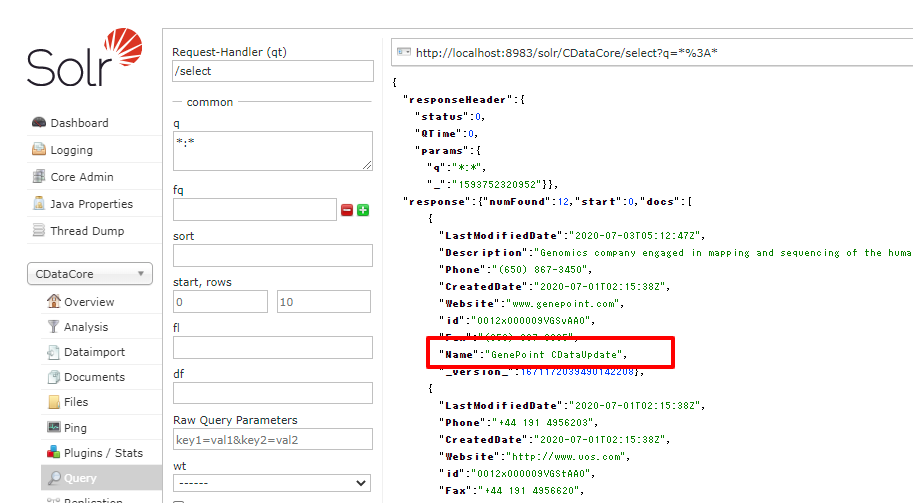
- Check the result of the incremental update.
Using the CData JDBC Driver for Clarifai you are able to create an automated import of Clarifai data into Apache Solr. Download a free, 30 day trial of any of the hundreds of CData JDBC Drivers and get started today.