Create Informatica Mappings From/To a JDBC Data Source for Clarifai

Informatica provides a powerful, elegant means of transporting and transforming your data. By utilizing the CData JDBC Driver for Clarifai, you are gaining access to a driver based on industry-proven standards that integrates seamlessly with Informatica's powerful data transportation and manipulation features. This tutorial shows how to transfer and browse Clarifai data in Informatica PowerCenter.
Deploy the Driver
To deploy the driver to the Informatica PowerCenter server, copy the CData JAR and .lic file, located in the lib subfolder in the installation directory, to the following folder: Informatica-installation-directory\services\shared\jars\thirdparty.
To work with Clarifai data in the Developer tool, you will need to copy the CData JAR and .lic file, located in the lib subfolder in the installation directory, into the following folders:
- Informatica-installation-directory\client\externaljdbcjars
- Informatica-installation-directory\externaljdbcjars
Create the JDBC Connection
Follow the steps below to connect from Informatica Developer:
- In the Connection Explorer pane, right-click your domain and click Create a Connection.
- In the New Database Connection wizard that is displayed, enter a name and Id for the connection and in the Type menu select JDBC.
- In the JDBC Driver Class Name property, enter:
cdata.jdbc.api.APIDriver - In the Connection String property, enter the JDBC URL, using the connection properties for Clarifai.
Start by setting the Profile connection property to the location of the Clarifai Profile on disk (e.g. C:\profiles\Clarifai.apip). Next, set the ProfileSettings connection property to the connection string for Clarifai (see below).
Clarifai API Profile Settings
Clarifai uses Personal Access Tokens (PATs) for authentication. To obtain a PAT:
- Log in to your Clarifai account at https://clarifai.com.
- Navigate to your profile settings and select Security.
- Click Create Personal Access Token.
- Select the required scopes and click Create Token.
- Copy the generated token (it will only be shown once).
After obtaining your Personal Access Token, set the following connection properties:
- AuthScheme: Set this to APIKey.
Set the following in the ProfileSettings connection property:
- APIKey: Set this to your Clarifai Personal Access Token (PAT).
Built-in Connection String Designer
For assistance in constructing the JDBC URL, use the connection string designer built into the Clarifai JDBC Driver. Either double-click the JAR file or execute the jar file from the command-line.
java -jar cdata.jdbc.api.jarFill in the connection properties and copy the connection string to the clipboard.

A typical connection string is below:
jdbc:api:Profile=C:\profiles\Clarifai.apip;AuthScheme=APIKey;ProfileSettings='APIKey=your_personal_access_token';
Browse Clarifai Tables
After you have added the driver JAR to the classpath and created a JDBC connection, you can now access Clarifai entities in Informatica. Follow the steps below to connect to Clarifai and browse Clarifai tables:
- Connect to your repository.
- In the Connection Explorer, right-click the connection and click Connect.
- Clear the Show Default Schema Only option.
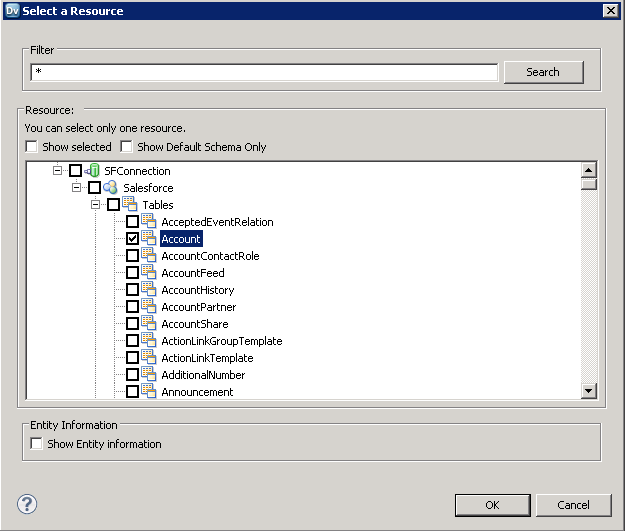
You can now browse Clarifai tables in the Data Viewer: Right-click the node for the table and then click Open. On the Data Viewer view, click Run.
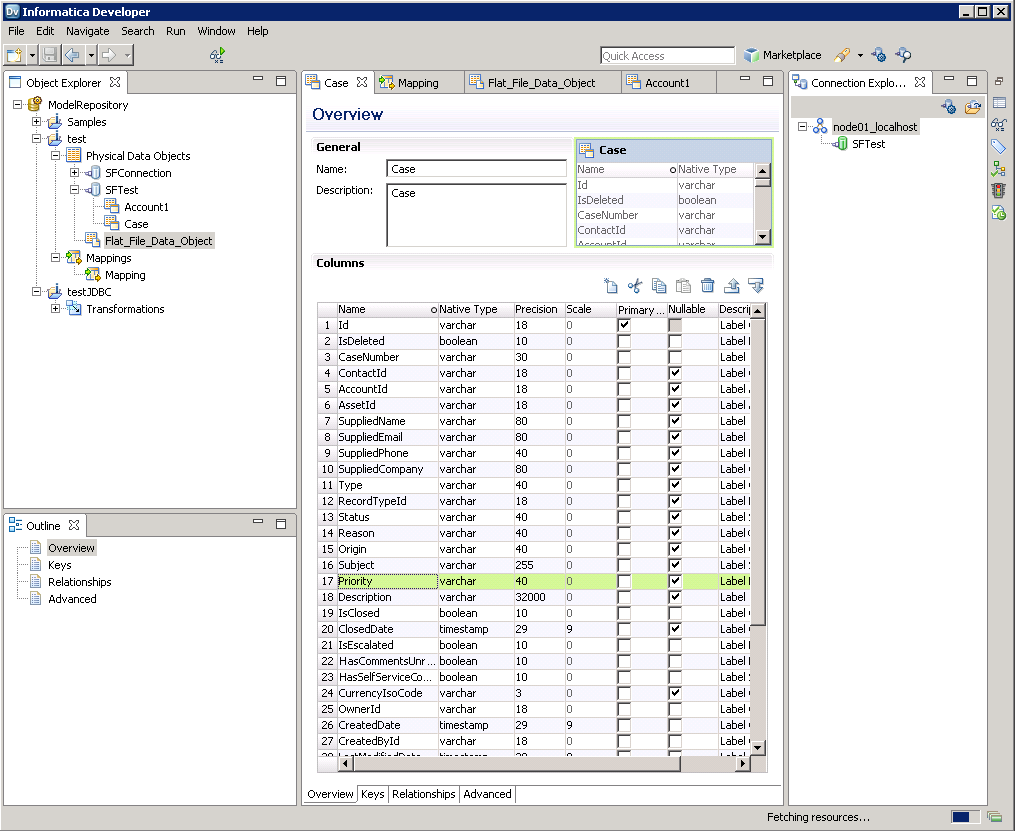
Create Clarifai Data Objects
Follow the steps below to add Clarifai tables to your project:
- Select tables in Clarifai, then right-click a table in Clarifai, and click Add to Project.
- In the resulting dialog, select the option to create a data object for each resource.
- In the Select Location dialog, select your project.
Create a Mapping
Follow the steps below to add the Clarifai source to a mapping:
- In the Object Explorer, right-click your project and then click New -> Mapping.
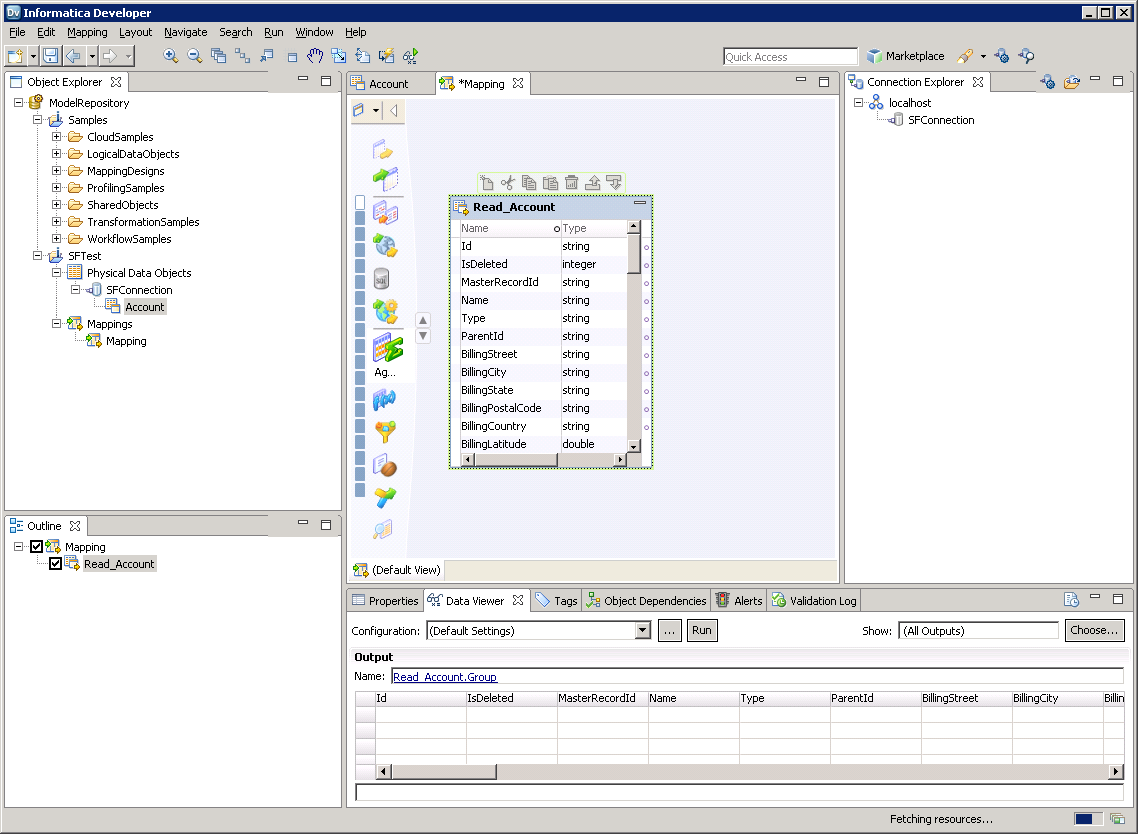
- Expand the node for the Clarifai connection and then drag the data object for the table onto the editor.
- In the dialog that appears, select the Read option.
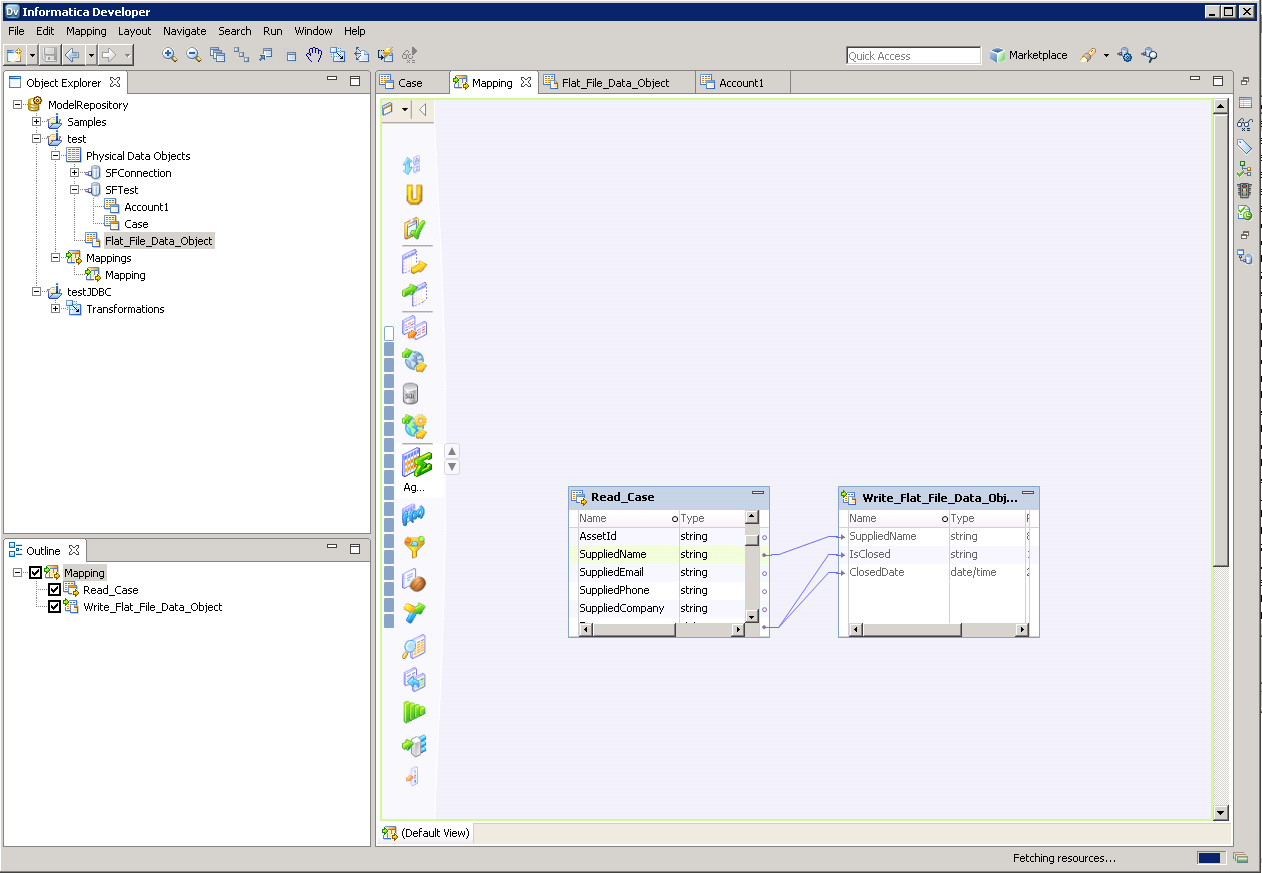
Follow the steps below to map Clarifai columns to a flat file:
- In the Object Explorer, right-click your project and then click New -> Data Object.
- Select Flat File Data Object -> Create as Empty -> Fixed Width.
- In the properties for the Clarifai object, select the rows you want, right-click, and then click copy. Paste the rows into the flat file properties.
- Drag the flat file data object onto the mapping. In the dialog that appears, select the Write option.
- Click and drag to connect columns.
To transfer Clarifai data, right-click in the workspace and then click Run Mapping.