




Visualize Clarifai Data in Sisense

Sisense lets you join, analyze, and picture data to make more intelligent business decisions and craft effective strategies. The CData API Driver for JDBC makes it easy to integrate with Clarifai data in Sisense. This article shows how to create an ElastiCube that connects to Clarifai data and use the ElastiCube to visualize Clarifai data in Sisense.
Configure the Connection to Clarifai
Before creating the ElastiCube, note the installation location for the JAR file for the JDBC Driver (typically C:\Program Files\CData\CData API Driver for JDBC 20XX\lib) or copy the jar file (cdata.jdbc.api.API.jar) to a new folder in the Sisense JDBC driver directory (typically C:\ProgramData\Sisense\DataConnectors\jdbcdrivers).
- In the Data page of the Sisense application, create a new ElastiCube (or open an existing one).
- In the Model Editor, click "+ Data" to open the Add Data dialog box.
- Click Generic JDBC to open the JDBC settings.
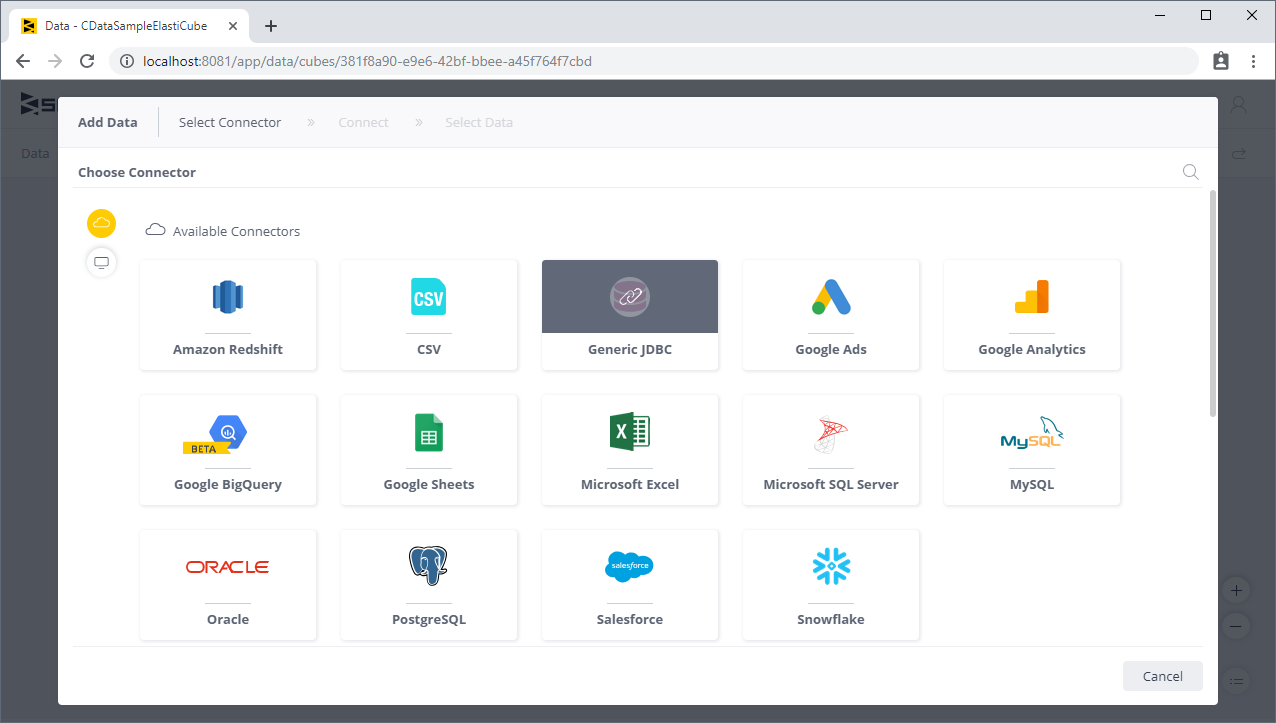
- Set the connection string property to the JDBC URL for Clarifai, adding required properties.
Start by setting the Profile connection property to the location of the Clarifai Profile on disk (e.g. C:\profiles\Clarifai.apip). Next, set the ProfileSettings connection property to the connection string for Clarifai (see below).
Clarifai API Profile Settings
Clarifai uses Personal Access Tokens (PATs) for authentication. To obtain a PAT:
- Log in to your Clarifai account at https://clarifai.com.
- Navigate to your profile settings and select Security.
- Click Create Personal Access Token.
- Select the required scopes and click Create Token.
- Copy the generated token (it will only be shown once).
After obtaining your Personal Access Token, set the following connection properties:
- AuthScheme: Set this to APIKey.
Set the following in the ProfileSettings connection property:
- APIKey: Set this to your Clarifai Personal Access Token (PAT).
Built-in Connection String Designer
For assistance in constructing the JDBC URL, use the connection string designer built into the Clarifai JDBC Driver. Either double-click the JAR file or execute the jar file from the command-line.
java -jar cdata.jdbc.api.jarFill in the connection properties and copy the connection string to the clipboard.

When you configure the JDBC URL, you may also want to set the Max Rows connection property. This will limit the number of rows returned, which is especially helpful for improving performance when designing reports and visualizations.
A typical example follows:
jdbc:api:Profile=C:\profiles\Clarifai.apip;AuthScheme=APIKey;ProfileSettings='APIKey=your_personal_access_token'; - Set the JDBC JARs folder property to the location of the CData JDBC Driver JAR file (see above).
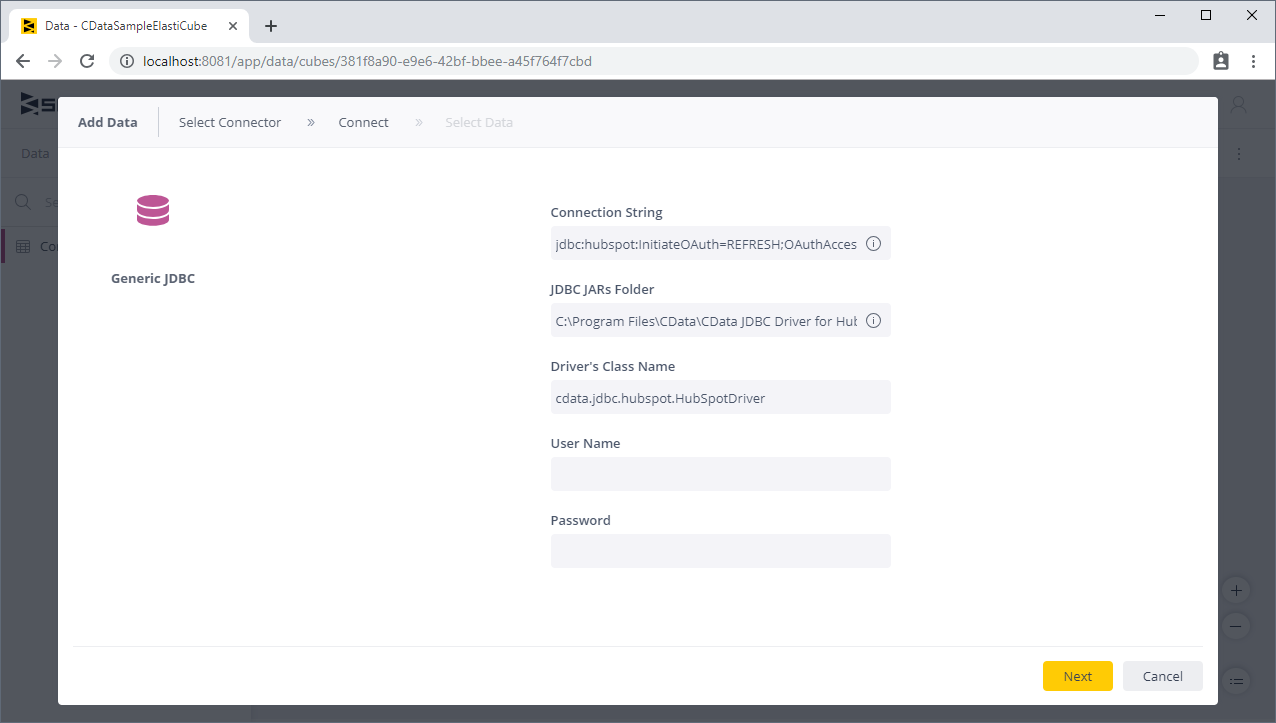
- Set the driver's class name to the class name for the JDBC Driver: cdata.jdbc.api.APIDriver
- Leave the username and password properties blank.
- Click Next.
Add Clarifai Data to an ElastiCube
Once you are connected to Clarifai, you can add views to your ElastiCubes.
- From the Tables list, select the tables and/or views you wish to work with.
- (Optional) Click "+" to customize the data you want to import with SQL.
- Click Done.
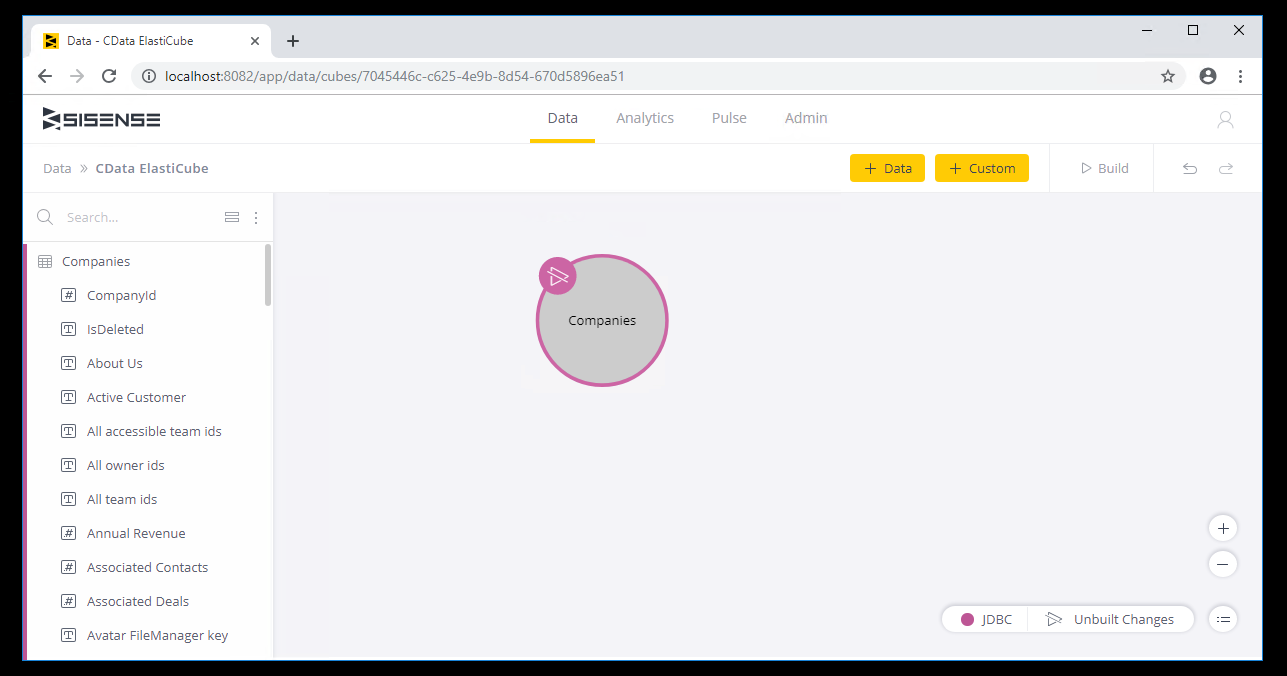
- Click Build to build the ElastiCube for analytics.
Visualize Clarifai Data
With Clarifai tables added to your ElastiCube, you can perform analytics on your Clarifai data.
- Navigate to the Analytics page of the Sisense application
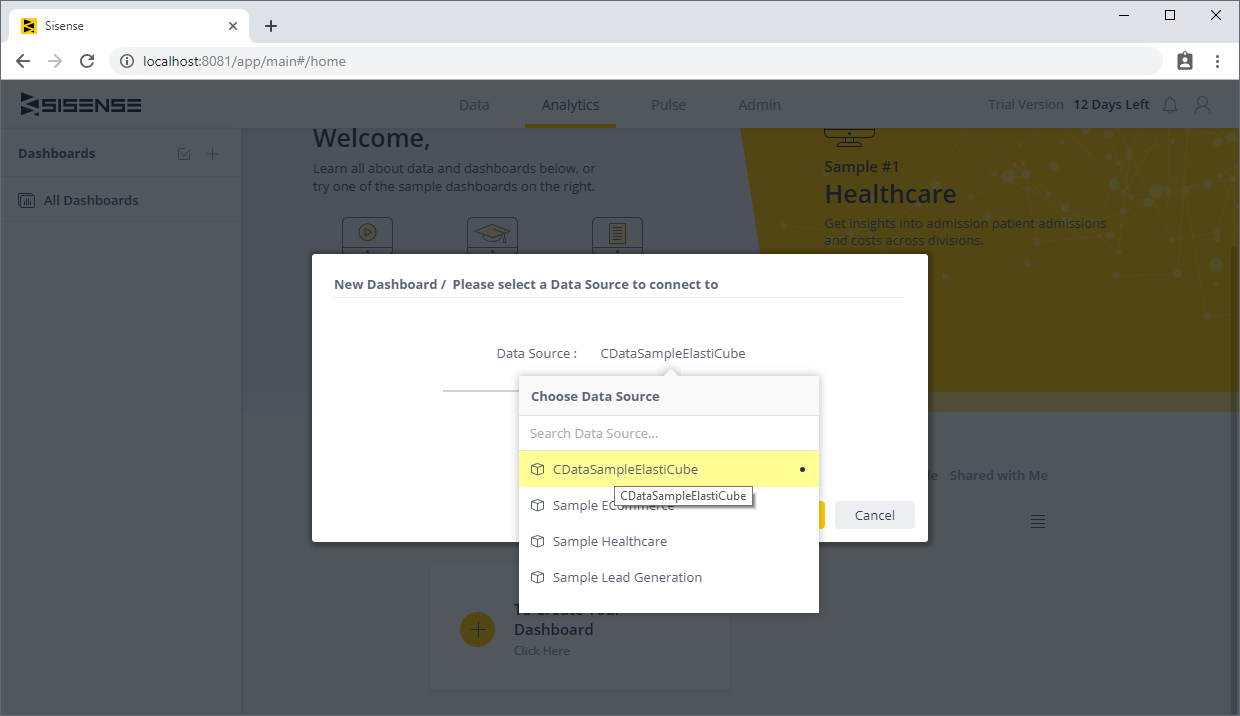
- Select a Dashboard (or create a new one)
- Select your Data Source and click Create
- Click "+ Select Data" and choose fields to add to your visualization.
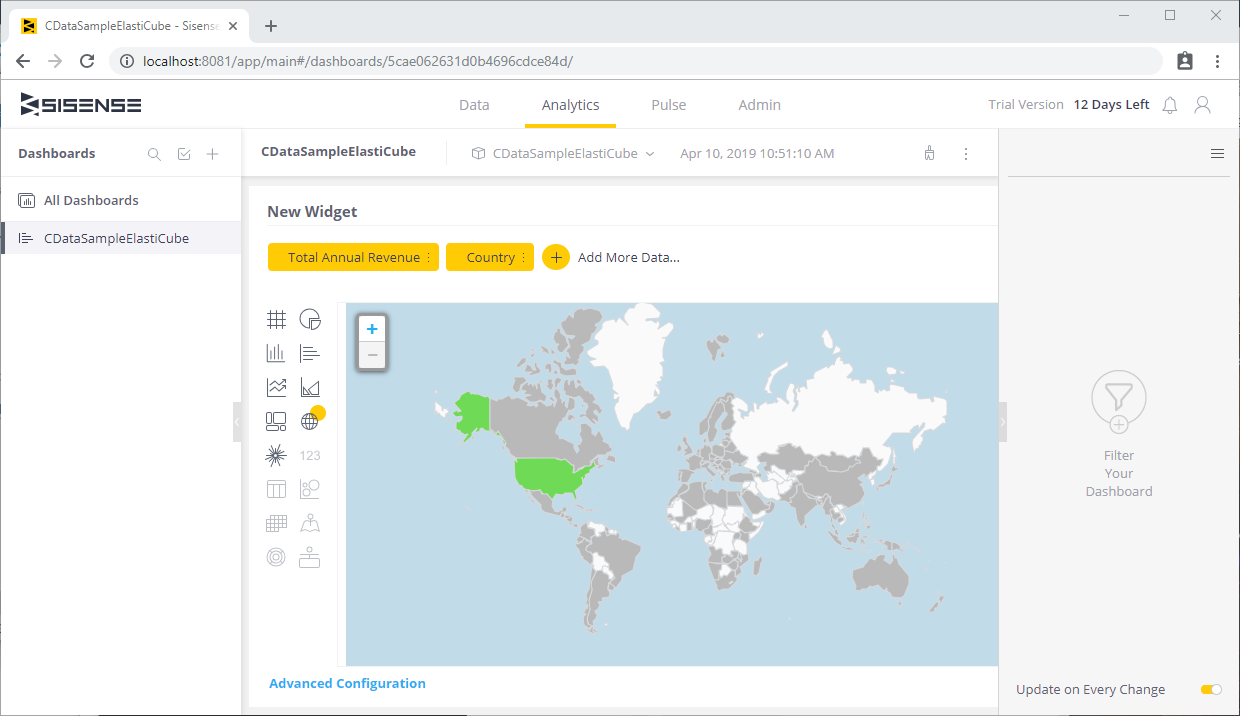
With the CData API Driver for JDBC, you can access Clarifai data right in Sisense for powerful visualization and analytics. Download a free, 30-day trial and start working with Clarifai data in Sisense today!