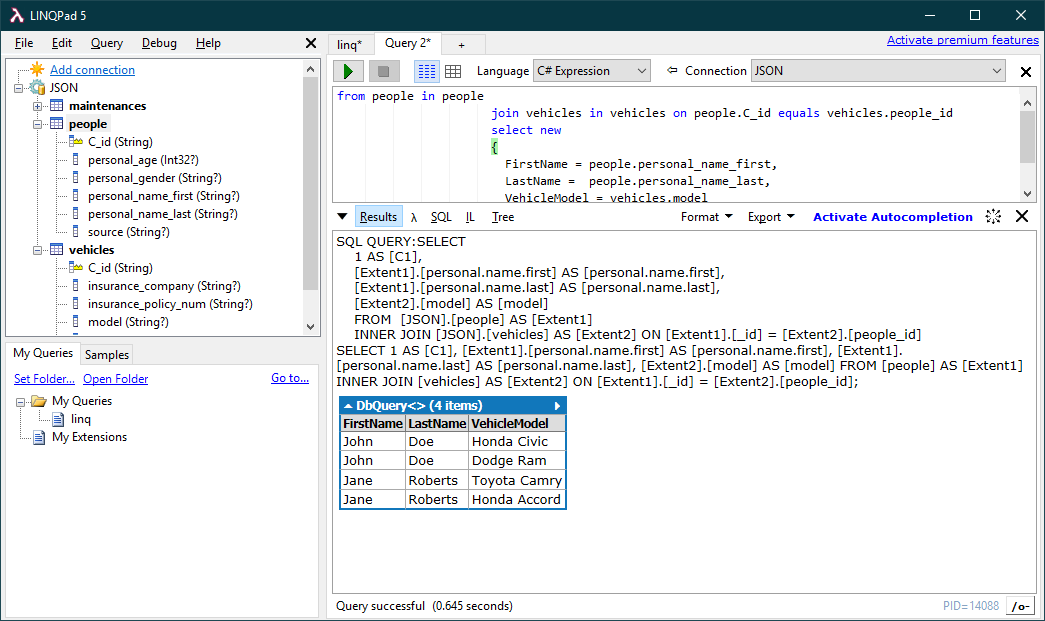
Working with CleverPush Data in LINQPad

The CData ADO.NET Provider for CleverPush enables you to use standard ADO.NET interfaces like LINQ and the Entity Framework to work with CleverPush data. This article will demonstrate the process of establishing a connection from LINQPad and executing LINQ queries.
Create the Data Model
After downloading and installing both the provider and LINQPad, create a new class library project within Visual Studio.
See the help documentation for a guide to setting up an EF 6 project to use the provider.
Right-click your project and click Add -> New Item -> ADO.NET Entity Data Model. In the resulting dialog, select Code First from database. Click New Connection and specify the connection string options in the resulting wizard.
Start by setting the Profile connection property to the location of the Cleverpush Profile on disk (e.g. C:\profiles\Cleverpush.apip). Next, set the ProfileSettings connection property to the connection string for Cleverpush (see below).
Cleverpush API Profile Settings
CleverPush uses private API keys to authenticate requests. Your API key is passed as the Authorization request header value on every API call.
You can find your private API key in the CleverPush dashboard under Settings > API. Use the private key (not the public key) for server-side access.
After setting the following connection properties, you are ready to connect:
- AuthScheme: Set this to APIKey.
- APIKey: Set this to your CleverPush private API key.
Optional Connection Properties
- ChannelId: Set this to your default CleverPush channel identifier. Most tables require a channel filter. Setting this property allows queries without specifying ChannelId in every WHERE clause.
Below is a typical connection string:
Profile=C:\profiles\Cleverpush.apip;ProfileSettings='APIKey=my_api_key';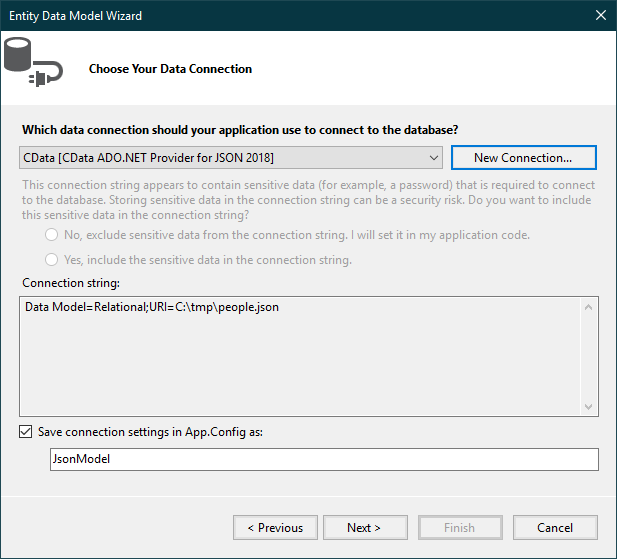
Select the desired tables and views and click Finish to create the data model.
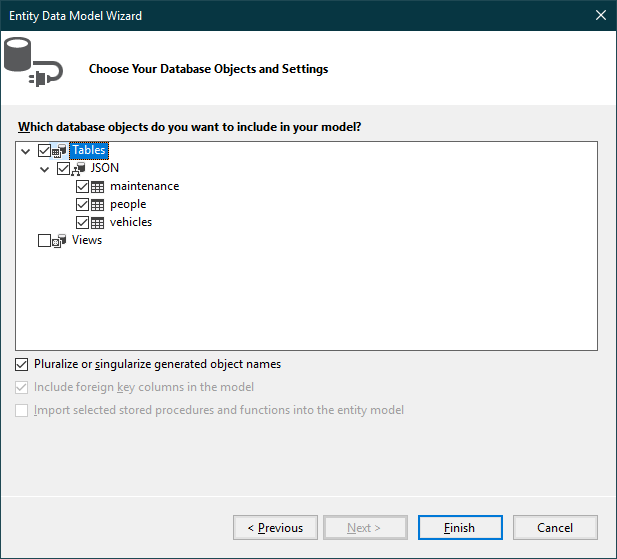
- Build the project. The generated files can be used to create the CleverPush connection in LINQPad.
Connect to CleverPush Data in LINQPad
After you have obtained the required connection properties and created the data model assembly, follow the steps below to start using the data model in LINQPad.
Open LINQPad and click Add Connection.
Select the "Use a typed data context from your own assembly" option.
Select Entity Framework DbContext.
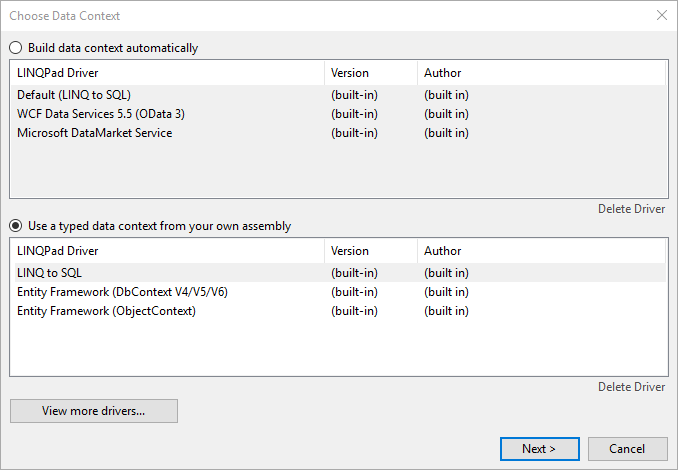
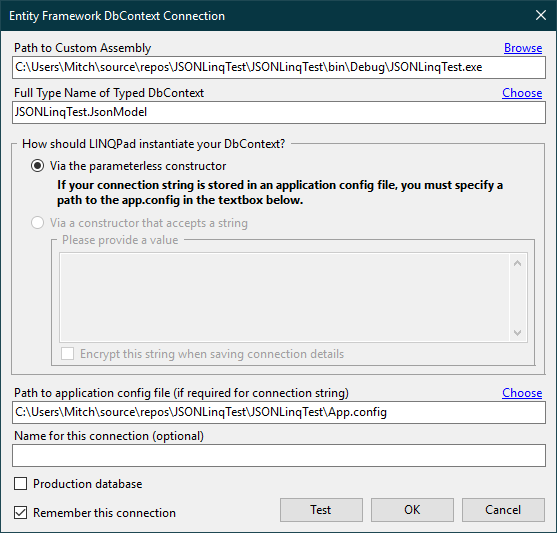
Click Browse next to the Path to Custom Assembly box and browse to your project folder. Browse to the .dll or .exe under the bin folder.
- Select the name of the DbContext.
- If you saved your connection string in App.Config, specify the path to the App.config.
You can now query CleverPush data through LINQPad. For examples of the supported LINQ queries, see the "LINQ and Entity Framework" chapter in the help documentation.