




Build Halo Service Desk-Connected Web Apps in Servoy

Servoy is a rapid application development and deployment platform. When paired with the CData API Driver for JDBC, users can build Halo Service Desk-connected apps that work with live Halo Service Desk data. This article describes how to connect to Halo Service Desk from Servoy and build a simple web app to display and search Halo Service Desk data.
With built-in optimized data processing, the CData JDBC Driver offers unmatched performance for interacting with live Halo Service Desk data. When you issue complex SQL queries to Halo Service Desk, the driver pushes supported SQL operations, like filters and aggregations, directly to Halo Service Desk and utilizes the embedded SQL engine to process unsupported operations client-side (often SQL functions and JOIN operations). Its built-in dynamic metadata querying lets you work with Halo Service Desk data using native data types.
Connect to Halo Service Desk in Servoy Developer
To build Halo Service Desk-connected apps, you need to first create a data provider in Servoy Developer using the CData API Driver for JDBC.
- Install the JDBC Driver.
- Copy the JDBC Driver JAR file. (cdata.jdbc.api.jar) to the /application_server/drivers/ directory in the installation directory for Servoy.
- Open Servoy Developer.
- In the Solution Explorer, right-click Database Server (under Resources) and choose "Connect to existing database" -> "empty."
- Name the server.
- Click to show the advanced server settings.
Set the URL, for example: jdbc:api:Profile=C:\profiles\HaloServiceDesk.apip;AuthScheme=APIKey;ProfileSettings='APIKey=your_api_key;Domain=yourcompany.haloservicedesk.com';
Built-In Connection String Designer
For assistance in constructing the JDBC URL, use the connection string designer built into the Halo Service Desk JDBC Driver. Either double-click the JAR file or execute the jar file from the command-line.
java -jar cdata.jdbc.api.jarFill in the connection properties and copy the connection string to the clipboard.
Start by setting the Profile connection property to the location of the HaloServiceDesk Profile on disk (e.g. C:\profiles\HaloServiceDesk.apip). Next, set the ProfileSettings connection property to the connection string for HaloServiceDesk (see below).
HaloServiceDesk API Profile Settings
HaloServiceDesk uses API key authentication. You can find or create API keys in HaloServiceDesk under Administration > Integrations > Halo API.
Set the following connection properties to connect:
- AuthScheme: Set this to APIKey.
- APIKey: Set this to the API key from your HaloServiceDesk account.
- Domain: Set this to the hostname of your HaloServiceDesk instance (e.g. yourcompany.haloservicedesk.com).

- Select the Driver class you just copied, for example, cdata.jdbc.api.APIDriver
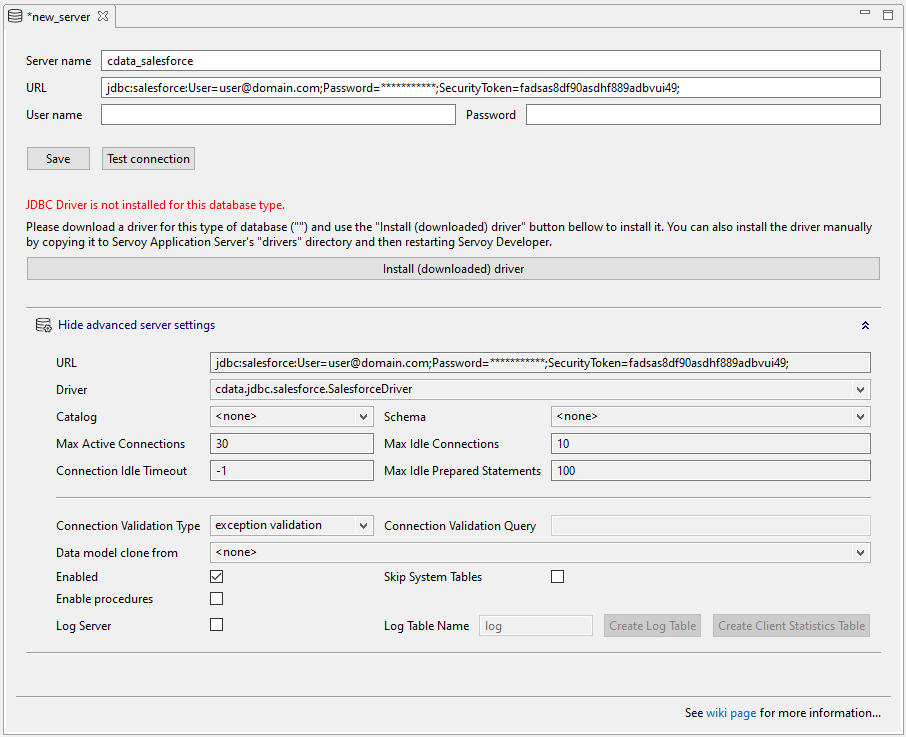
Build a Halo Service Desk-Connected Web App
Once you have configured the connection to Halo Service Desk in the Servoy Developer resources, you are ready to build apps with access to live Halo Service Desk data.
Create a New Solution
- In the Server Explorer, right-click "All solutions" and select "Create new solution."
- Name the solution.
- Select the checkbox to include the "search" module.
- Click "Finish."
Create a New Form
Right-click "Forms" and select "Create new form."
- Name the form.
- Select a Datasource.
- Set the type (e.g., Simple) and click "Finish."
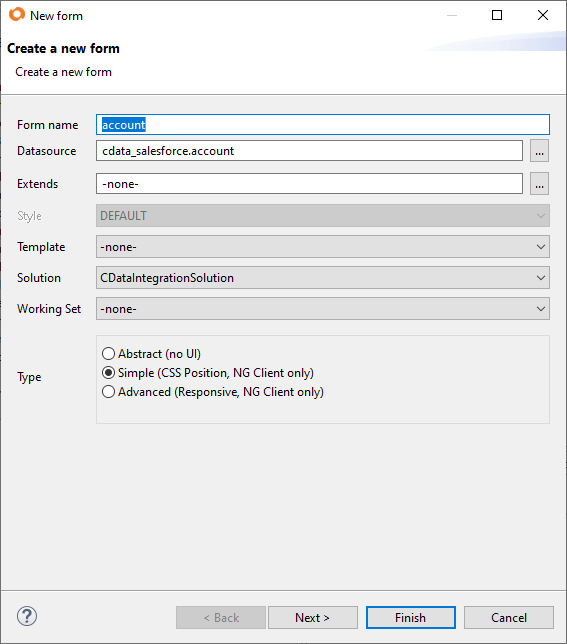
Add a Data Grid to the Form
- Drag a Data Grid component (from Servoy NG-Grids) onto the form.
Drag a column component onto the Data Grid and set the "dataprovider" property for each column component to a column from the Halo Service Desk "table" (e.g., Id from the Assets table).
Continue adding columns as desired.
Add Searching to the App
Note that the "svySearch" extension is required to add search functionality (included by default when you create a new solution). If you did not add the extension when you created the solution or you are modifying an existing solution, you can add the search module by right-clicking Modules (in the solution) and selecting "Add Module." Select "svySearch" and click "OK."
- Drag a Text Field component onto the Form.
- Right-click the Form and select "Open in Script Editor."
- Create a new variable (JavaScript) to hold the search value:
var searchText = '';
- Back on the Form, in the Text Field properties:
- Set the "dataprovider" property to the Form variable you just created.
- Double-click to add a method for the onAction event.
- Click to create the method in "Form," name the method (e.g., onEnter), and click "Create private."
- Click "OK & Show."
- Add the following JavaScript to the JavaScript file to use the Servoy framework to implement searching bound data based on the text in the Text Field:
var search = scopes.svySearch.createSimpleSearch(foundset).setSearchText(searchText);
search.setSearchAllColumns();
search.loadRecords(foundset);
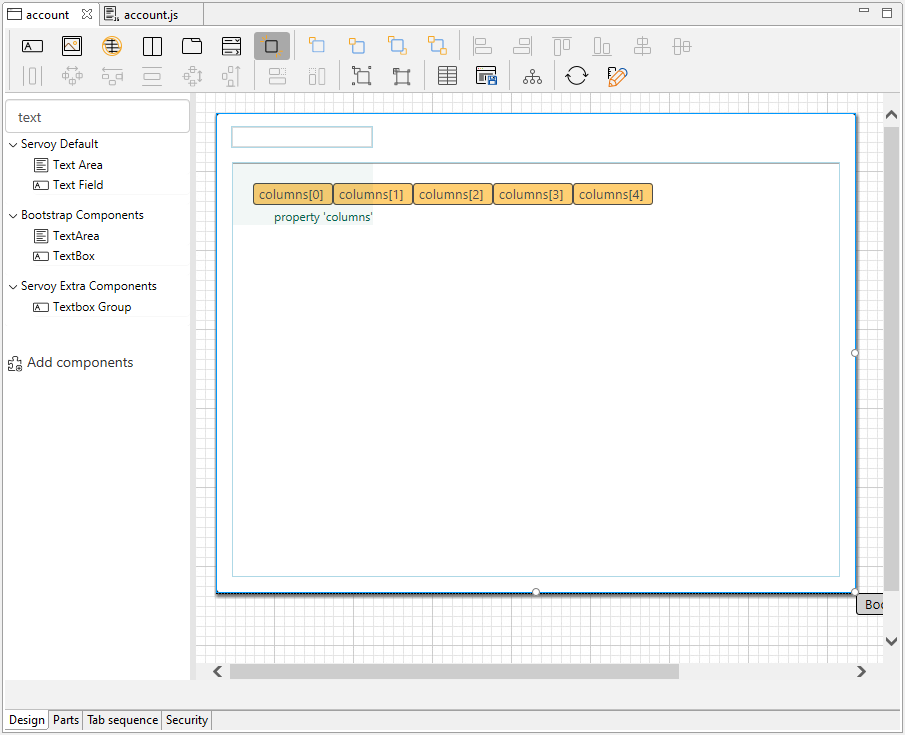
Save and Launch the App
Save the form and JavaScript file, then click Run -> Launch NGClient to start the web app.
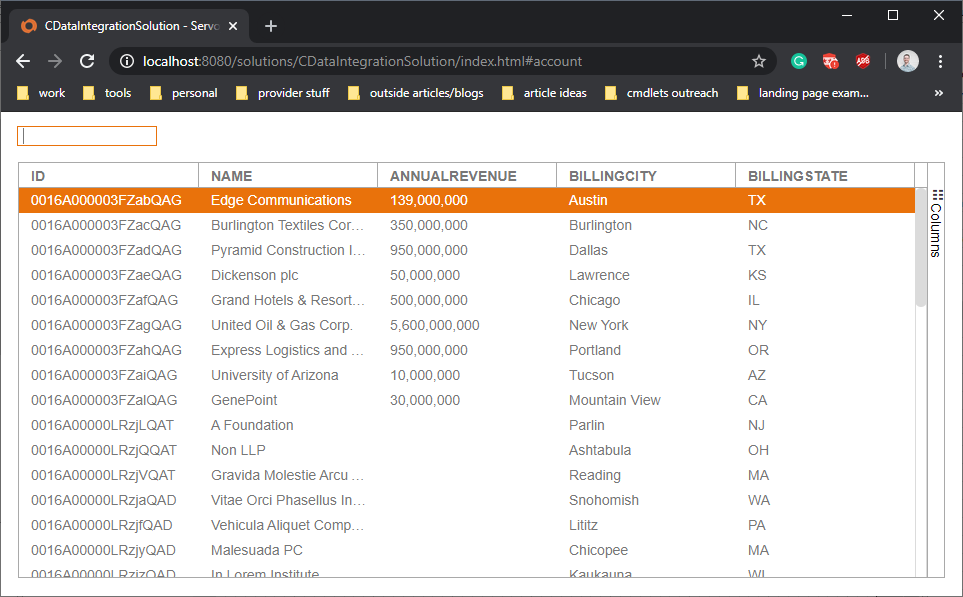
Download a free, 30-day trial of the CData API Driver for JDBC and start building Halo Service Desk-connected apps with Servoy. Reach out to our Support Team if you have any questions.