Build Data Flows from Halo Service Desk to SQL Server using SSIS

Using SQL Server as a backup for critical business data provides an essential safety net against loss. Backing up data to SQL Server enables business users to more easily connect that data with features like reporting, analytics, and more.
This example demonstrates how to use the CData SSIS Tasks for Halo Service Desk inside of a SQL Server SSIS workflow to transfer Halo Service Desk data into a Microsoft SQL Server database.
Add the Components
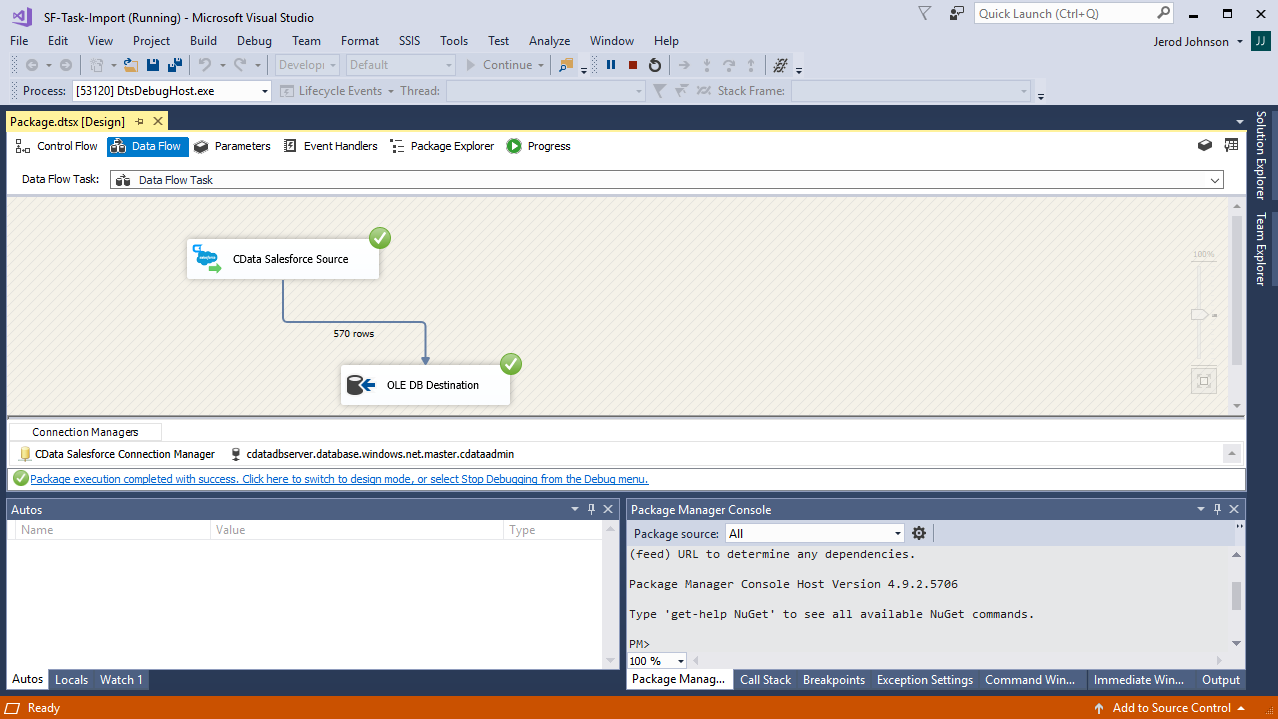
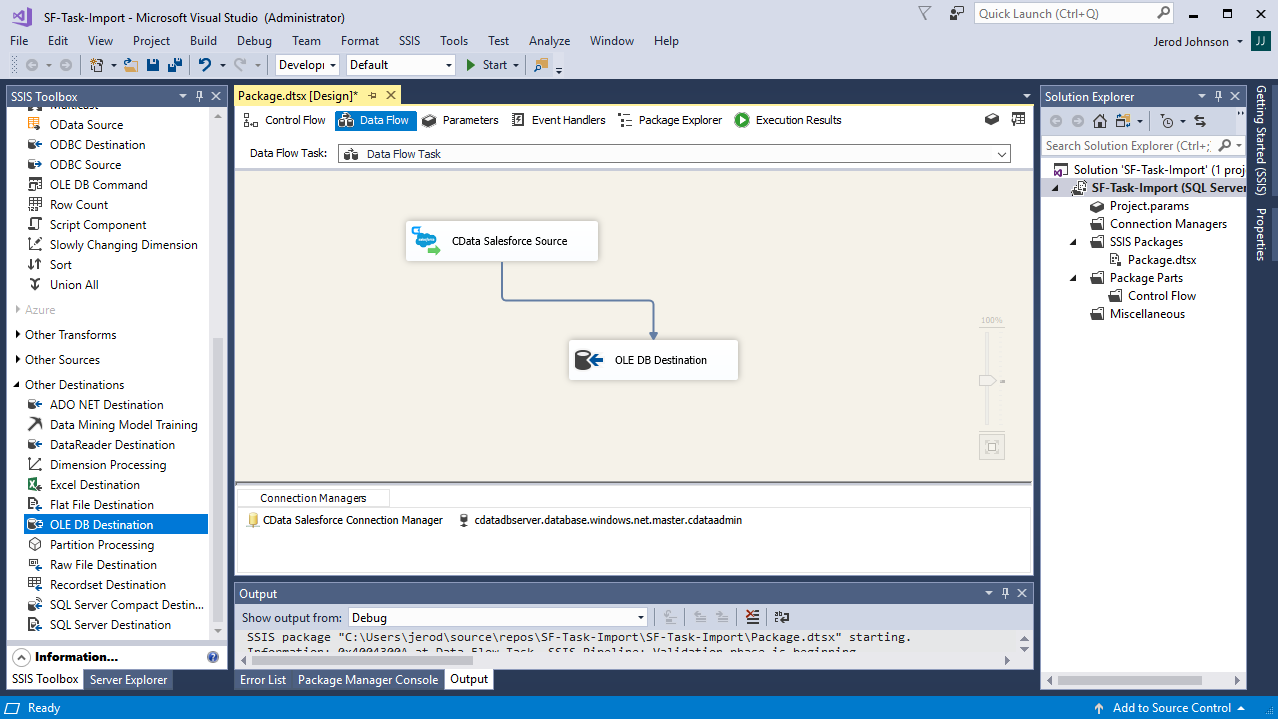
To get started, add a new Halo Service Desk source and SQL Server ADO.NET destination to a new data flow task.
Create a New Connection Manager
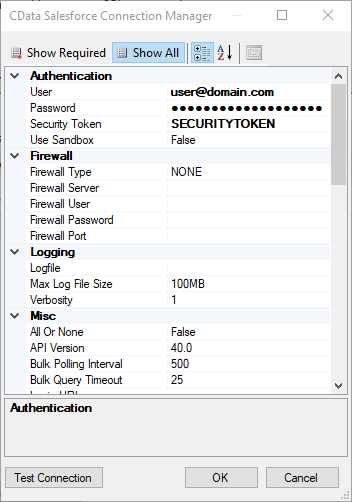
Follow the steps below to save Halo Service Desk connection properties in a connection manager.
- In the Connection Manager window, right-click and then click New Connection. The Add SSIS Connection Manager dialog is displayed.
- In the Connection Manager type menu, select API. The CData Halo Service Desk Connection Manager is displayed.
- Configure connection properties.
Start by setting the Profile connection property to the location of the HaloServiceDesk Profile on disk (e.g. C:\profiles\HaloServiceDesk.apip). Next, set the ProfileSettings connection property to the connection string for HaloServiceDesk (see below).
HaloServiceDesk API Profile Settings
HaloServiceDesk uses API key authentication. You can find or create API keys in HaloServiceDesk under Administration > Integrations > Halo API.
Set the following connection properties to connect:
- AuthScheme: Set this to APIKey.
- APIKey: Set this to the API key from your HaloServiceDesk account.
- Domain: Set this to the hostname of your HaloServiceDesk instance (e.g. yourcompany.haloservicedesk.com).
Configure the Halo Service Desk Source
Follow the steps below to specify the query to be used to extract Halo Service Desk data.
- Double-click the Halo Service Desk source to open the source component editor.
- In the Connection Manager menu, select the connection manager previously created.
- Specify the query to use for the data extraction. For example:
SELECT Id, InventoryNumber FROM Assets WHERE ClientId = '1'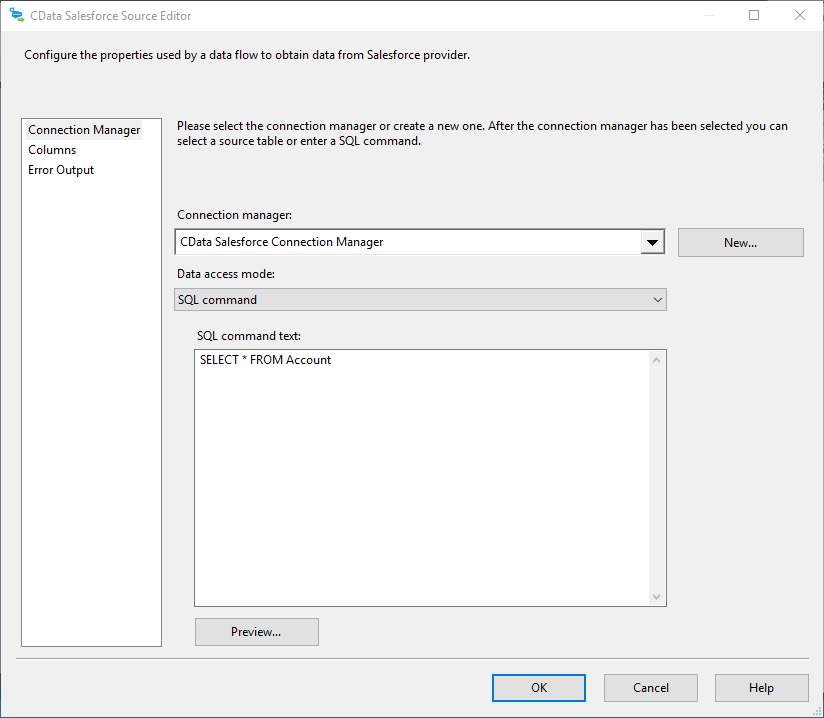
- Close the Halo Service Desk Source control and connect it to the ADO.NET Destination.
Configure the SQL Server Destination
Follow the steps below to specify the SQL server table to load the Halo Service Desk data into.
- Open the ADO.NET Destination and add a New Connection. Enter your server and database information here.
- In the Data access mode menu, select "table or view".
- In the Table Or View menu, select the table or view to populate.
- Configure any properties you wish to on the Mappings screen.
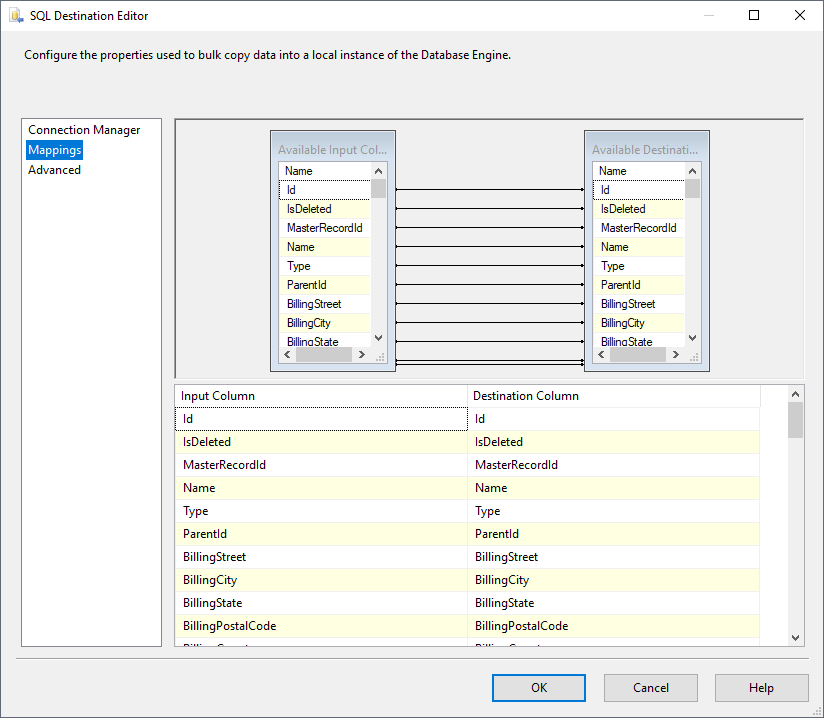
Run the Project
You can now run the project. After the SSIS Task has finished executing, your database will be populated with Halo Service Desk data.