




Integrate Cursor with Live JD Edwards Data via CData Connect AI

Cursor is an AI-powered code editor that embeds conversational and agent-style assistance alongside your development workflow. By extending Cursor with MCP (Model Context Protocol) tools, you can give its AI agents secure access to external systems such as APIs and databases.
Integrating Cursor with CData Connect AI via the built-in MCP server allows the editor's AI to query, analyze, and act on live JD Edwards data without copying data into the IDE. The result is a development experience where you can chat with your governed enterprise data directly from Cursor.
This article outlines how to configure JD Edwards connectivity in Connect AI, generate the required access token, register Connect AI's MCP Server in Cursor, and then use the AI chat pane to explore live JD Edwards data.
Step 1: Configure JD Edwards connectivity for Cursor
Connectivity to JD Edwards from Cursor is made possible through CData Connect AI's Remote MCP Server. To interact with JD Edwards data from Cursor, start by creating and configuring a JD Edwards connection in CData Connect AI.
- Log into Connect AI, click Sources, and then click Add Connection
- Select JD Edwards from the Add Connection panel
-
Enter the necessary authentication properties to connect to JD Edwards.
The driver connects to JD Edwards through your Application Interface Services (AIS) Server. Set the following connection properties:
- URL: The base HTTPS URL of your AIS Server (e.g., https://jde-ais.example.com:8300).
- User: Your JD Edwards username.
- Password: Your JD Edwards password.
- Environment (optional): The JD Edwards environment to use (e.g., PD920 for production or DV920 for development). If not specified, the AIS Server's default environment is used.
- Role (optional): The JD Edwards role for the session. If not specified, the AIS Server's default role is used.
- DeviceName (optional): An identifier for the connecting device or application, used for auditing and logging on the AIS Server.
- Jasserver (optional): The specific Java Application Server (JAS) instance to route requests through, useful in clustered environments.
Choosing Which Data Is Exposed
JD Edwards organizes tables and business views by System Code, and the driver exposes each System Code as its own schema. Use these properties to control which schemas are available:
- DataModel: One or more ERP modules (comma-separated) whose System Codes are exposed as schemas, or All to expose every System Code in the connected instance. Defaults to FinancialManagement.
- SystemCodes: A comma-separated list of additional System Codes to expose alongside those from DataModel (e.g., 42,43).
When you connect, the driver sends your credentials to the AIS Server to obtain a session token and caches it. The driver requests a new token automatically before the session expires.

- Click Save & Test
- Navigate to the Permissions tab and update user-based permissions



Add a Personal Access Token
A Personal Access Token (PAT) is used to authenticate the connection to Connect AI from Cursor. It is best practice to create a separate PAT for each integration to maintain granular access control.
- Click the gear icon () at the top right of the Connect AI app to open Settings
- On the Settings page, go to the Access Tokens section and click Create PAT
- Give the PAT a descriptive name and click Create
- The personal access token is only visible at creation, so be sure to copy it and store it securely for future use

With the JD Edwards connection configured and a PAT generated, Cursor can now connect to JD Edwards data through Connect AI.
Step 2: Configure Connect AI in Cursor
Next, configure Cursor to use Connect AI. Cursor reads MCP configuration from an mcp.json file in the user configuration directory and exposes the registered servers under the Tools & MCP settings. Once configured, Cursor's AI chat can call the tools exposed by CData Connect AI.
- Download the Cursor desktop application and complete the sign-up flow for your account
-
From the top menu, click Settings to open the settings panel
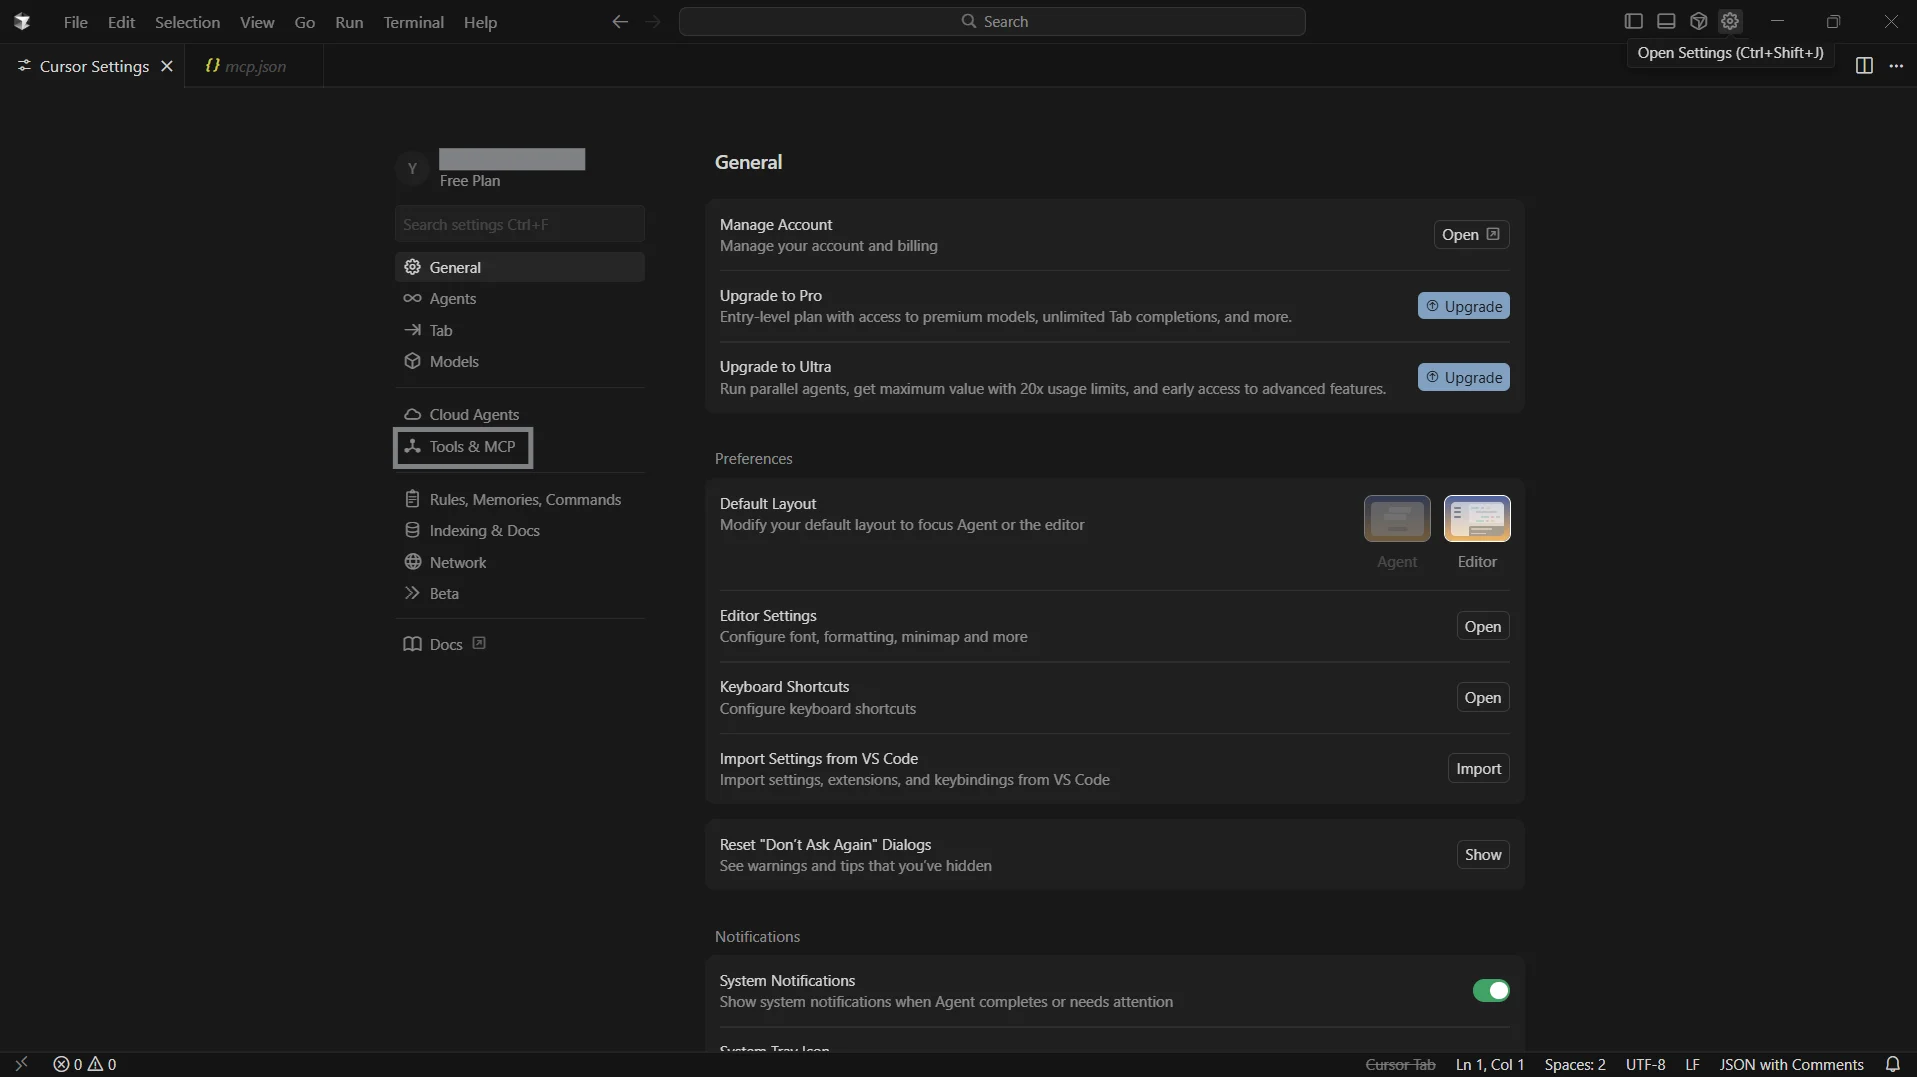
-
In the left navigation, open the Tools & MCP tab and click Add Custom MCP
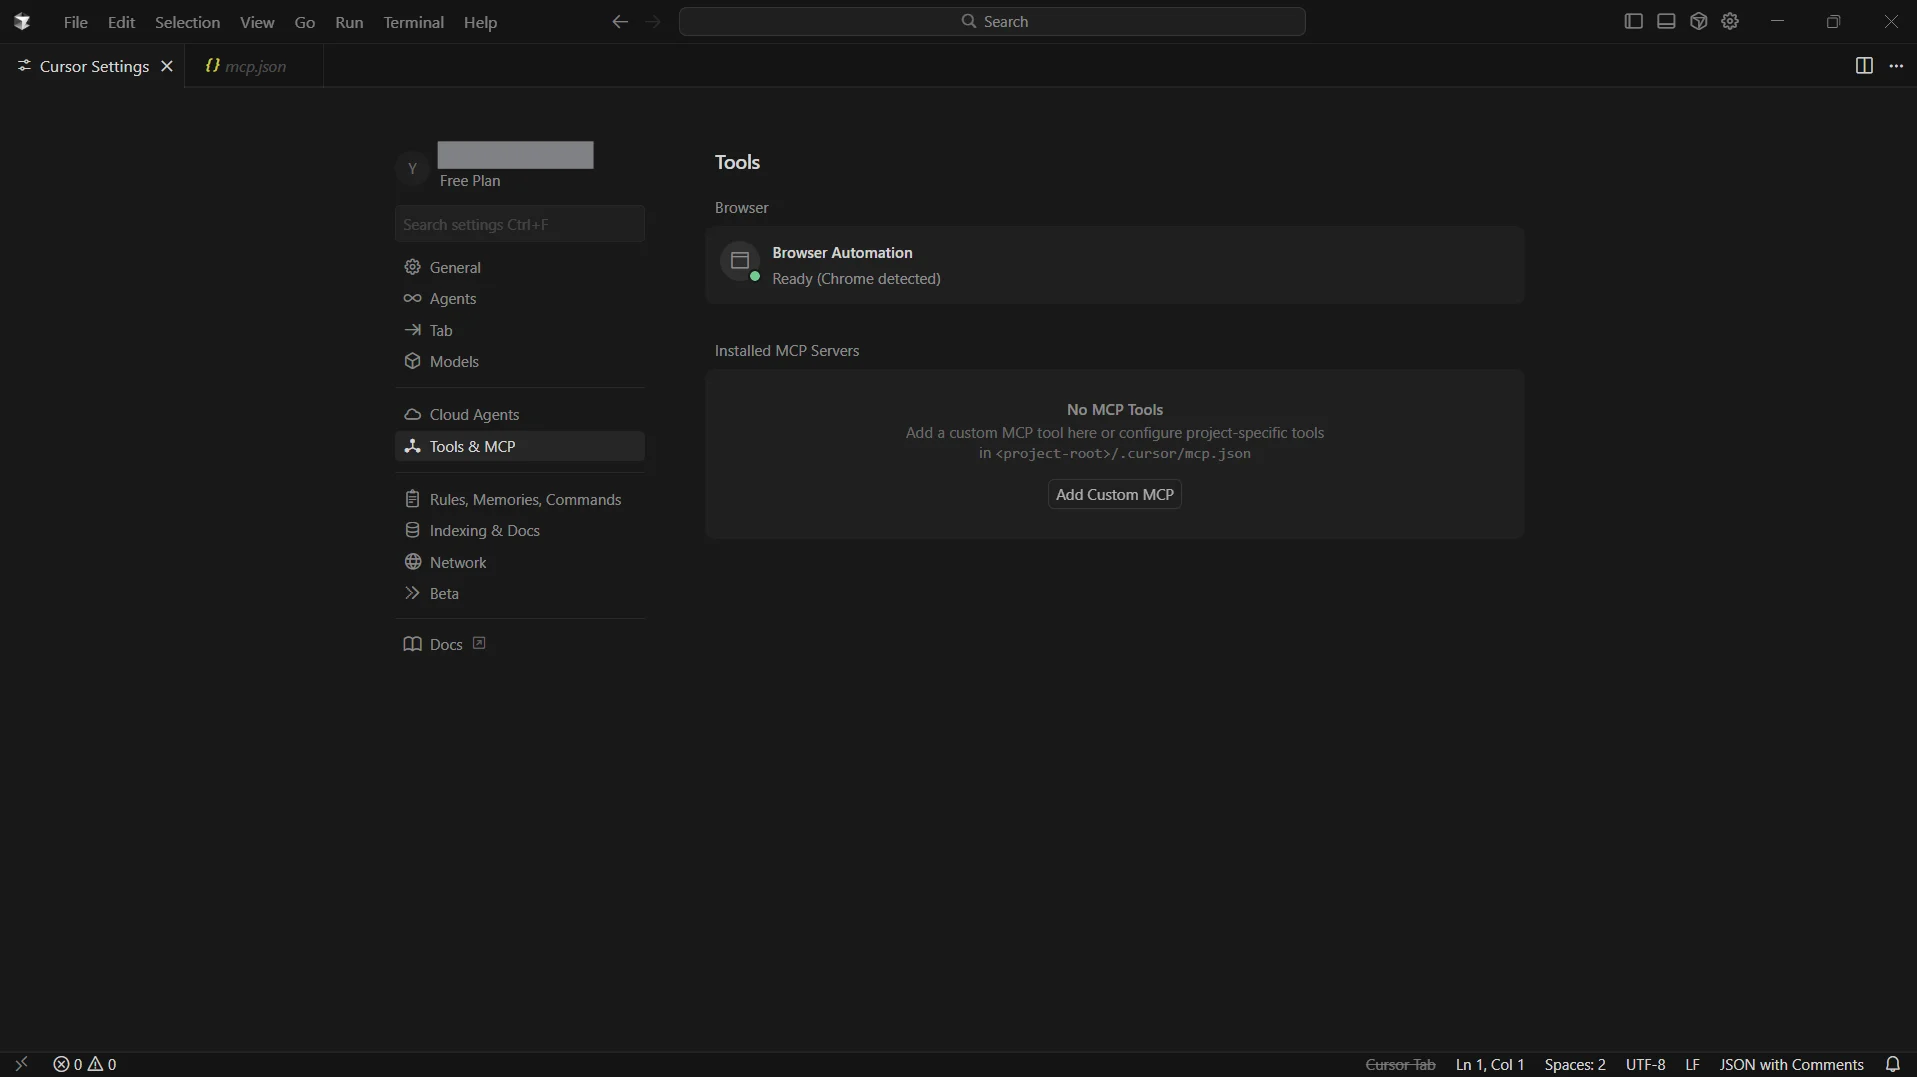
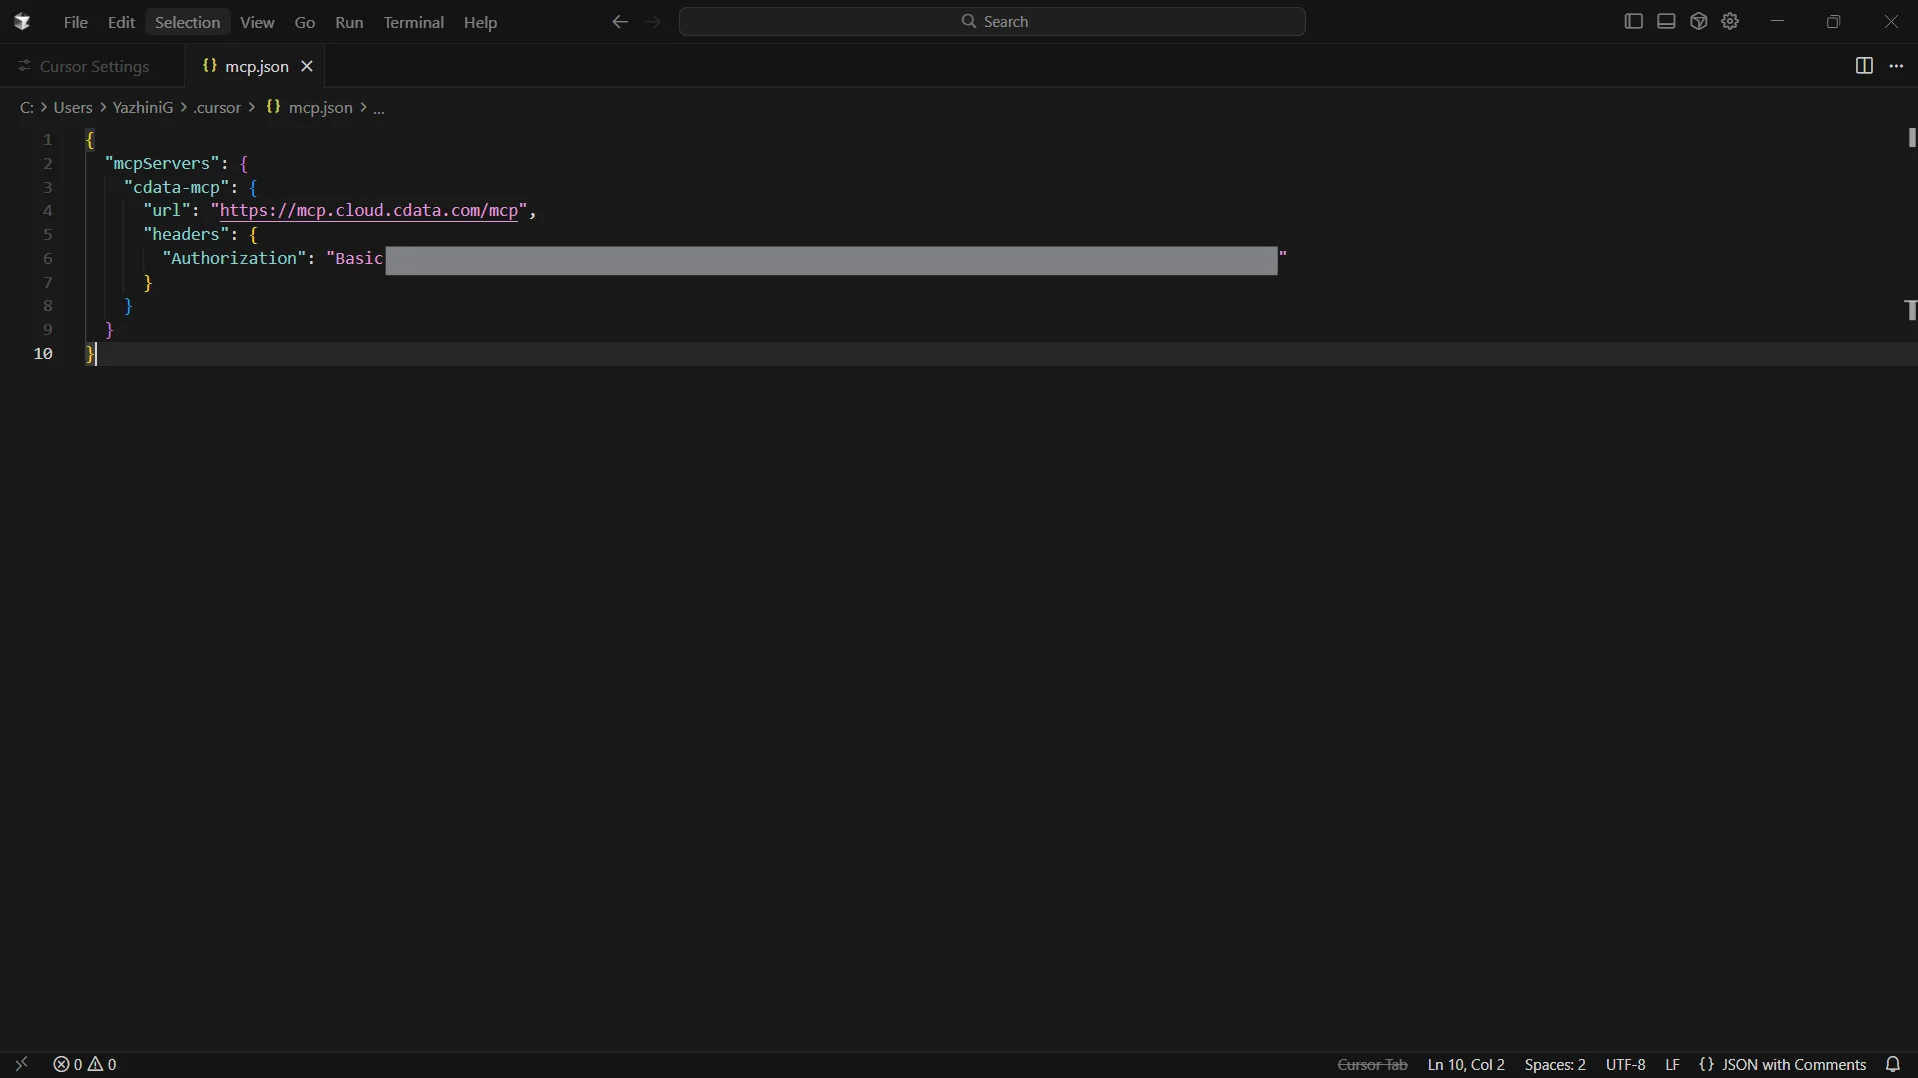
- Cursor opens an mcp.json file in the editor
-
Add the following configuration. Make sure to base64-encode your email:PAT before inserting into the header:
{
  "mcpServers": {
    "cdata-mcp": {
      "url": "https://mcp.cloud.cdata.com/mcp",
      "headers": {
        "Authorization": "Basic your_base64_encoded_email_PAT"
      }
    }
  }
}
- Save the file
-
Return to Settings and then select Tools & MCP. You can now see cdata-mcp enabled with an active indicator
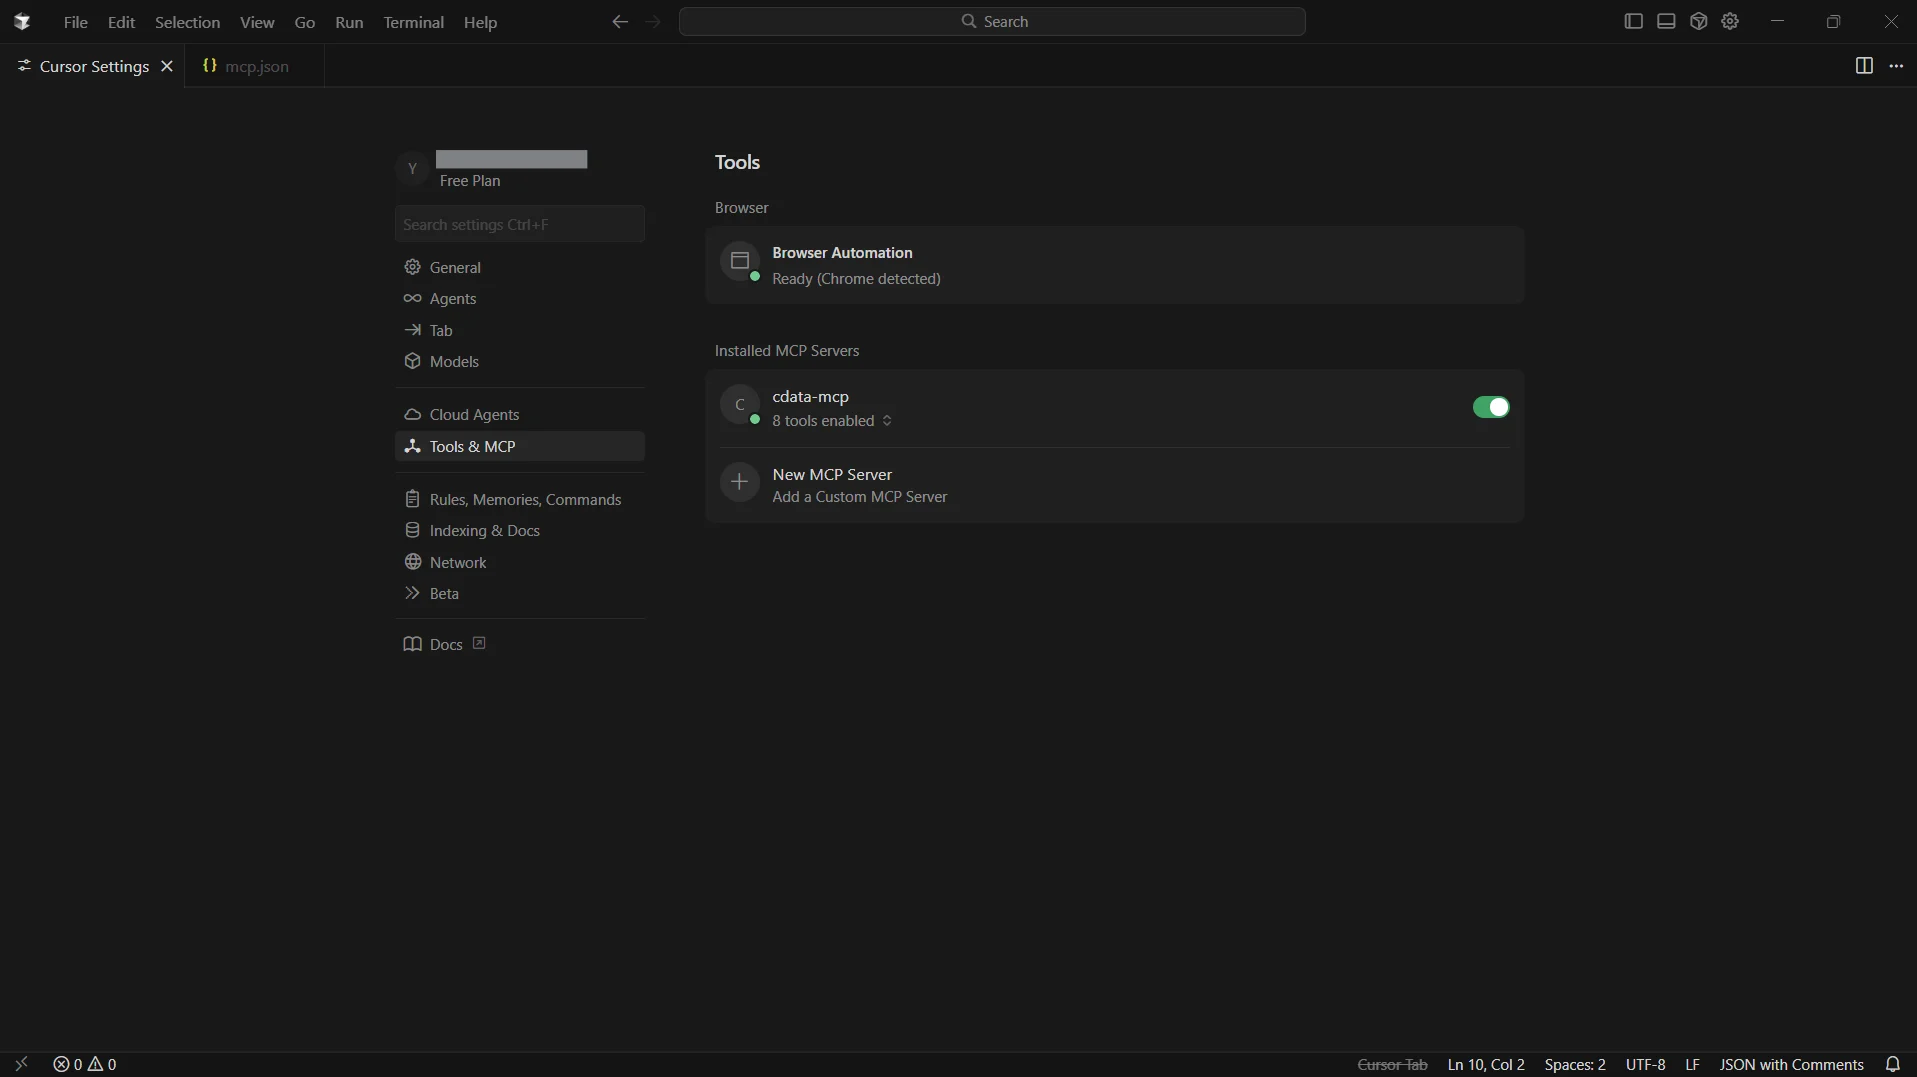
Step 3: Chat with CData Connect AI from Cursor
-
From the top bar, click Toggle AI Pane to open the chat window
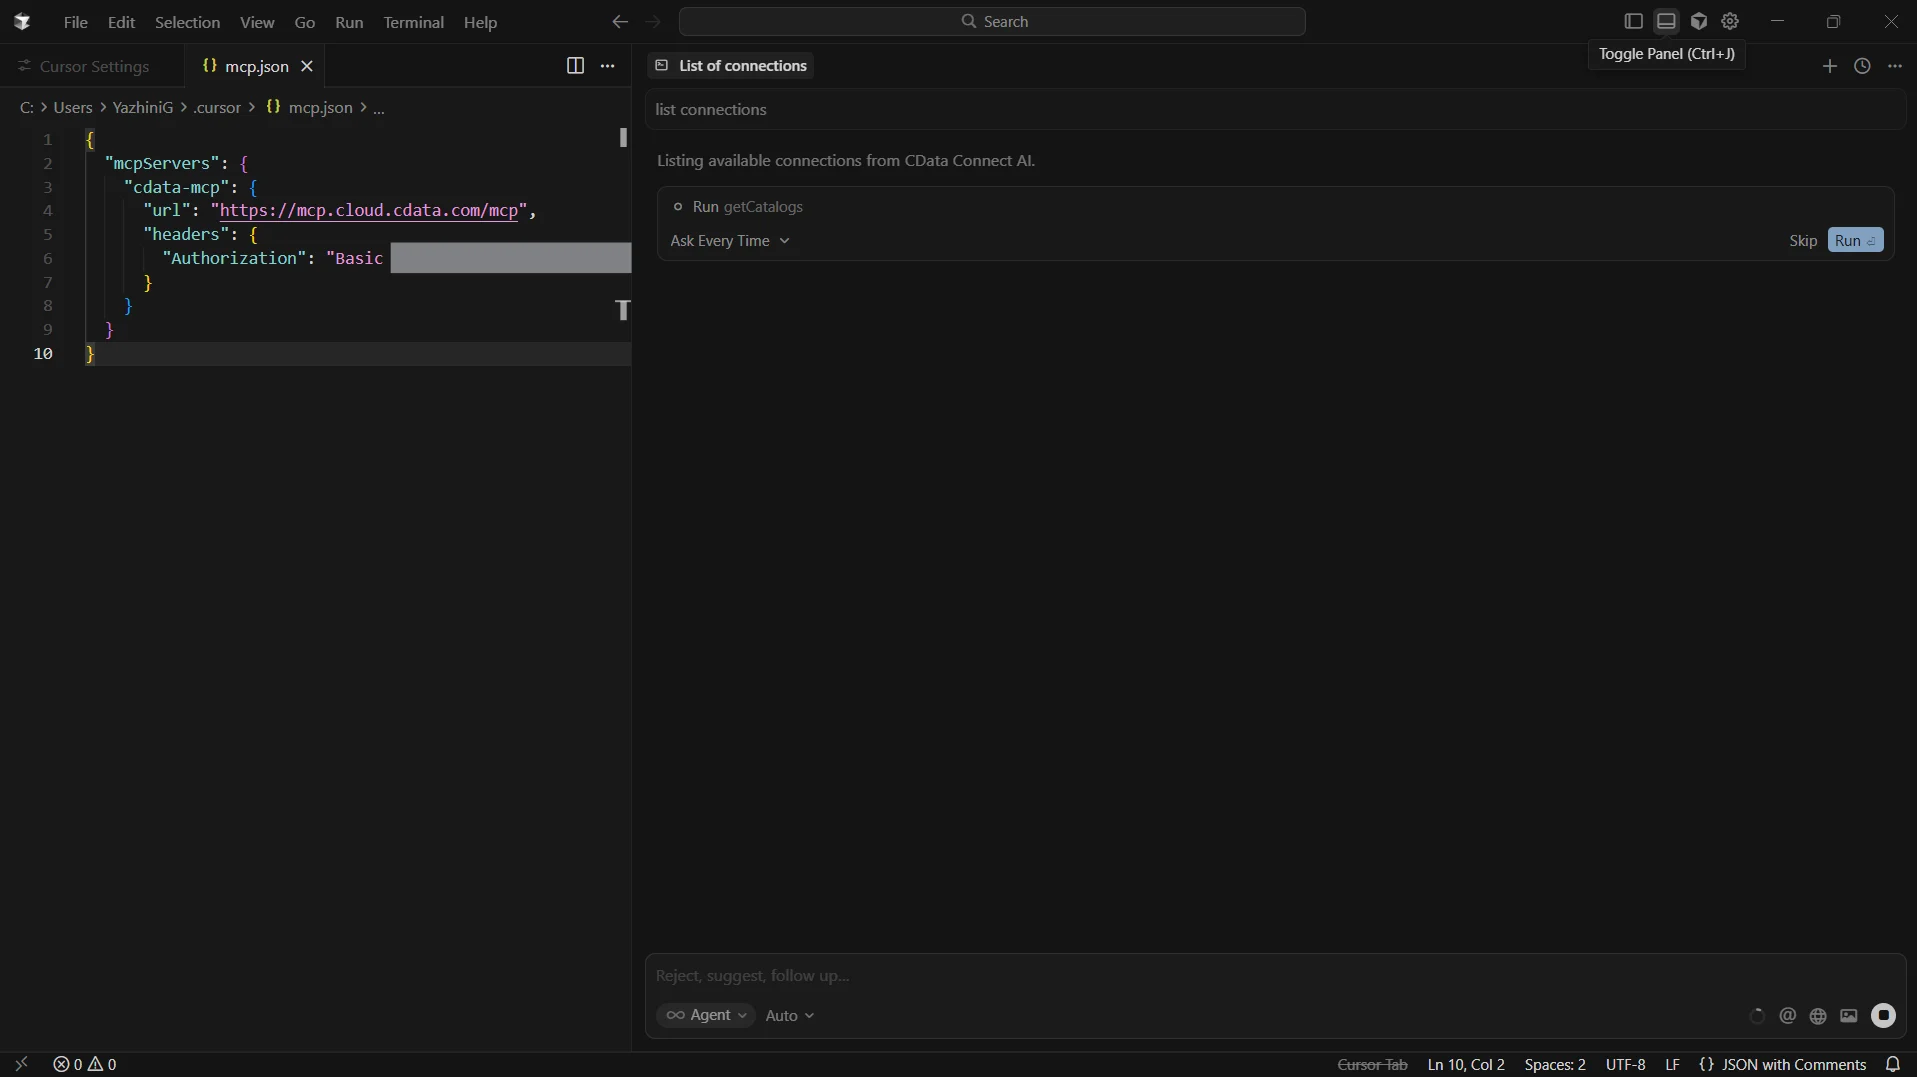
- Test the connection by entering "List connections"
-
You can also run queries like "Query JD Edwards data and list the high priority accounts"
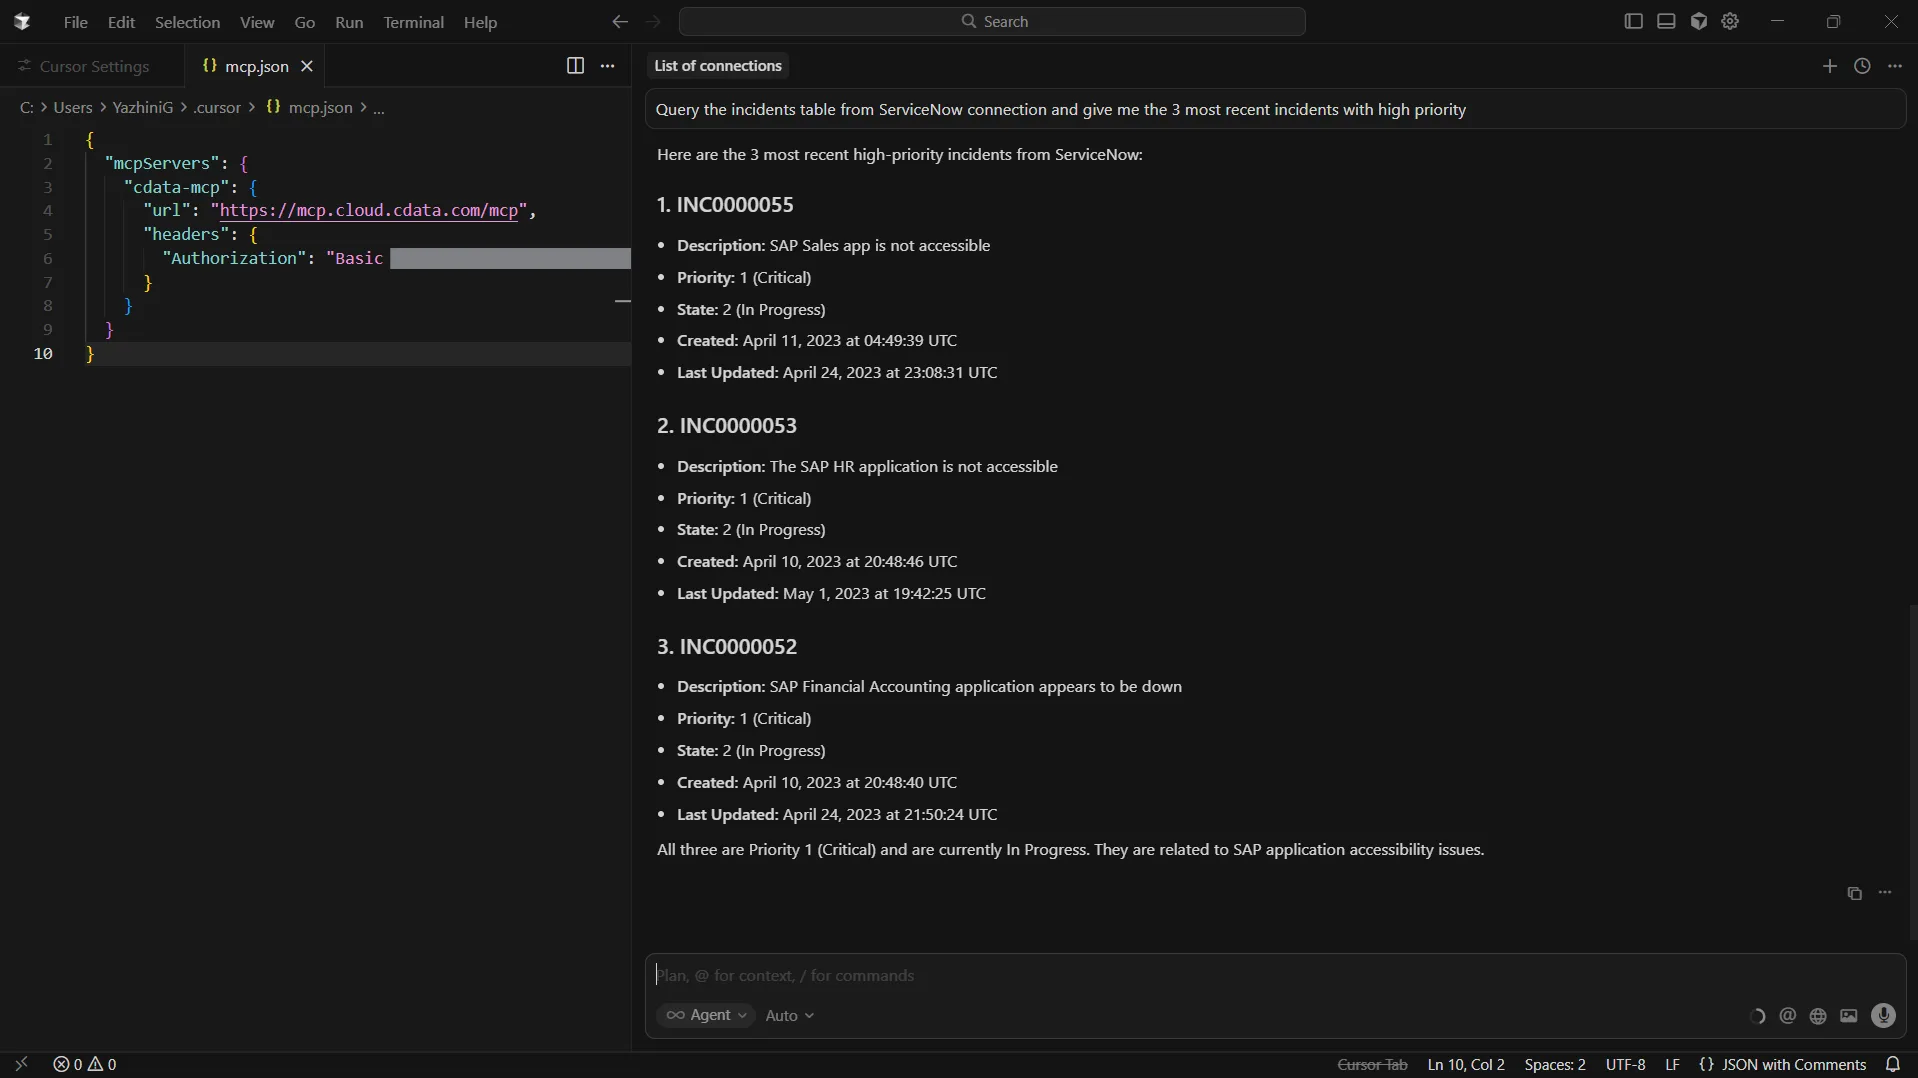
Cursor is now fully integrated with the CData Connect AI MCP Server and can act on live JD Edwards data directly from the editor.
Get CData Connect AI
To access hundreds of SaaS, Big Data, and NoSQL sources directly from your development tools, try CData Connect AI today!