




Stream JD Edwards Data into Apache Kafka Topics

Apache Kafka is an open-source stream processing platform that is primarily used for building real-time data pipelines and event-driven applications. When paired with the CData JDBC Driver for JD Edwards, Kafka can work with live JD Edwards data. This article describes how to connect, access and stream JD Edwards data into Apache Kafka Topics and to start Confluent Control Center to help users secure, manage, and monitor the JD Edwards data received using Kafka infrastructure in the Confluent Platform.
With built-in optimized data processing, the CData JDBC Driver offers unmatched performance for interacting with live JD Edwards data. When you issue complex SQL queries to JD Edwards, the driver pushes supported SQL operations, like filters and aggregations, directly to JD Edwards and utilizes the embedded SQL engine to process unsupported operations client-side (often SQL functions and JOIN operations). Its built-in dynamic metadata querying allows you to work with and analyze JD Edwards data using native data types.
Prerequisites
Before connecting the CData JDBC Driver for streaming JD Edwards data in Apache Kafka Topics, install and configure the following in the client Linux-based system.
- Confluent Platform for Apache Kafka
- Confluent Hub CLI Installation
- Self-Managed Kafka JDBC Source Connector for Confluent Platform
Define a New JDBC Connection to JD Edwards data
- Download CData JDBC Driver for JD Edwards on a Linux-based system
- Follow the given instructions to create a new directory extract all the driver contents into it:
- Create a new directory named JD Edwards
mkdir JDEdwards - Move the downloaded driver file (.zip) into this new directory
mv JDEdwardsJDBCDriver.zip JDEdwards/ - Unzip the CData JDEdwardsJDBCDriver contents into this new directory
unzip JDEdwardsJDBCDriver.zip
- Create a new directory named JD Edwards
- Open the JD Edwards directory and navigate to the lib folder
ls cd lib/ - Copy the contents of the lib folder of the CData JDBC Driver for JD Edwards into the lib folder of Kafka Connect JDBC. Check the Kafka Connect JDBC folder contents to confirm that the cdata.jdbc.jdedwards.jar file is successfully copied into the lib folder
cp -r /path/to/CData JDBC Driver for JD Edwards/lib/* /usr/share/confluent-hub-components/confluentinc-kafka-connect-jdbc/lib/ cd /usr/share/confluent-hub-components/confluentinc-kafka-connect-jdbc/lib/ - Install the CData JD Edwards JDBC driver license using the given command, followed by your Name and Email ID
java -jar cdata.jdbc.jdedwards.jar -l - Enter the product key or "TRIAL" (In the scenarios of license expiry, please contact our CData Support team)
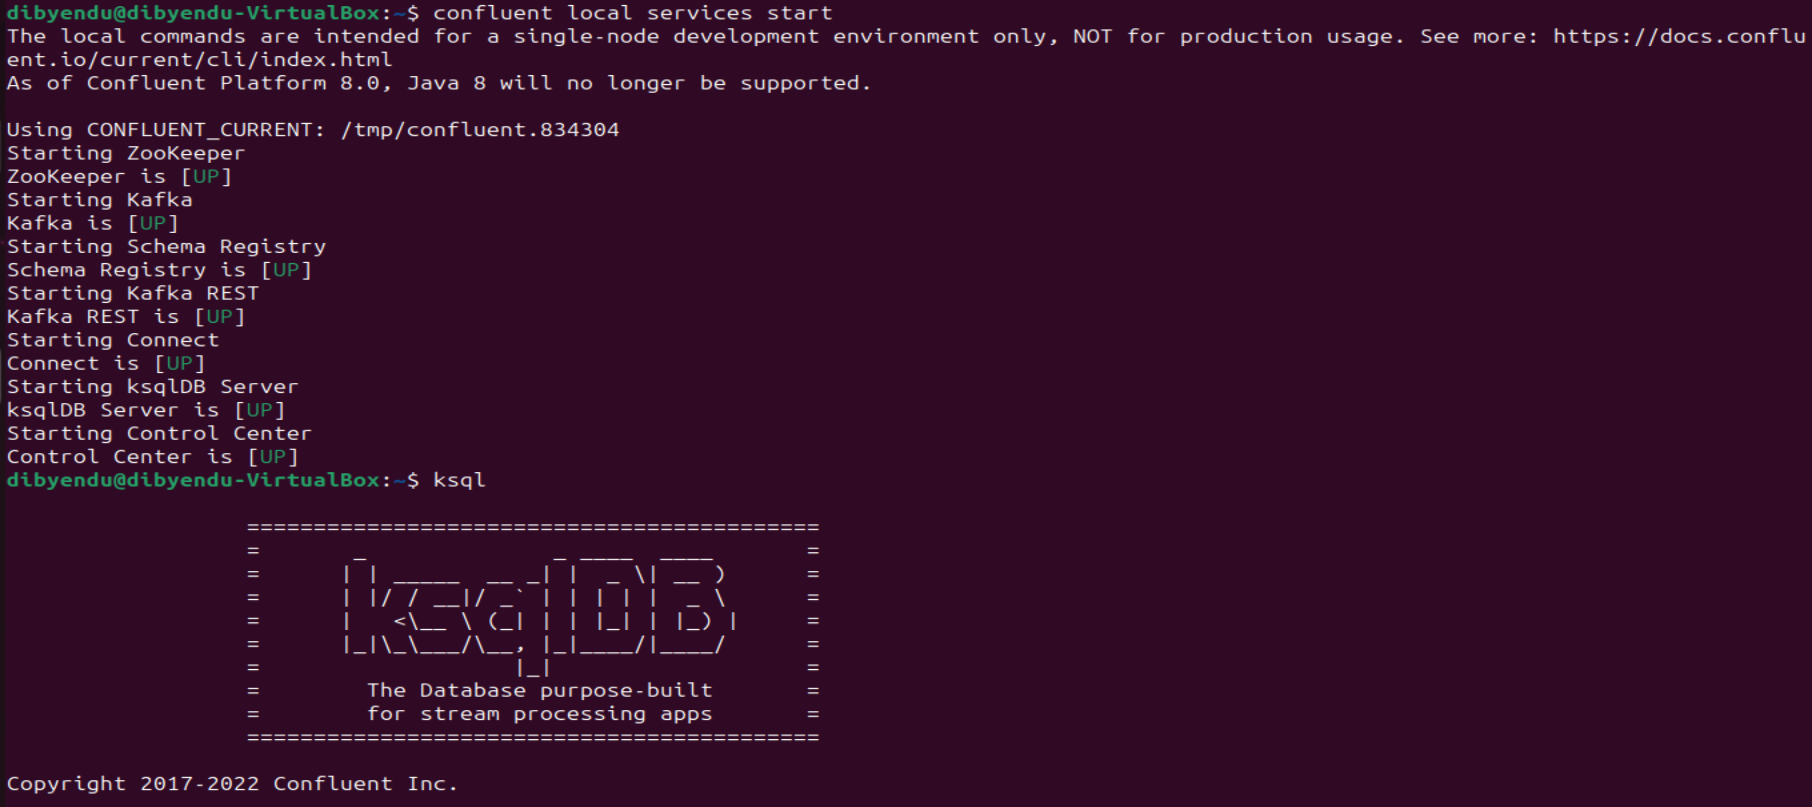
- Start the Confluent local services using the command:
confluent local services startThis starts all the Confluent Services like Zookeeper, Kafka, Schema Registry, Kafka REST, Kafka CONNECT, ksqlDB and Control Center. You are now ready to use the CData JDBC driver for JD Edwards to stream messages using Kafka Connect Driver into Kafka Topics on ksqlDB.
- Create the Kafka topics manually using a POST HTTP API Request:
 curl --location 'server_address:8083/connectors'
	--header 'Content-Type: application/json'
	--data '{
		"name": "jdbc_source_cdata_jdedwards_01",
		"config": {
			"connector.class": "io.confluent.connect.jdbc.JdbcSourceConnector",
			"connection.url": "jdbc:jdedwards:URL=https://your-jde-environment-app.example.com;User=admin;Password=myPassword;",
		"topic.prefix": "jdedwards-01-",
		"mode": "bulk"
		}
	}'
Let us understand the fields used in the HTTP POST body (shown above):
- connector.class: Specifies the Java class of the Kafka Connect connector to be used.
- connection.url: The JDBC connection URL to connect with JD Edwards data.
Built-in Connection String Designer
For assistance in constructing the JDBC URL, use the connection string designer built into the CData JDBC Driver for JD Edwards. Either double-click the JAR file or execute the jar file from the command-line.
java -jar cdata.jdbc.jdedwards.jarFill in the connection properties and copy the connection string to the clipboard.
The driver connects to JD Edwards through your Application Interface Services (AIS) Server. Set the following connection properties:
- URL: The base HTTPS URL of your AIS Server (e.g., https://jde-ais.example.com:8300).
- User: Your JD Edwards username.
- Password: Your JD Edwards password.
- Environment (optional): The JD Edwards environment to use (e.g., PD920 for production or DV920 for development). If not specified, the AIS Server's default environment is used.
- Role (optional): The JD Edwards role for the session. If not specified, the AIS Server's default role is used.
- DeviceName (optional): An identifier for the connecting device or application, used for auditing and logging on the AIS Server.
- Jasserver (optional): The specific Java Application Server (JAS) instance to route requests through, useful in clustered environments.
Choosing Which Data Is Exposed
JD Edwards organizes tables and business views by System Code, and the driver exposes each System Code as its own schema. Use these properties to control which schemas are available:
- DataModel: One or more ERP modules (comma-separated) whose System Codes are exposed as schemas, or All to expose every System Code in the connected instance. Defaults to FinancialManagement.
- SystemCodes: A comma-separated list of additional System Codes to expose alongside those from DataModel (e.g., 42,43).
When you connect, the driver sends your credentials to the AIS Server to obtain a session token and caches it. The driver requests a new token automatically before the session expires.

- topic.prefix: A prefix that will be added to the Kafka topics created by the connector. It's set to "jdedwards-01-".
- mode: Specifies the mode in which the connector operates. In this case, it's set to "bulk", which suggests that the connector is configured to perform bulk data transfer.
This request adds all the tables/contents from JD Edwards as Kafka Topics.
Note: The IP Address (server) to POST the request (shown above) is the Linux Network IP Address.
- Run ksqlDB and list the topics. Use the commands:
ksql
list topics;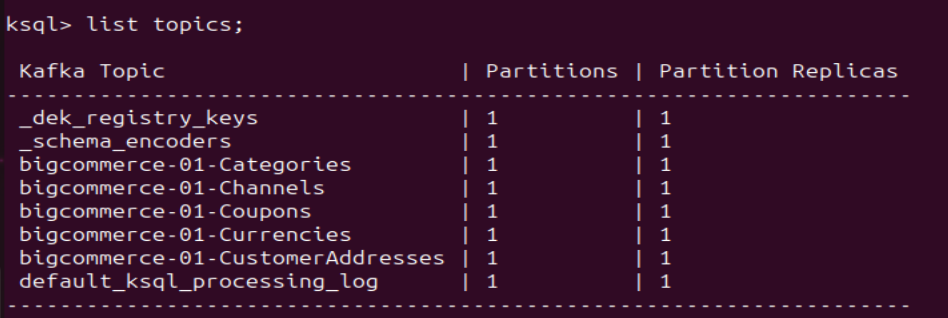
- To view the data inside the topics, type the SQL Statement:
PRINT topic FROM BEGINNING;
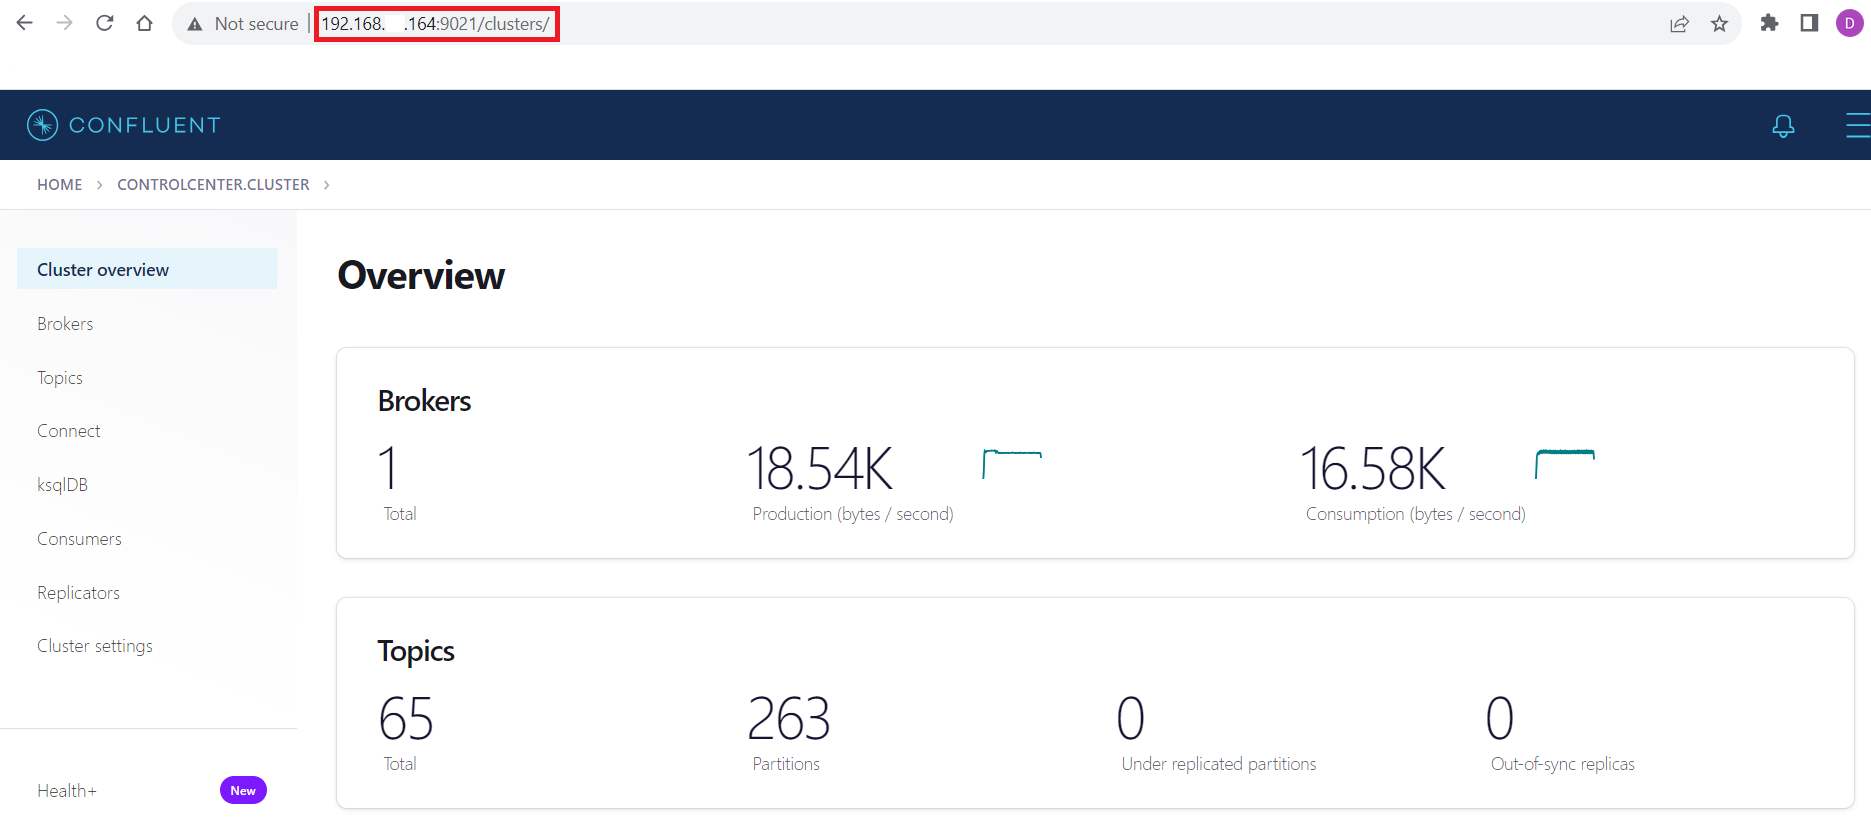
Connecting with the Confluent Control Center
To access the Confluent Control Center user interface, ensure to run the "confluent local services" as described in the above section and type http://<server address>:9021/clusters/ on your local browser.
Get Started Today
Download a free, 30-day trial of the CData JDBC Driver for JD Edwards and start streaming JD Edwards data into Apache Kafka. Reach out to our Support Team if you have any questions.
Ready to get started?
Download a free trial of the JD Edwards Driver to get started:
Download NowLearn more:
 JD Edwards JDBC Driver
Rapidly create and deploy powerful Java applications that integrate with JD Edwards data including AccountLedger, ProposalofPayment, ContractRevenueSummary, EmployeeEnrollment, RentIncreaseAmounts, and more!