




Integrate JD Edwards with External Services using SnapLogic

SnapLogic is an integration platform-as-a-service (iPaaS) that allows users to create data integration flows with no code. When paired with the CData JDBC Drivers, users get access to live data from more than 250+ SaaS, Big Data and NoSQL sources, including JD Edwards, in their SnapLogic workflows.
With built-in optimized data processing, the CData JDBC Driver offers unmatched performance for interacting with live JD Edwards data. When platforms issue complex SQL queries to JD Edwards, the driver pushes supported SQL operations, like filters and aggregations, directly to JD Edwards and utilizes the embedded SQL engine to process unsupported operations client-side (often SQL functions and JOIN operations). Its built-in dynamic metadata querying lets you work with JD Edwards data using native data types.
Connect to JD Edwards in SnapLogic
To connect to JD Edwards data in SnapLogic, download and install the CData JD Edwards JDBC Driver. Follow the installation dialog. When the installation is complete, the JAR file can be found in the installation directory (C:/Program Files/CData/CData JDBC Driver for JD Edwards/lib by default).
Upload the JD Edwards JDBC Driver
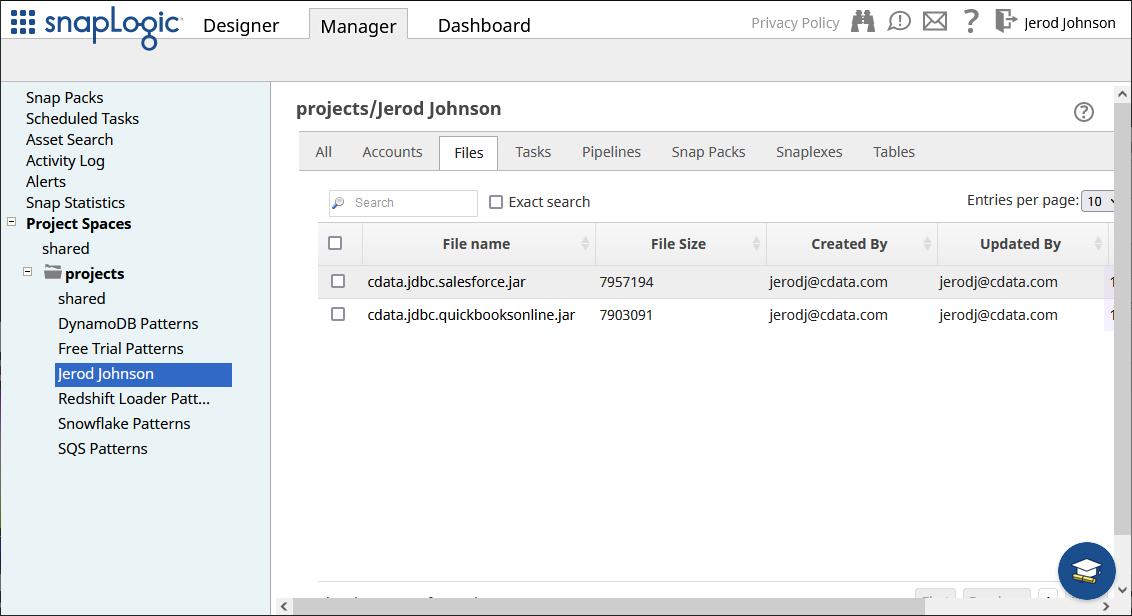
After installation, upload the JDBC JAR file to a location in SnapLogic (for example, projects/Jerod Johnson) from the Manager tab.
Configure the Connection
Once the JDBC Driver is uploaded, we can create the connection to JD Edwards.
- Navigate to the Designer tab
- Expand "JDBC" from Snaps and drag a "Generic JDBC - Select" snap onto the designer
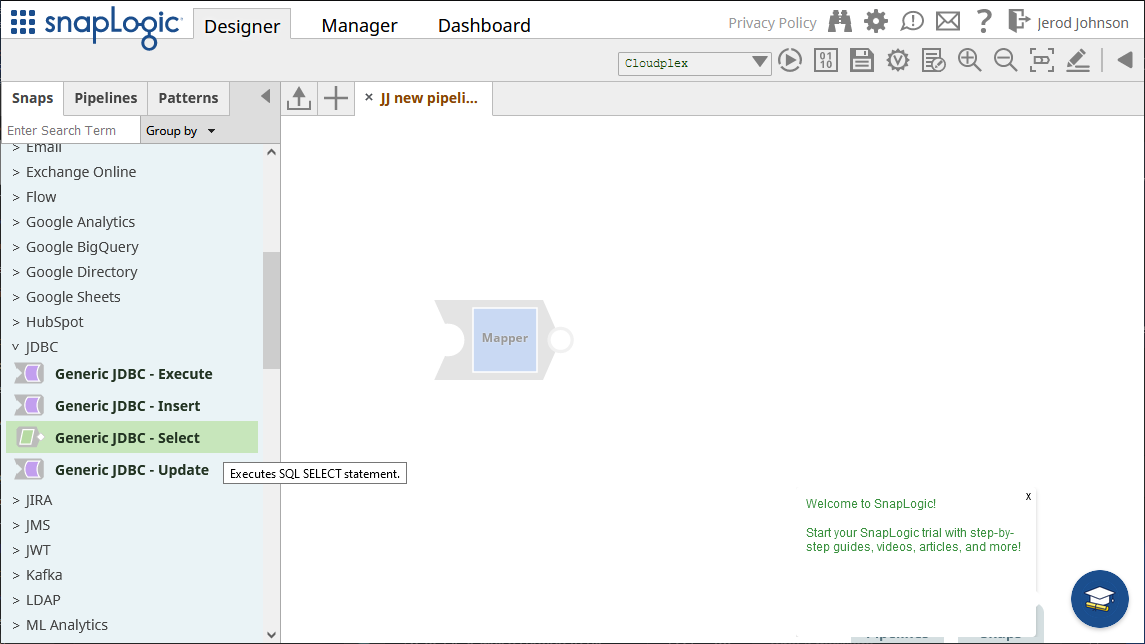
- Click Add Account (or select an existing one) and click "Continue"
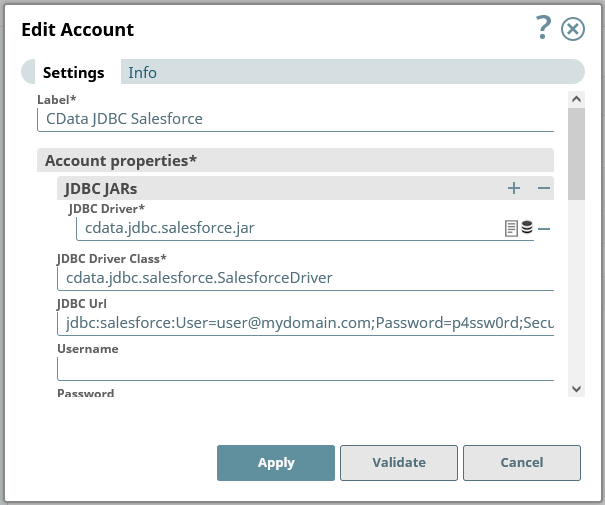
- In the next form, configure the JDBC connection properties:
- Under JDBC JARs, add the JAR file we previously uploaded
- Set JDBC Driver Class to cdata.jdbc.jdedwards.JDEdwardsDriver
Set JDBC URL to a JDBC connection string for the JD Edwards JDBC Driver, for example:
jdbc:jdedwards:URL=https://your-jde-environment-app.example.com;User=admin;Password=myPassword;RTK=XXXXXX;
NOTE: RTK is a trial or full key. Contact our Support team for more information.
Built-In Connection String Designer
For assistance in constructing the JDBC URL, use the connection string designer built into the JD Edwards JDBC Driver. Either double-click the JAR file or execute the jar file from the command-line.
java -jar cdata.jdbc.jdedwards.jar
Fill in the connection properties and copy the connection string to the clipboard.
The driver connects to JD Edwards through your Application Interface Services (AIS) Server. Set the following connection properties:
- URL: The base HTTPS URL of your AIS Server (e.g., https://jde-ais.example.com:8300).
- User: Your JD Edwards username.
- Password: Your JD Edwards password.
- Environment (optional): The JD Edwards environment to use (e.g., PD920 for production or DV920 for development). If not specified, the AIS Server's default environment is used.
- Role (optional): The JD Edwards role for the session. If not specified, the AIS Server's default role is used.
- DeviceName (optional): An identifier for the connecting device or application, used for auditing and logging on the AIS Server.
- Jasserver (optional): The specific Java Application Server (JAS) instance to route requests through, useful in clustered environments.
Choosing Which Data Is Exposed
JD Edwards organizes tables and business views by System Code, and the driver exposes each System Code as its own schema. Use these properties to control which schemas are available:
- DataModel: One or more ERP modules (comma-separated) whose System Codes are exposed as schemas, or All to expose every System Code in the connected instance. Defaults to FinancialManagement.
- SystemCodes: A comma-separated list of additional System Codes to expose alongside those from DataModel (e.g., 42,43).
When you connect, the driver sends your credentials to the AIS Server to obtain a session token and caches it. The driver requests a new token automatically before the session expires.

- After entering the connection properties, click "Validate" and "Apply"
Read JD Edwards Data
In the form that opens after validating and applying the connection, configure your query.
- Set Schema name to "JDEdwards"
- Set Table name to a table for JD Edwards using the schema name, for example: "JDEdwards"."AccountsPayable.AccountLedger" (use the drop-down to see the full list of available tables)
- Add Output fields for each item you wish to work with from the table
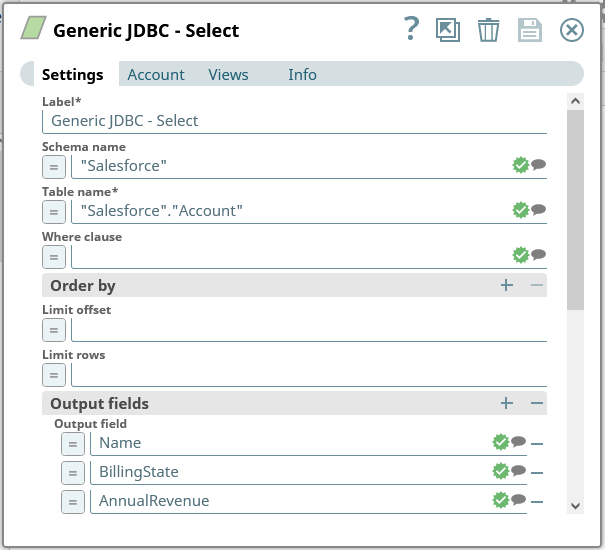
Save the Generic JDBC - Select snap.
With connection and query configured, click the end of the snap to preview the data (highlighted below).
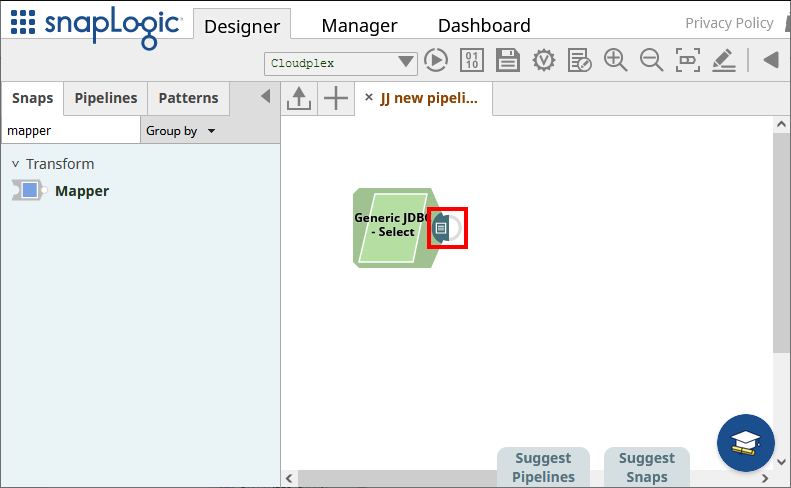
Once you confirm the results are what you expect, you can add additional snaps to funnel your JD Edwards data to another endpoint.
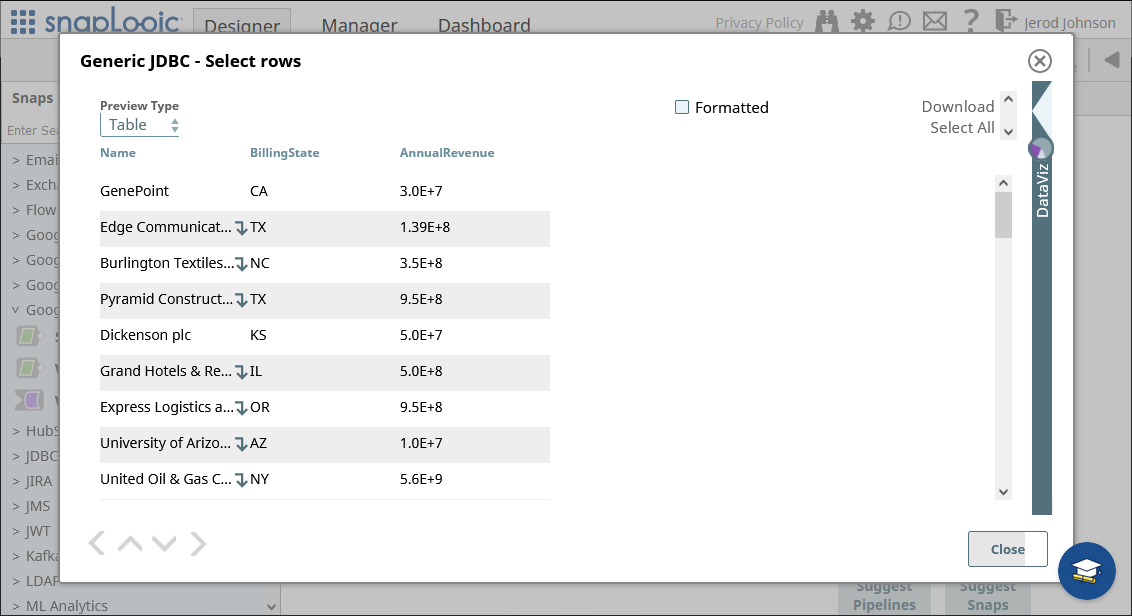
Piping JD Edwards Data to External Services
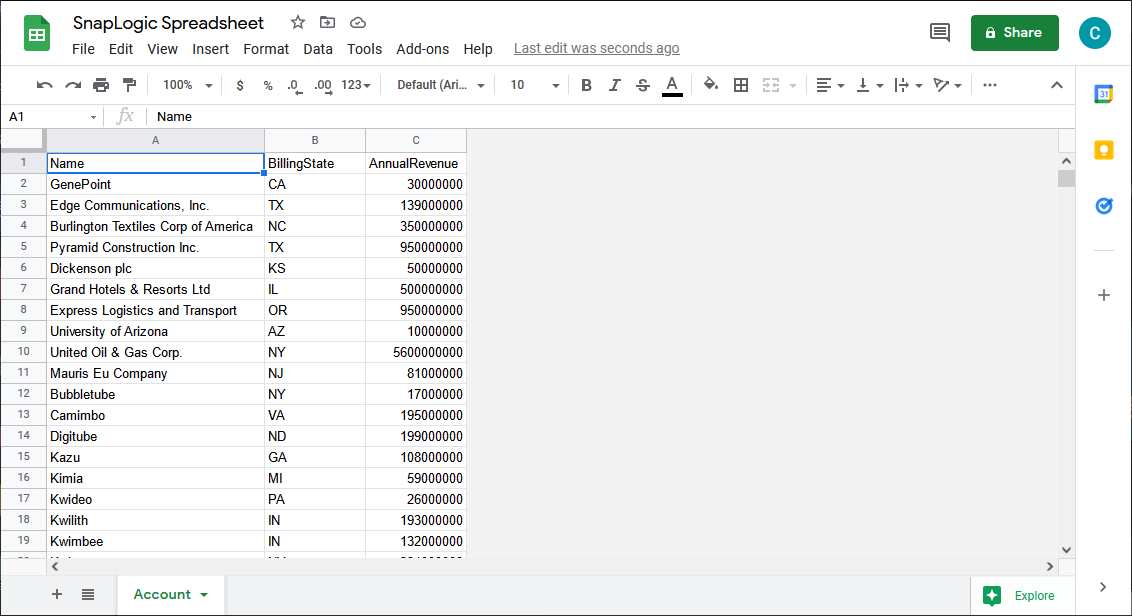
For this article, we will load data in a Google Spreadsheet. You can use any of the supported snaps, or even use a Generic JDBC snap with another CData JDBC Driver, to move data into an external service.
- Start by dropping a "Worksheet Writer" snap onto the end of the "Generic JDBC - Select" snap.
- Add an account to connect to Google Sheets
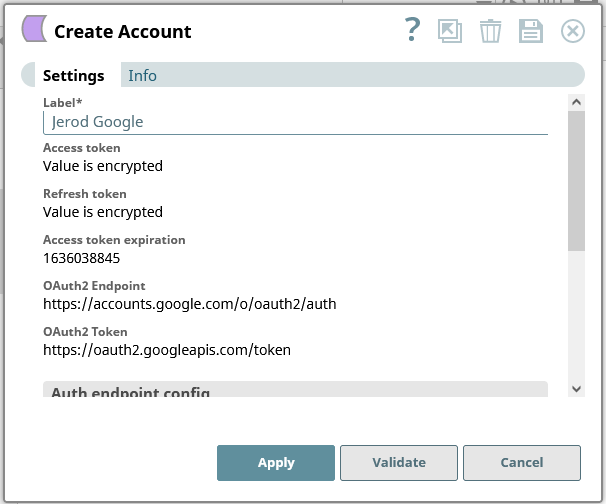
- Configure the Worksheet Writer snap to write your JD Edwards data to a Google Spreadsheet
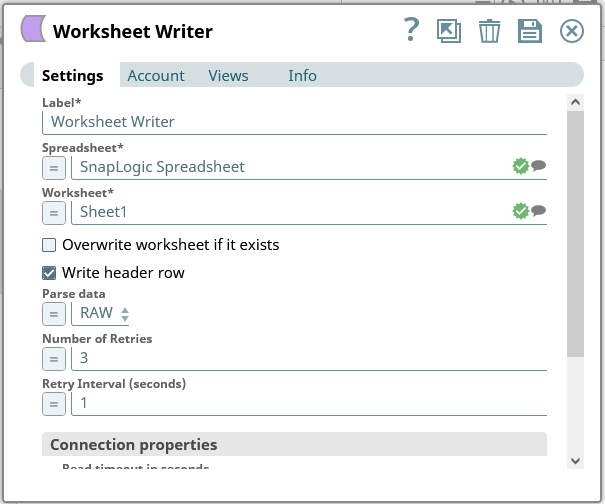
You can now execute the fully configured pipeline to extract data from JD Edwards and push it into a Google Spreadsheet.
More Information & Free Trial
Using the CData JDBC Driver for JD Edwards you can create a pipeline in SnapLogic for integrating JD Edwards data with external services. For more information about connecting to JD Edwards, check at our CData JDBC Driver for JD Edwards page. Download a free, 30 day trial of the CData JDBC Driver for JD Edwards and get started today.
Ready to get started?
Download a free trial of the JD Edwards Driver to get started:
Download NowLearn more:
 JD Edwards JDBC Driver
Rapidly create and deploy powerful Java applications that integrate with JD Edwards data including AccountLedger, ProposalofPayment, ContractRevenueSummary, EmployeeEnrollment, RentIncreaseAmounts, and more!