




Automated Continuous JD Edwards Replication to Google Cloud SQL

Always-on applications rely on automatic failover capabilities and real-time data access. CData Sync integrates live JD Edwards data into your Google Cloud SQL instance, allowing you to consolidate all of your data into a single location for archiving, reporting, analytics, machine learning, artificial intelligence and more.
Configure Google Cloud SQL as a Replication Destination
Using CData Sync, you can replicate JD Edwards data to Google Cloud SQL. To add a replication destination, navigate to the Connections tab. Then select the appropriate destination based on your Google Cloud SQL service (MySQL, PostgreSQL, or SQL Server).
MySQL
- Click Add Connection.
- Select MySQL as a destination.
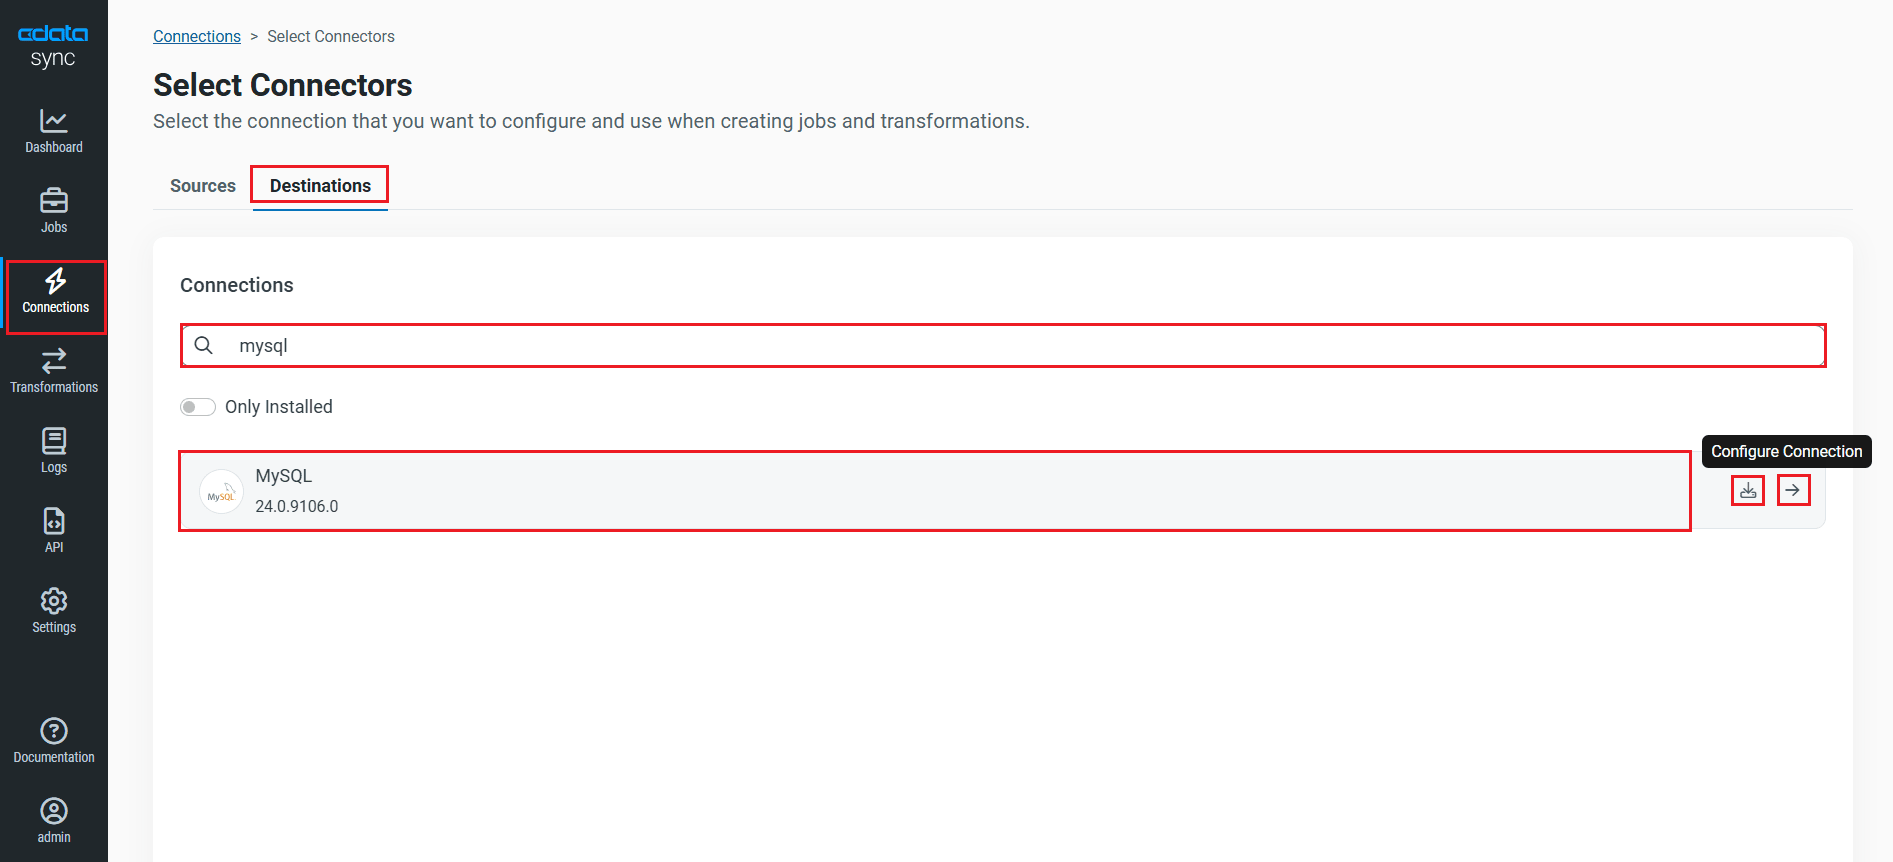
- Enter the necessary connection properties. To connect to MySQL, set the following:
- Server: The IP address or domain name of the server you want to connect to.
- Port: The port where the server is running.
- User: The username of a user with read/write access to the database.
- Password: The password of a user with read/write access to the database.
- Database: The name of the database.
- Click Test Connection to ensure that the connection is configured properly.
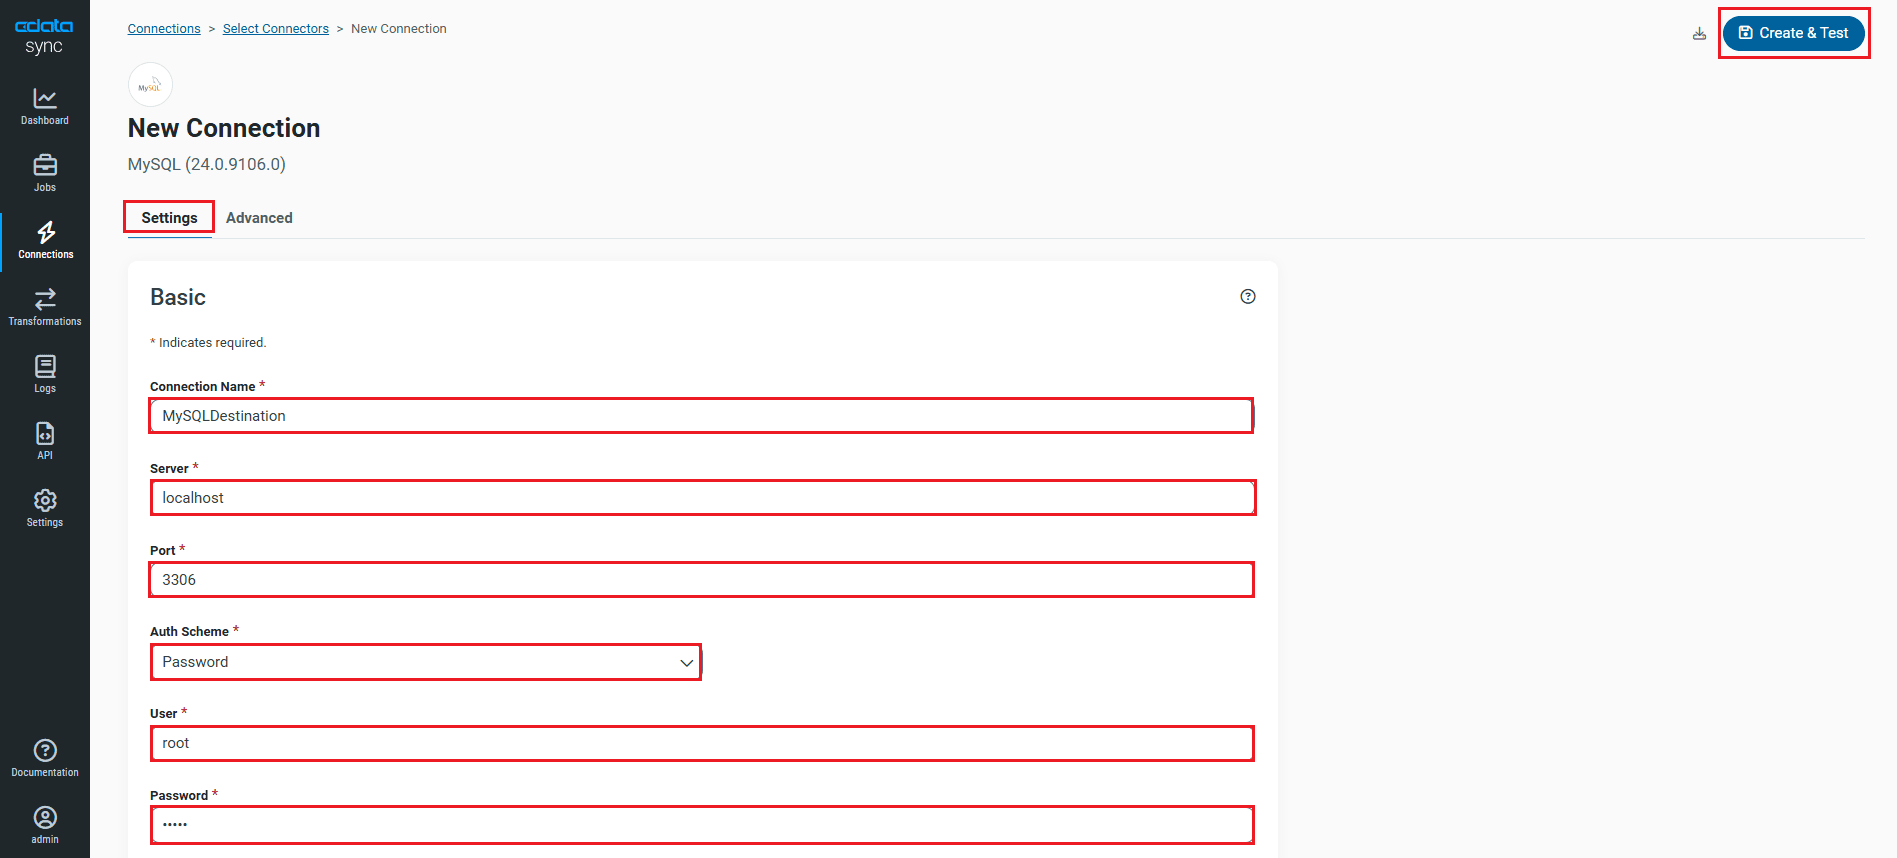
- Click Save Changes.
Jump to configuring the JD Edwards connection.
PostgreSQL
- Click Add Connection.
- Select PostgreSQL as a destination.
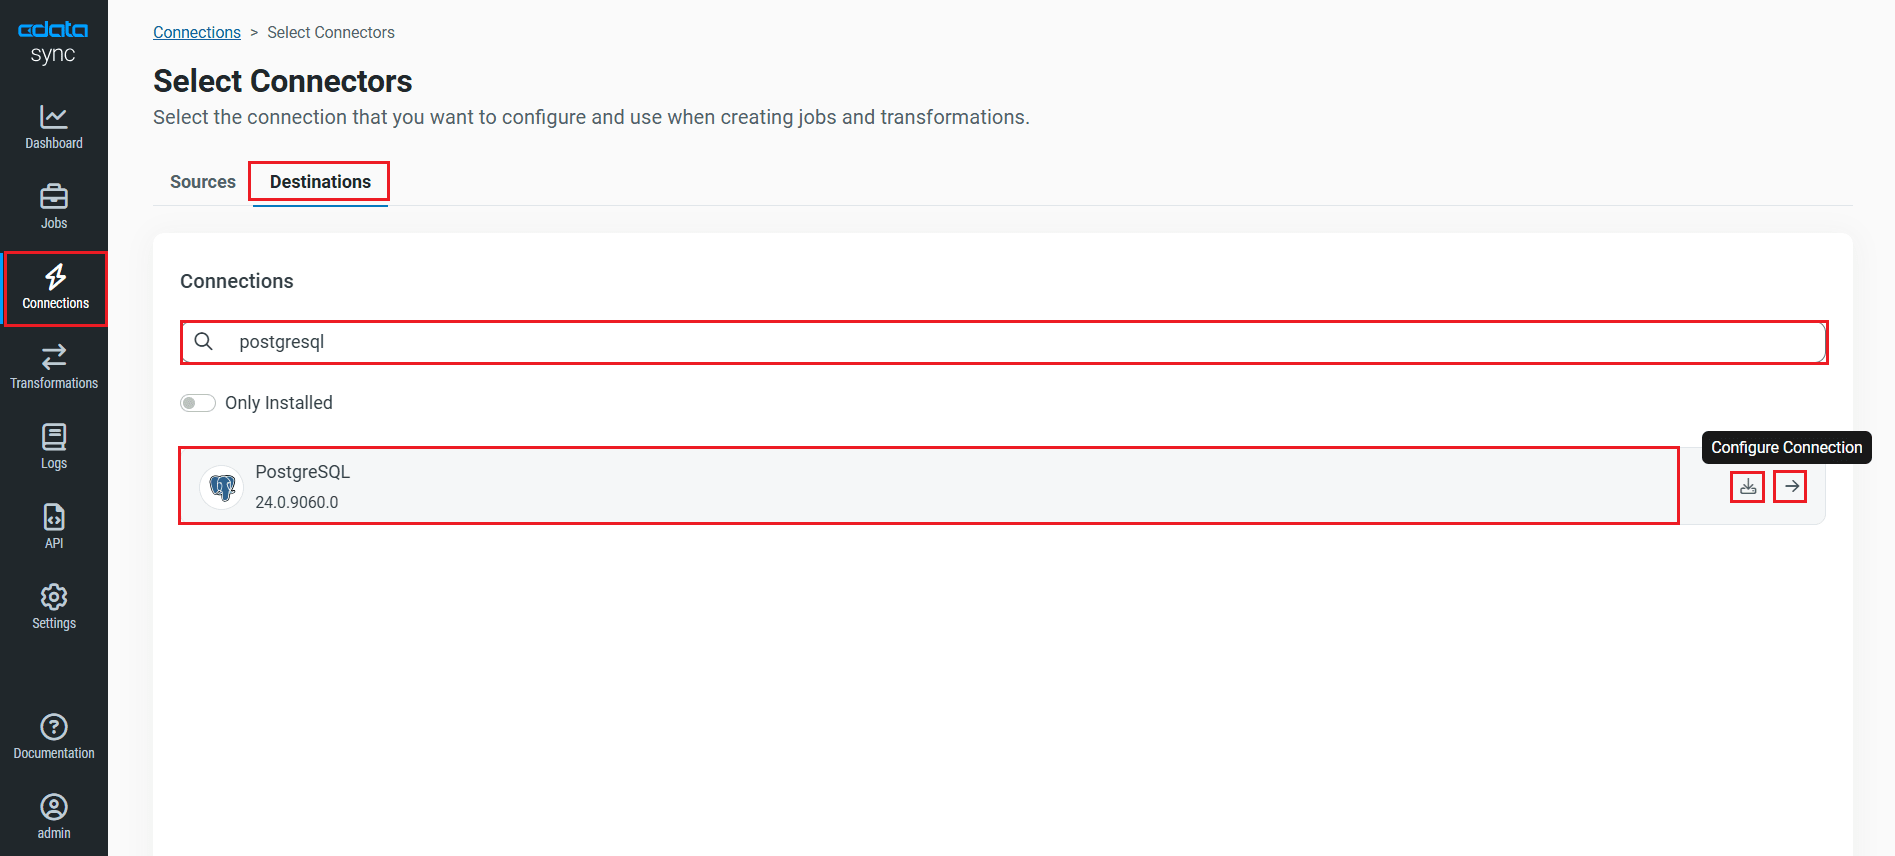
- Enter the necessary connection properties. To connect to PostgreSQL, set the following connection properties (CData Sync ships with the Npgsql ADO.NET Provider for PostgreSQL):
- Server: The address of the server hosting the PostgreSQL database.
- Port: The port used to connect to the server hosting the PostgreSQL database.
- User: The user ID provided for authentication with the PostgreSQL database.
- Password: The password provided for authentication with the PostgreSQL database.
- Database: The name of the database.
- Click Test Connection to ensure that the connection is configured properly.
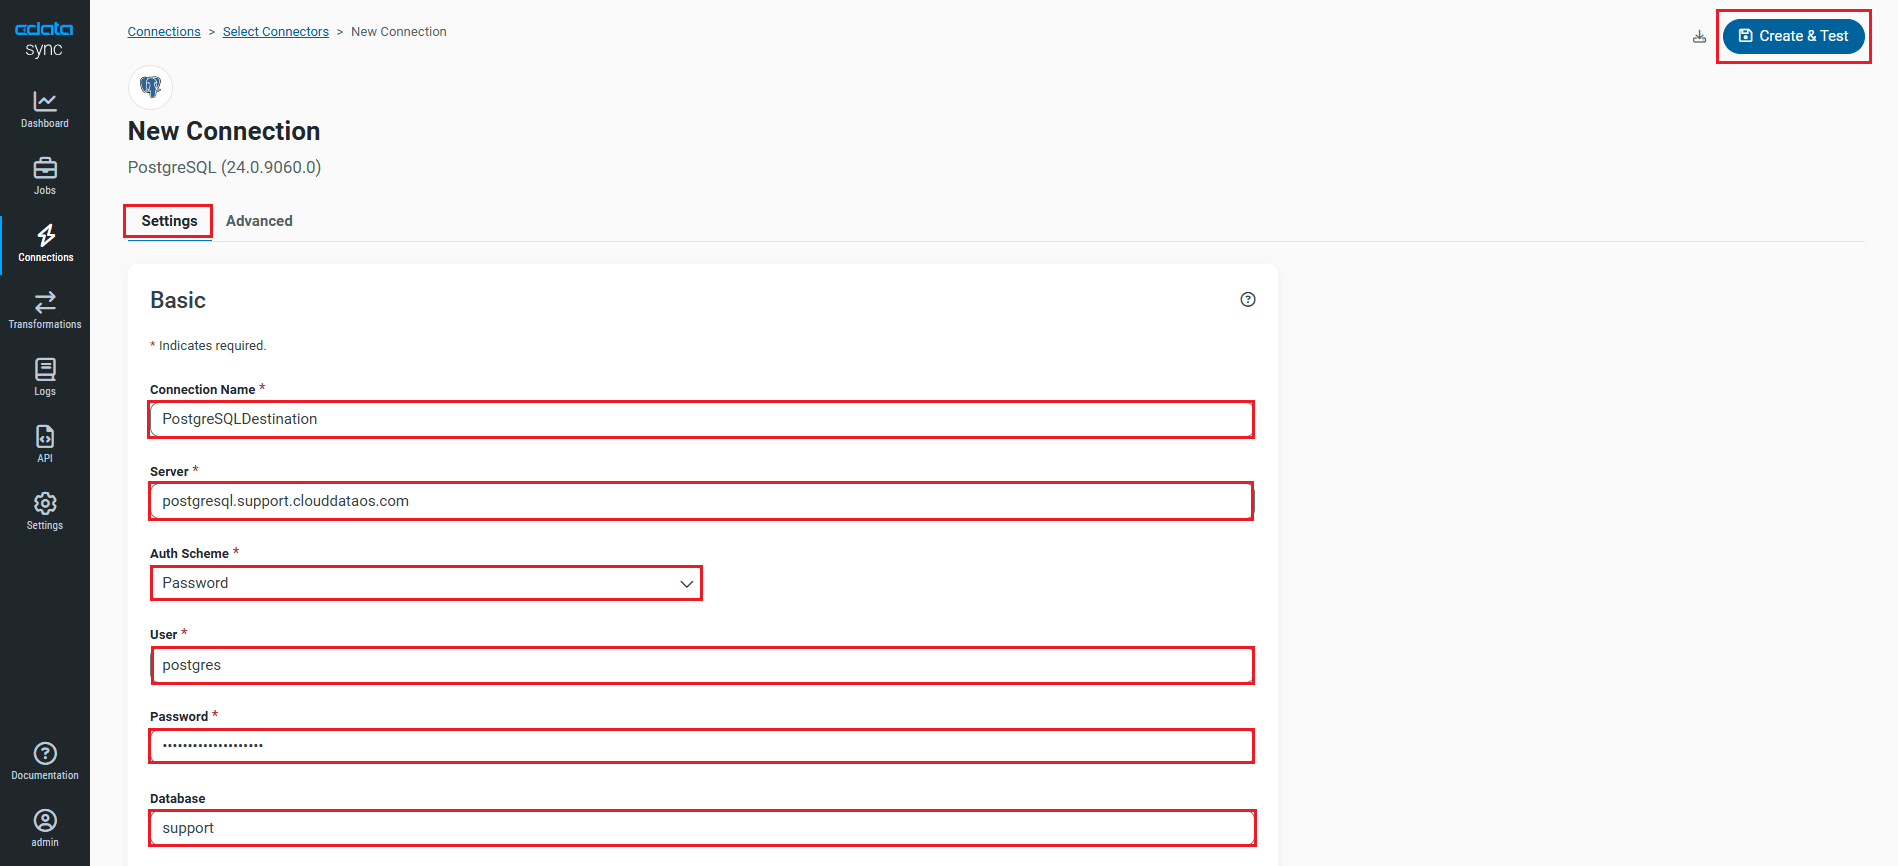
- Click Save Changes.
Jump to configuring the JD Edwards connection.
SQL Server
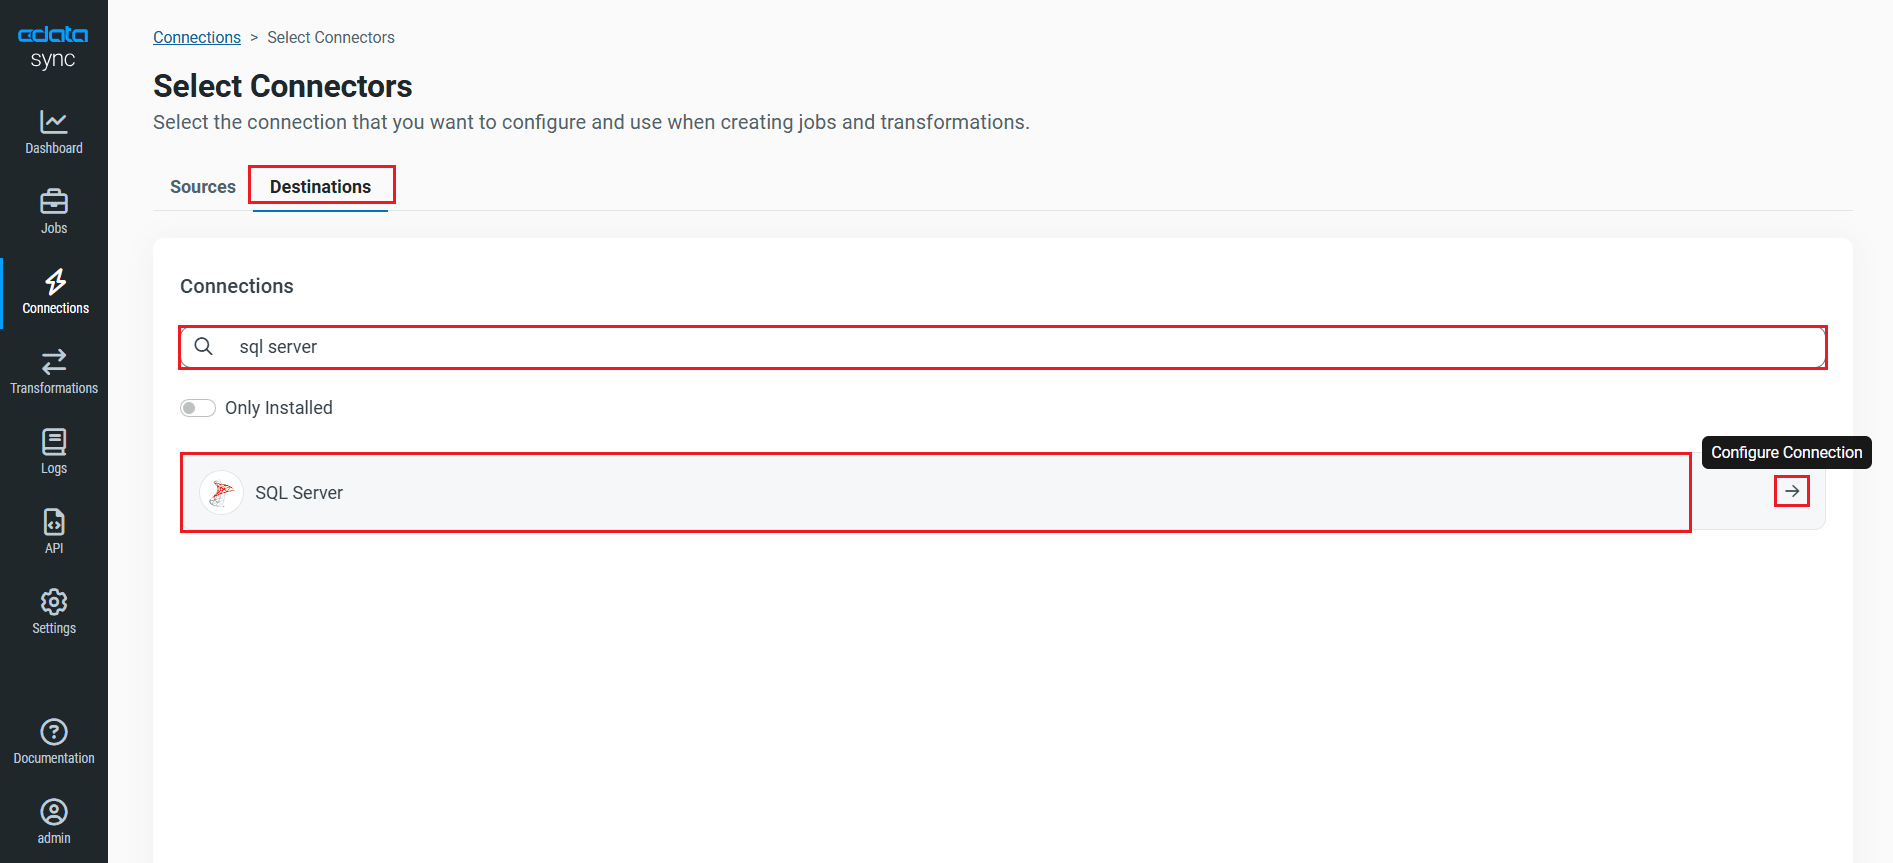
- Click Add Connection.
- Select SQL Server as a destination.
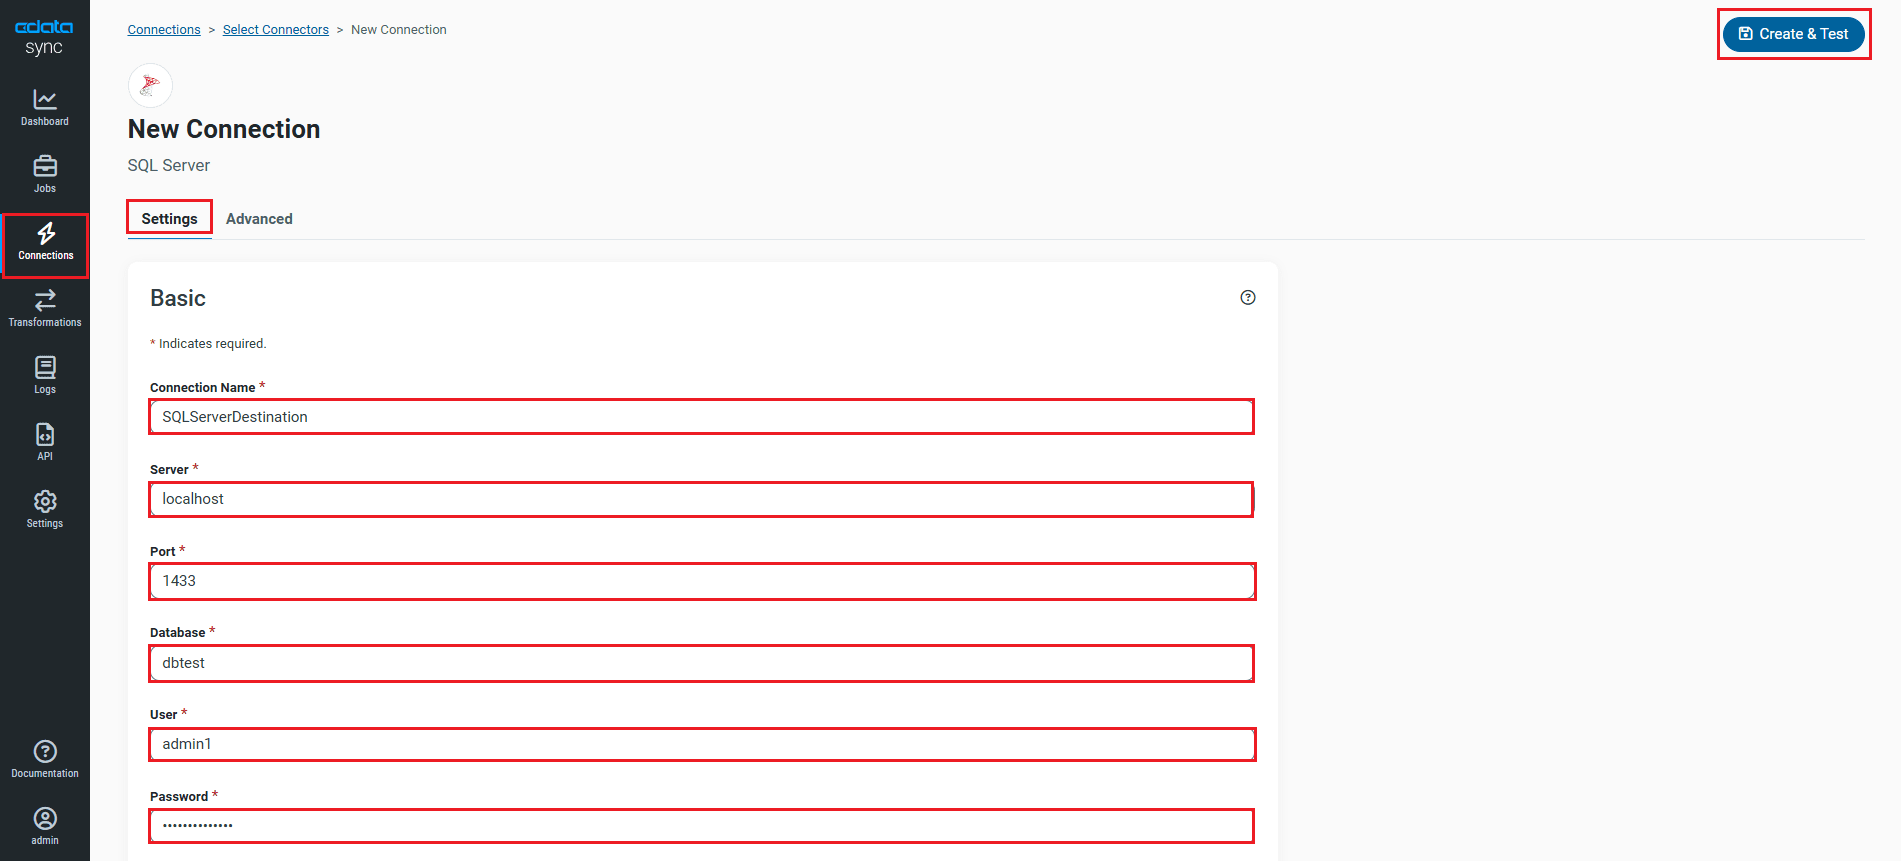
- Enter the necessary connection properties. To connect to SQL Server, set the following:
- Server: The name or network address of the computer running SQL Server.
- User: The username provided for authentication with SQL Server, if using forms authentication.
- Password: The password provided for authentication with SQL Server, if using forms authentication.
- Database: The name of the SQL Server database.
Java Edition
The Java version requires the Microsoft SQL Server JDBC driver, which can be downloaded from the Microsoft Download Center. Copy the JDBC driver to the lib folder of your Java Web server to make a connection.
- Click Test Connection to ensure that the connection is configured properly.
- Click Save Changes.
Jump to configuring the JD Edwards connection.
Configure the JD Edwards Connection
You can configure a connection to JD Edwards from the Connections tab. To add a connection to your JD Edwards account, navigate to the Connections tab.
- Click Add Connection.
- Select a source (JD Edwards).
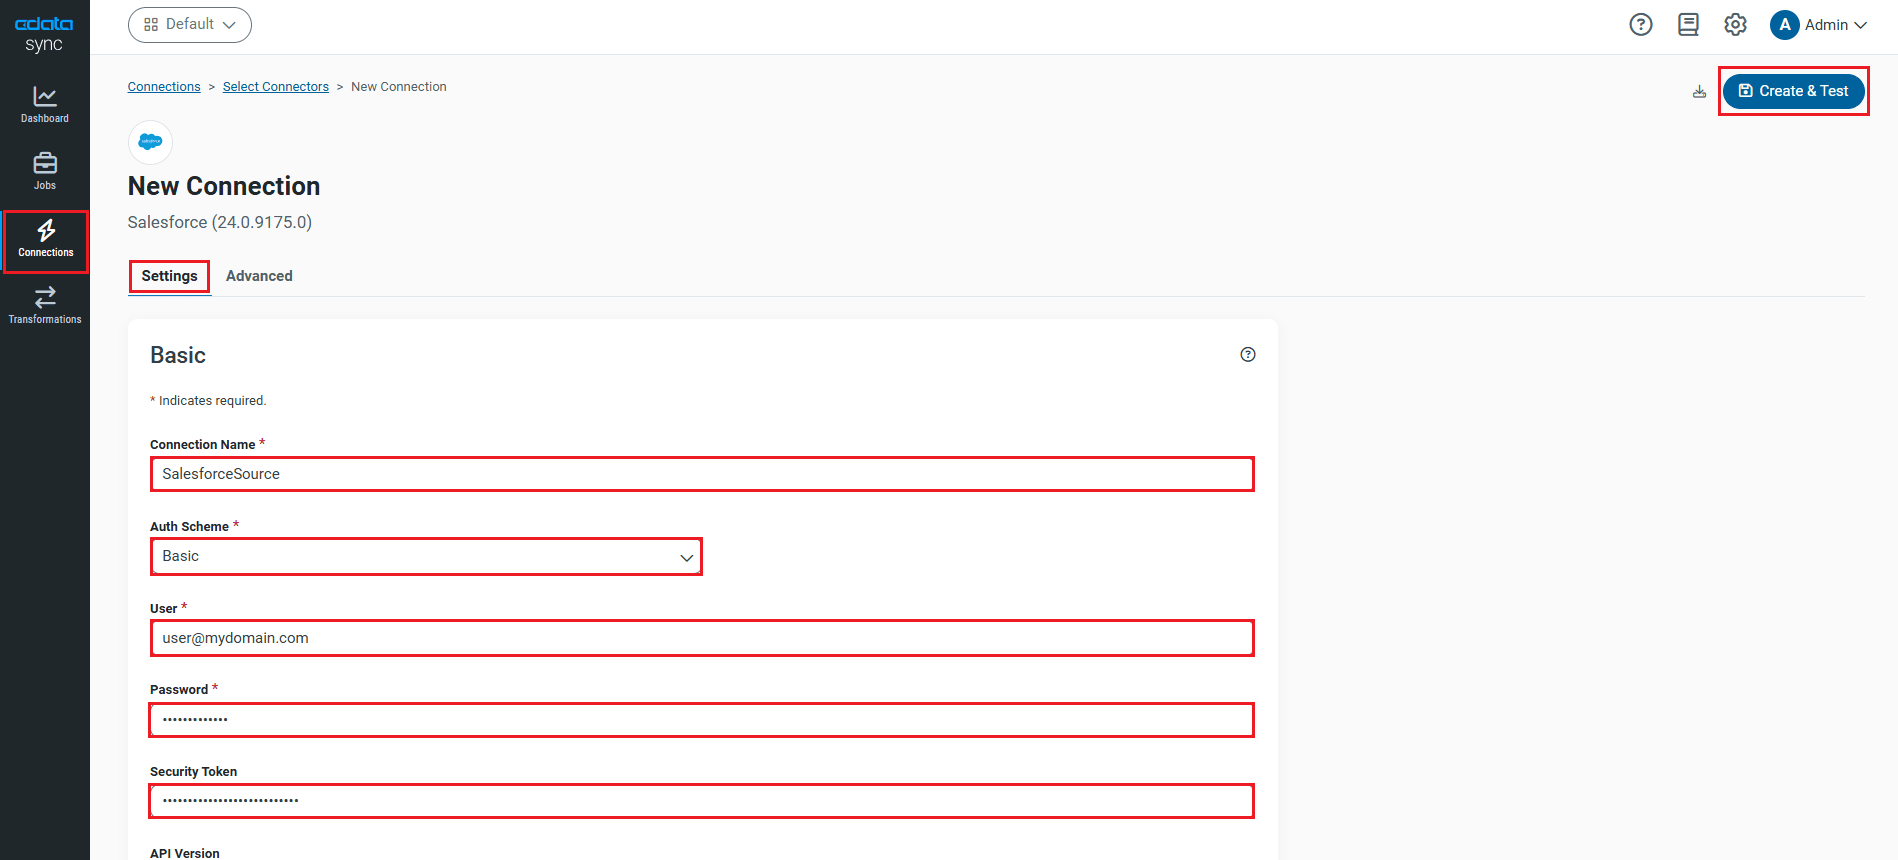
- Configure the connection properties.
The driver connects to JD Edwards through your Application Interface Services (AIS) Server. Set the following connection properties:
- URL: The base HTTPS URL of your AIS Server (e.g., https://jde-ais.example.com:8300).
- User: Your JD Edwards username.
- Password: Your JD Edwards password.
- Environment (optional): The JD Edwards environment to use (e.g., PD920 for production or DV920 for development). If not specified, the AIS Server's default environment is used.
- Role (optional): The JD Edwards role for the session. If not specified, the AIS Server's default role is used.
- DeviceName (optional): An identifier for the connecting device or application, used for auditing and logging on the AIS Server.
- Jasserver (optional): The specific Java Application Server (JAS) instance to route requests through, useful in clustered environments.
Choosing Which Data Is Exposed
JD Edwards organizes tables and business views by System Code, and the driver exposes each System Code as its own schema. Use these properties to control which schemas are available:
- DataModel: One or more ERP modules (comma-separated) whose System Codes are exposed as schemas, or All to expose every System Code in the connected instance. Defaults to FinancialManagement.
- SystemCodes: A comma-separated list of additional System Codes to expose alongside those from DataModel (e.g., 42,43).
When you connect, the driver sends your credentials to the AIS Server to obtain a session token and caches it. The driver requests a new token automatically before the session expires.
- Click Connect to ensure that the connection is configured properly.
- Click Save Changes.
Configure Replication Queries
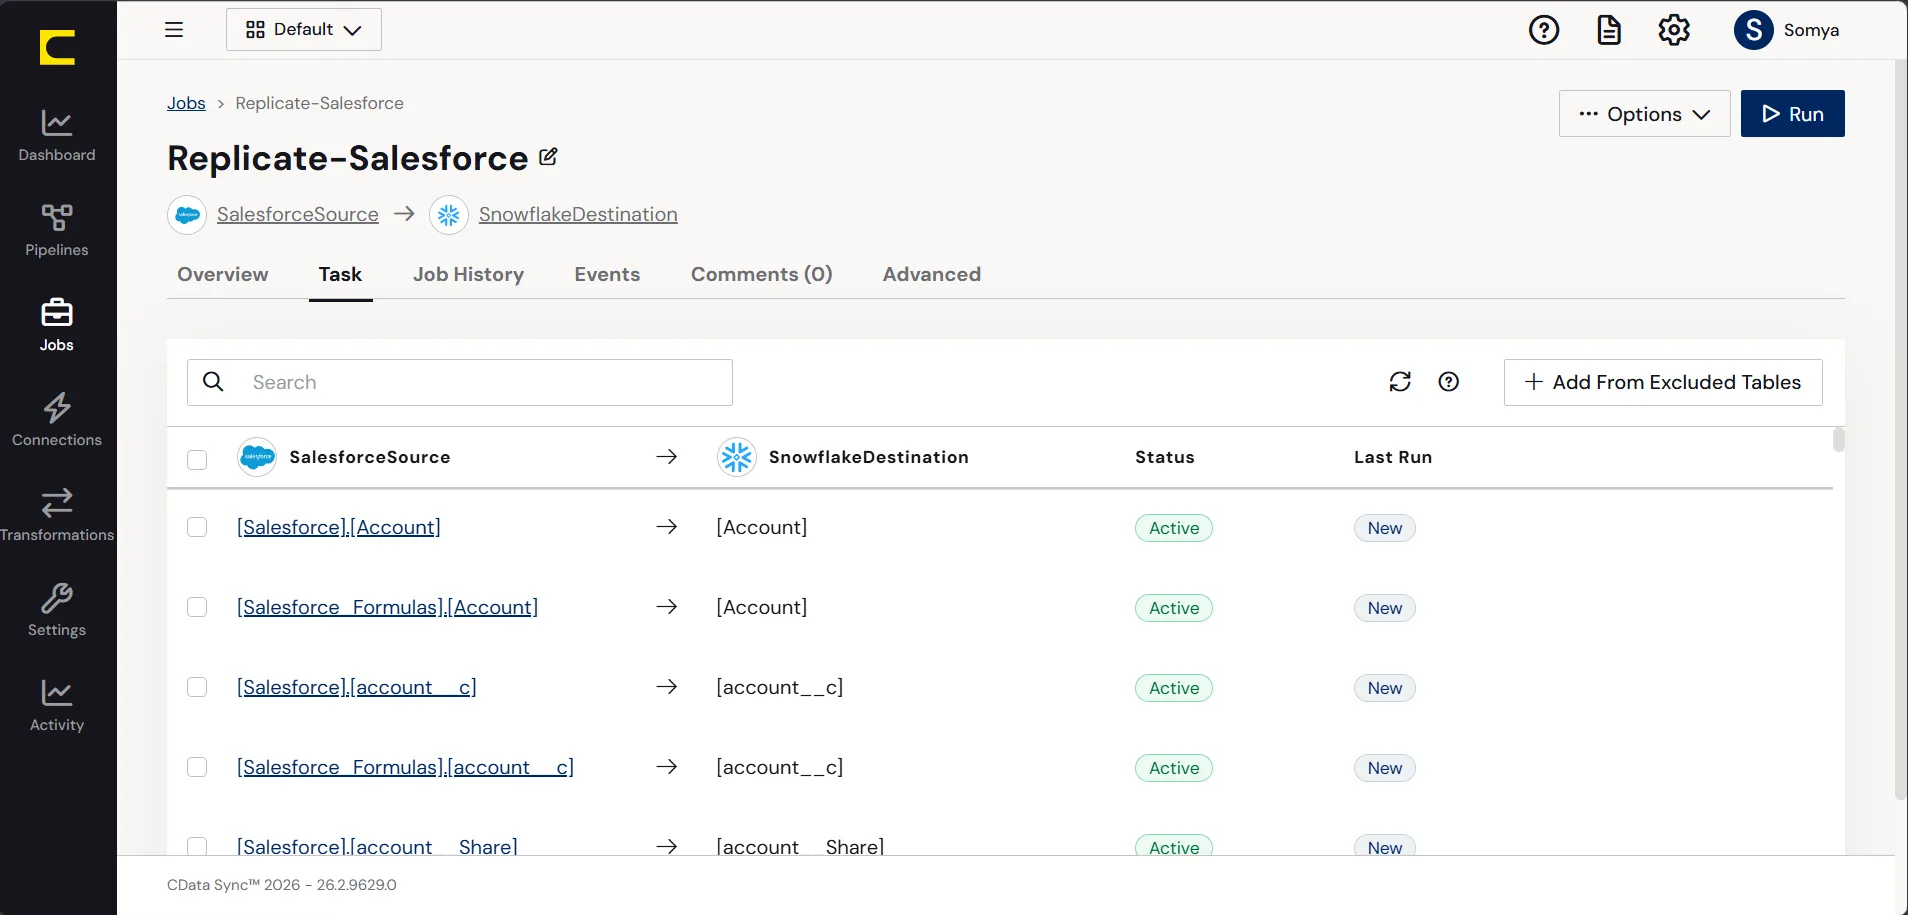
CData Sync enables you to control replication with a point-and-click interface and with SQL queries. For each replication you wish to configure, navigate to the Jobs tab and click Add Job. Select the Source and Destination for your replication.
Replicate Entire Tables
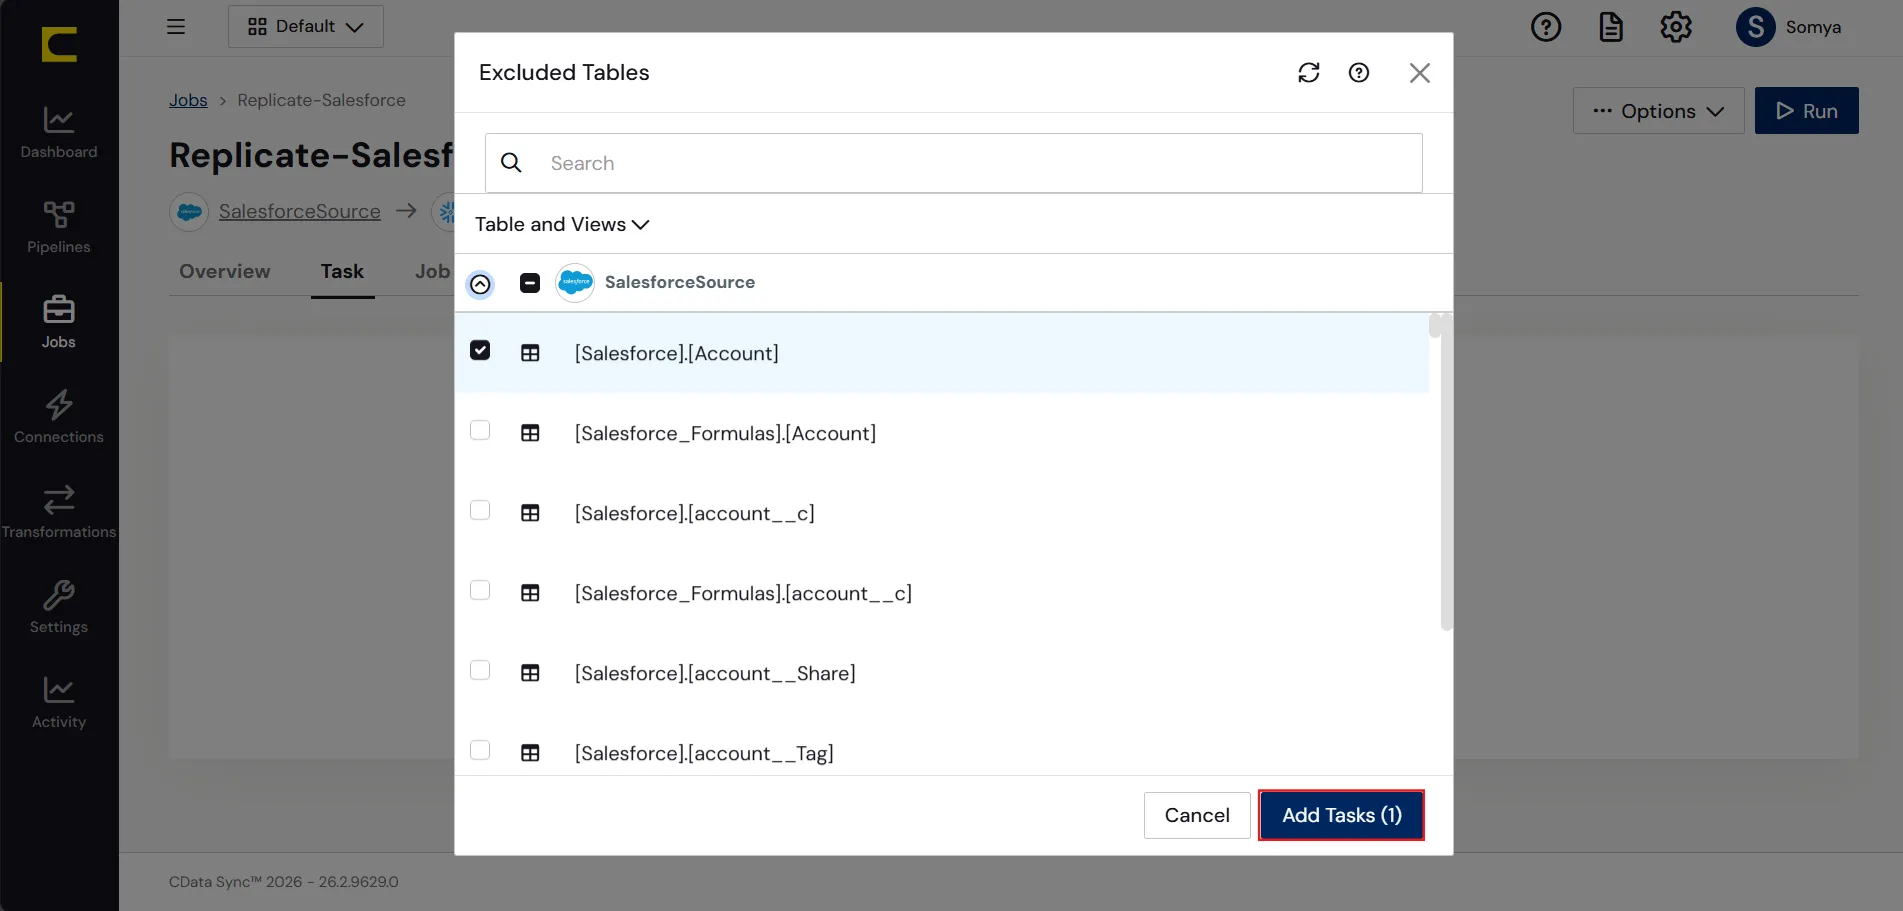
To replicate an entire table, click Add Tables in the Tables section, choose the table(s) you wish to replicate, and click Add Selected Tables.
Customize Your Replication
You can use the Columns and Query tabs of a task to customize your replication. The Columns tab allows you to specify which columns to replicate, rename the columns at the destination, and even perform operations on the source data before replicating. The Query tab allows you to add filters, grouping, and sorting to the replication.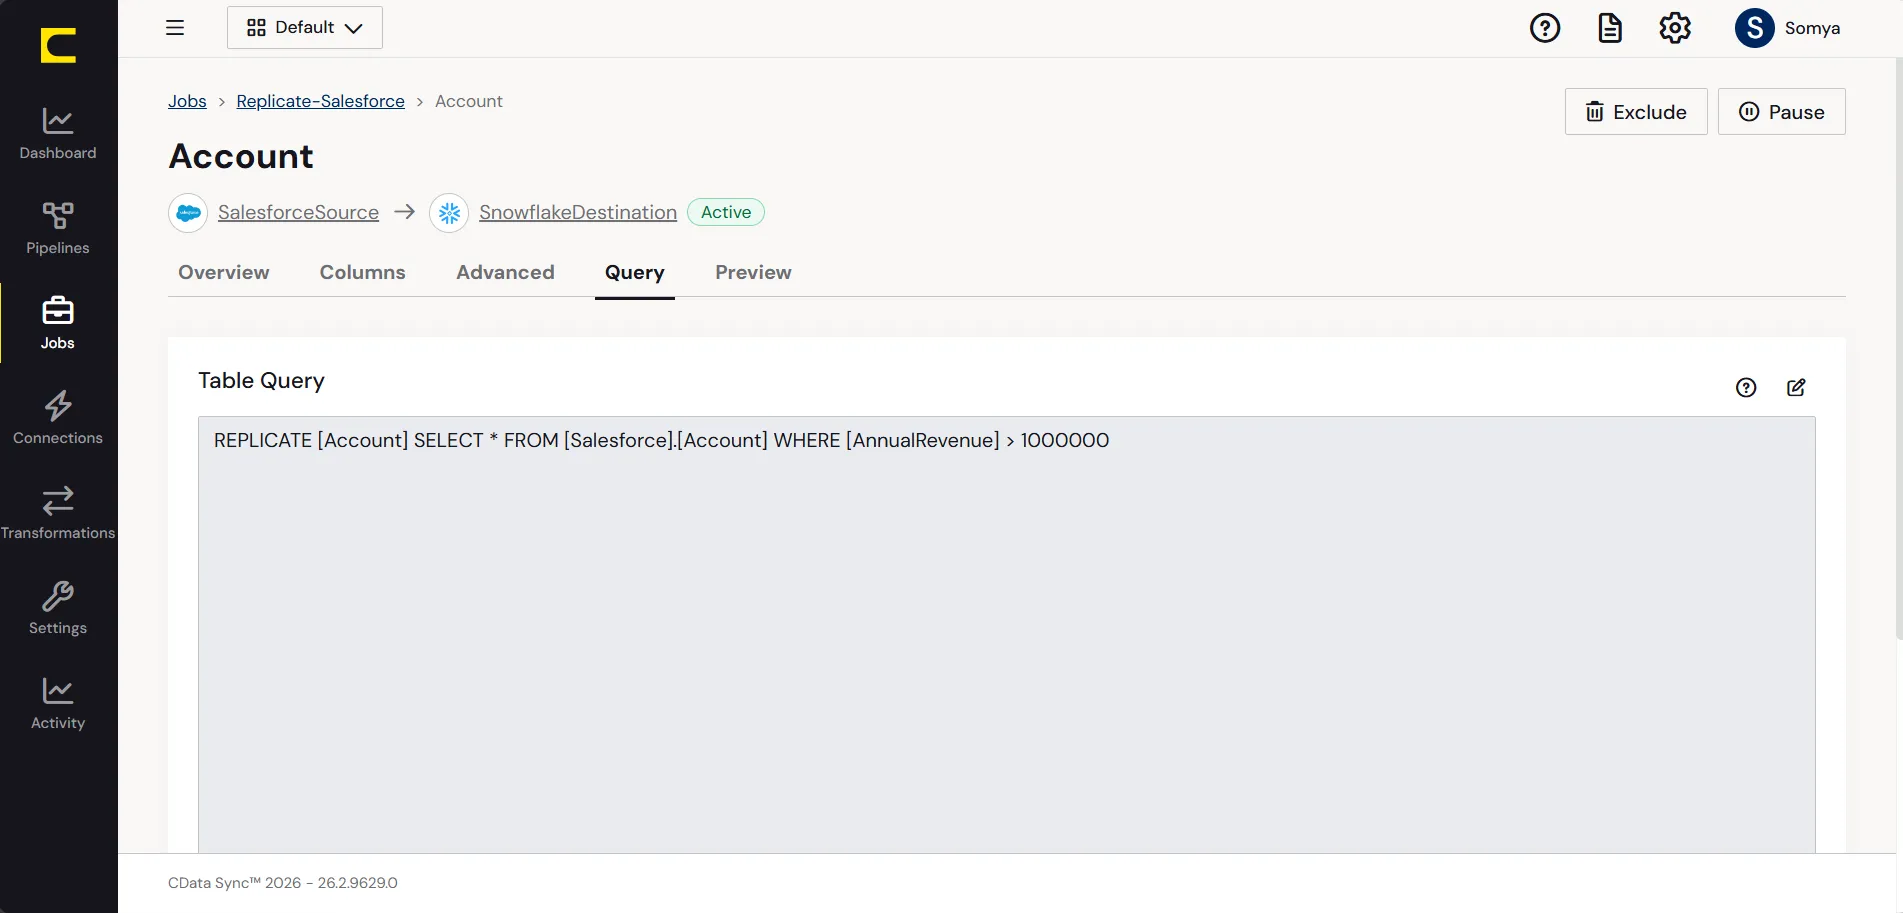
Schedule Your Replication
In the Schedule section, you can schedule a job to run automatically, configuring the job to run after specified intervals ranging from once every 10 minutes to once every month.
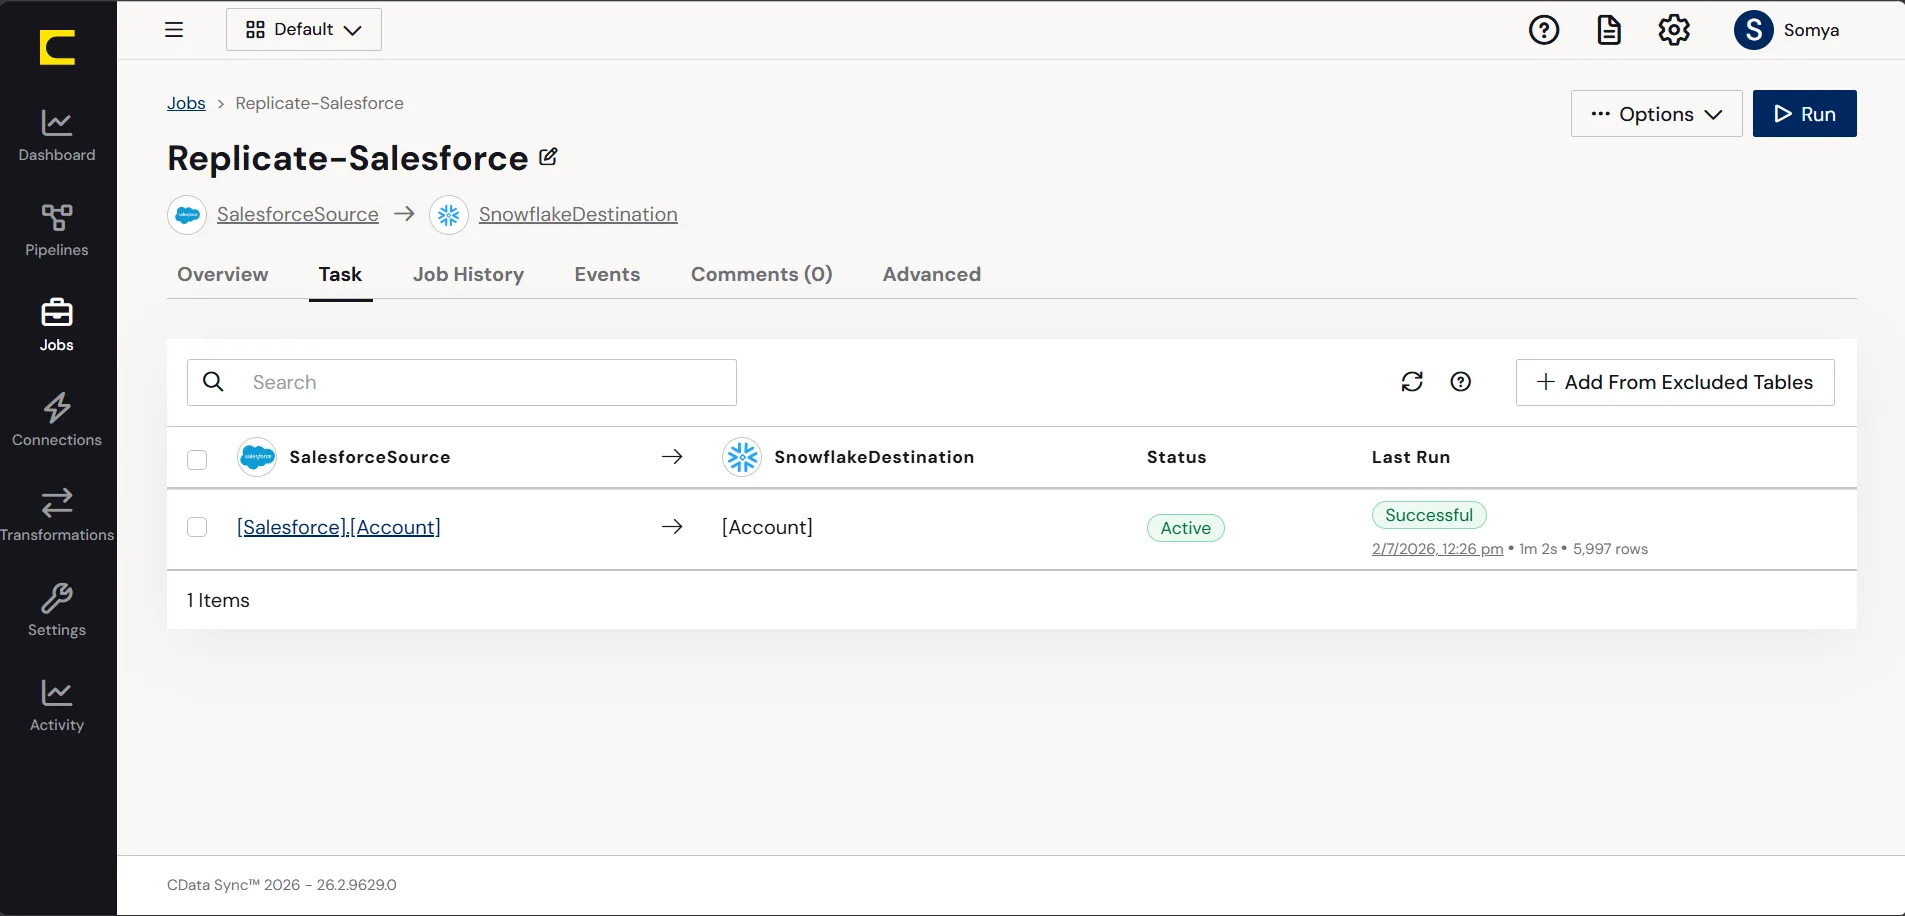
Once you have configured the replication job, click Save Changes. You can configure any number of jobs to manage the replication of your JD Edwards data to Google Cloud SQL.