




LINQ to LINE Data

This article illustrates using LINQ to access tables within the LINE via the CData ADO.NET Data Provider for LINE. To achieve this, we will use LINQ to Entity Framework, which facilitates the generation of connections and can be seamlessly employed with any CData ADO.NET Data Providers to access data through LINQ.
See the help documentation for a guide to setting up an EF 6 project to use the provider.
- In a new project in Visual Studio, right-click on the project and choose to add a new item. Add an ADO.NET Entity Data Model.
- Choose EF Designer from Database and click Next.
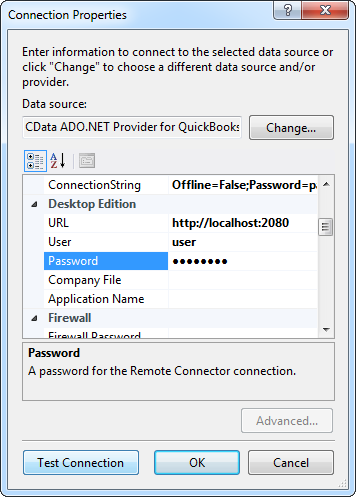
- Add a new Data Connection, and change your data source type to "CData LINE Data Source".
Enter your data source connection information.
Start by setting the Profile connection property to the location of the LINE Profile on disk (e.g. C:\profiles\LINE.apip). Next, set the ProfileSettings connection property to the connection string for LINE (see below).
LINE API Profile Settings
The LINE Messaging API uses Channel Access Token authentication. To obtain a Channel Access Token:
- Log in to the LINE Developers Console at https://developers.line.biz
- Select your provider and open your Messaging API channel.
- Navigate to the Messaging API tab.
- Under Channel access token, click Issue to generate a long-lived token.
- Copy the generated token.
After obtaining your Channel Access Token, set the following connection properties:
- AuthScheme: Set this to APIKey.
Set the following in the ProfileSettings connection property:
- APIKey: Set this to your LINE Channel Access Token.
Below is a typical connection string:
Profile=C:\profiles\LINE.apip;ProfileSettings='APIKey=your_channel_access_token;';AuthScheme=APIKey;- If saving your entity connection to App.Config, set an entity name. In this example we are setting APIEntities as our entity connection in App.Config.
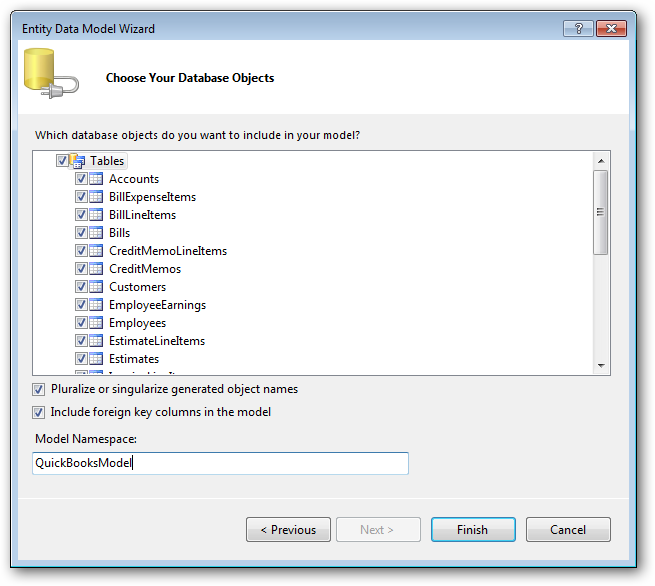
- Enter a model name and select any tables or views you would like to include in the model.
Using the entity you created, you can now perform select commands. For example:
APIEntities context = new APIEntities();

var replymessagedeliveryQuery = from replymessagedelivery in context.ReplyMessageDelivery
  select replymessagedelivery;

foreach (var result in replymessagedeliveryQuery) {
  Console.WriteLine("{0} {1} ", result.Id, result.DeliveryDate);
}
See "LINQ and Entity Framework" chapter in the help documentation for example queries of the supported LINQ.