




Seamlessly Bring Linear Data into Retool Using CData Connect AI

Retool enables the rapid creation of custom internal tools using a low-code or no-code approach. By integrating Linear into Retool with CData Connect AI, you can access live data from Linear in real time, enabling you to build more efficient apps and streamline workflows.
This guide walks you through the simple steps to connect Linear to Retool via CData Connect AI using OpenAPI or the Virtual SQL Server API. You can securely connect to your Linear data, ensuring seamless integration and real-time updates, empowering you to create smarter apps and enhance operational efficiency. Let's get started!
Configure the Linear Connectivity for Retool (in CData Connect AI)
Overview
Here is an overview of the steps:
- Configure: (Optional) Set up your Linear data source in CData Connect AI, add a Workspace, add assets to your Workspace, and generate a Personal Access Token (PAT).
- Connect: Link Retool to CData Connect AI using OpenAPI or the Virtual SQL Server API.
- Explore: Use your connected data to build smarter apps and explore advanced integrations.
Prerequisites
Ensure you have the following before starting:
- An active Linear account and credentials.
- A CData Connect AI account. Log in or sign up for a free trial here.
- A Retool account. Sign up here.
Connect to Linear from Connect AI
CData Connect AI uses a straightforward, point-and-click interface to connect to data sources.
- Log into Connect AI, click Sources, and then click Add Connection
- Select "Linear" from the Add Connection panel
-
Enter the necessary authentication properties to connect to Linear.
You can authenticate to Linear with a personal API key or with OAuth 2.0. The API key is the simplest option for connecting with your own Linear account.
Authenticating with an API Key
Set the following connection properties:
- AuthScheme: Set this to APIKey.
- APIKey: A Linear personal API key.
To create a personal API key, log in to Linear, open Settings > Security & access > Personal API keys, select New API key, and create it. Copy the key immediately, because Linear shows it only once.
Authenticating with OAuth
OAuth requires a custom OAuth application registered in Linear (Settings > API > OAuth applications), which provides the OAuthClientId and OAuthClientSecret. Two flows are supported:
- Authorization code: Set AuthScheme to OAuth, InitiateOAuth to GETANDREFRESH, and provide OAuthClientId, OAuthClientSecret, and the CallbackURL defined in your application (e.g., http://localhost:33333). The driver opens Linear in your browser so you can grant access.
- Client credentials: Set AuthScheme to OAuthClient and provide OAuthClientId and OAuthClientSecret. This authenticates the application itself, with no browser interaction, and suits machine-to-machine integrations.
By default, the driver requests the read,write scopes. The driver refreshes the access token automatically when it expires.

- Click Save & Test
-
Navigate to the Permissions tab in the Add Linear Connection page and update the User-based permissions.



Add a Personal Access Token
When connecting to Connect AI through the REST API, the OData API, or the Virtual SQL Server, a Personal Access Token (PAT) is used to authenticate the connection to Connect AI. It is best practice to create a separate PAT for each service to maintain granularity of access.
- Click on the Gear icon () at the top right of the Connect AI app to open the settings page.
- On the Settings page, go to the Access Tokens section and click Create PAT.
-
Give the PAT a name and click Create.

- The personal access token is only visible at creation, so be sure to copy it and store it securely for future use.
Configure Linear Endpoints for Retool
After connecting to Linear, create a workspace for your desired table(s).
-
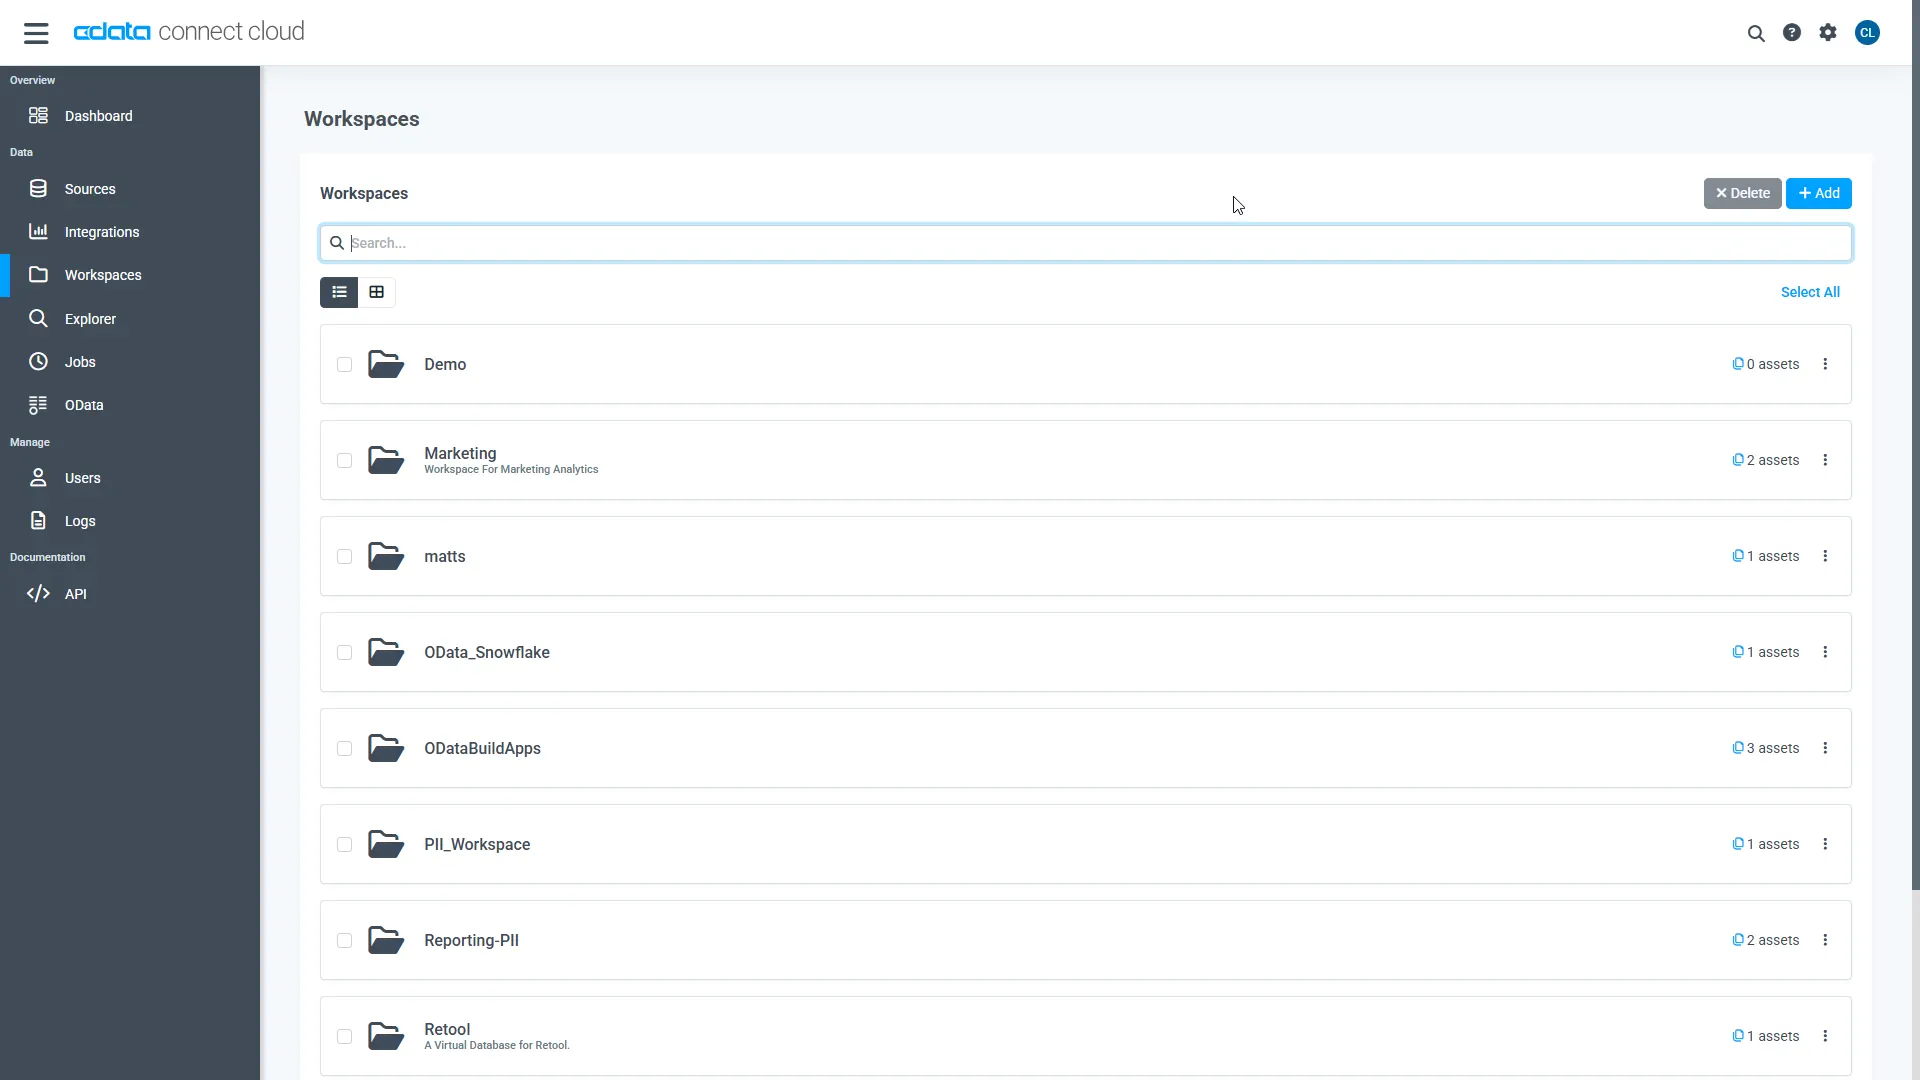
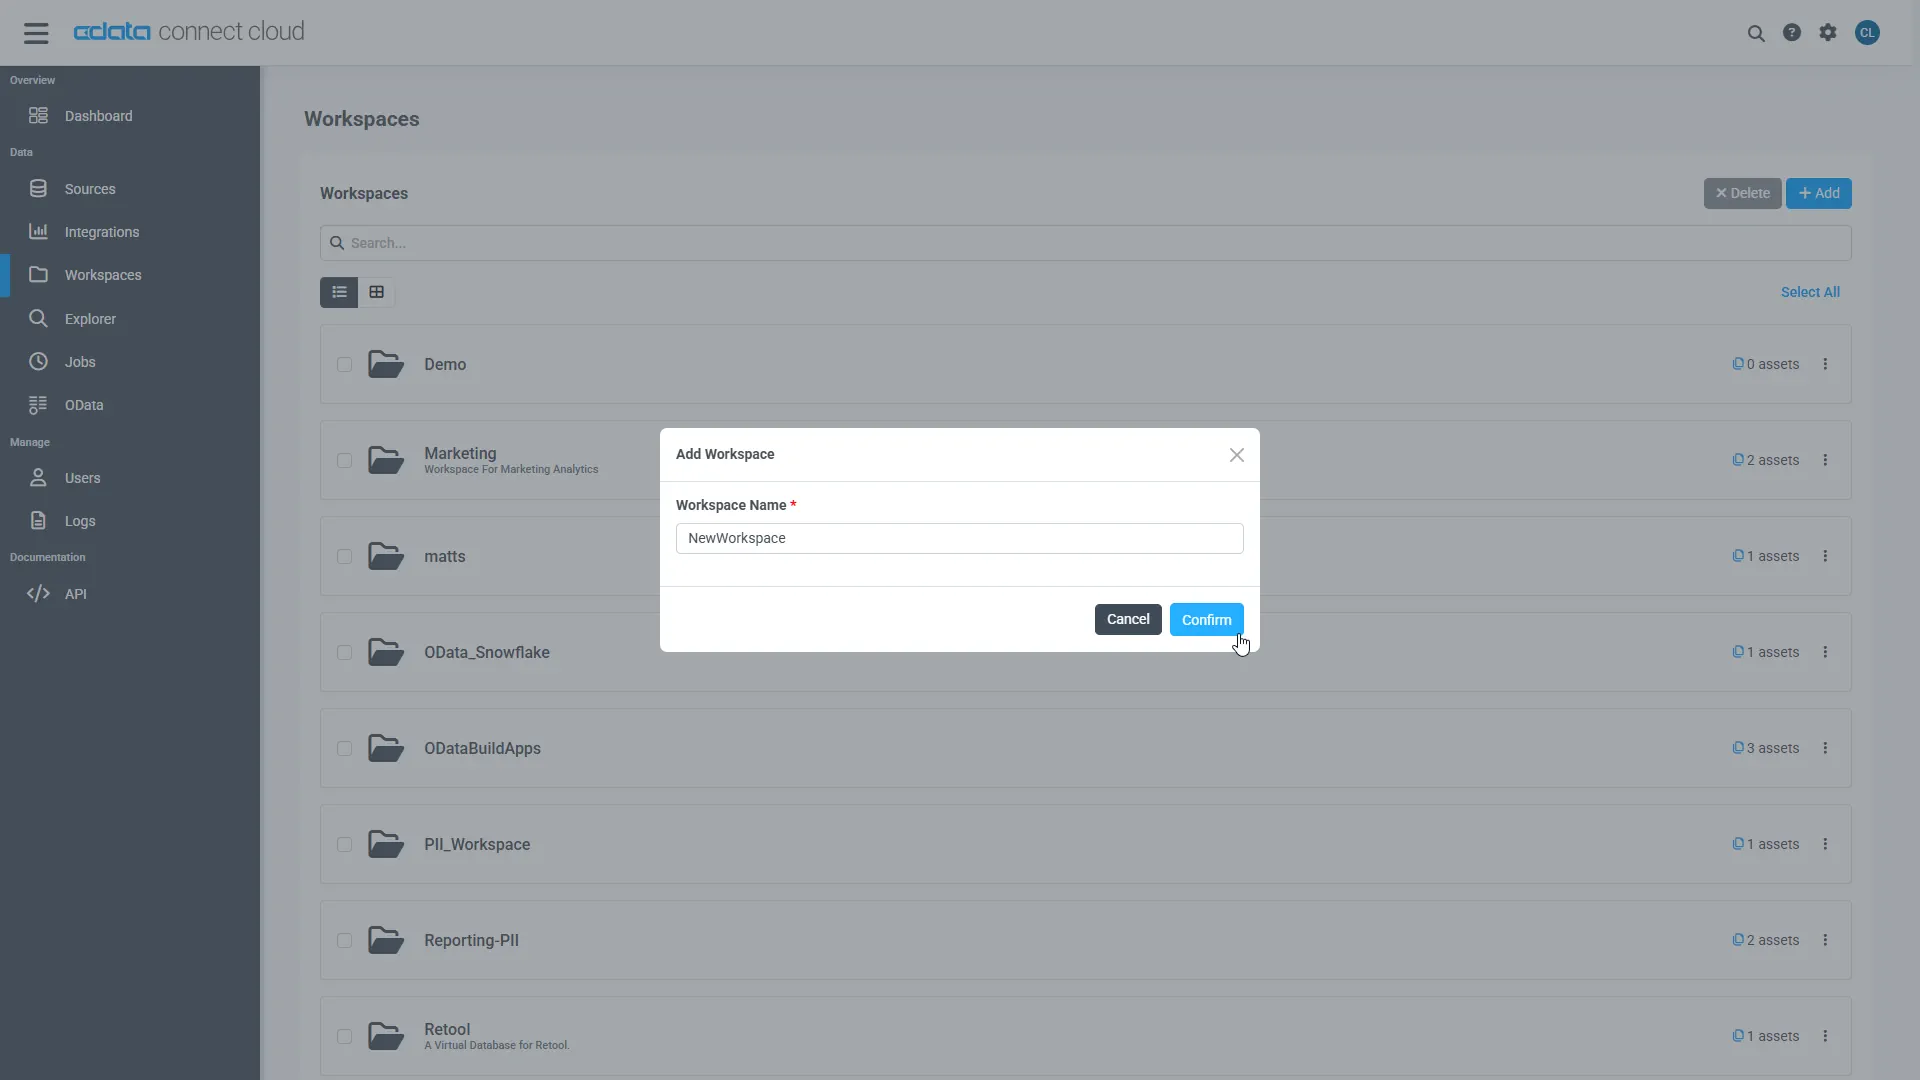
Navigate to the Workspaces page and click Add to create a new Workspace (or select an existing workspace).
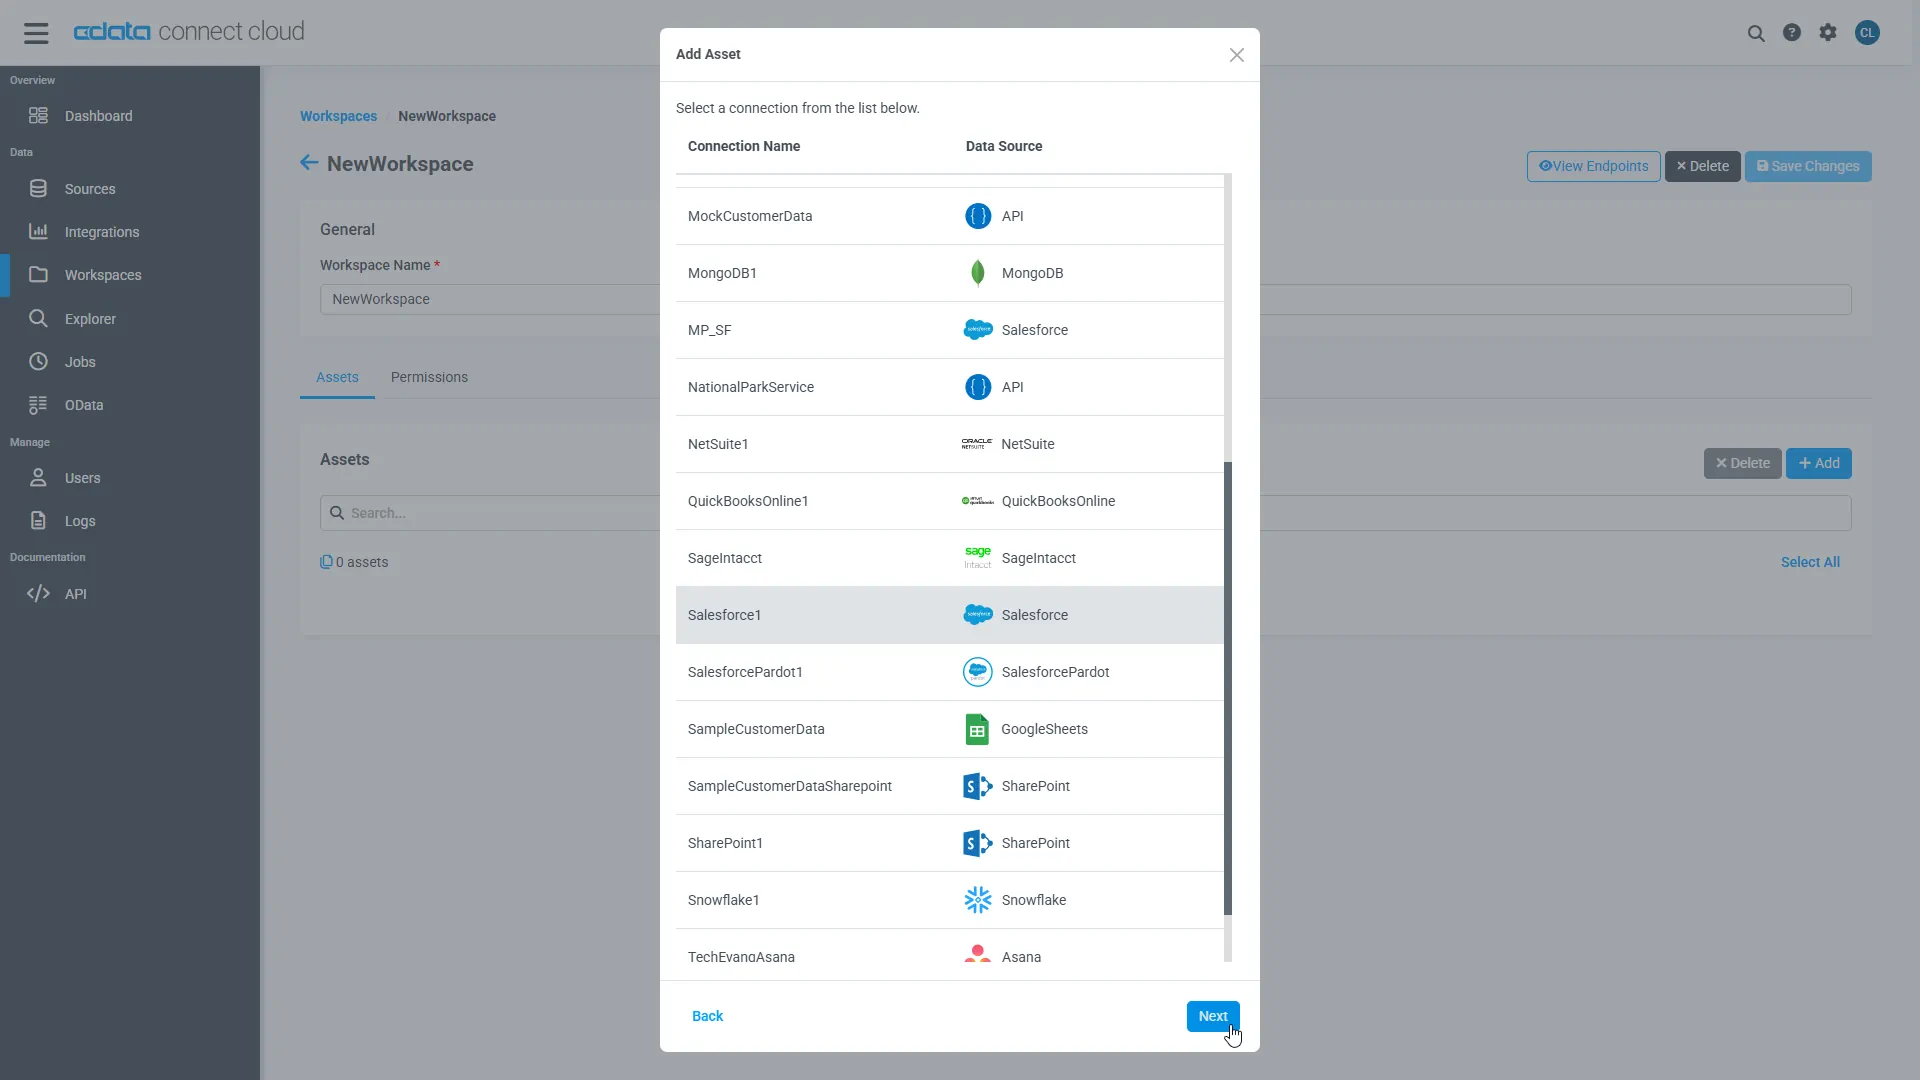
- Click Add to add new assets to the Workspace.
-
Select the Linear connection (e.g. Linear1) and click Next.
-
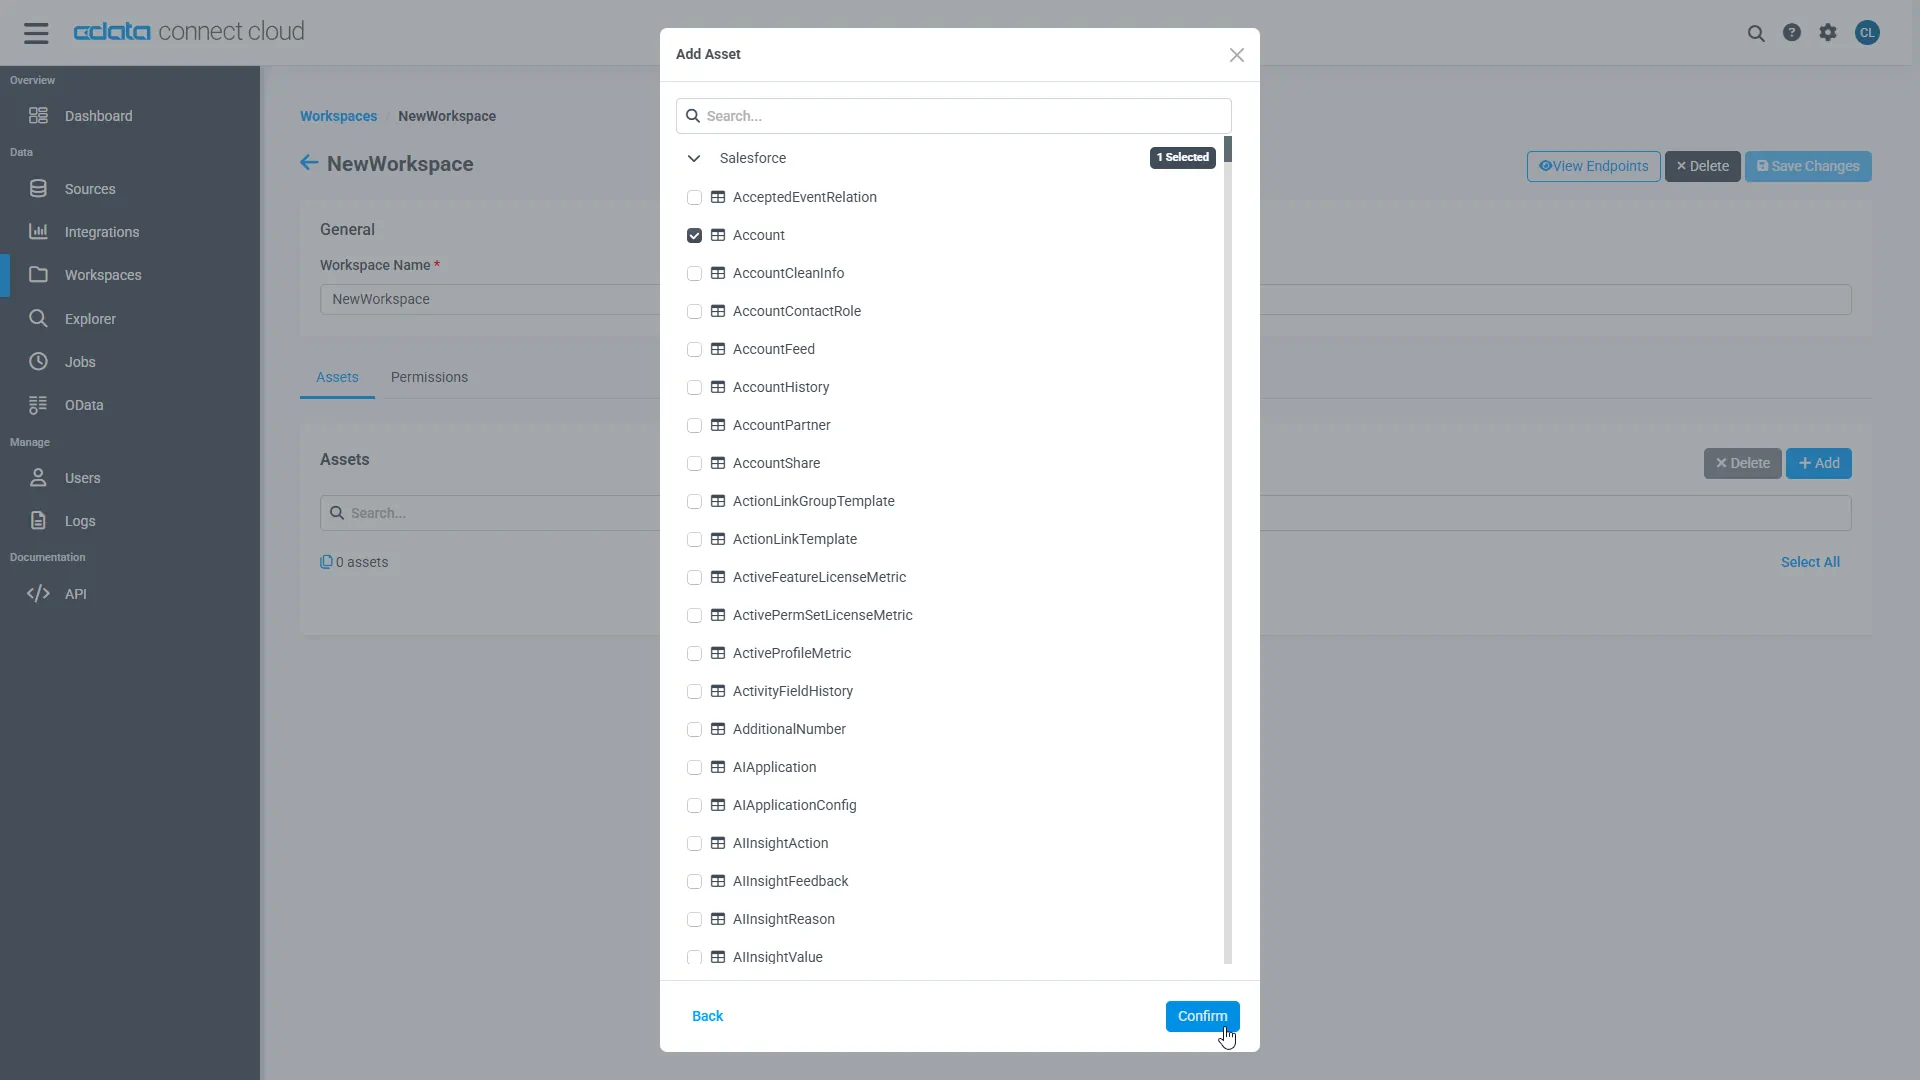
Select the table(s) you wish to work with and click Confirm.
- Make note of the OpenAPI URL or the Virtual SQL Server URL for your workspace, e.g. https://cloud.cdata.com/api/openapi/v3/{workspace_name}...
With the connection, PAT, and Workspace configured, you are ready to connect to Linear data from Retool.
Connect Retool to Linear in CData Connect AI
Now that you've configured your Linear connection in CData Connect AI, it's time to integrate it with Retool.
Retool can be connected to Linear in CData Connect AI via either OpenAPI or the Virtual SQL Server API. Choose the method that best suits your workflow:
Connect via OpenAPI
To connect using the OpenAPI specification, follow these steps:
- On CData Connect AI, from the left-hand side, go to Workspaces then select a Workspace.
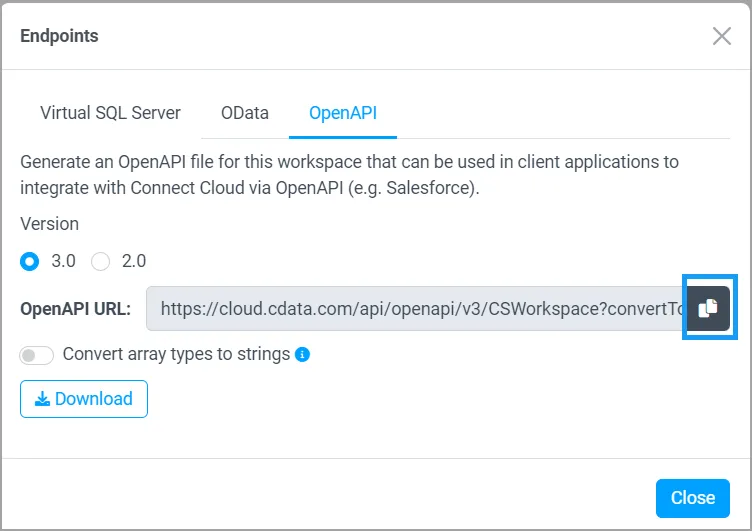
- Click the View Endpoints, and under the OpenAPI, copy the OpenAPI URL for the workspace. Keep the default options. See OpenAPI section for more information.
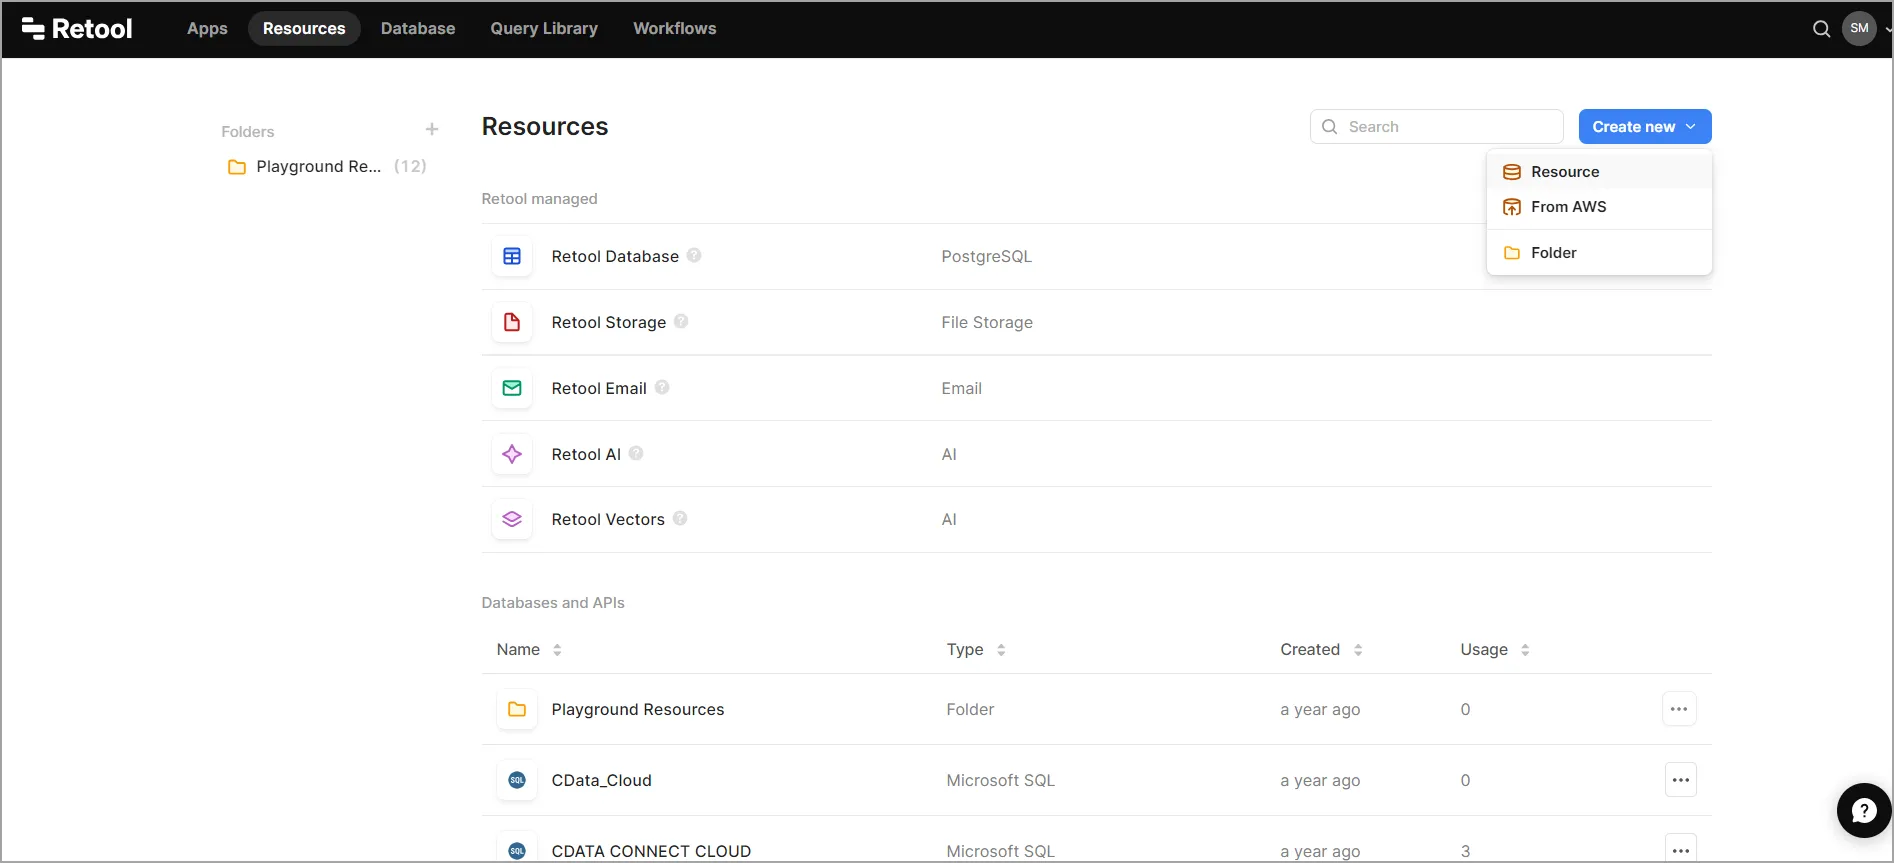
- Login to Retool and then go to the Resources tab, click Create new > Resource.
- In the Select a resource type search bar, and search for OpenAPI.
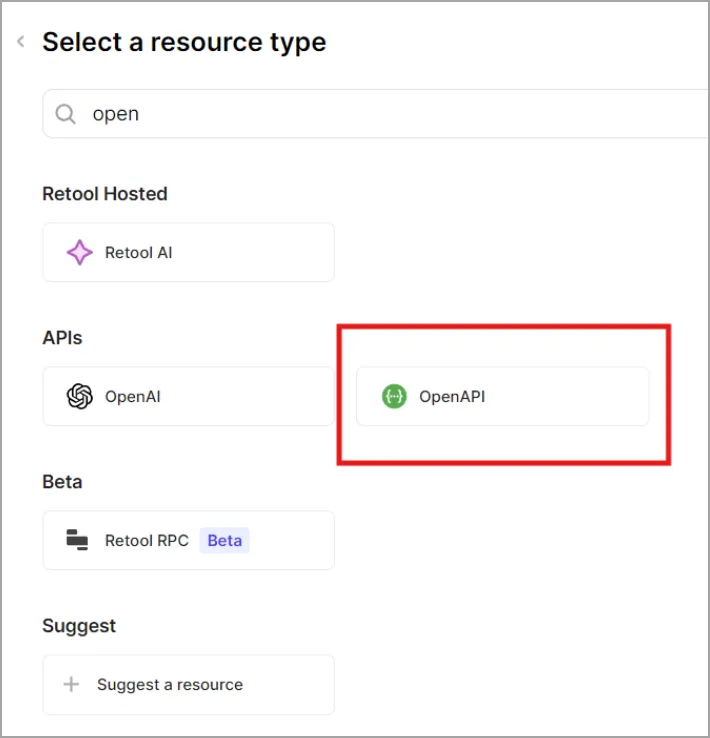
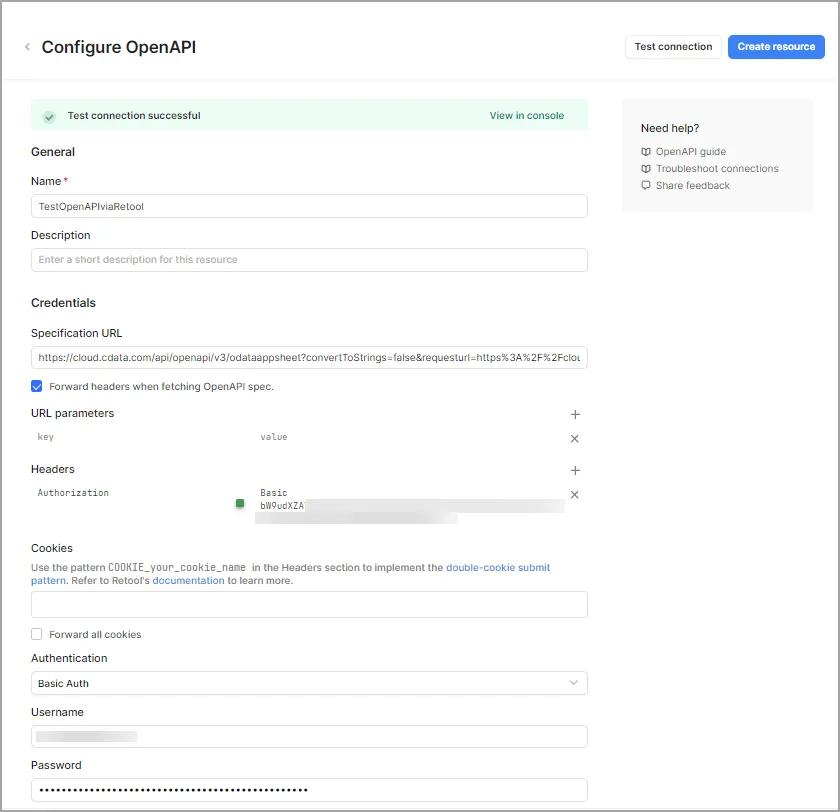
- Click OpenAPI. The Configure OpenAPI screen appears. Enter the following information to configure the OpenAPI connector:
- Name: The Connection Name to identify the connector on Retool.
- Specification URL: The OpenAPI URL you copied from the Workspace in CData Connect AI. Paste the URL here.
- Forward headers when fetching OpenAPI spec: Check this box.
- Under the URL parameters, keep the key-value pair unchanged.
- In the Headers section, write the key as Authorization and in the value, write Basic.
- For the Basic connection value, Retool requires a base64-encoded version of your CData Connect AI username:PAT combination (where PAT is the token you generated earlier). Use a tool like this to encode the value. For example, [email protected]:12345 encodes to dGVzdEBjZGF0YS5TIzNDU=. Copy this encoded value and paste it into the value field after Basic with a space.
- Username: Enter your CData Connect AI username. This is displayed in the top-right corner of the CData Connect AI interface. For example, [email protected].
- Password: Enter the PAT you generated on the Settings page.
- Click Test connection to test your connection configuration. Once you have a successful connection, click Create resource.
- Create the app in Retool in which to integrate your data.
- Click Create resource query.
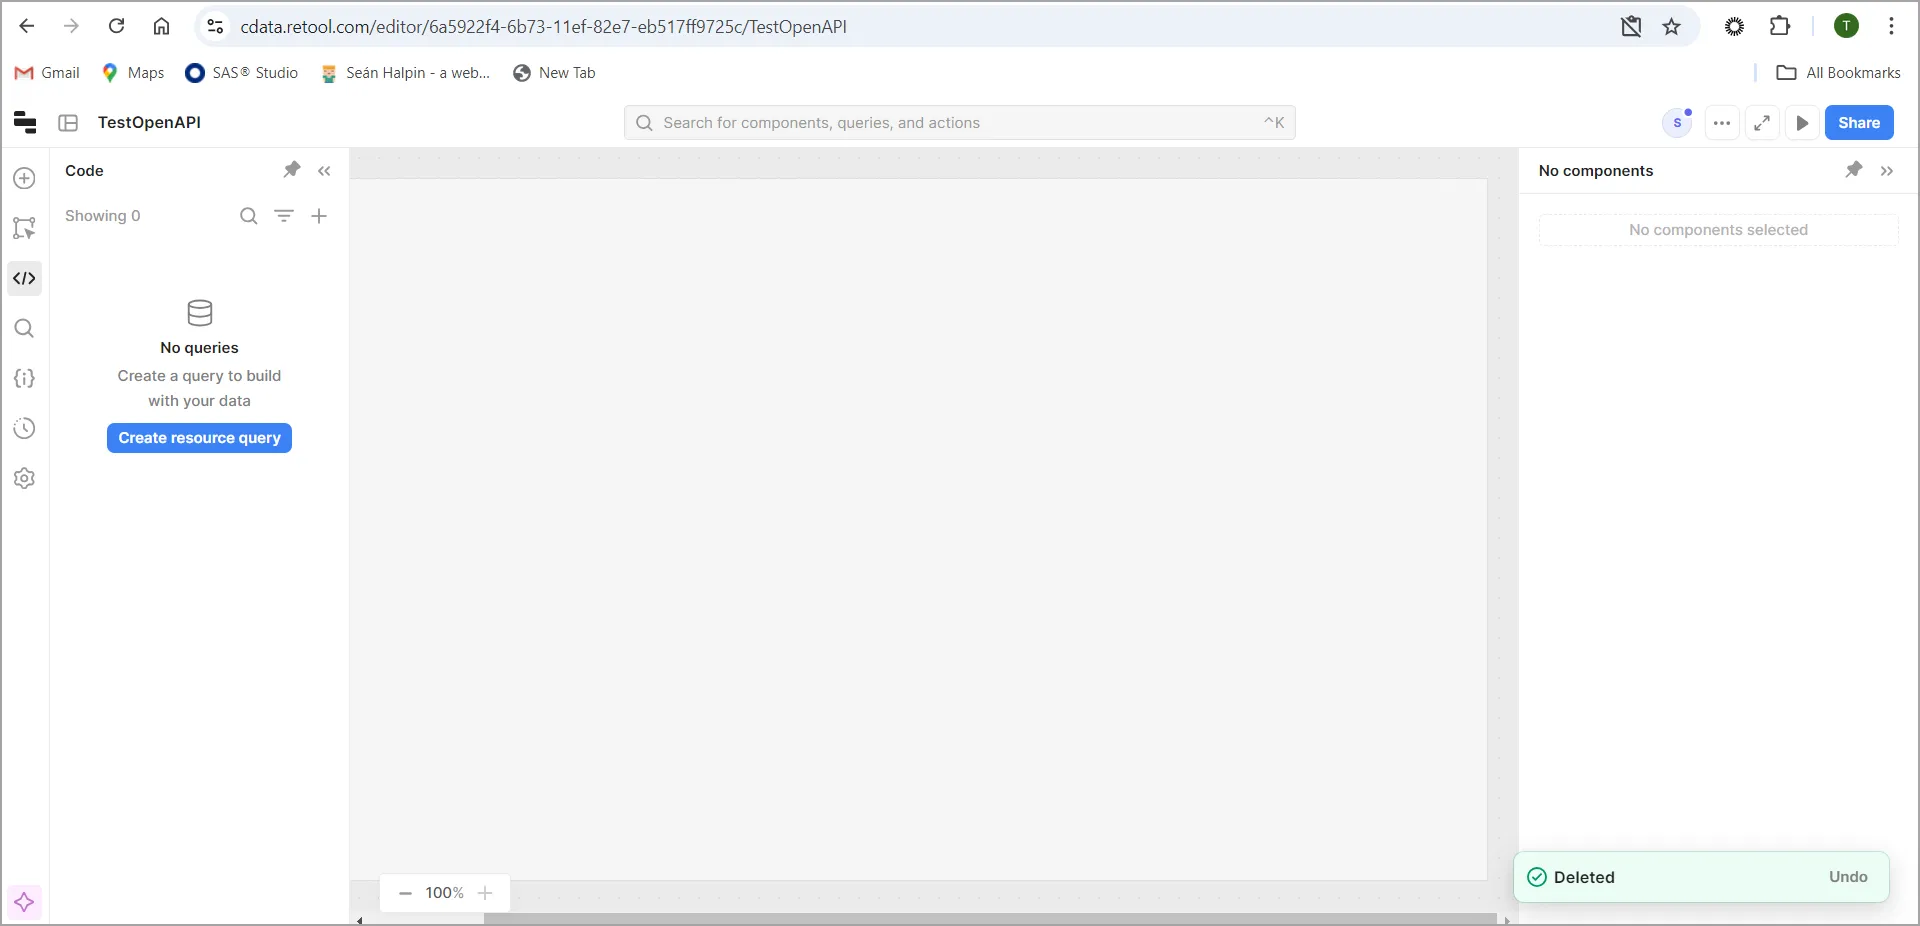
- Select the new resource you created, and view the endpoints that are available.
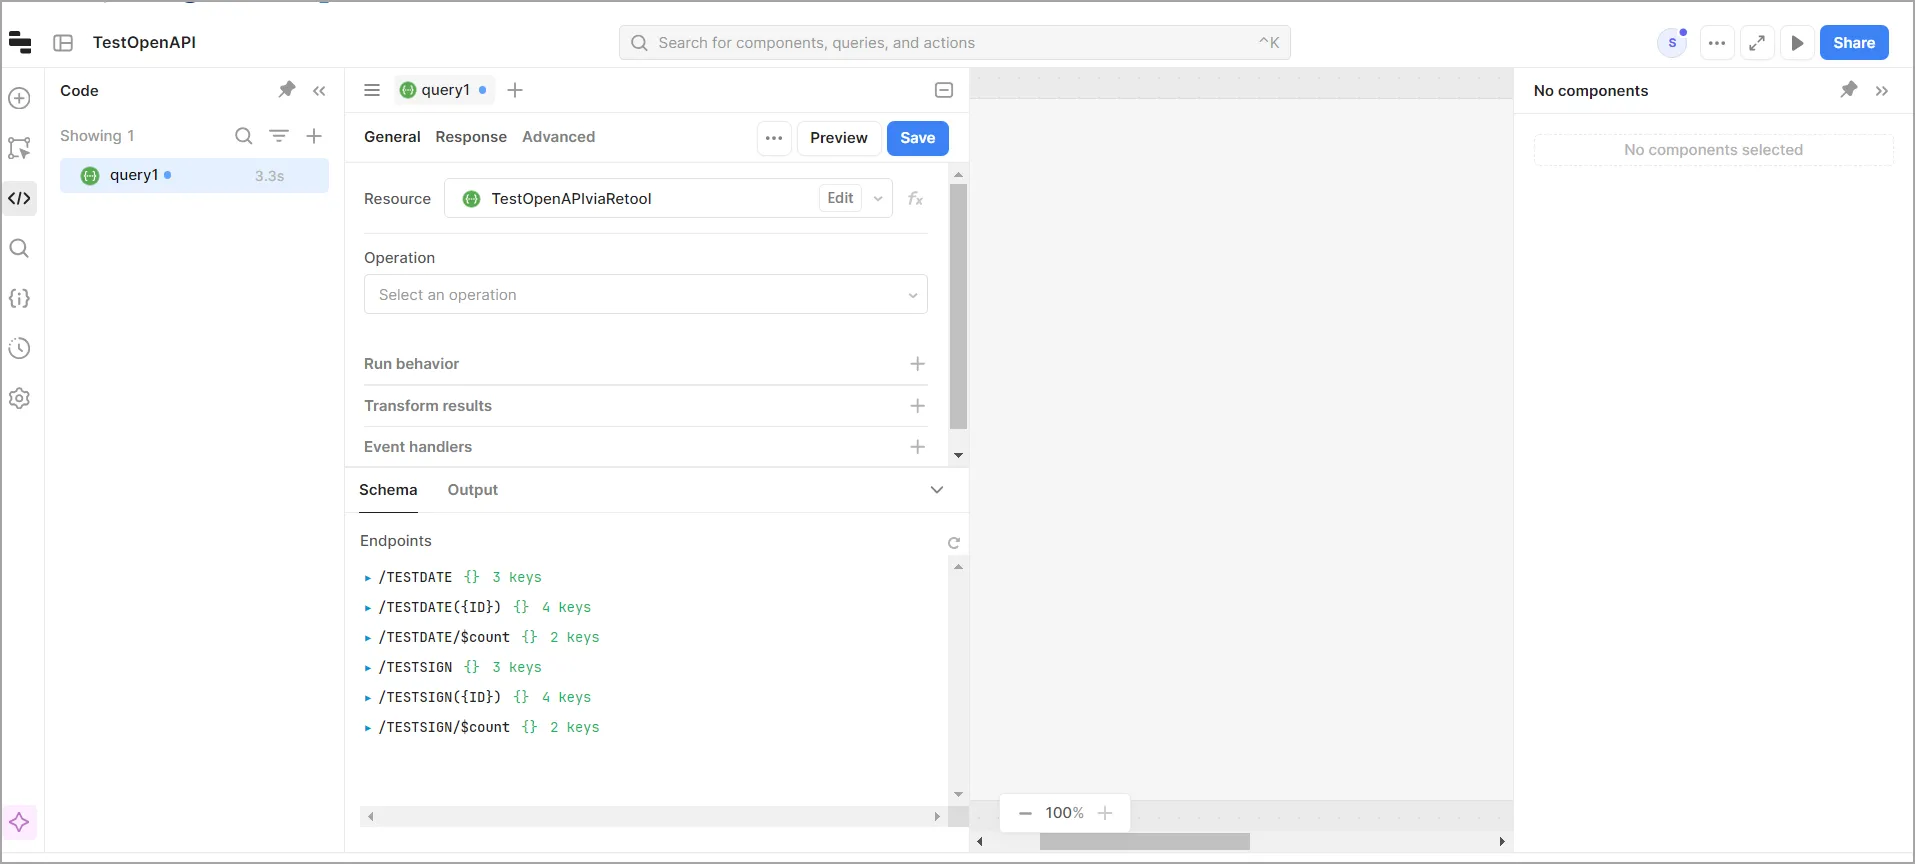
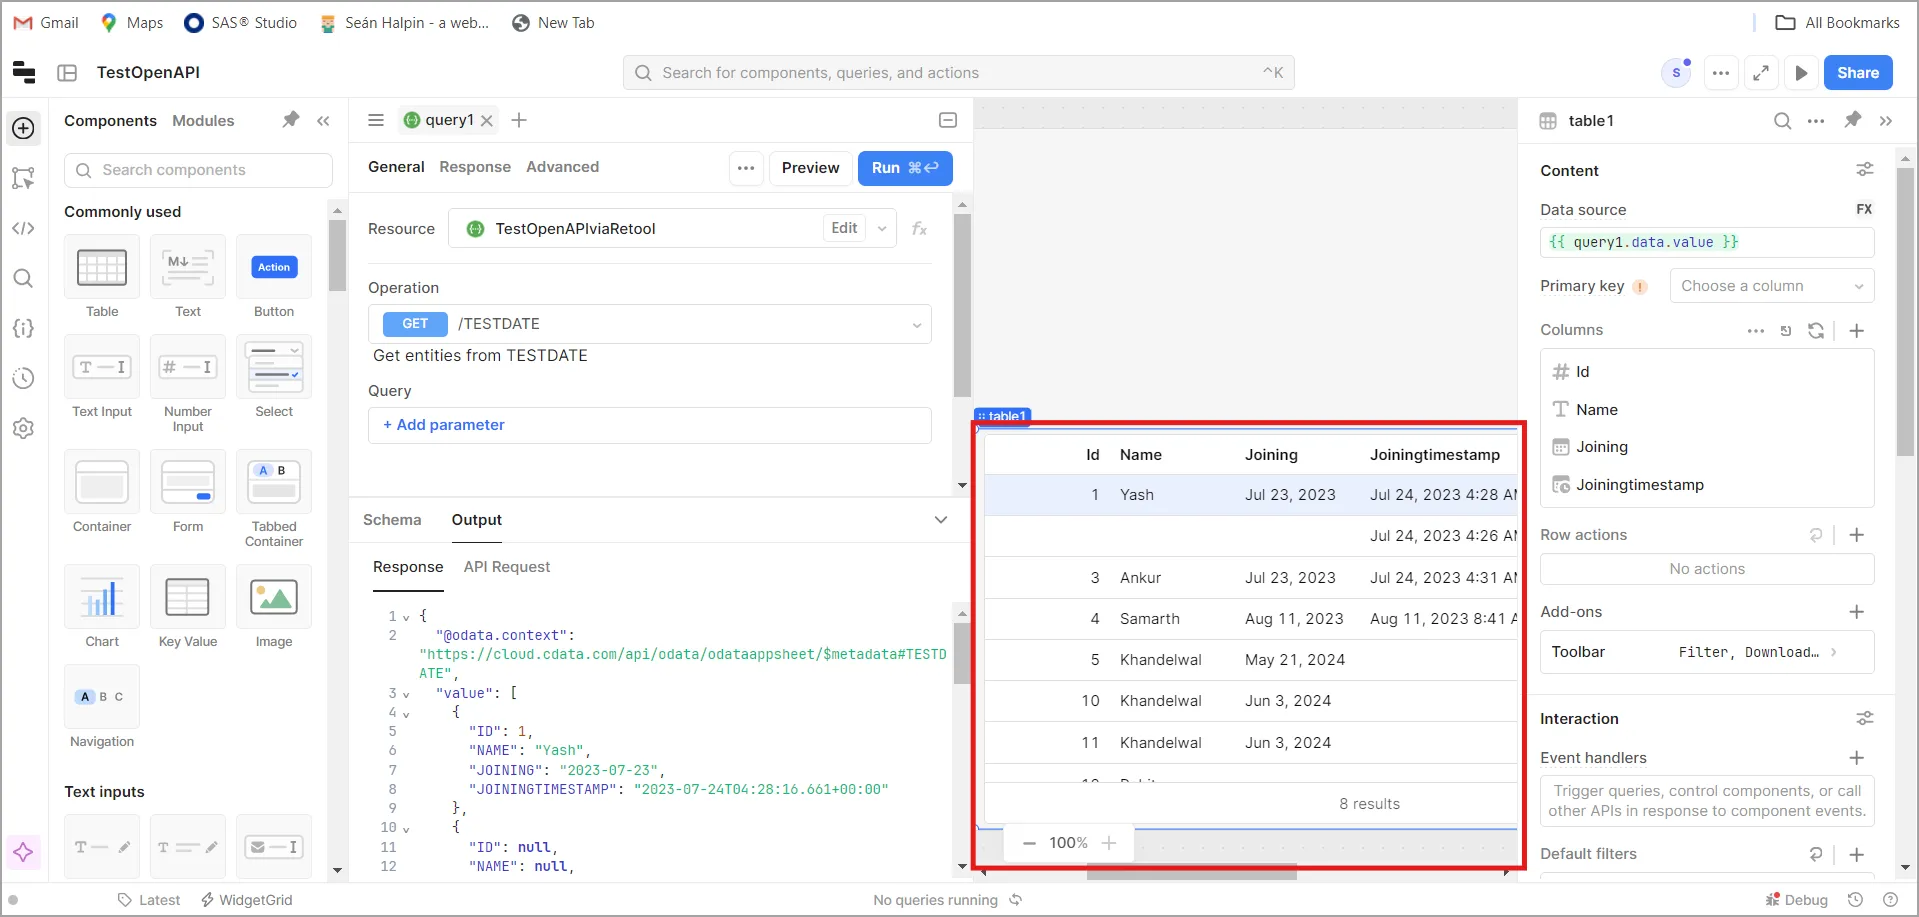
- You can now build your app with your live Linear data.
Connect via Virtual SQL Server API
To connect using the Virtual SQL Server API, follow these steps:
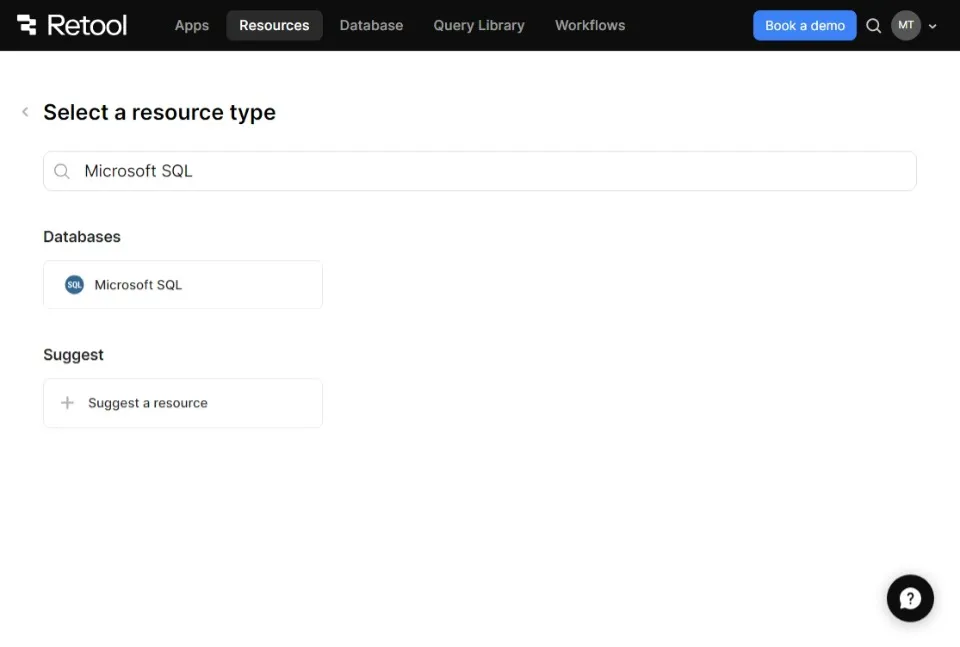
- Login to Retool, then go to Resources. Click Connect New at the top-right and select Resources.
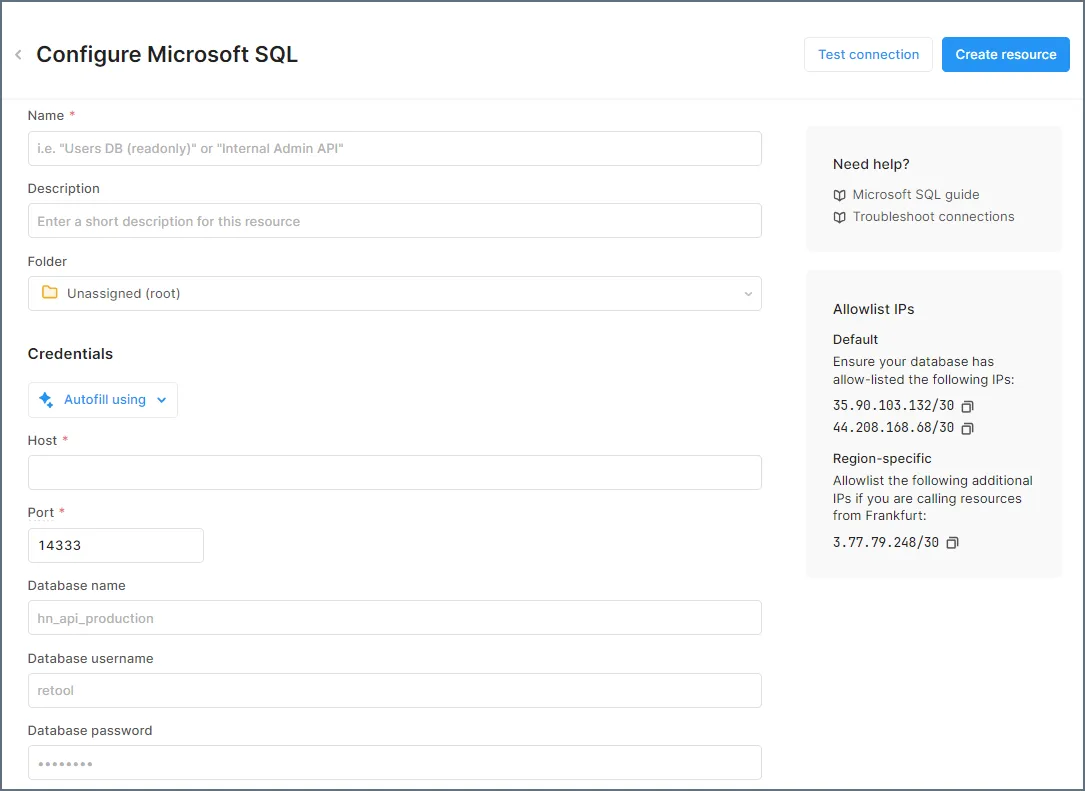
- Enter Microsoft SQL in the search bar, click the resulting option, and enter the following details:
- Name: A name for the connection to CData Connect AI.
- Host: tds.cdata.com.
- Port: 1433.
- Database Name: Enter the Connection Name of the CData Connect AI data source you want to connect to (for example, Salesforce1).
- Database Username: Enter your CData Connect AI username. This is displayed in the top-right corner of the CData Connect AI interface. For example, [email protected].
- Database Password: Enter the PAT you generated on the Settings page.
- Click Test Connection. If the connection fails, you might need to whitelist CData Connect AI IPs for Retool and other data sources. Check out the documentation here.
- If it succeeds, click Create Resource.
- Your connection is now set up, and you can build your app with live Linear data.
Build Retool Apps with Your Live Linear Data
Now that you have integrated Linear with Retool using CData Connect AI, it's time to utilize your live data to its full potential. Let's build a simple app:
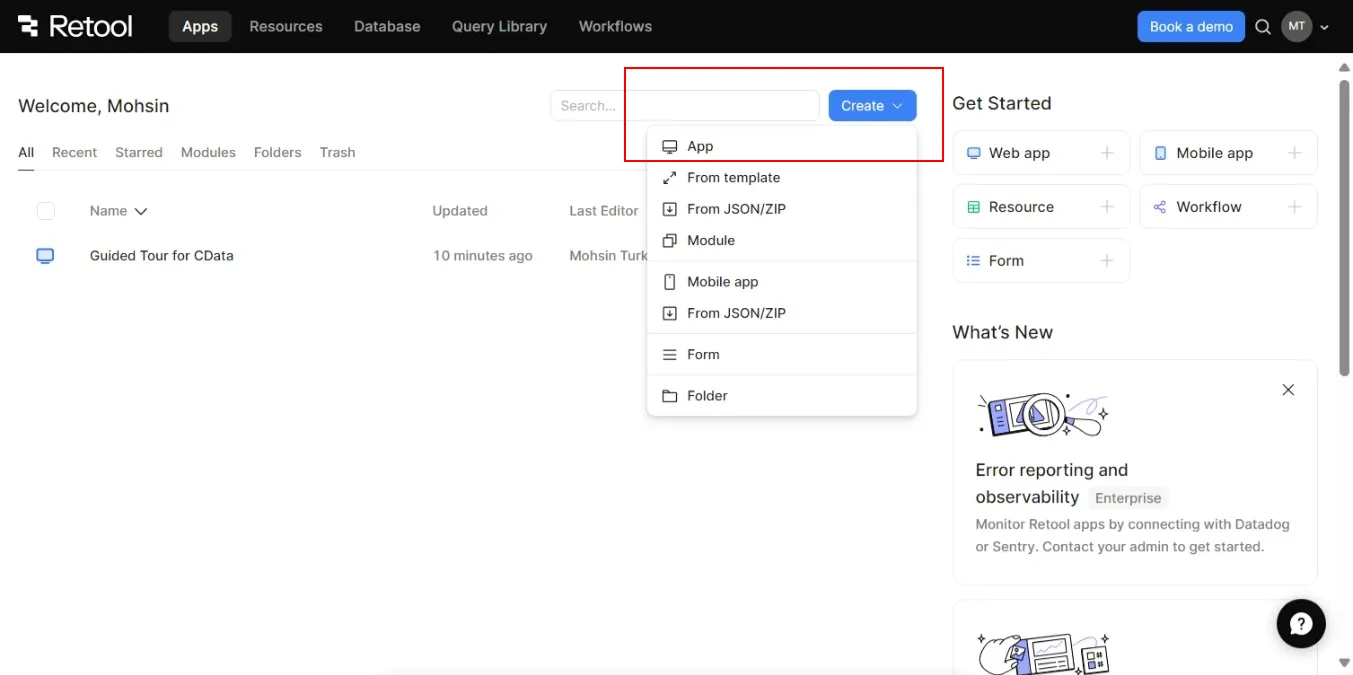
- Step 1: Set Up the Table (on home screen)
- Create a New App in Retool.
- Select your Linear connection.
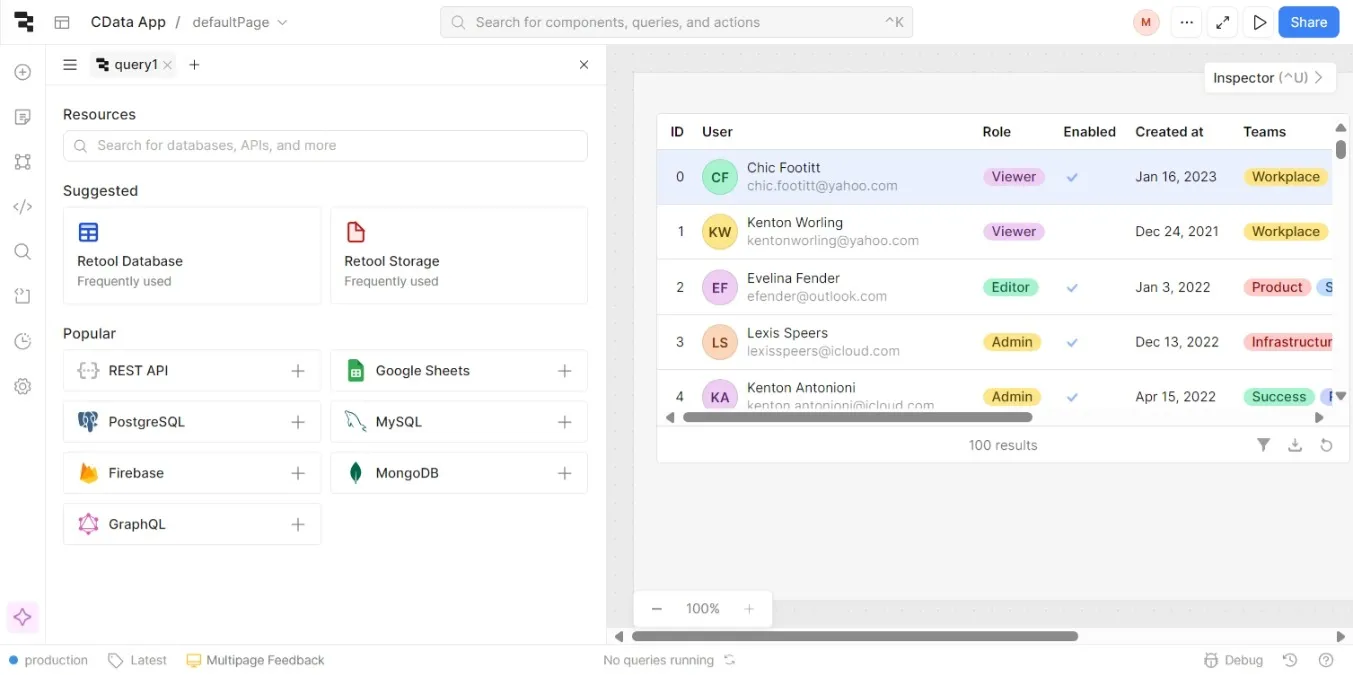
- Add a Table component and bind it to Linear's data.
- Step 2: Add Filters (on top-right)
- Add a Dropdown to filter by Opportunity Stage.
- Add a Text Input for searching Account Name.
- Step 3: Display Key Metrics (below Table)
- Add a Text component to show Total Amount of filtered opportunities.
- Use a query to sum the Amount for filtered data.
- Step 4: Add Visuals (top-right or side panel)
- Add a Bar Chart to visualize opportunities by Stage.
- Add a Line Chart to show Expected Revenue over time.
- Step 5: Test and Deploy (top-right)
- Test filters, search, and charts.
- Deploy the app and share the link for access.
With these steps, you've successfully created a dynamic app to manage and visualize your Salesforce opportunities. Enjoy exploring your live data and leveraging it for better insights!
Try CData Connect AI Free for 14 Days
Experience real-time Linear data access and enhanced app development with CData Connect AI in Retool. Start your free trial today!