




Build Apps with Live Linear Data Using the Low-Code Development Platform of Mendix

Mendix, developed by Siemens, is a low-code platform used to rapidly develop, test, and deploy web and mobile applications, facilitating digital transformation and enhancing business agility. When paired with the CData JDBC Driver for Linear, you can use your Linear data to create various applications using Mendix Studio Pro.
With built-in optimized data processing, the CData JDBC driver offers unmatched performance for interacting with live Linear data. When you issue complex SQL queries to Linear, the driver pushes supported SQL operations, like filters and aggregations, directly to Linear and utilizes the embedded SQL engine to process unsupported operations client-side (often SQL functions and JOIN operations). Its built-in dynamic metadata querying allows you to work with and analyze Linear data using native data types.
This article shows how you can easily create an application that utilizes Linear data in Mendix by combining the JDBC interface provided by Mendix with the CData JDBC Driver for Linear.
Preparing the Mendix environment
In this section, we will explore how to develop an app using Mendix Studio Pro, as previously introduced, with Linear data. Be sure to install Mendix Studio Pro beforehand.
Install the CData JDBC Driver for Linear
First, install the CData JDBC Driver for Linear on the same machine as Mendix. The JDBC Driver will be installed in the following path:
C:\Program Files\CData\CData JDBC Driver for Linear 20xx\lib\cdata.jdbc.linear.jarCreate an application
Now let's start creating the app. First, let's make an app that has the Database Connector available.
- Launch Mendix Studio Pro and click 'Create New App.'
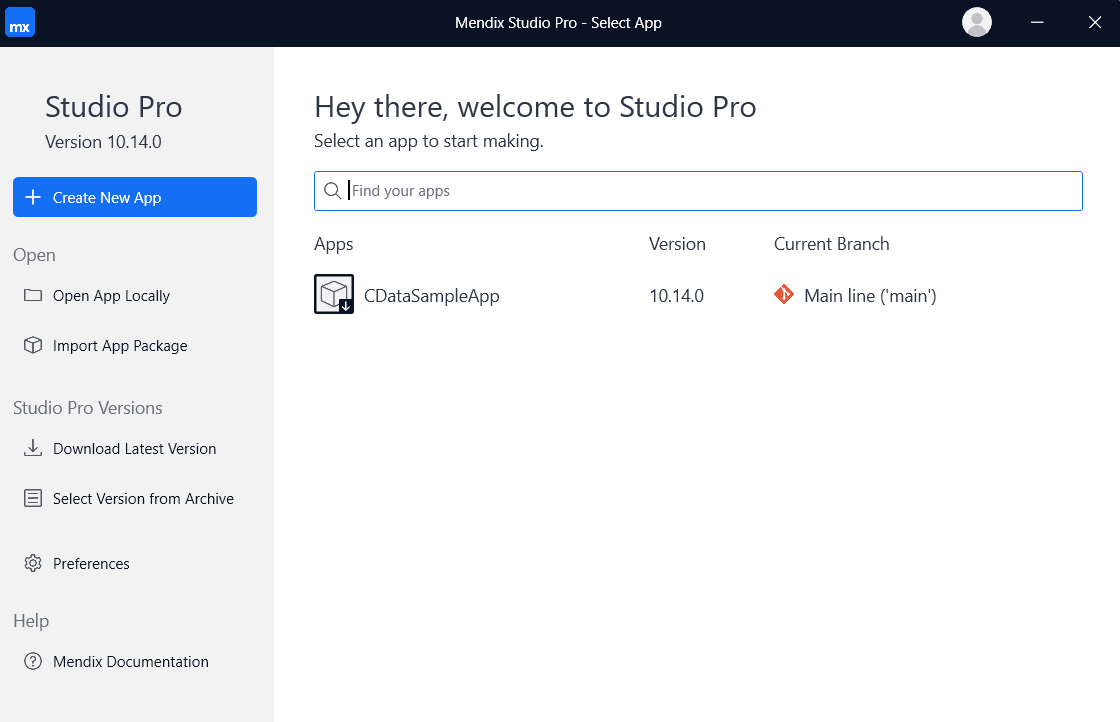
- Select the 'Blank Web App' option.
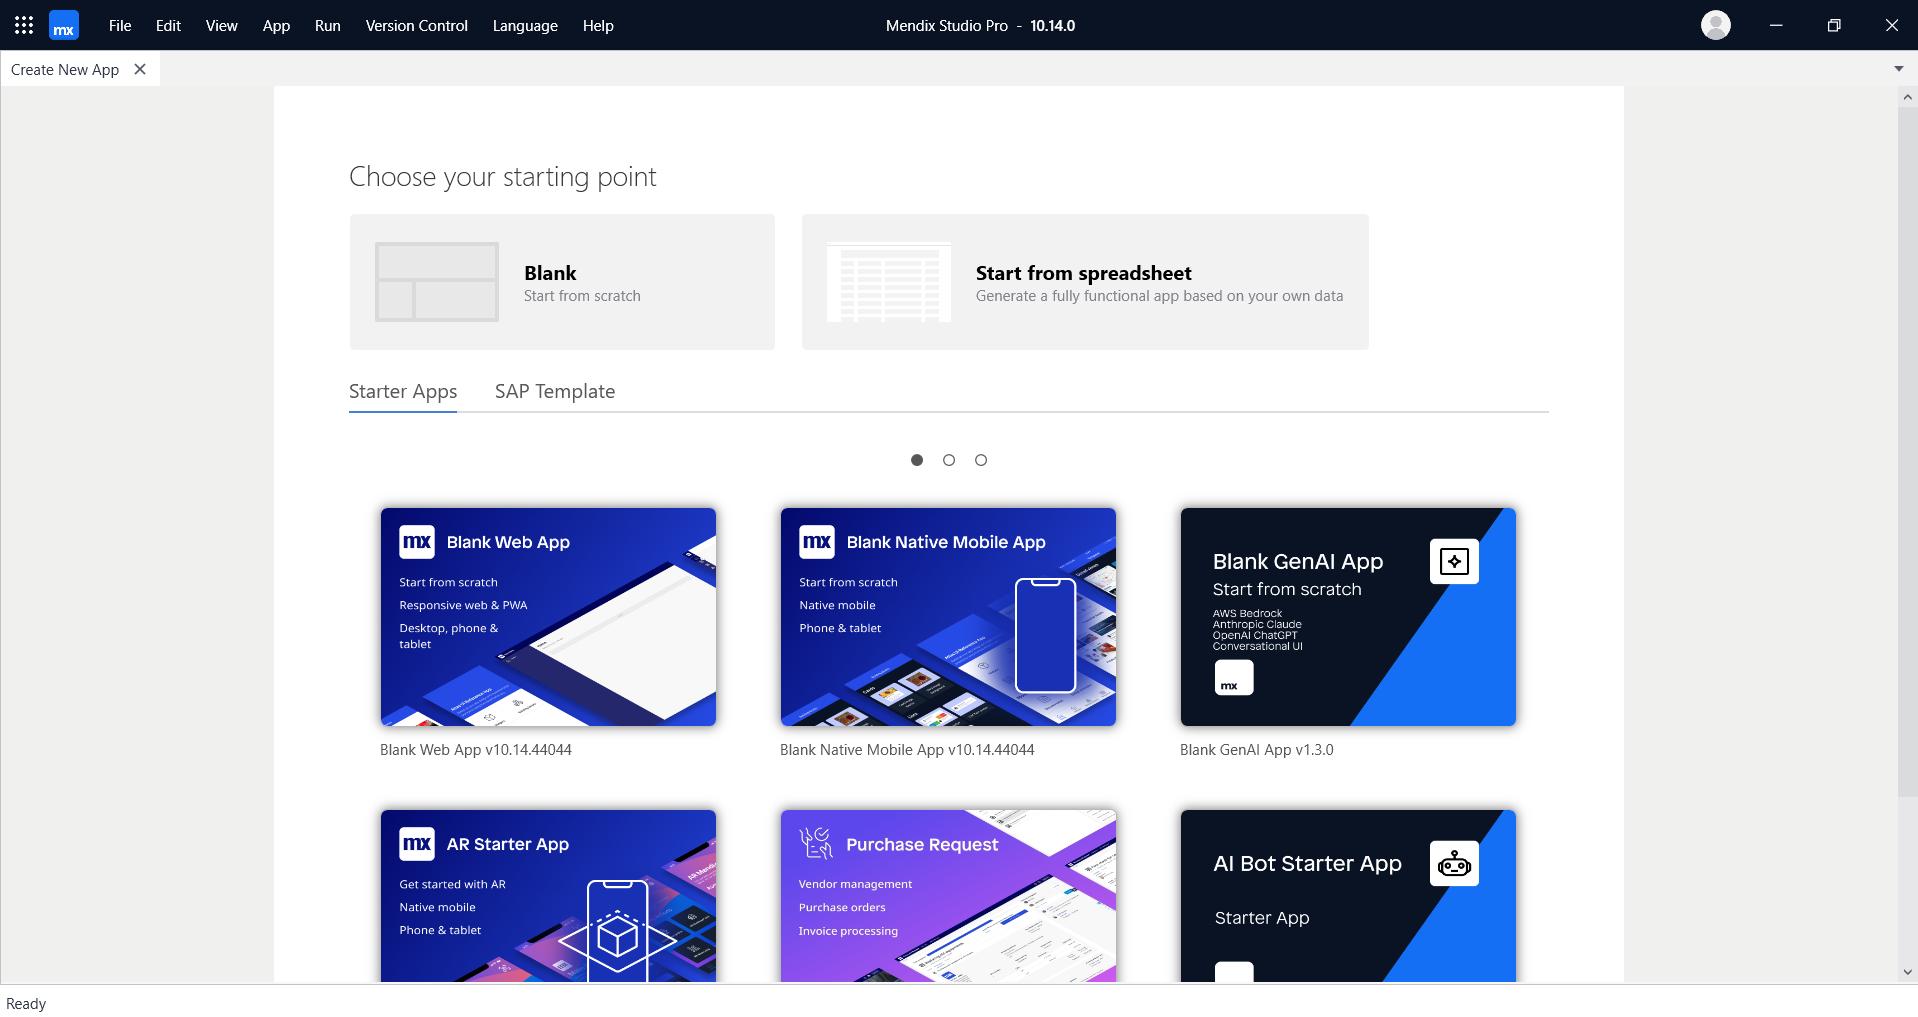
- Click 'Use this starting point' to proceed.
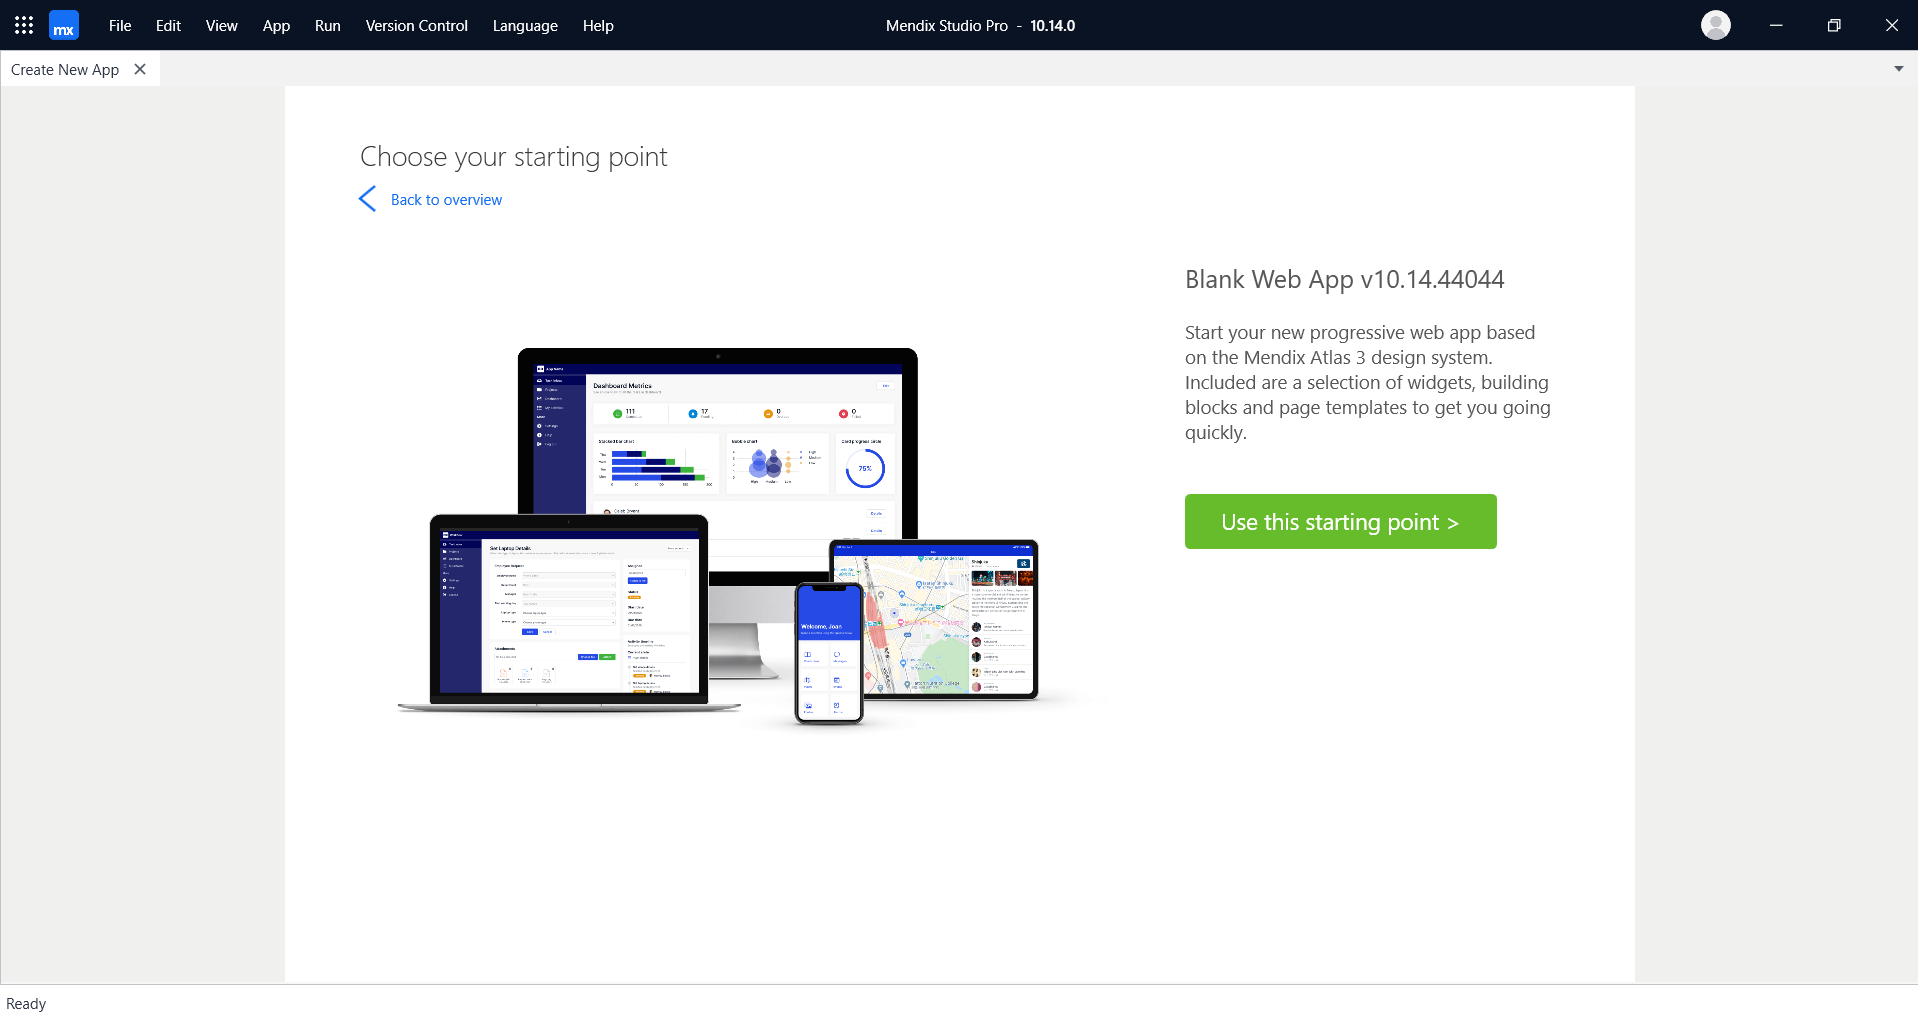
- Create an app with a name of your choice. Also, note down the "Disk location" information, for future reference.
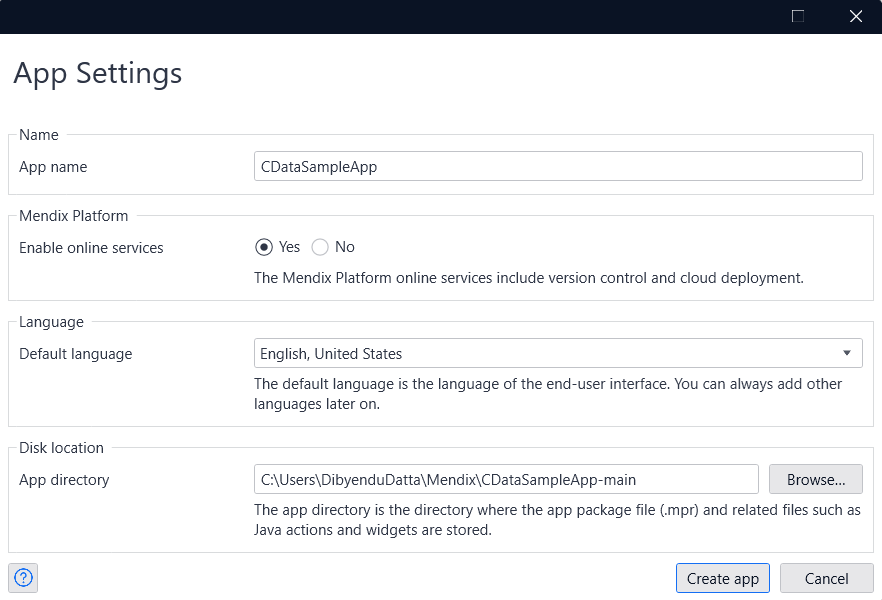
- You have now created a brand-new app.
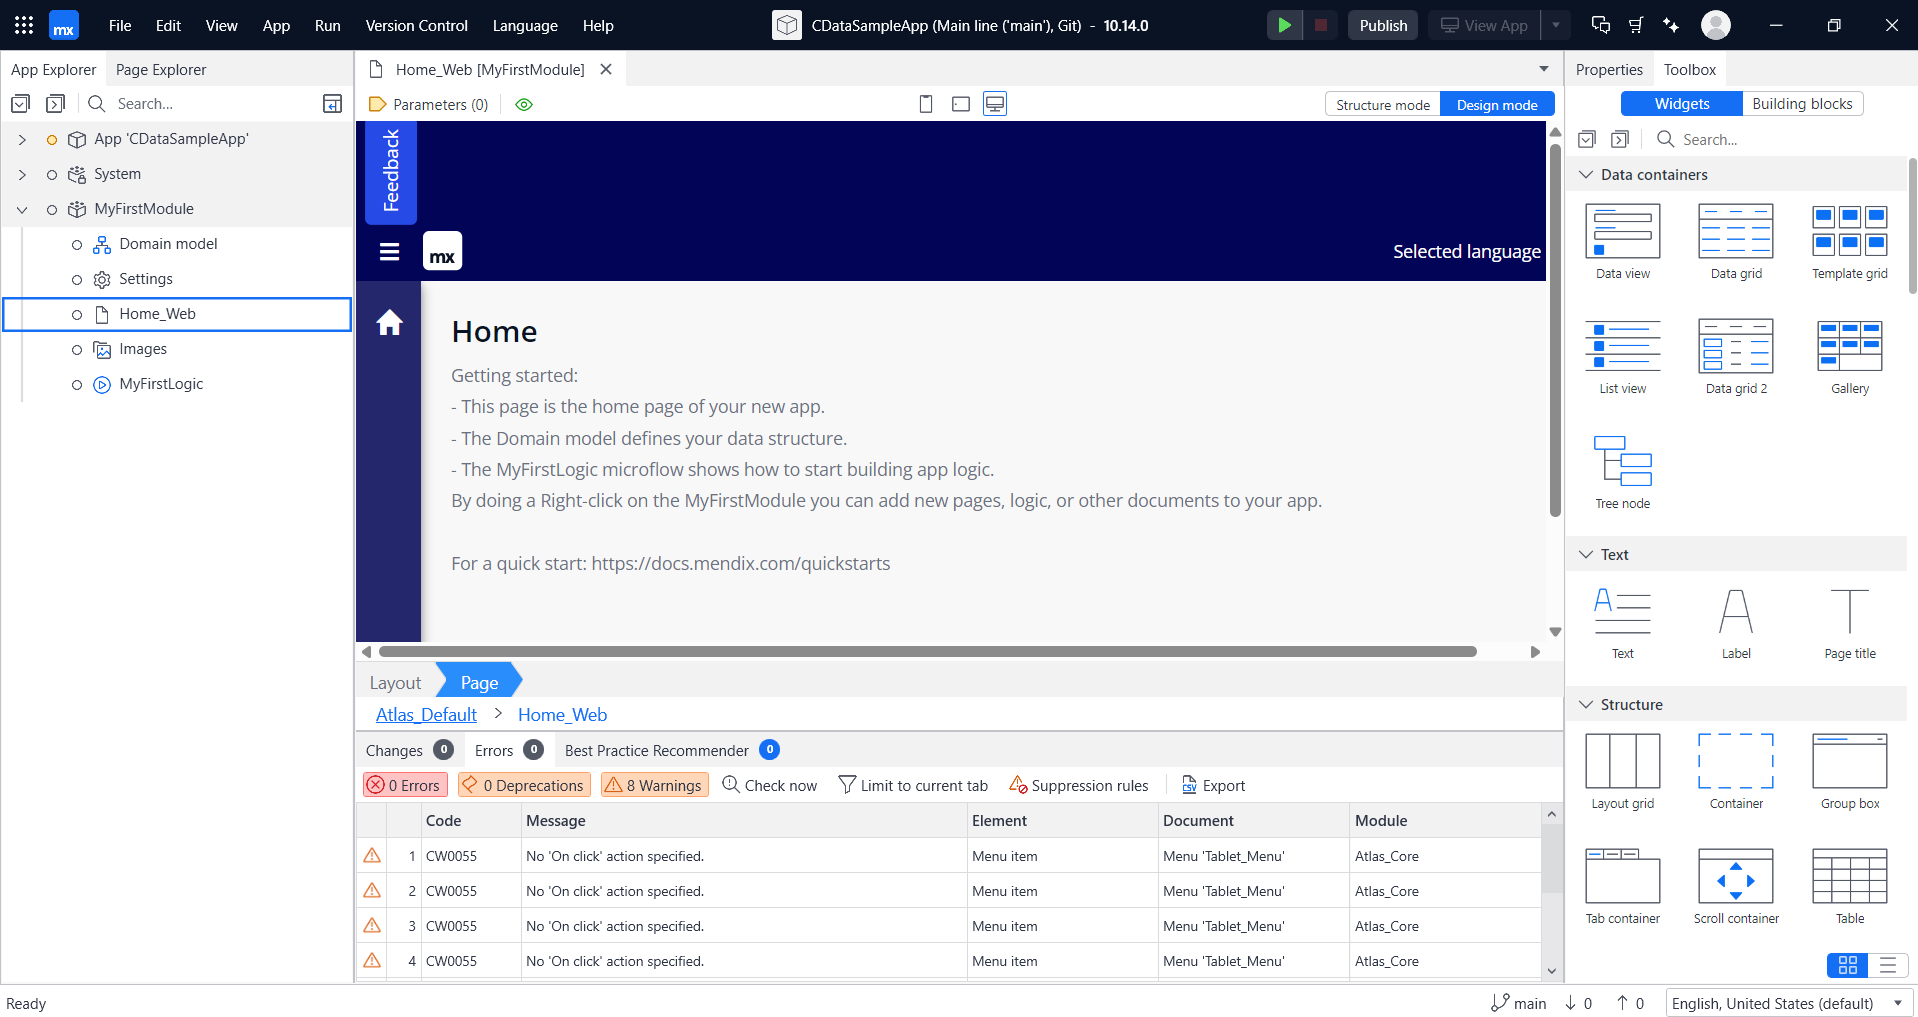
Add the Database Connector to your application
Next, add the Database Connector module to the app you just created.
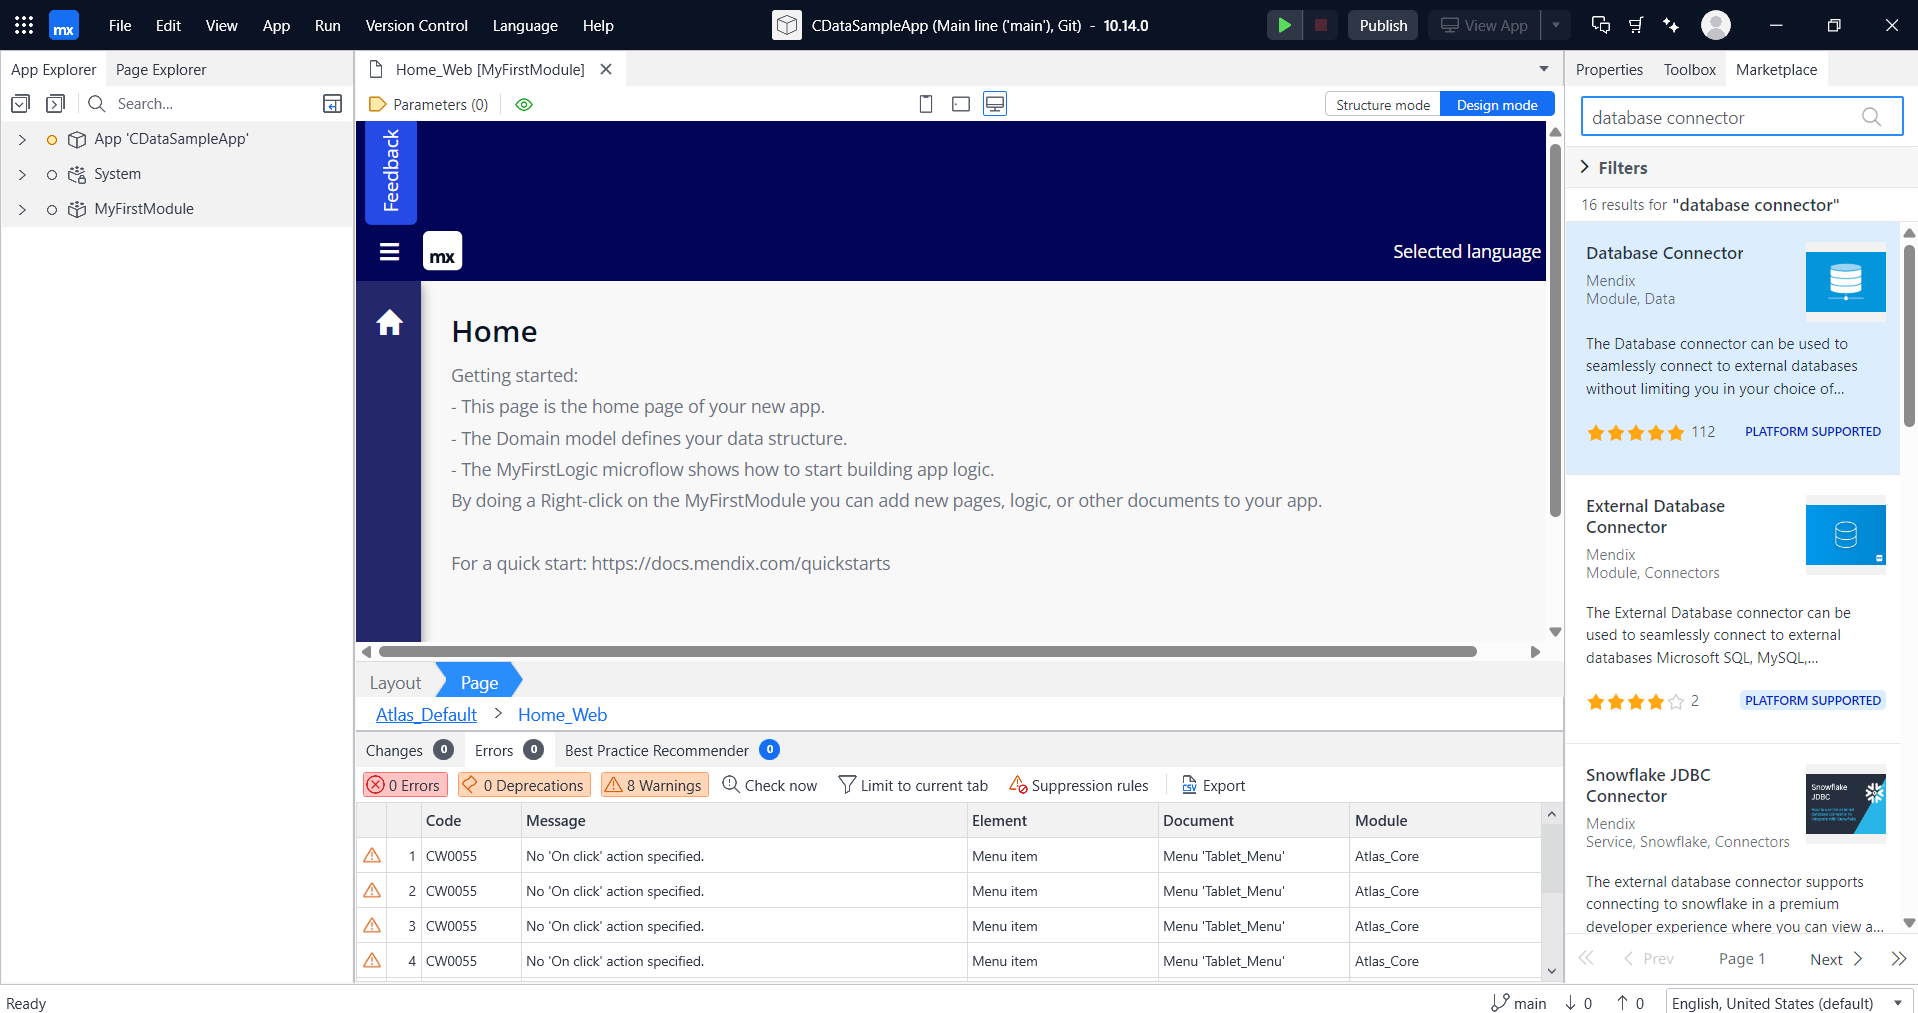
- On the top right, click on the Marketplace button.
- Search for Database Connector in the Marketplace search section and select it.
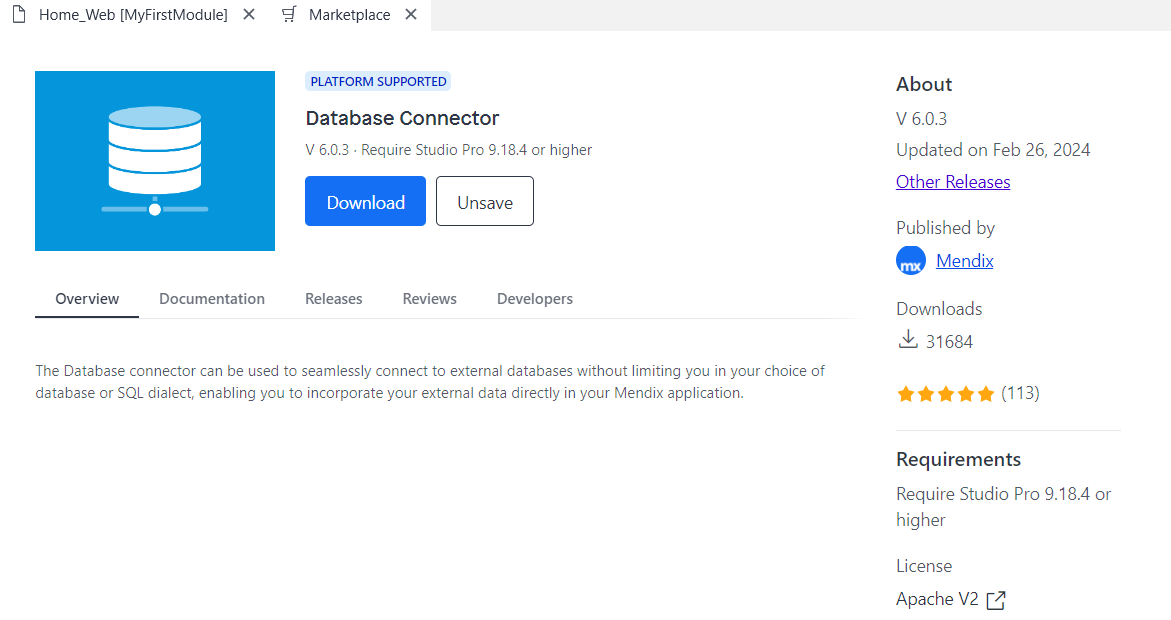
- Click on Download to download the latest Database Connector.
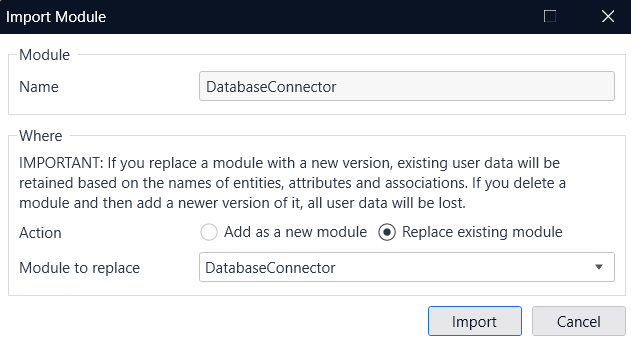
- In the Import Module window, select the Action as Add as a new module.
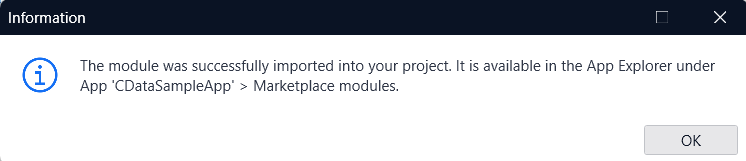
- If the Database Connector appears on the app screen, you are good to move on to the next steps.
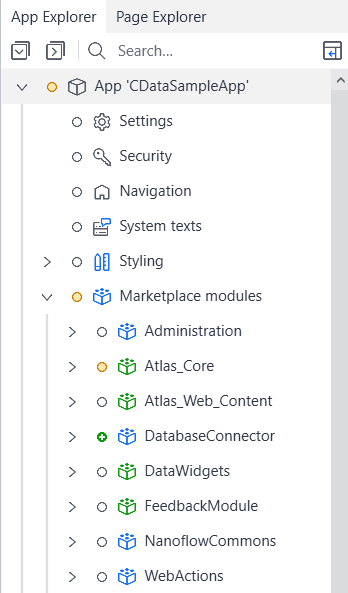
Adding the JDBC Driver to Mendix Studio Pro
To use the CData JDBC driver with this Database Connector, you must add the JDBC Driver JAR file to your project.
- In the Mendix project folder you noted earlier, there is a folder named 'userlib.' Place the two files, 'cdata.jdbc.linear.jar' and 'cdata.jdbc.linear.lic,' into that folder.
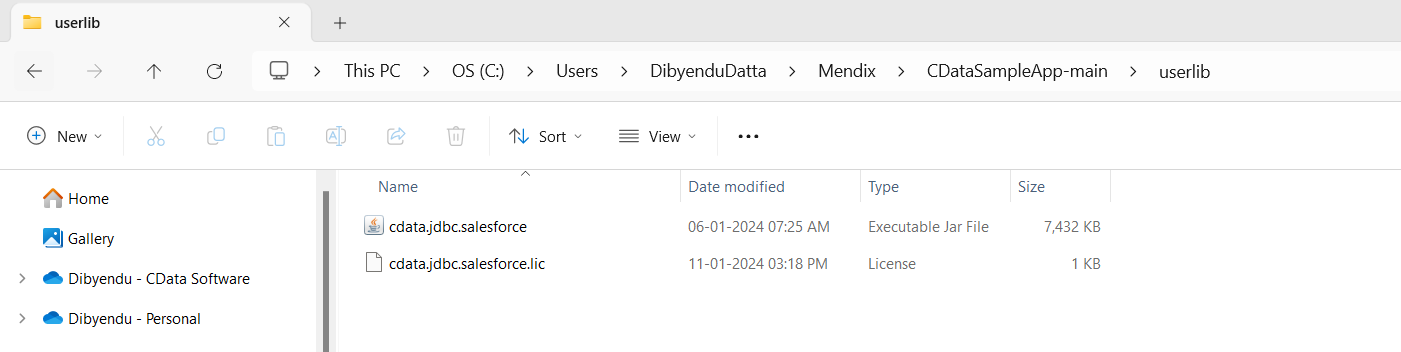
- You can now use the CData JDBC Driver with the Database Connector.
Create a Data Model
Now, let's create an app. We first need to define a data model to load data from the Database Connector and display it on the list screen. Let's create the data model before loading the data.
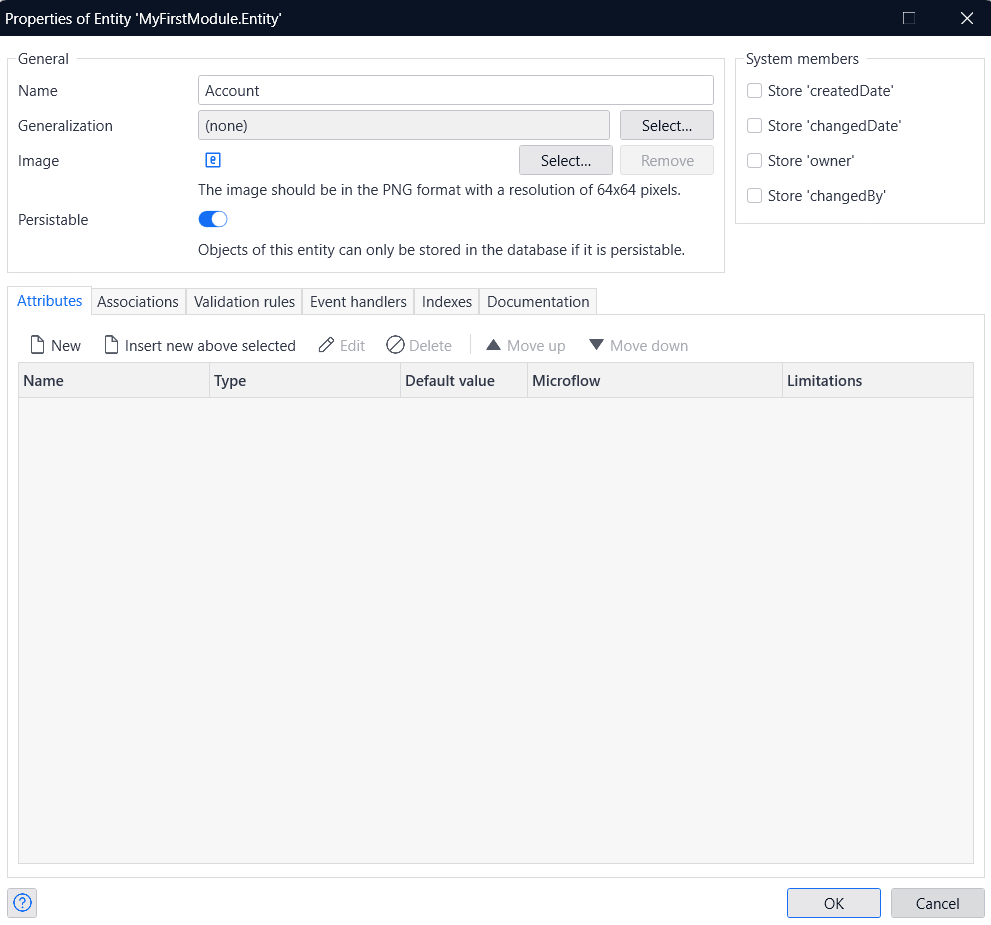
- Add an Entity to the 'Domain model' of MyFirstModule.
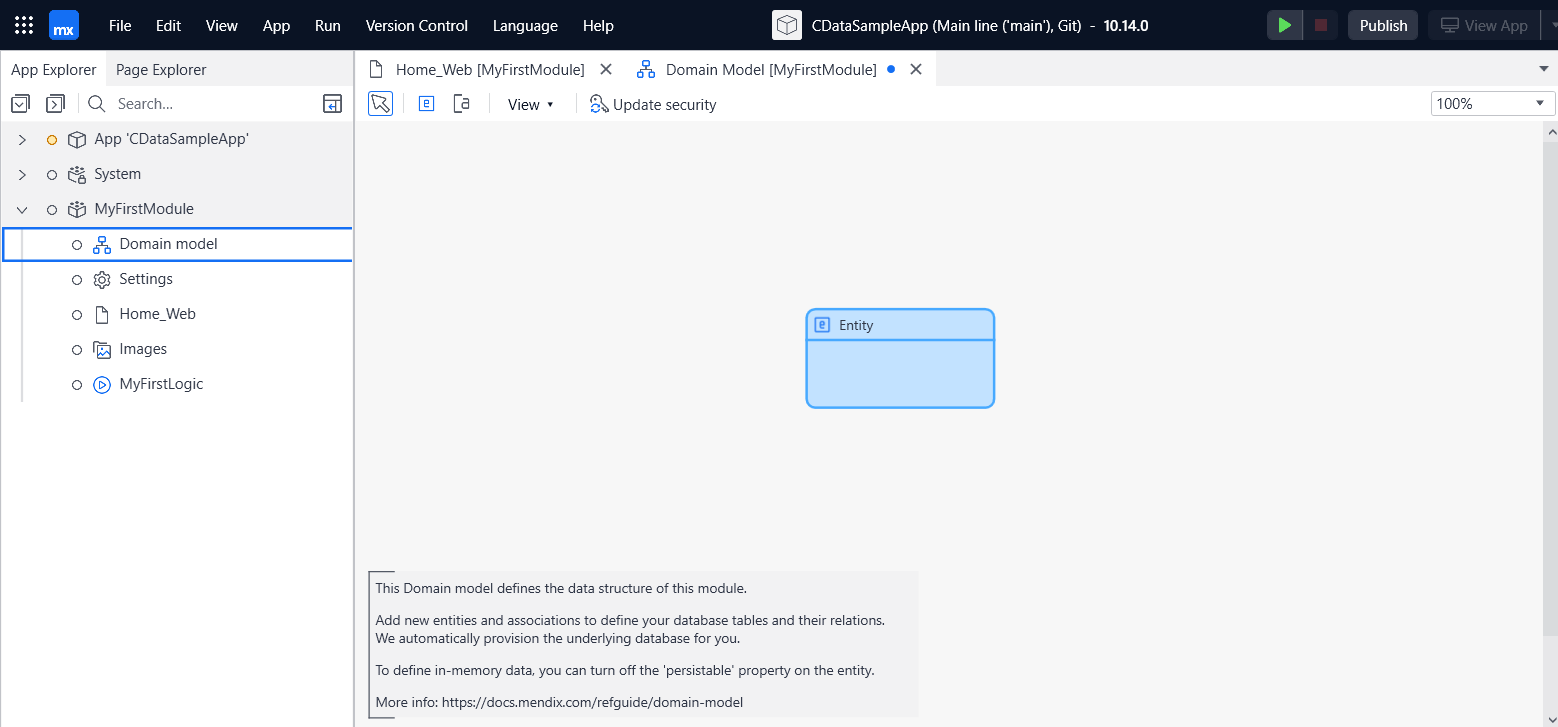
- Enter the entity name and field definitions.
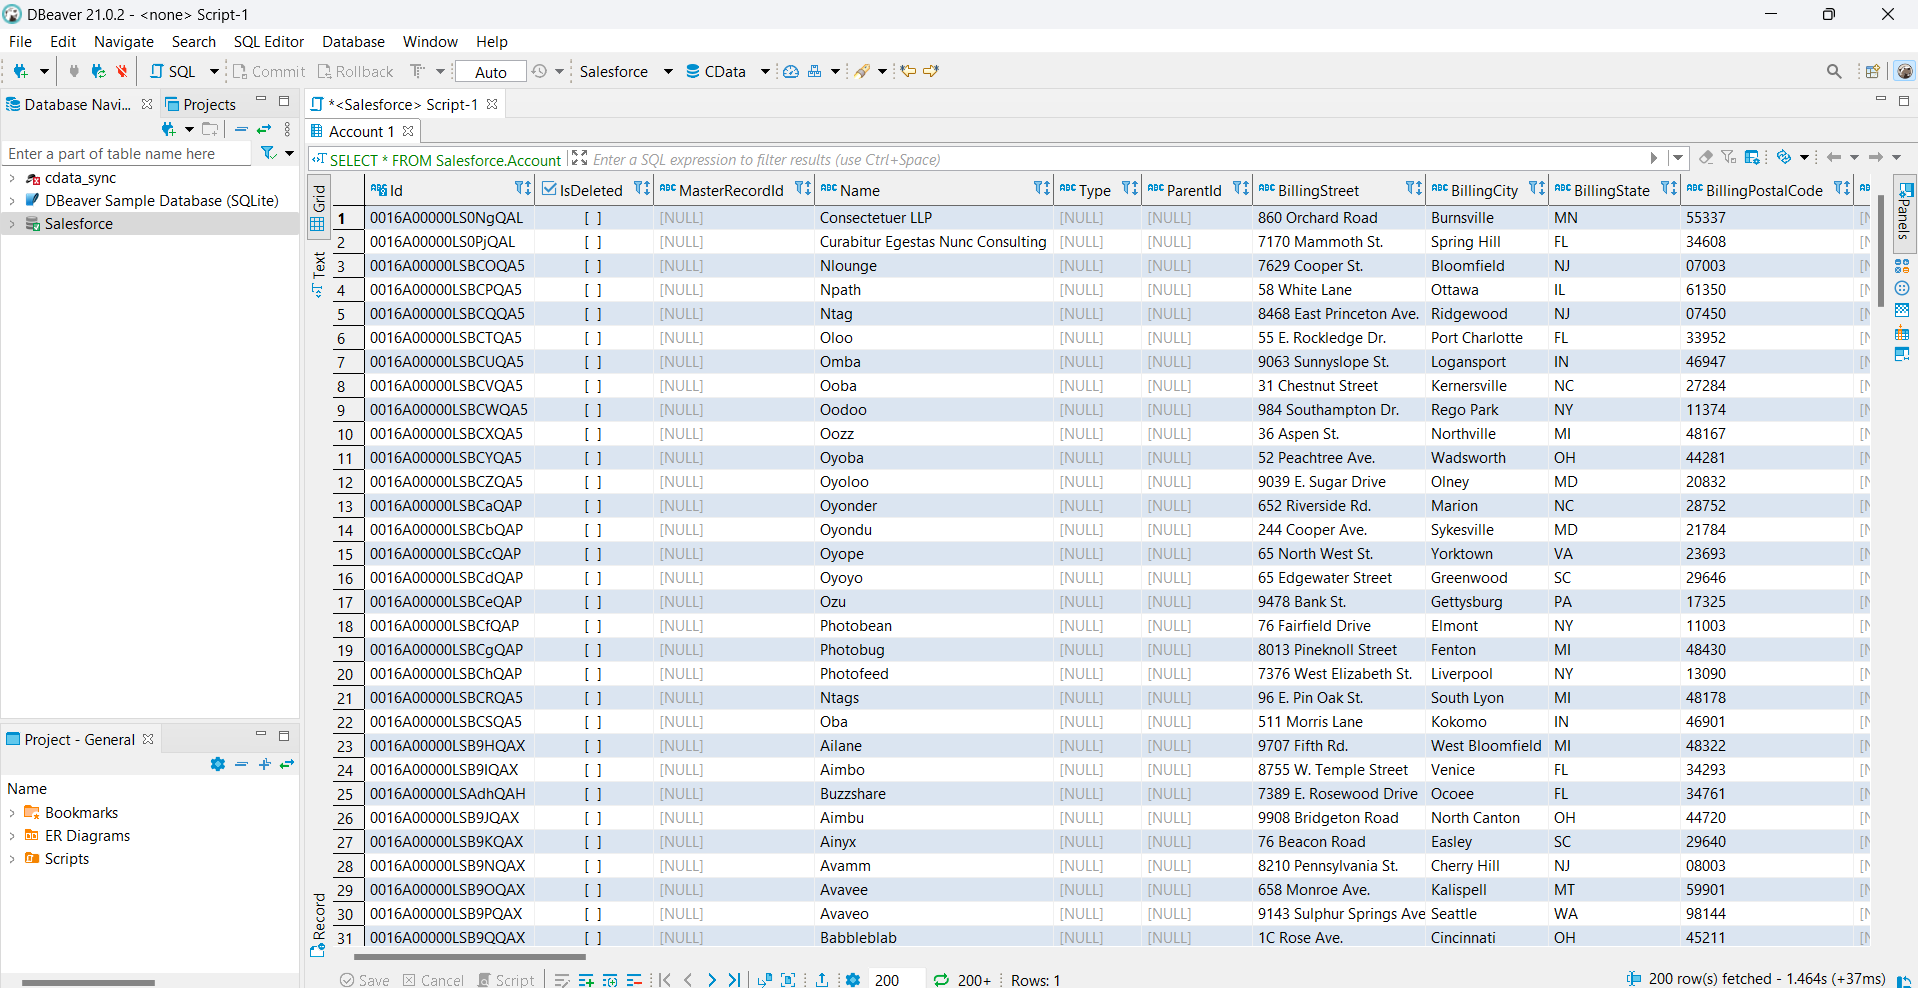
- You can easily configure the data by checking the table definition information through the CData JDBC driver using a tool such as DBeaver.
- Define the entities.
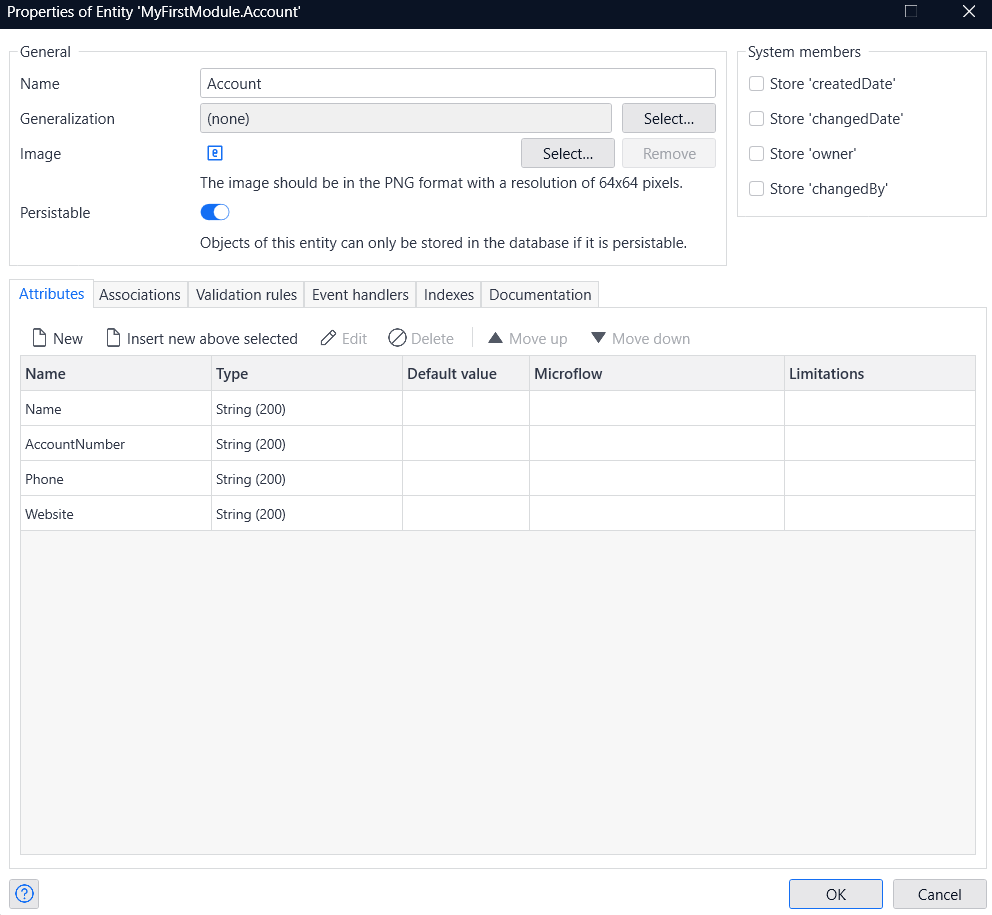
Create a constant for the JDBC URL
Next, create a JDBC URL constant to use with the Database Connector.
- Add 'Constant' to MyFirstModule.
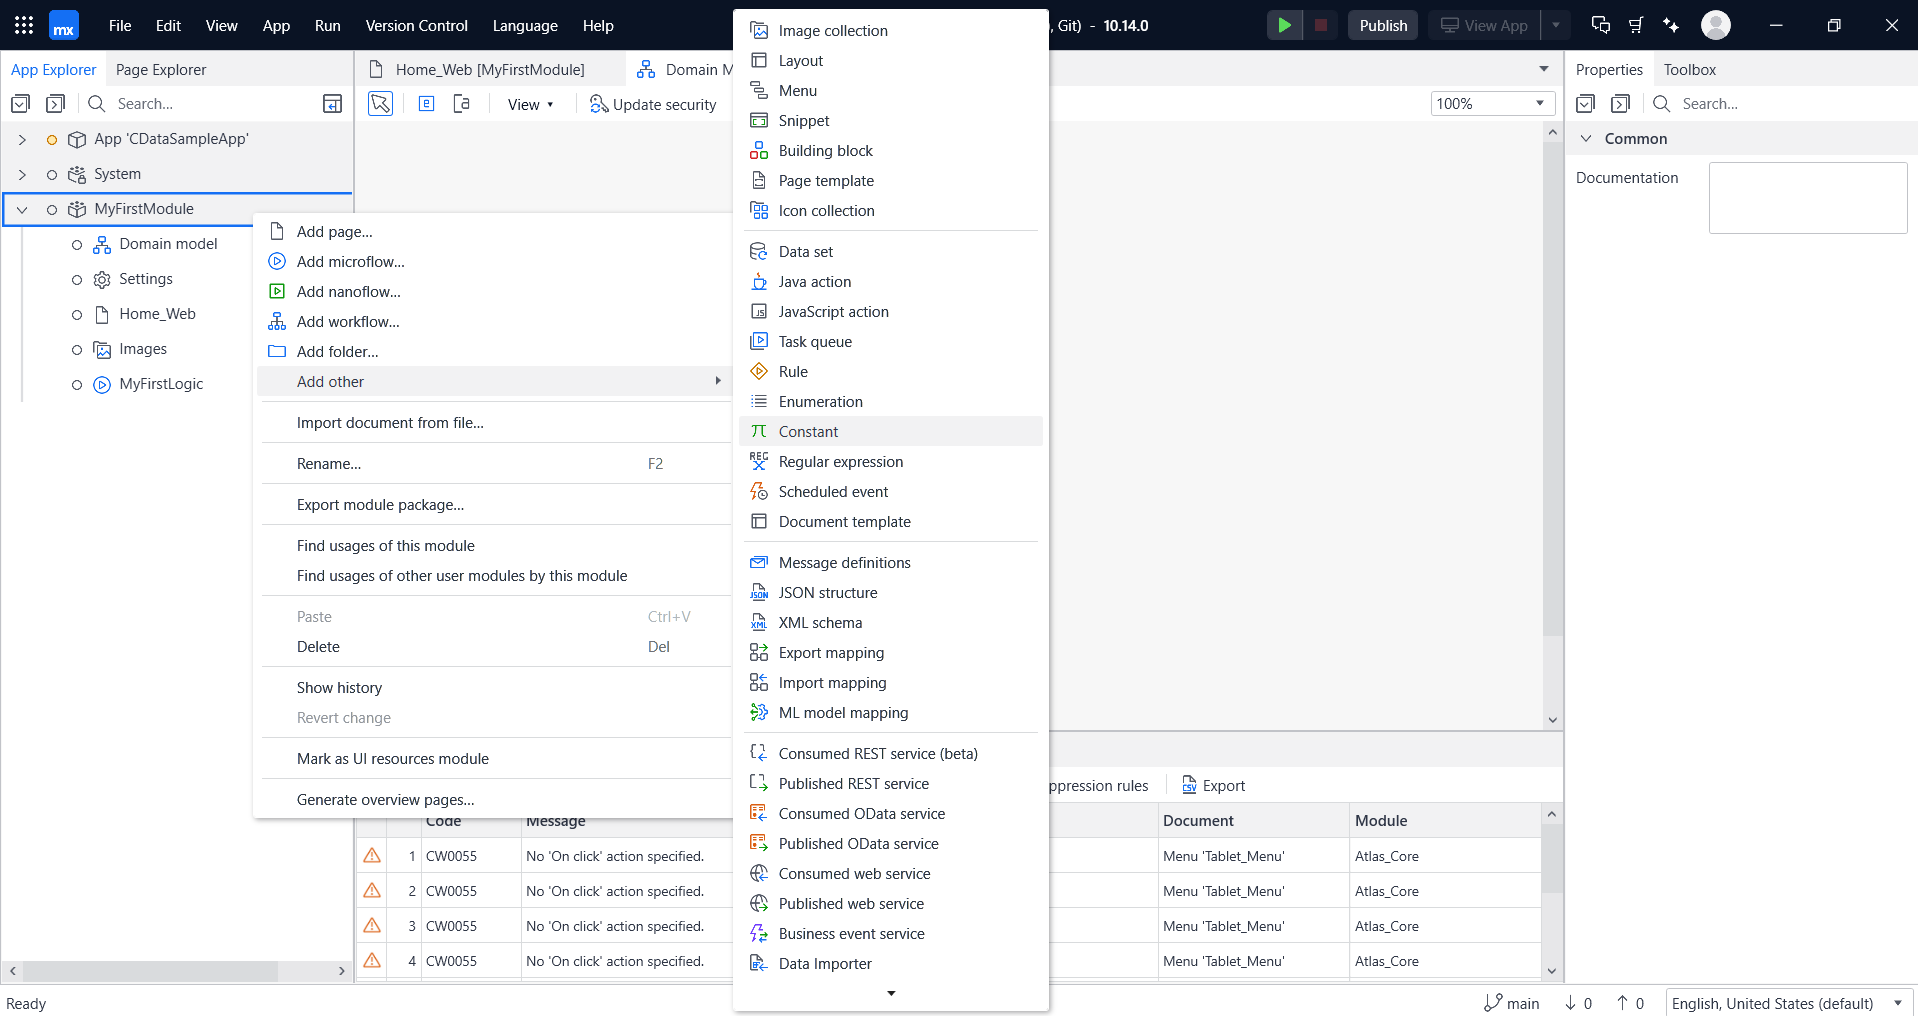
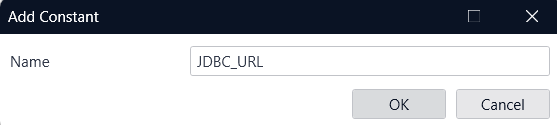
- Add a name to the Constant in the Add Constant window.
Generate a JDBC URL for connecting to Linear, beginning with jdbc:linear: followed by a series of semicolon-separated connection string properties.
You can authenticate to Linear with a personal API key or with OAuth 2.0. The API key is the simplest option for connecting with your own Linear account.
Authenticating with an API Key
Set the following connection properties:
- AuthScheme: Set this to APIKey.
- APIKey: A Linear personal API key.
To create a personal API key, log in to Linear, open Settings > Security & access > Personal API keys, select New API key, and create it. Copy the key immediately, because Linear shows it only once.
Authenticating with OAuth
OAuth requires a custom OAuth application registered in Linear (Settings > API > OAuth applications), which provides the OAuthClientId and OAuthClientSecret. Two flows are supported:
- Authorization code: Set AuthScheme to OAuth, InitiateOAuth to GETANDREFRESH, and provide OAuthClientId, OAuthClientSecret, and the CallbackURL defined in your application (e.g., http://localhost:33333). The driver opens Linear in your browser so you can grant access.
- Client credentials: Set AuthScheme to OAuthClient and provide OAuthClientId and OAuthClientSecret. This authenticates the application itself, with no browser interaction, and suits machine-to-machine integrations.
By default, the driver requests the read,write scopes. The driver refreshes the access token automatically when it expires.
Built-in Connection String Designer
For assistance in constructing the JDBC URL, use the connection string designer built into the Linear JDBC Driver. Either double-click the JAR file or execute the jar file from the command-line.
java -jar cdata.jdbc.linear.jarFill in the connection properties and copy the connection string to the clipboard.

A typical JDBC URL is below:
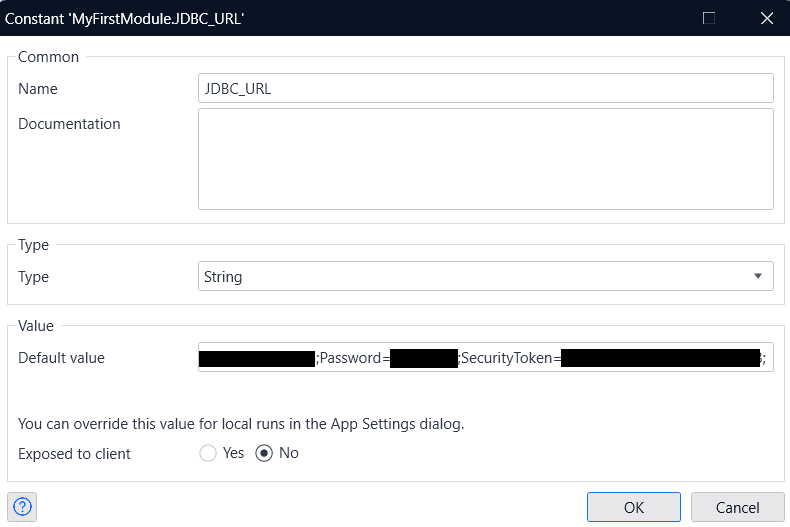
jdbc:linear:AuthScheme=APIKey;APIKey=myAPIKey;- Specify the connection string copied from the previous step in the Default value section and click on OK.
Create a microflow to retrieve Linear data
Let's create a microflow that retrieves data from the Database Connector based on the entity we created.
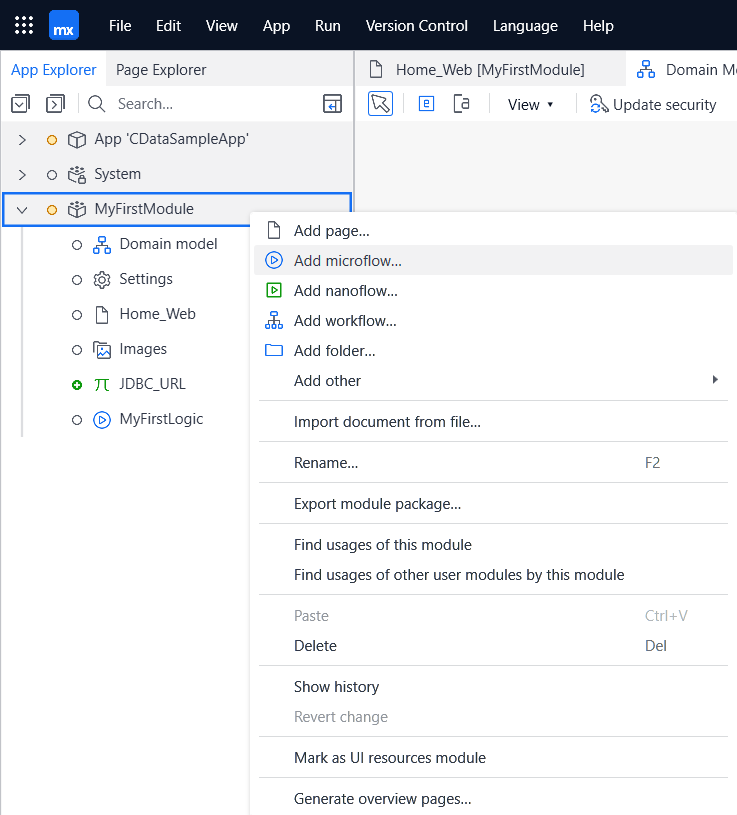
- Click 'Add microflow' from MyFirstModule.
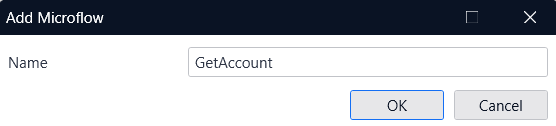
- Create a microflow with any name.
- First, create an object for the entity you defined earlier. Then, add the 'Create Object' action to the microflow.
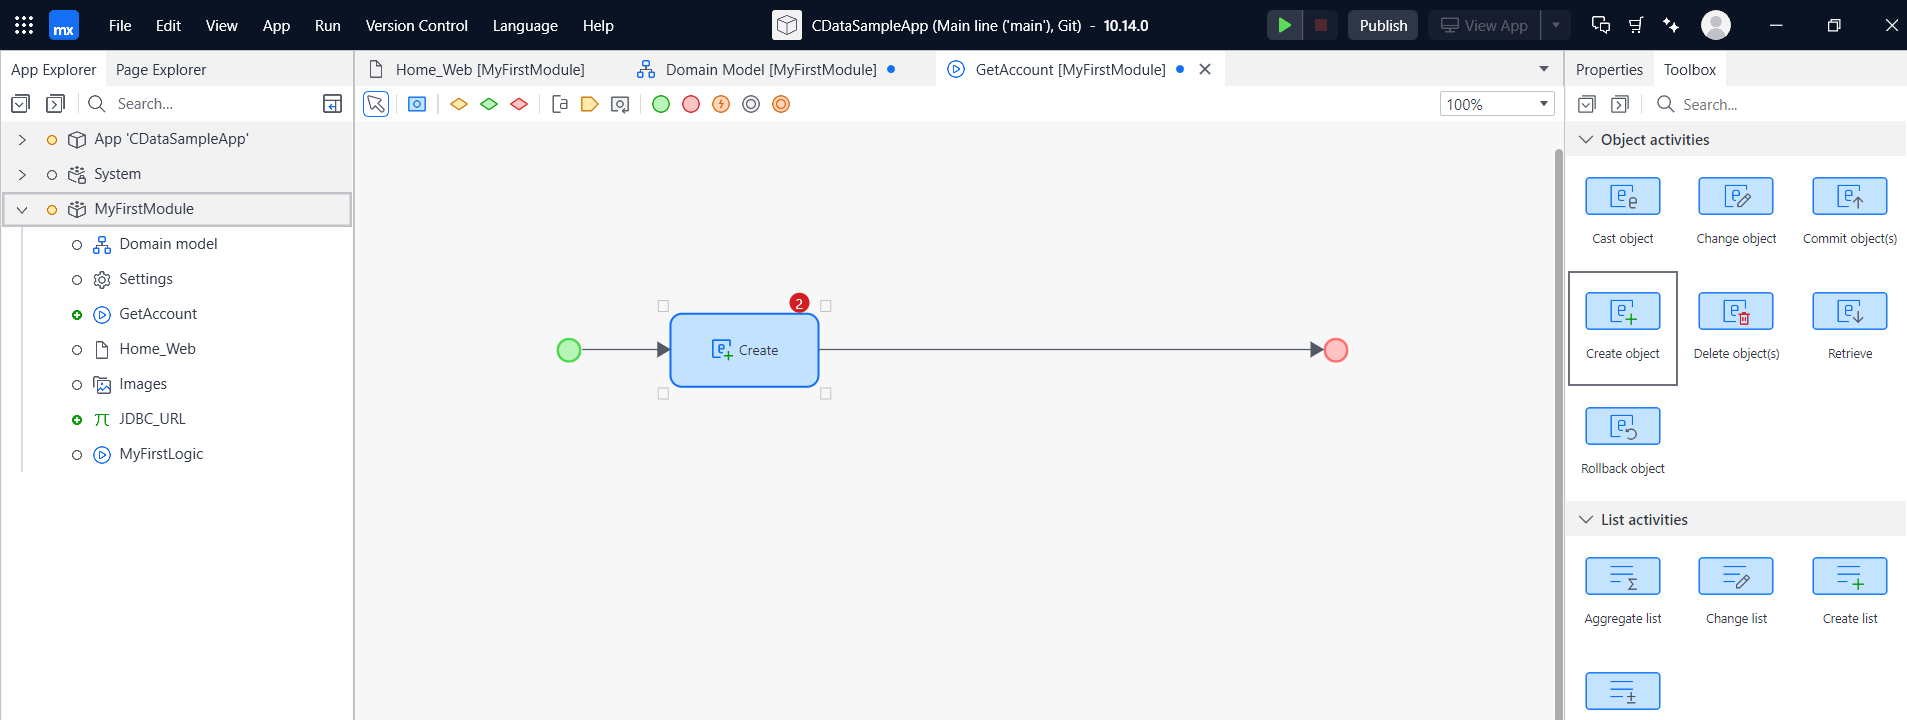
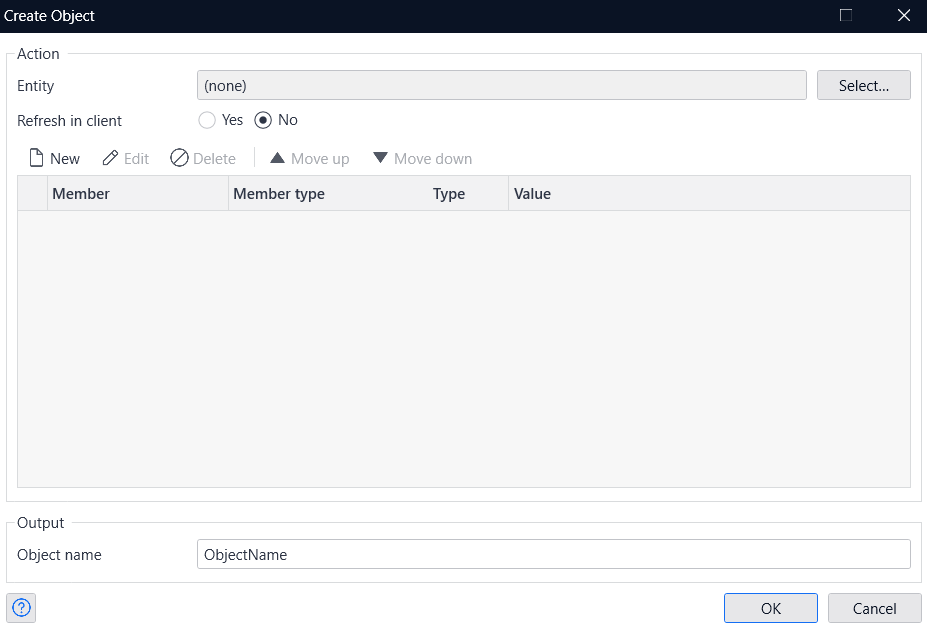
- Click on the 'Select' button for Entity in the Create Object window.
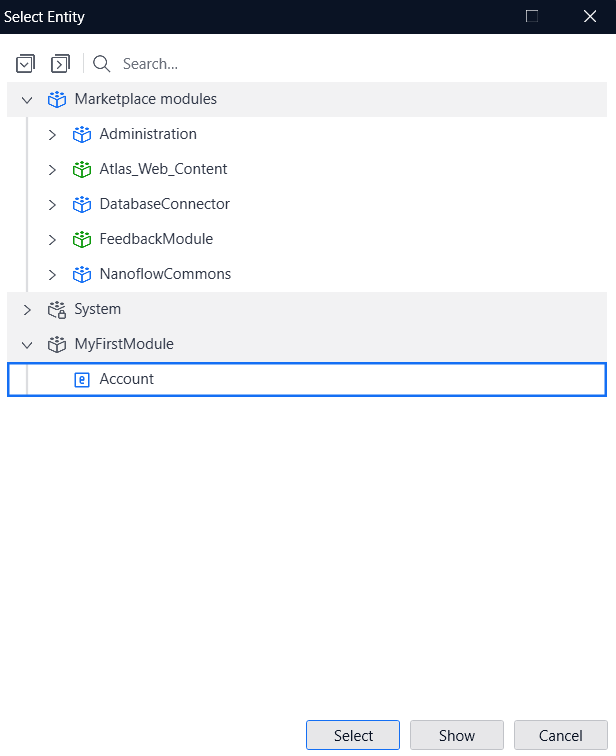
- Select a previously defined Entity.
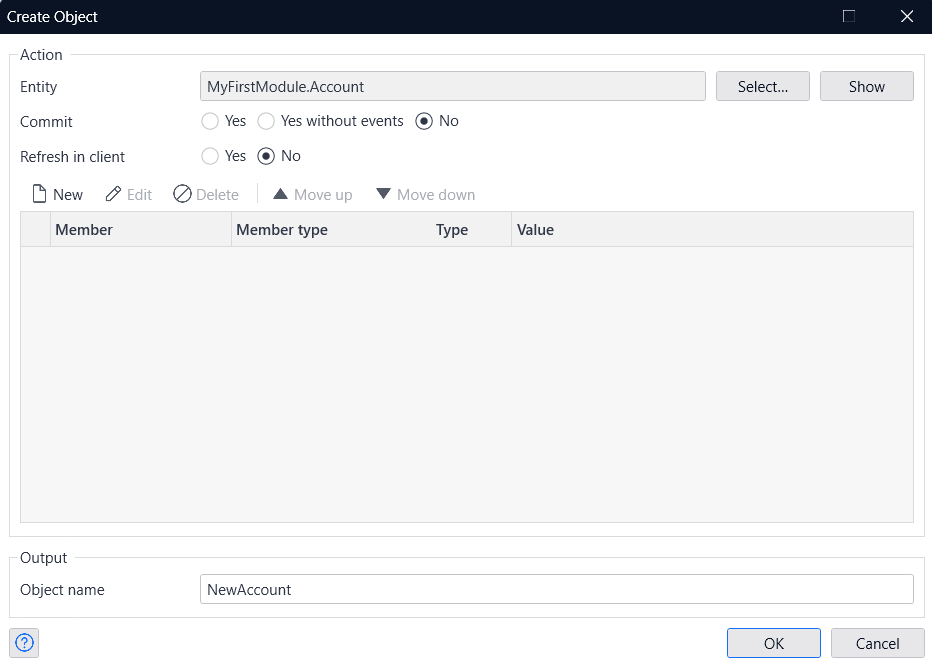
- Enter an arbitrary Object name and click OK.
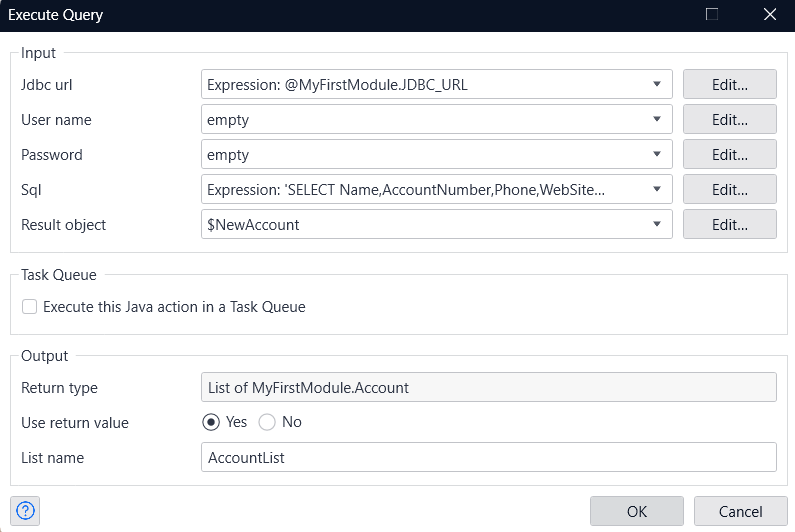
- Next, add an Execute Query action to the microflow to retrieve data from the Database Connector.
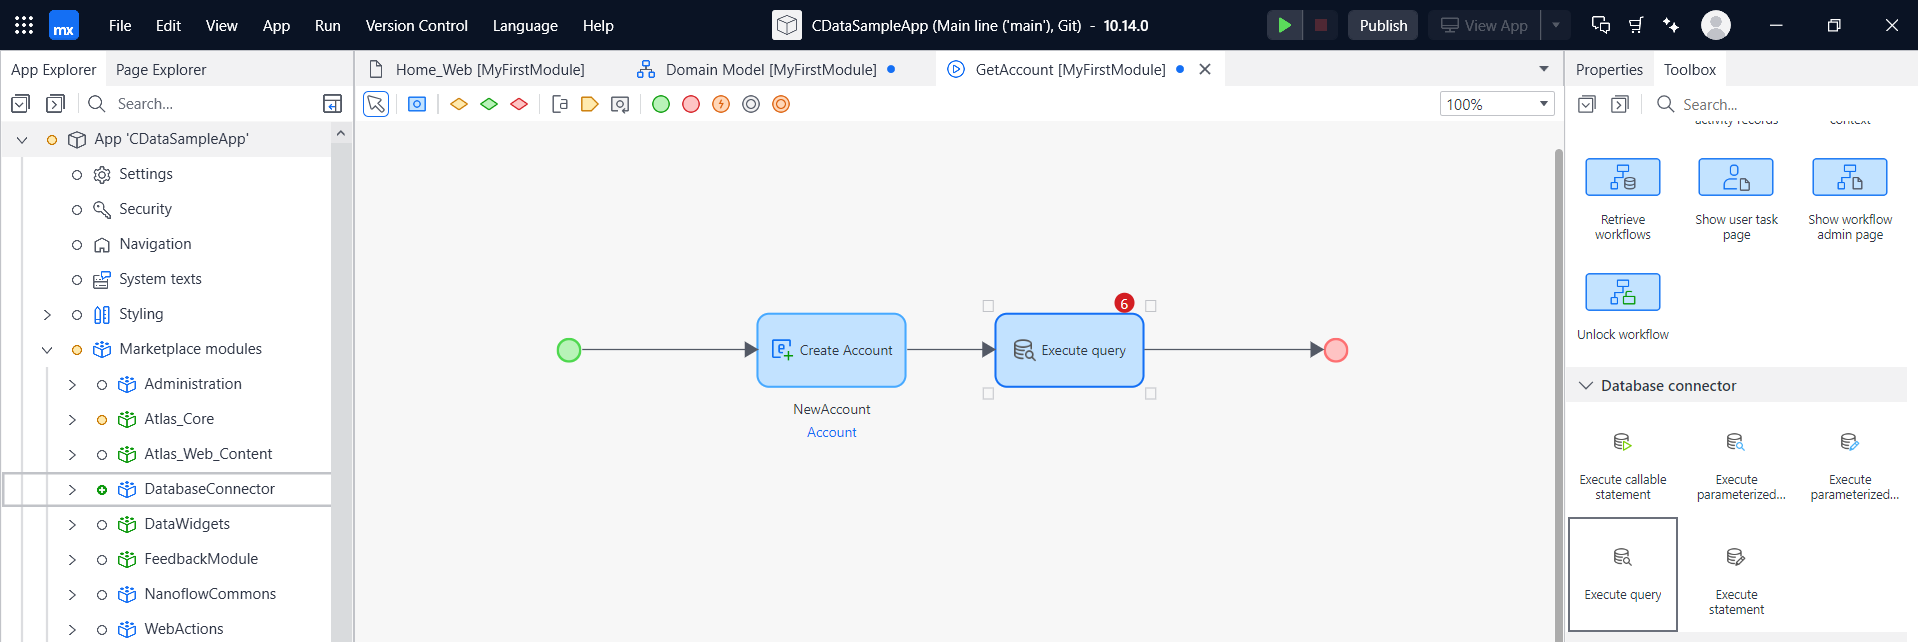
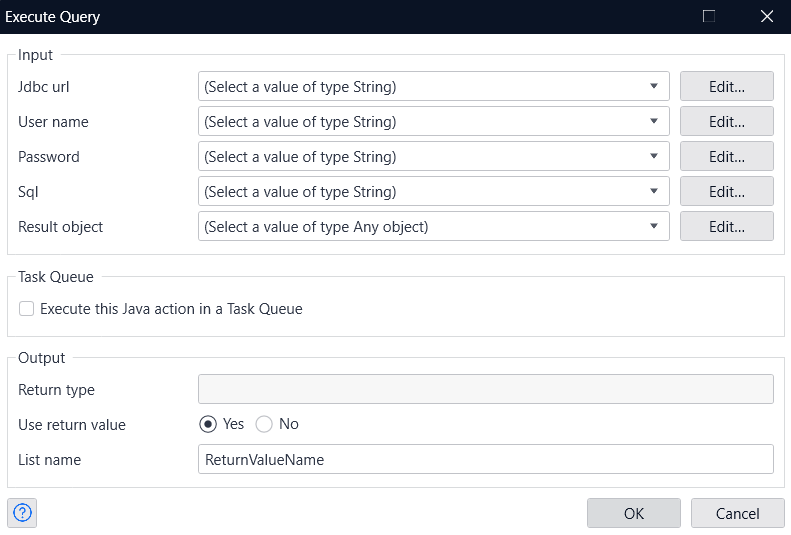
- Define each input in the Execute Query window.
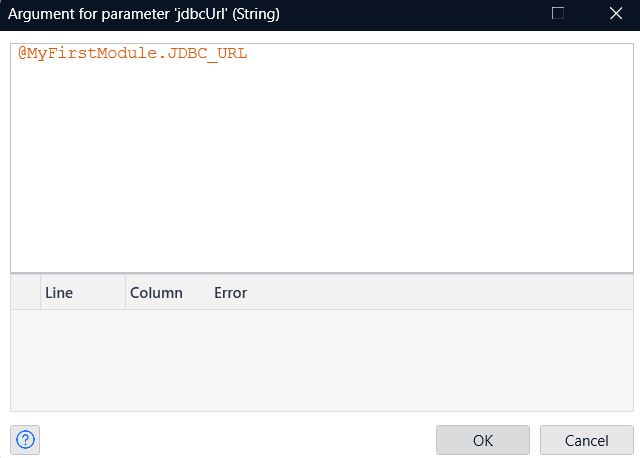
- In "jdbc url", specify the constant you defined beforehand.
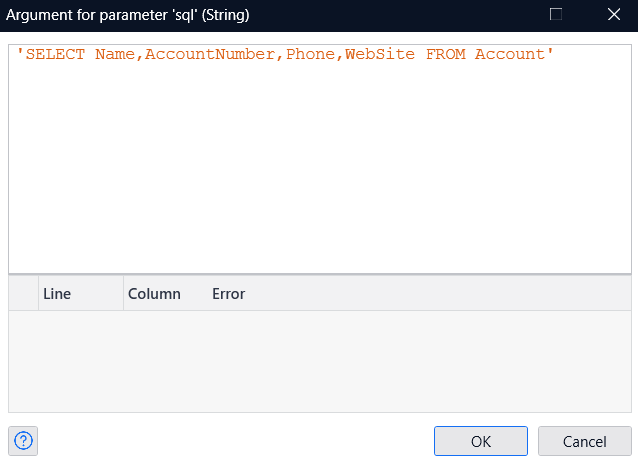
- In SQL, write a query to retrieve data from Linear.
- You don't need a Username or Password this time, so set them to 'empty' and assign the object created in the previous flow as the Result object. Then, simply specify any name you prefer for the List in the List Name section.
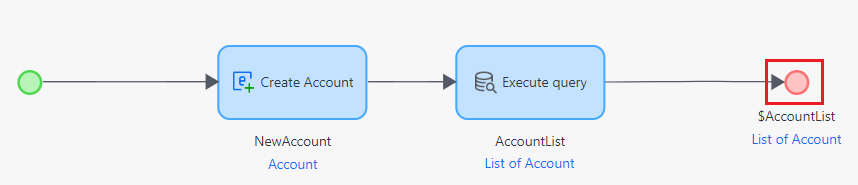
- Finally, define the output of the microflow.
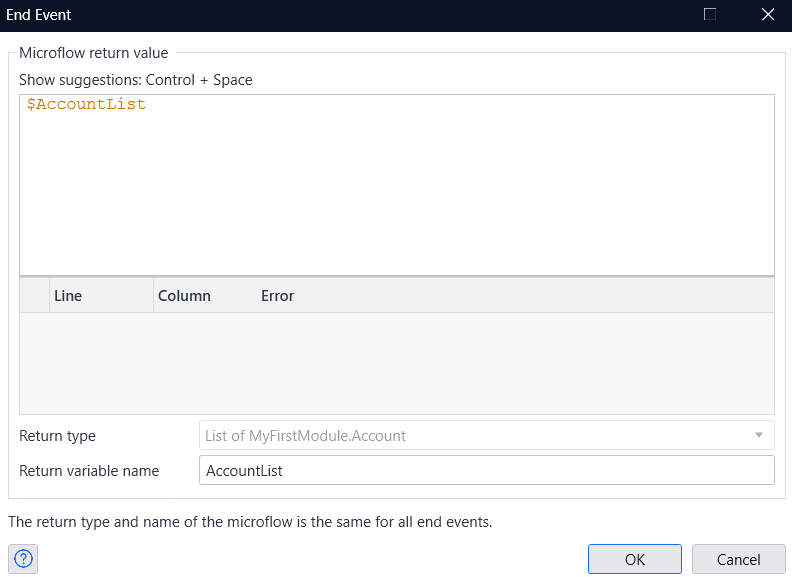
- Double-click the End Event to open it, select 'List' from the Type dropdown, and link it to the Entity you defined earlier. Then, set the output result of Execute Query as the Return value.
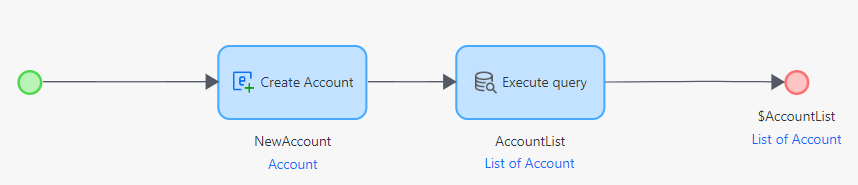
- This completes the microflow that retrieves data from Linear.
Create a list screen and link it to a microflow
Finally, let's create a screen that displays the results obtained from the microflow.
- Double-click 'Home_web' inside the Toolbox menu to open it.

- Drag and drop a Data grid template from the Data containers section into the list screen.
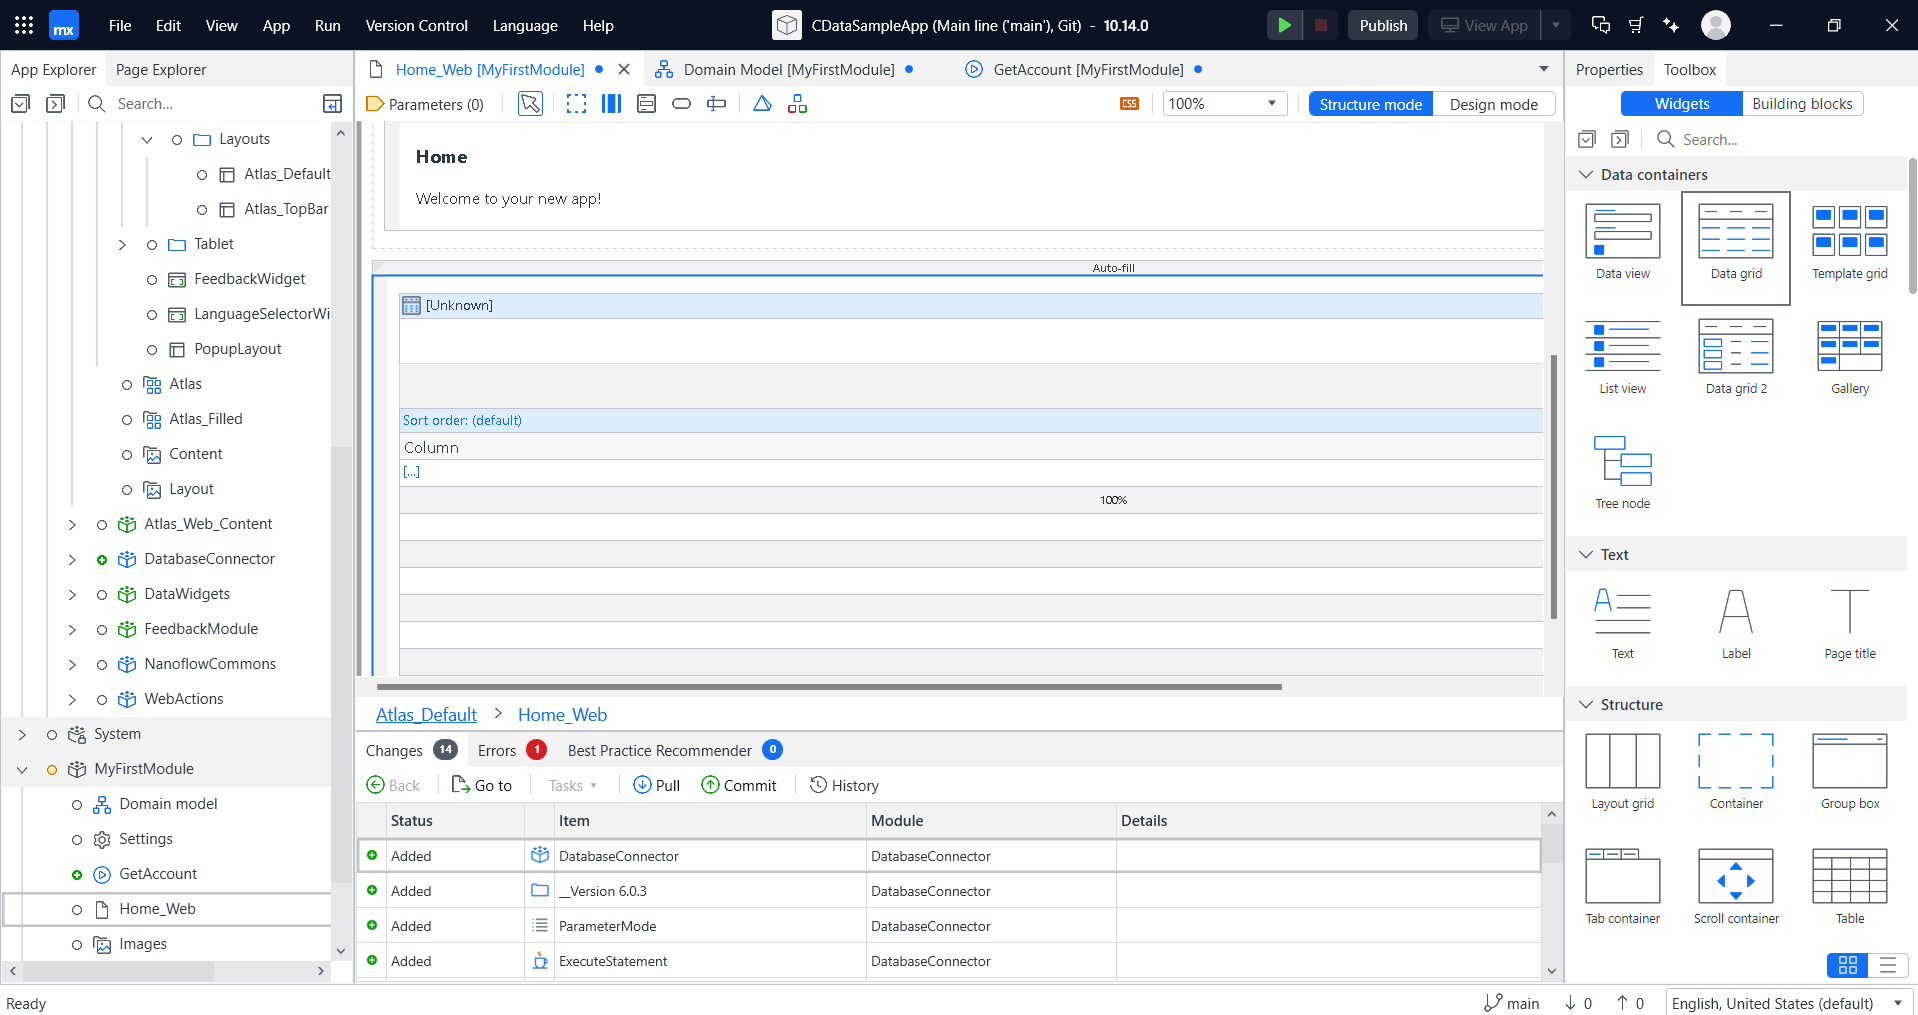
- Once you have placed the Data grid, double-click on it to display the Edit Data Grid settings screen.
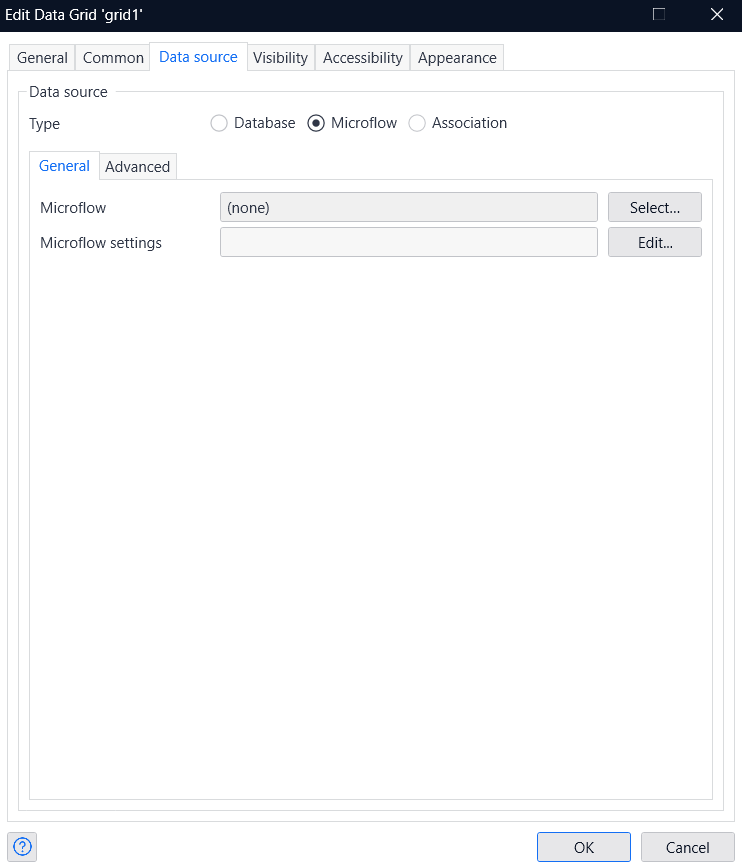
- Navigate to the Data source tab and link the data source type with the Microflow.
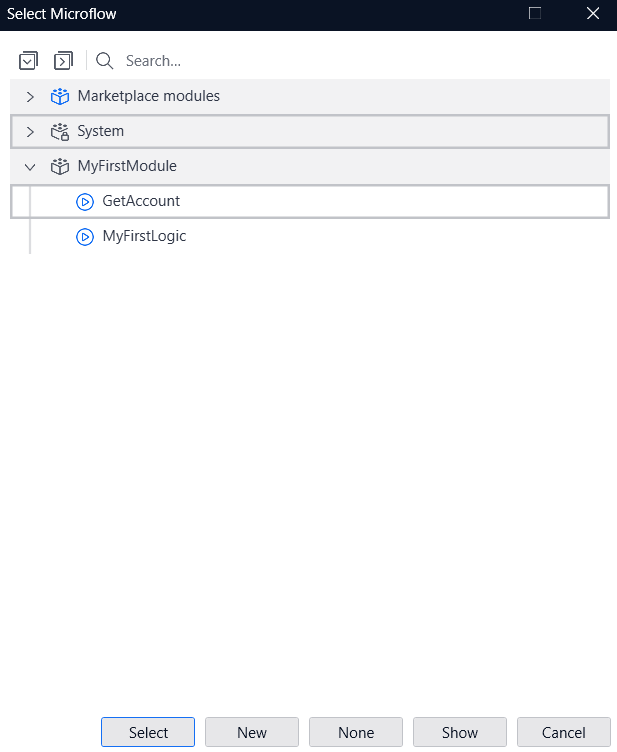
- Select the microflow you just created.
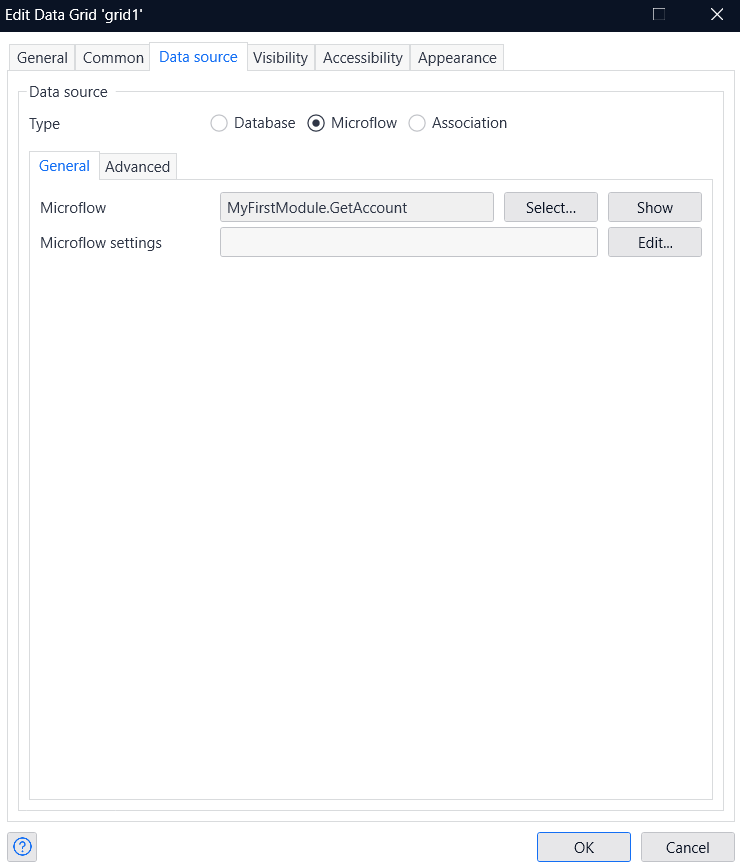
- Now click OK.
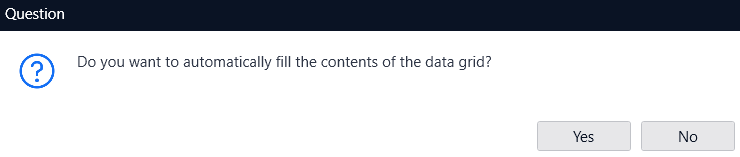
- When you click OK, you'll be prompted to auto-detect columns. Simply click 'Yes' to proceed.
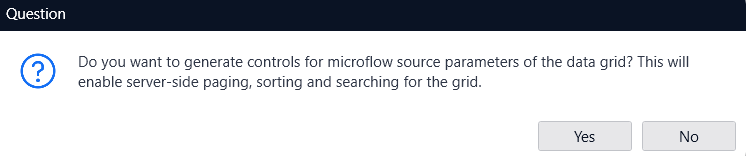
- Next, you'll be prompted to generate controllers for various Data grids. Since we won't be configuring the logic for each one this time, click 'No.'
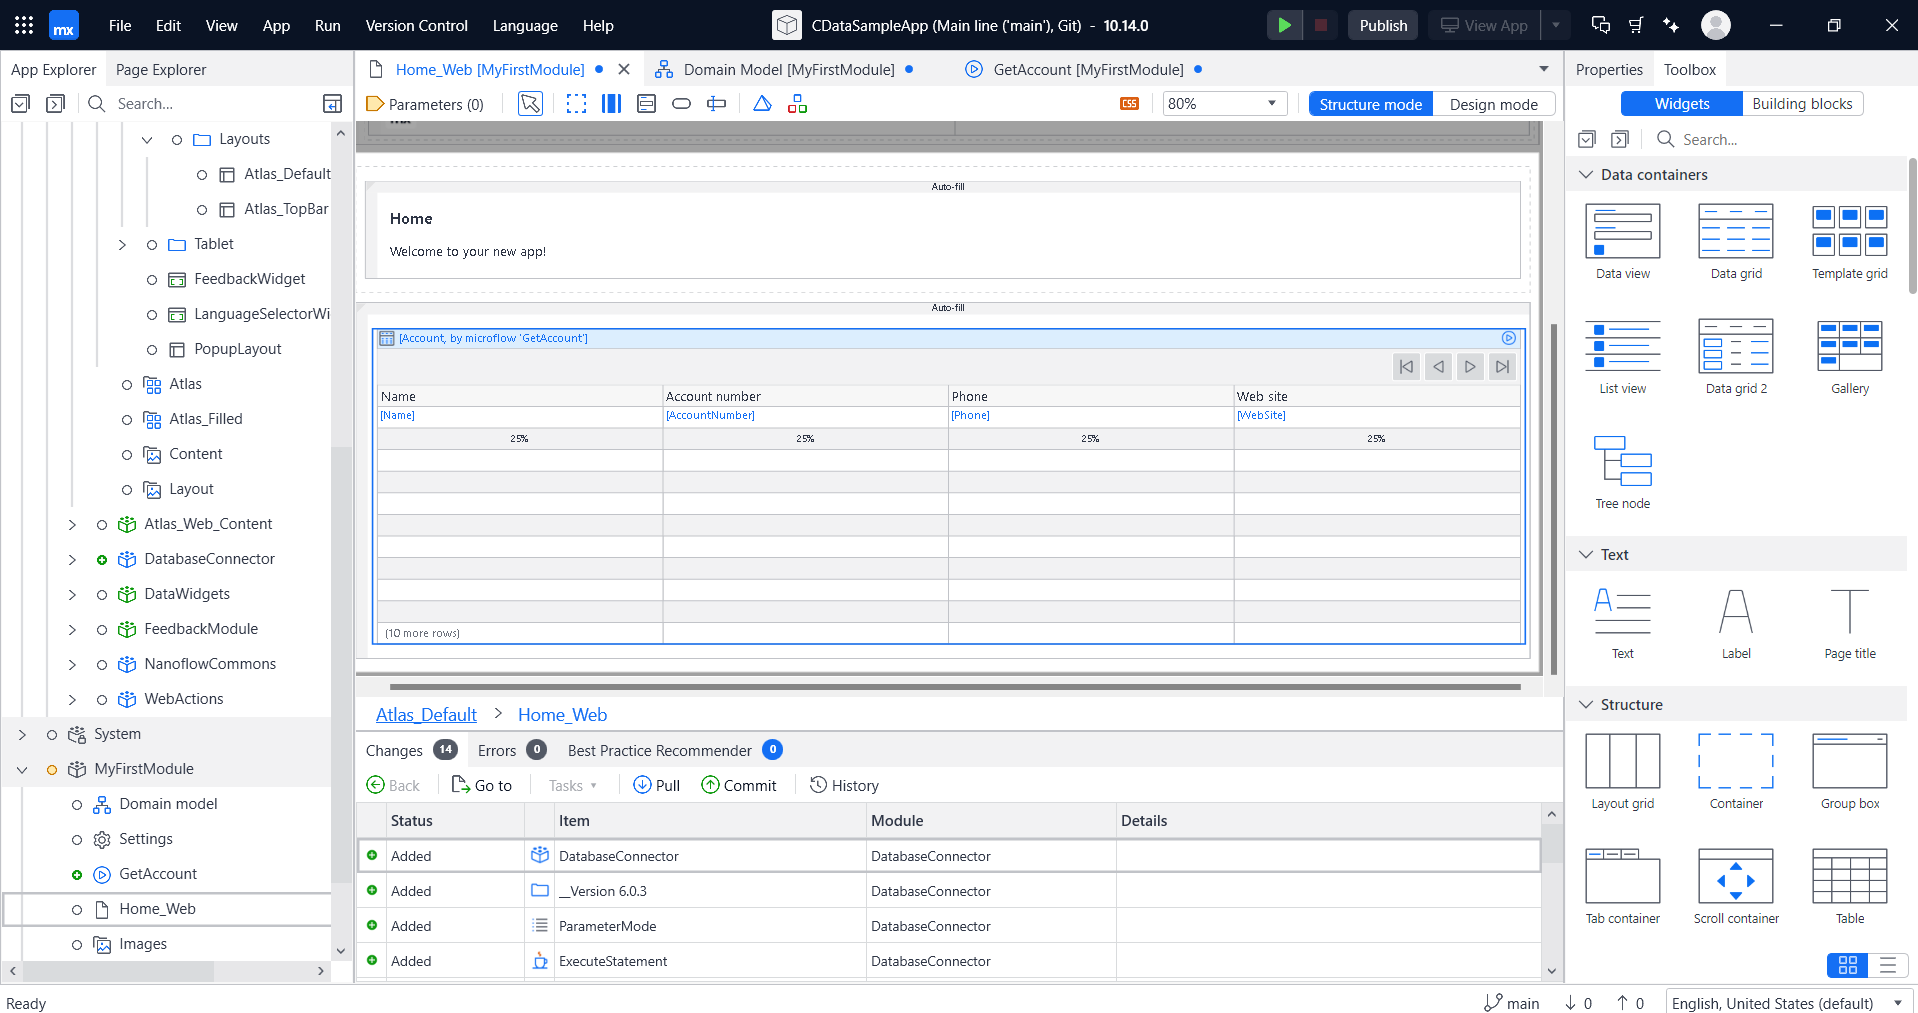
- This will create a simple data grid screen as shown below.
Try it out
Now let's check if it works properly.
- Click the 'Publish' button to prepare the app you created. Once that's done, click 'View App' to open the app.

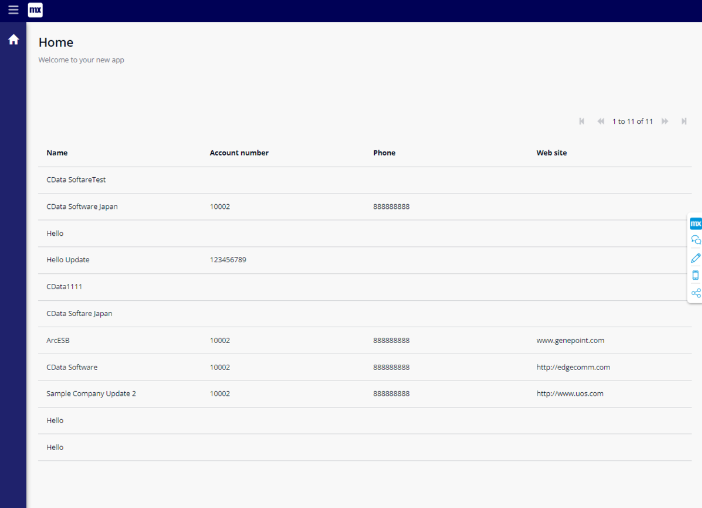
- If you see a list of Linear data like the one below, you're all set! You've successfully created a Linear-linked app with low code, without needing to worry about Linear's API.
Get Started Today
Download a free 30-day trial of the CData JDBC Driver for Linear with Mendix, and effortlessly create an app that connects to Linear data.
Reach out to our Support Team if you have any questions.
Ready to get started?
Download a free trial of the Linear Driver to get started:
Download NowLearn more:
 Linear JDBC Driver
Rapidly create and deploy powerful Java applications that integrate with Linear data including AgentSession, Comment, Customer, Cycle, Initiative, Integration, Issue, ProjectStatus, Release, Team, User, and more!