




Migrating data from Linear to Databricks using CData SSIS Components.

Databricks is a unified data analytics platform that allows organizations to easily process, analyze, and visualize large amounts of data. It combines data engineering, data science, and machine learning capabilities in a single platform, making it easier for teams to collaborate and derive insights from their data.
The CData SSIS Components enhance SQL Server Integration Services by enabling users to easily import and export data from various sources and destinations.
In this article, we explore the data type mapping considerations when exporting to Databricks and walk through how to migrate Linear data to Databricks using the CData SSIS Components for Linear and Databricks.
Data Type Mapping
| Databricks Schema | CData Schema |
|---|---|
|
int, integer, int32 |
int |
|
smallint, short, int16 |
smallint |
|
double, float, real |
float |
|
date |
date |
|
datetime, timestamp |
datetime |
|
time, timespan |
time |
|
string, varchar |
If length > 4000: nvarchar(max), Otherwise: nvarchar(length) |
|
long, int64, bigint |
bigint |
|
boolean, bool |
tinyint |
|
decimal, numeric |
decimal |
|
uuid |
nvarchar(length) |
|
binary, varbinary, longvarbinary |
binary(1000) or varbinary(max) after SQL Server 2000 |
Special Considerations
- String/VARCHAR: String columns from Databricks can map to different data types depending on the length of the column. If the column length exceeds 4000, then the column is mapped to nvarchar (max). Otherwise, the column is mapped to nvarchar (length).
- DECIMAL Databricks supports DECIMAL types up to 38 digits of precision, but any source column beyond that can cause load errors.
Prerequisites
- Visual Studio 2022
- SQL Server Integration Services Projects extension for Visual Studio 2022
- CData SSIS Components for Databricks
- CData SSIS Components for Linear
Create the project and add components
-
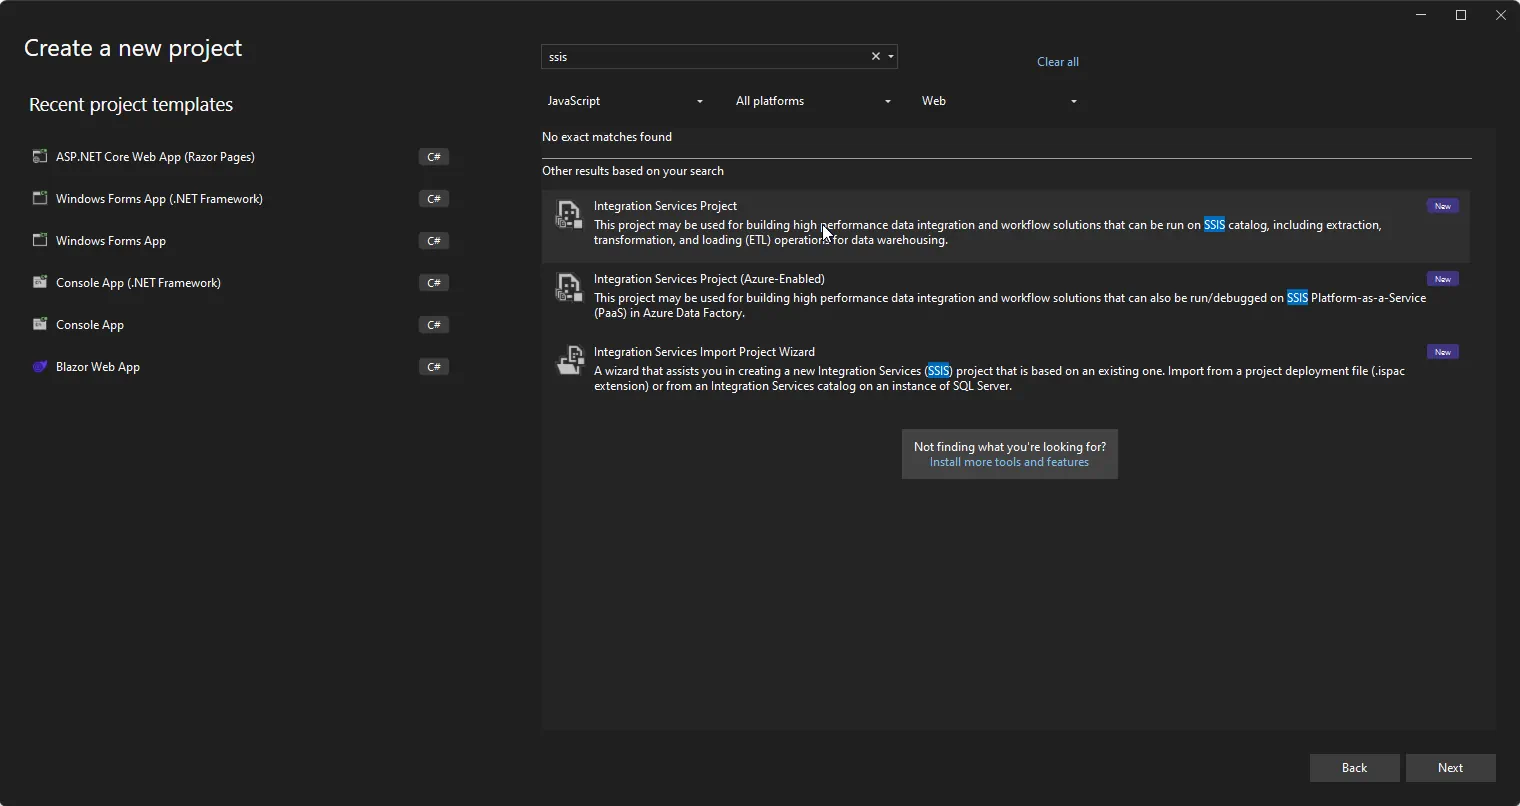
Open Visual Studio and create a new Integration Services Project.
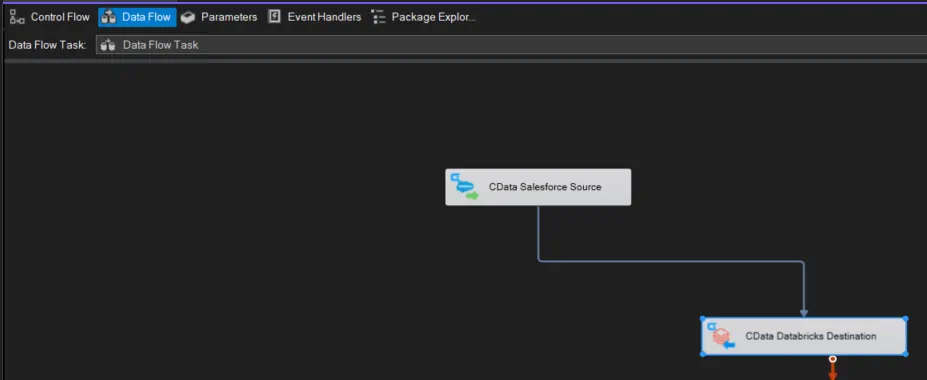
- Add a new Data Flow Task to the Control Flow screen and open the Data Flow Task.
-
Add a CData Linear Source control and a CData Databricks Destination control to the data flow task.
Configure the Linear source
Follow the steps below to specify properties required to connect to Linear.
-
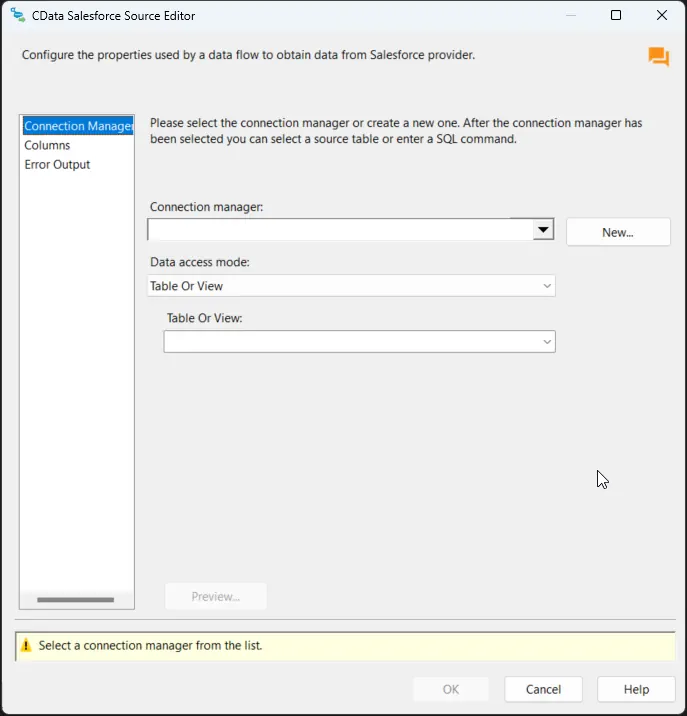
Double-click the CData Linear Source to open the source component editor and add a new connection.
-
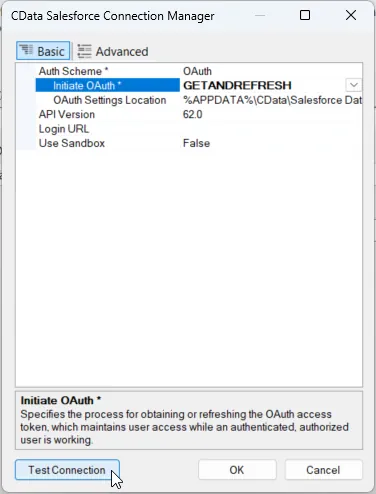
In the CData Linear Connection Manager, configure the connection properties, then test and save the connection.
You can authenticate to Linear with a personal API key or with OAuth 2.0. The API key is the simplest option for connecting with your own Linear account.
Authenticating with an API Key
Set the following connection properties:
- AuthScheme: Set this to APIKey.
- APIKey: A Linear personal API key.
To create a personal API key, log in to Linear, open Settings > Security & access > Personal API keys, select New API key, and create it. Copy the key immediately, because Linear shows it only once.
Authenticating with OAuth
OAuth requires a custom OAuth application registered in Linear (Settings > API > OAuth applications), which provides the OAuthClientId and OAuthClientSecret. Two flows are supported:
- Authorization code: Set AuthScheme to OAuth, InitiateOAuth to GETANDREFRESH, and provide OAuthClientId, OAuthClientSecret, and the CallbackURL defined in your application (e.g., http://localhost:33333). The driver opens Linear in your browser so you can grant access.
- Client credentials: Set AuthScheme to OAuthClient and provide OAuthClientId and OAuthClientSecret. This authenticates the application itself, with no browser interaction, and suits machine-to-machine integrations.
By default, the driver requests the read,write scopes. The driver refreshes the access token automatically when it expires.
-
After saving the connection, select "Table or view" and select the table or view to export into Databricks, then close the CData Linear Source Editor.
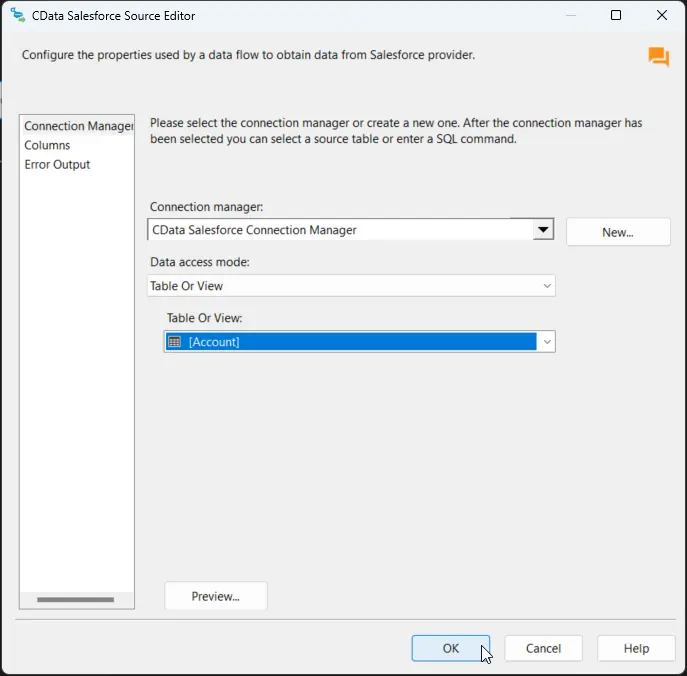
Configure the Databricks destination
With the Linear Source configured, we can configure the Databricks connection and map the columns.
-
Double-click the CData Databricks Destination to open the destination component editor and add a new connection.
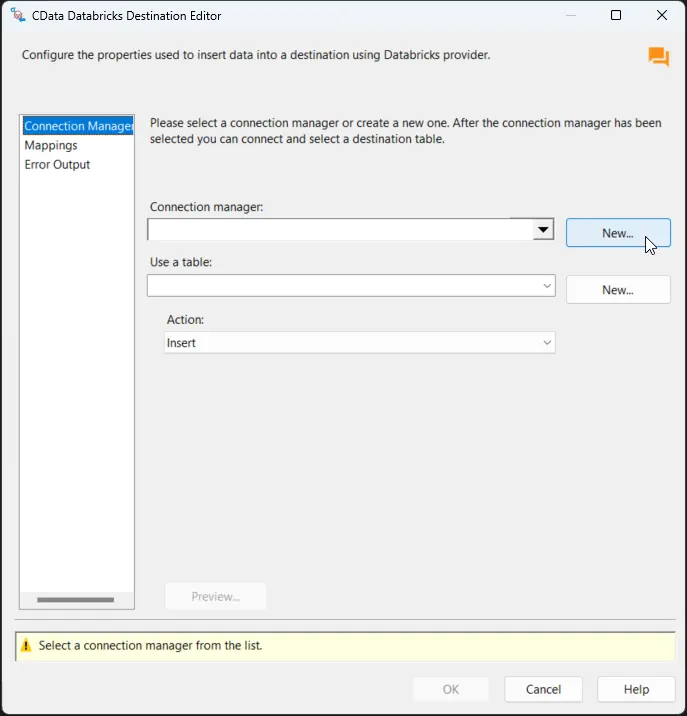
-
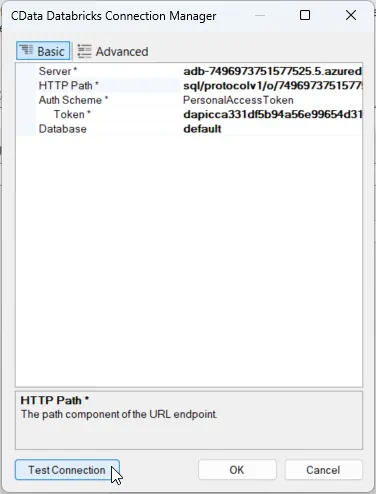
In the CData Databricks Connection Manager, configure the connection properties, then test and save the connection. To connect to a Databricks cluster, set the properties as described below.
Note: The needed values can be found in your Databricks instance by navigating to Clusters, selecting the desired cluster, and selecting the JDBC/ODBC tab under Advanced Options.
- Server: Set to the Server Hostname of your Databricks cluster.
- HTTPPath: Set to the HTTP Path of your Databricks cluster.
- Token: Set to your personal access token (this value can be obtained by navigating to the User Settings page of your Databricks instance and selecting the Access Tokens tab).
Other helpful connection properties
- QueryPassthrough: When this is set to True, queries are passed through directly to Databricks.
- ConvertDateTimetoGMT: When this is set to True, the components will convert date-time values to GMT, instead of the local time of the machine.
- UseUploadApi: Setting this property to true will improve performance if there is a large amount of data in a Bulk INSERT operation.
- UseCloudFetch: This option specifies whether to use CloudFetch to improve query efficiency when the table contains over one million entries.
-
After saving the connection, select a table in the Use a Table menu and in the Action menu, select Insert.
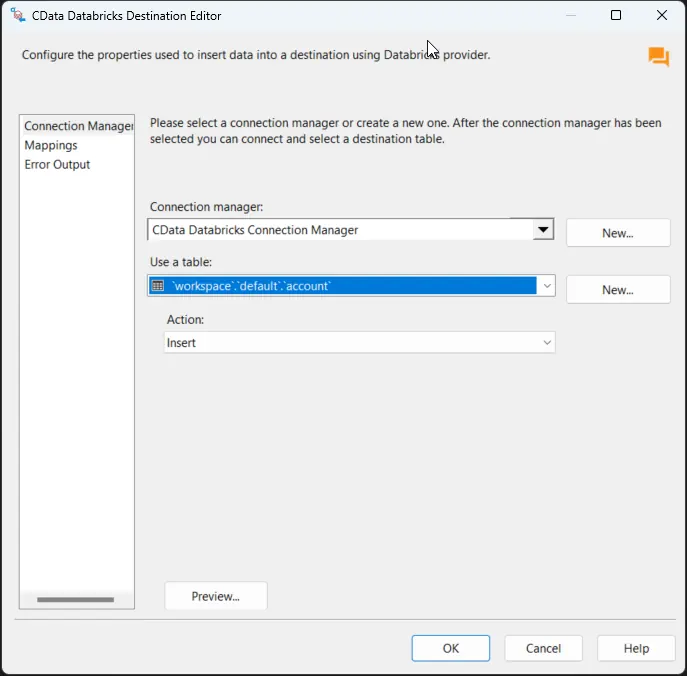
-
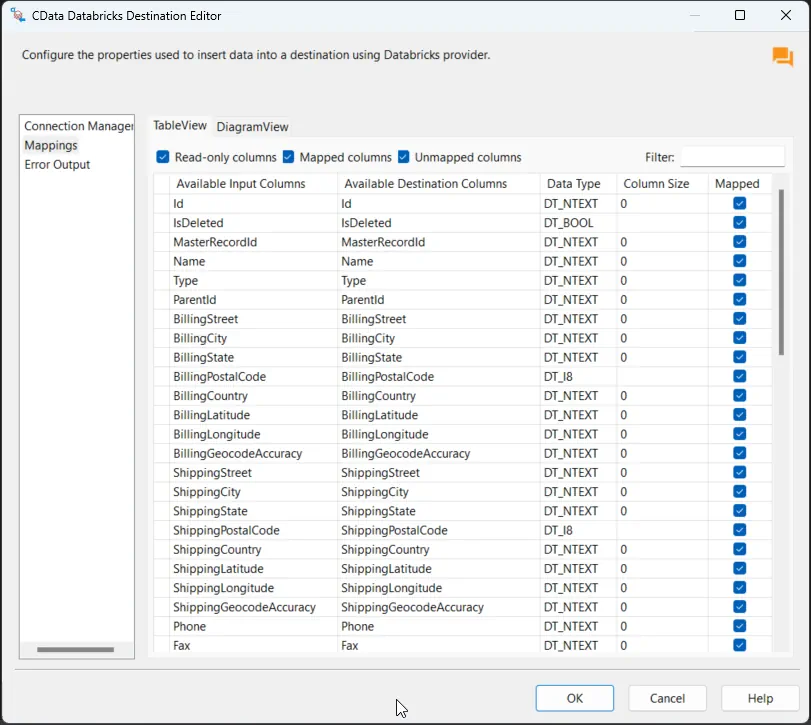
On the Column Mappings tab, configure the mappings from the input columns to the destination columns.
Run the project
You can now run the project. After the SSIS Task has finished executing, data from your SQL table will be exported to the chosen table.
Ready to get started?
Download a free trial of the Linear SSIS Component to get started:
Download NowLearn more:
 Linear SSIS Components
Powerful SSIS Source Components that allow you to easily connect SQL Server with Linear through SSIS Workflows.
Use the Linear Data Flow Components to synchronize with Linear AgentSession, Comment, Customer, Cycle, Initiative, Integration, Issue, ProjectStatus, Release, Team, User, and more. Perfect for data synchronization, local back-ups, workflow automation, and more!