




Interact with Live Presto Data in Meta Muse via CData Connect AI
Muse is Meta's personal AI agent for iOS, Android, and the web, built on the Muse Spark models. It connects to remote model context protocol (MCP) servers, so you can point Muse at a governed data source and let it discover and call live data tools.
Connect Muse to CData Connect AI through its Remote MCP Server, and Muse gains governed, real-time access to live Presto data. You can explore data, fetch records, and interact with objects using natural language prompts, with every request running against authorized sources.
This article shows you how to configure Presto connectivity in Connect AI, generate a personal access token, create a custom connector to the Connect AI Remote MCP Server in Muse, and interact with live Presto data from Muse.
About Presto Data Integration
Accessing and integrating live data from Trino and Presto SQL engines has never been easier with CData. Customers rely on CData connectivity to:
- Access data from Trino v345 and above (formerly PrestoSQL) and Presto v0.242 and above (formerly PrestoDB)
- Read and write access all of the data underlying your Trino or Presto instances
- Optimized query generation for maximum throughput.
Presto and Trino allow users to access a variety of underlying data sources through a single endpoint. When paired with CData connectivity, users get pure, SQL-92 access to their instances, allowing them to integrate business data with a data warehouse or easily access live data directly from their preferred tools, like Power BI and Tableau.
In many cases, CData's live connectivity surpasses the native import functionality available in tools. One customer was unable to effectively use Power BI due to the size of the datasets needed for reporting. When the company implemented the CData Power BI Connector for Presto they were able to generate reports in real-time using the DirectQuery connection mode.
Getting Started
Step 1: Configure Presto connectivity for Meta Muse
Connectivity to Presto from Muse is made possible through Connect AI's Remote MCP Server. To interact with Presto data from Muse, start by creating and configuring a Presto connection in Connect AI.
- Log into Connect AI, click Sources, and then click Add Connection
- Select Presto from the Add Connection panel
-
Enter the necessary authentication properties to connect to Presto.
Set the Server and Port connection properties to connect, in addition to any authentication properties that may be required.
To enable TLS/SSL, set UseSSL to true.
Authenticating with LDAP
In order to authenticate with LDAP, set the following connection properties:
- AuthScheme: Set this to LDAP.
- User: The username being authenticated with in LDAP.
- Password: The password associated with the User you are authenticating against LDAP with.
Authenticating with Kerberos
In order to authenticate with KERBEROS, set the following connection properties:
- AuthScheme: Set this to KERBEROS.
- KerberosKDC: The Kerberos Key Distribution Center (KDC) service used to authenticate the user.
- KerberosRealm: The Kerberos Realm used to authenticate the user with.
- KerberosSPN: The Service Principal Name for the Kerberos Domain Controller.
- KerberosKeytabFile: The Keytab file containing your pairs of Kerberos principals and encrypted keys.
- User: The user who is authenticating to Kerberos.
- Password: The password used to authenticate to Kerberos.

- Click Save & Test
- Navigate to the Permissions tab and update user-based permissions



Add a Personal Access Token
A Personal Access Token (PAT) is used to authenticate the connection to Connect AI from Muse. It is best practice to create a separate PAT for each integration to maintain granular access control.
- Click the gear icon () at the top right of the Connect AI app to open Settings
- On the Settings page, go to the Access Tokens section and click Create PAT
- Give the PAT a descriptive name and click Create
- Copy the token when displayed and store it securely. It will not be shown again

With the Presto connection configured and a PAT generated, Muse can now connect to Presto data through Connect AI.
Step 2: Create a custom connector to the Connect AI MCP Server in Meta Muse
Muse has no manual "add MCP server" form. Instead, you ask Muse in plain language to build a custom connector that points at the Connect AI Remote MCP Server, a hosted, public HTTPS endpoint that speaks streamable HTTP. Muse builds the connector on its secure VM using the official MCP SDK, then discovers and calls the available Connect AI data tools.
- Open Muse on iOS, Android, or the web and start a new chat
-
Ask Muse to build a custom connector to the Connect AI Remote MCP Server, giving it the server URL and noting that the endpoint is a hosted MCP server over streamable HTTP, for example:
Create a custom connector to CData Connect AI. It is a hosted MCP server over streamable HTTP at https://mcp.cloud.cdata.com/mcp and it requires an Authorization header.
-
When Muse prompts for credentials, it opens a secure entry flow, separate from the chat, that saves the value in its Secure Credentials Store. Enter the Authorization header value in the format Basic your_base64_encoded_email_PAT
Note: For the Authorization value, base64 encode email:PAT and prefix it with Basic. Enter it only in Muse's secure credential prompt, never in the chat.
-
Muse connects to the Connect AI MCP Server and lists the available data tools. Review the custom connector confirmation, then click Continue. When Muse offers to save the integration as a skill, choose yes so the connector is available in every future chat
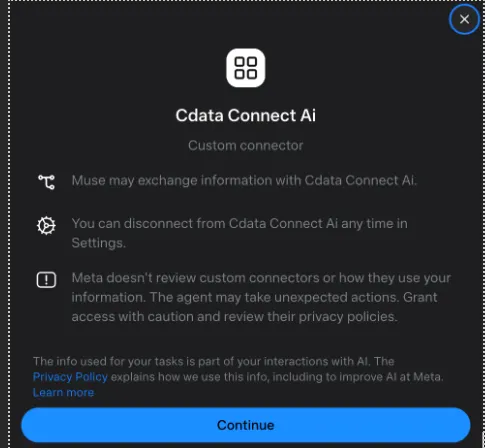
With the custom connector saved, the Connect AI tools are available to Muse in any chat.
Step 3: Interact with live Presto data from Meta Muse
With the integration complete, interact with live Presto data directly from Muse through natural language prompts.
-
In a Muse chat, type a prompt that uses the Connect AI connector, for example:
- Use the CData Connect AI connector to list all available connections
- Show the available objects and fields for Presto
- Fetch the top 5 records from Presto
- Approve the tool call in the Sentinel dialog when prompted
-
Muse calls the Connect AI MCP Server and returns live results from Presto data
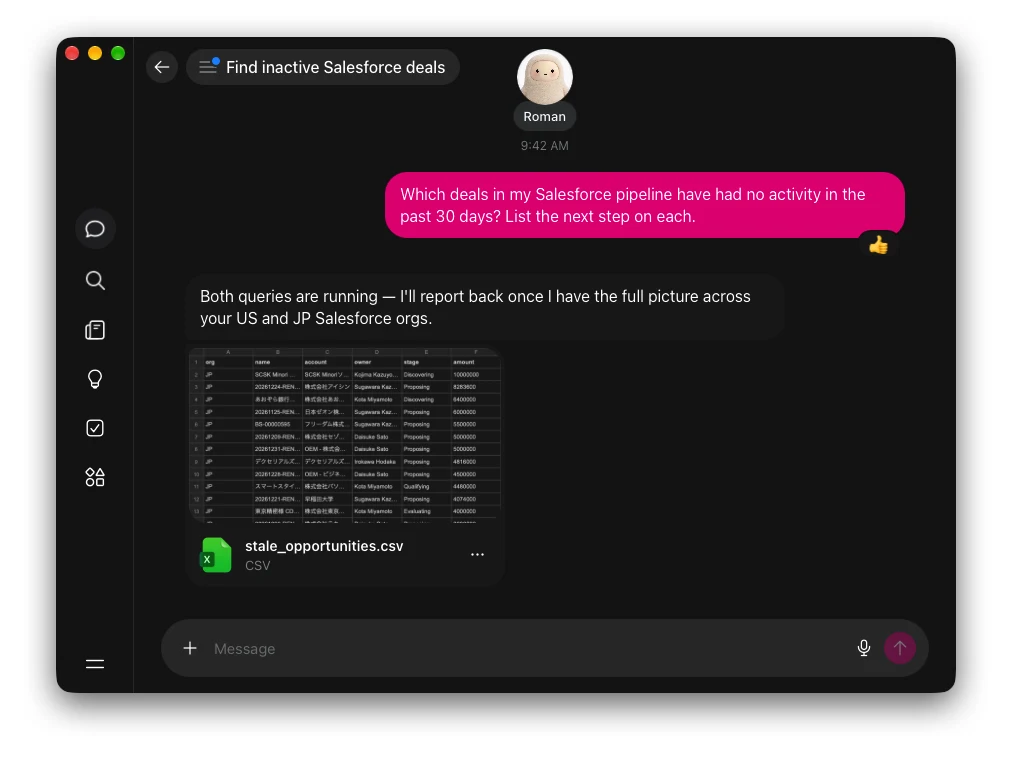
At this point, Muse communicates with the Connect AI MCP Server and retrieves live Presto data through remote MCP tools directly from your chats.
Get started with CData Connect AI
With CData Connect AI, interact with hundreds of SaaS, big data, and NoSQL sources directly from your AI agents, models, and cloud applications. To explore more download a free 14-day trial today. Our Support Team is available to help with any questions you have.