




Integrate Pushover Data in Your Informatica Cloud Instance

Informatica Cloud allows you to perform extract, transform, and load (ETL) tasks in the cloud. With the Cloud Secure Agent and the CData API Driver for JDBC, you get live access to Pushover data, directly within Informatica Cloud. In this article, we will walk through downloading and registering the Cloud Secure Agent, connecting to Pushover through the JDBC Driver and generating a mapping that can be used in any Informatica Cloud process.
Informatica Cloud Secure Agent
To work with the Pushover data through the JDBC Driver, install the Cloud Secure Agent.
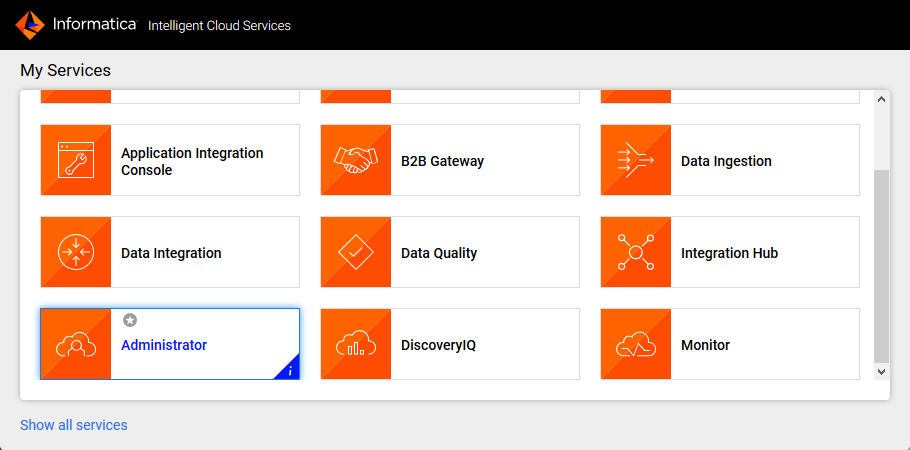
- Navigate to the Administrator page in Informatica Cloud
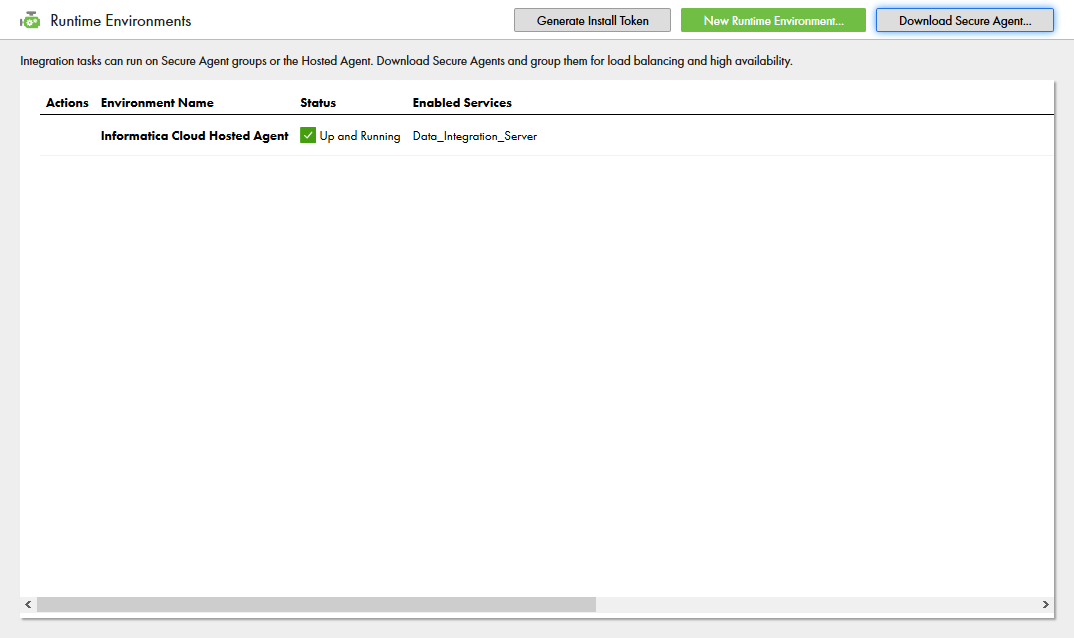
- Select the Runtime Environments tab
- Click "Download Secure Agent"
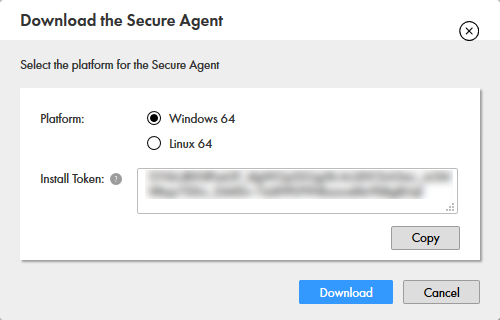
- Make note of the Install Token
- Run the installer on the client machine and register the Cloud Secure Agent with your username and install token
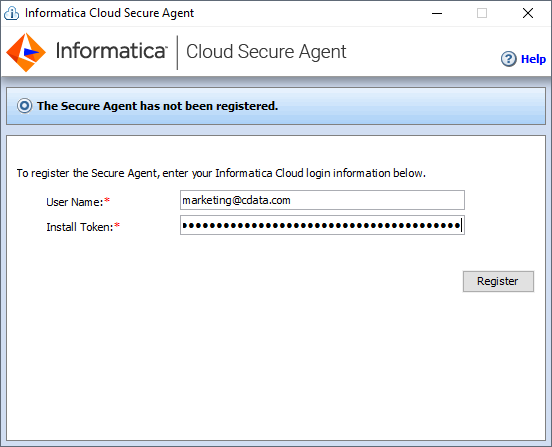
NOTE: It may take some time for all of the Cloud Secure Agent services to get up and running.
Connecting to the Pushover JDBC Driver
With the Cloud Secure Agent installed and running, you are ready to connect to Pushover through the JDBC Driver.
Adding the JDBC Driver to the Secure Agent Machine
- Navigate to the following directory on the Secure Agent machine:
%Secure Agent installation directory%/ext/connectors/thirdparty/ - Create a folder and add the driver JAR file (cdata.jdbc.api.jar) based on the type of mapping that you want to configure.
For mappings, create the following folder and add the driver JAR file:
informatica.jdbc_v2/commonFor mappings in advanced mode, also create the following folder and add the driver JAR file:
informatica.jdbc_v2/spark - Restart the Secure Agent.
Connecting to Pushover in Informatica Cloud
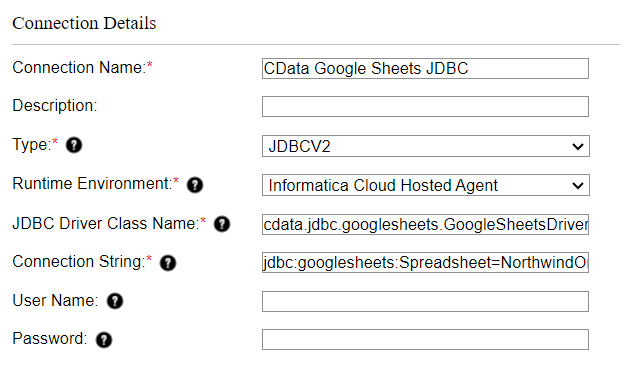
After installing the driver JAR file, you are ready to configure your connection to Pushover in Informatica Cloud. Start by clicking the Connections tab and clicking New Connection. Fill in the following properties for the connection:- Connection Name: Name your connection (i.e.: CData Pushover Connection)
- Type: Select "JDBC_V2"
- Runtime Environment: Select the runtime environment where you installed the Secure Agent
- JDBC Driver Class Name: The name of the JDBC driver class: cdata.jdbc.api.APIDriver
- JDBC Connection URL: Set this to the JDBC URL for Pushover. Your URL will look similar to the following:
jdbc:api:Profile=C:\profiles\Pushover.apip;AuthScheme=APIKey;ProfileSettings='APIKey=your_application_token';Start by setting the Profile connection property to the location of the Pushover Profile on disk (e.g. C:\profiles\Pushover.apip). Next, set the ProfileSettings connection property to the connection string for Pushover (see below).
Pushover API Profile Settings
Pushover uses API Key authentication. Your Pushover Application API Token is used to authenticate all requests. You can create and manage API tokens in the Pushover dashboard at pushover.net by registering an application under Settings > Your Applications.
After setting the following connection properties, you are ready to connect:
- AuthScheme: Set this to APIKey.
- APIKey: Set this to your 30-character Pushover Application API Token.
Built-In Connection String Designer
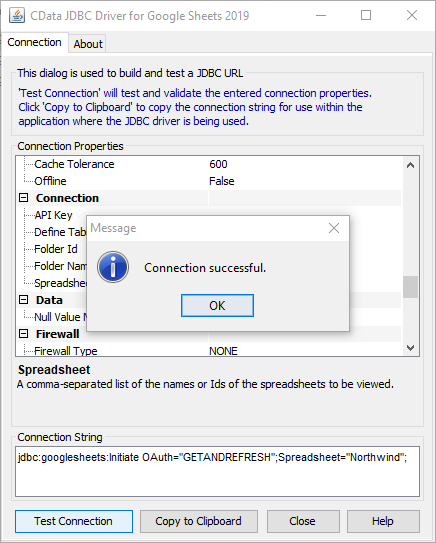
For assistance in constructing the JDBC URL, use the connection string designer built into the Pushover JDBC Driver. Either double-click the .jar file or execute the .jar file from the command-line.
java -jar cdata.jdbc.api.jarFill in the connection properties and copy the connection string to the clipboard.
- Username: Set this to a placeholder value (since Pushover does not require a username)
- Password: Set this to a placeholder value (since Pushover does not require a password)
Create a Mapping for Pushover Data
With the connection to Pushover configured, we can now access Pushover data in any Informatica process. The steps below walk through creating a mapping for Pushover to another data target.
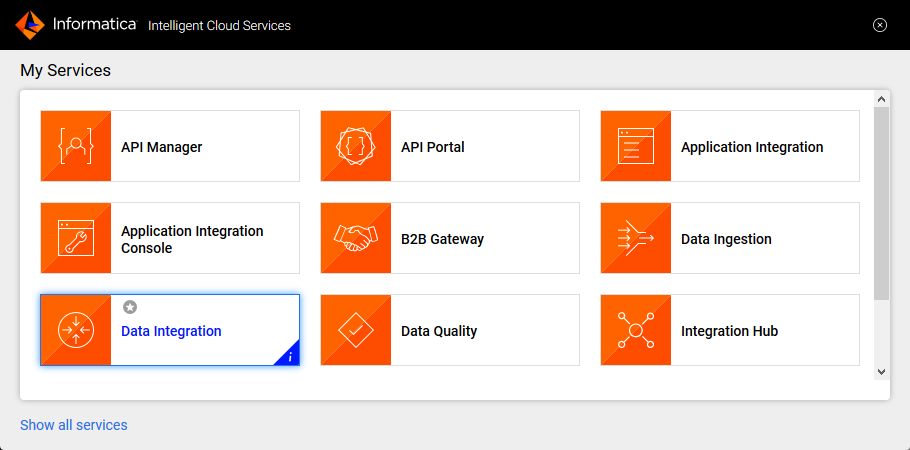
- Navigate to the Data Integration page
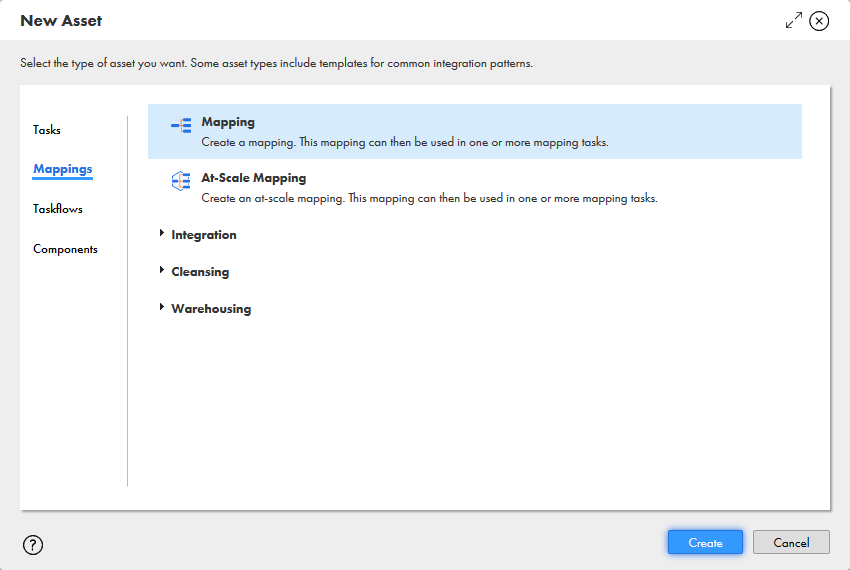
- Click New.. and select Mapping from the Mappings tab
- Click the Source Object and in the Source tab, select the Connection and set the Source Type
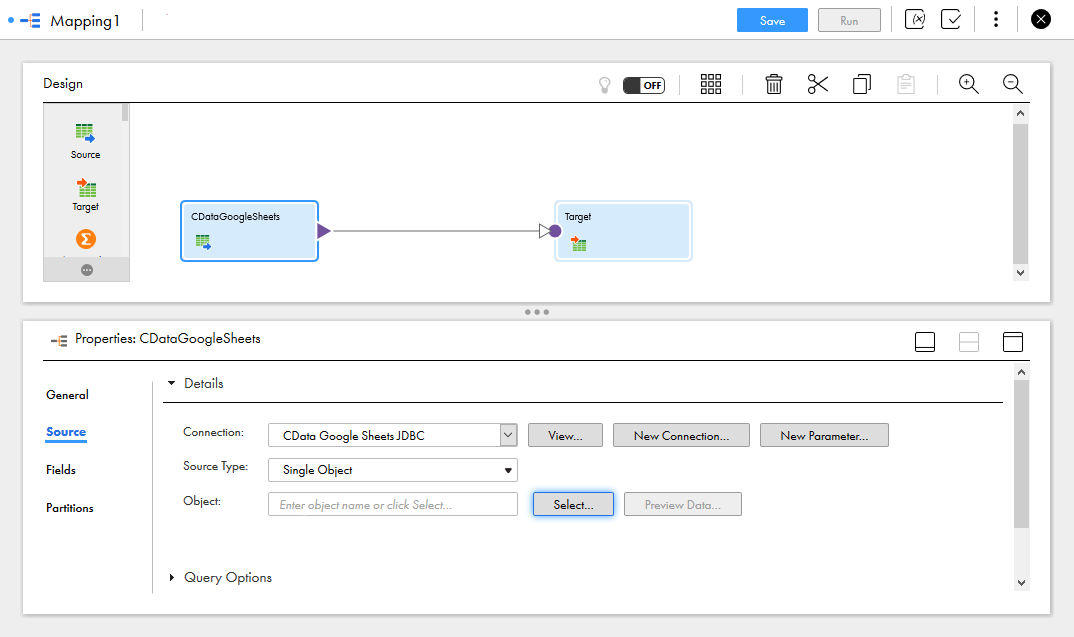
- Click "Select" to choose the table to map
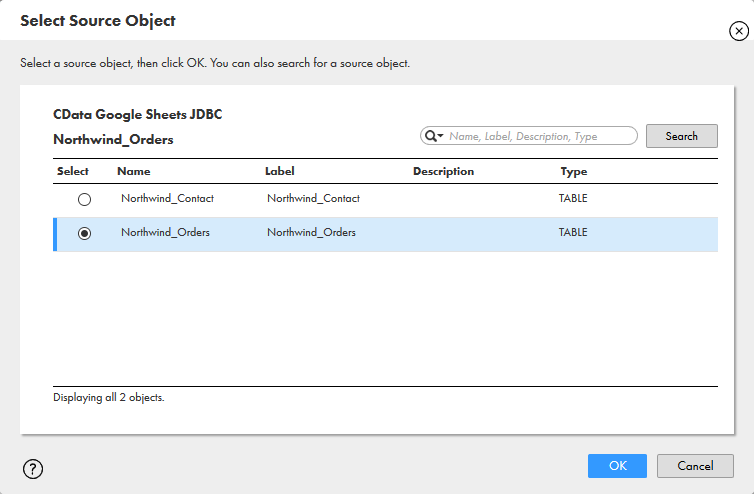
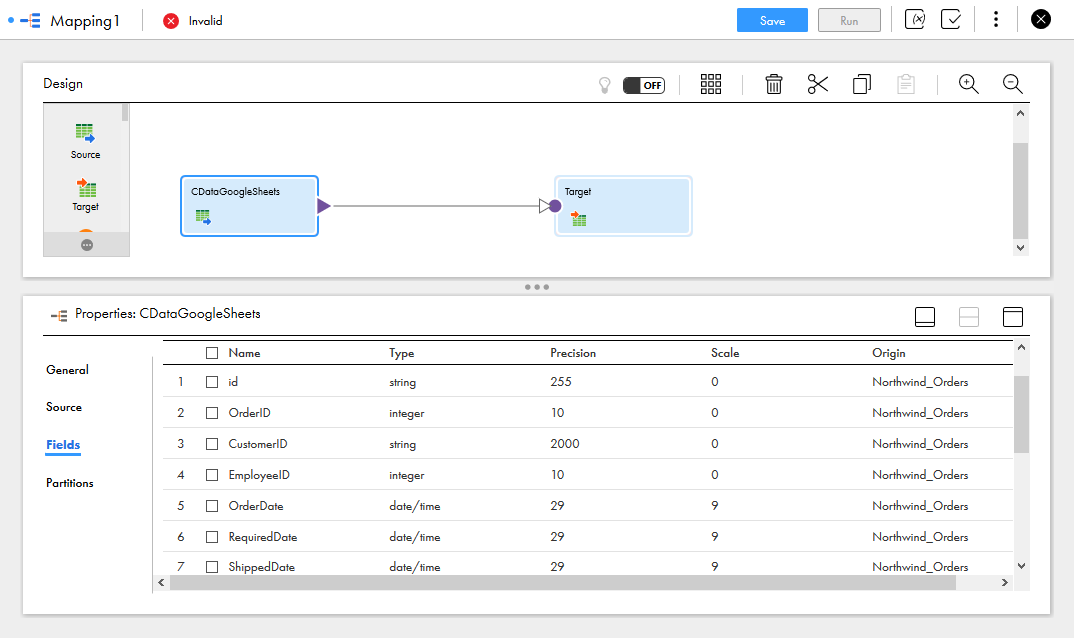
- In the Fields tab, select the fields from the Pushover table to map
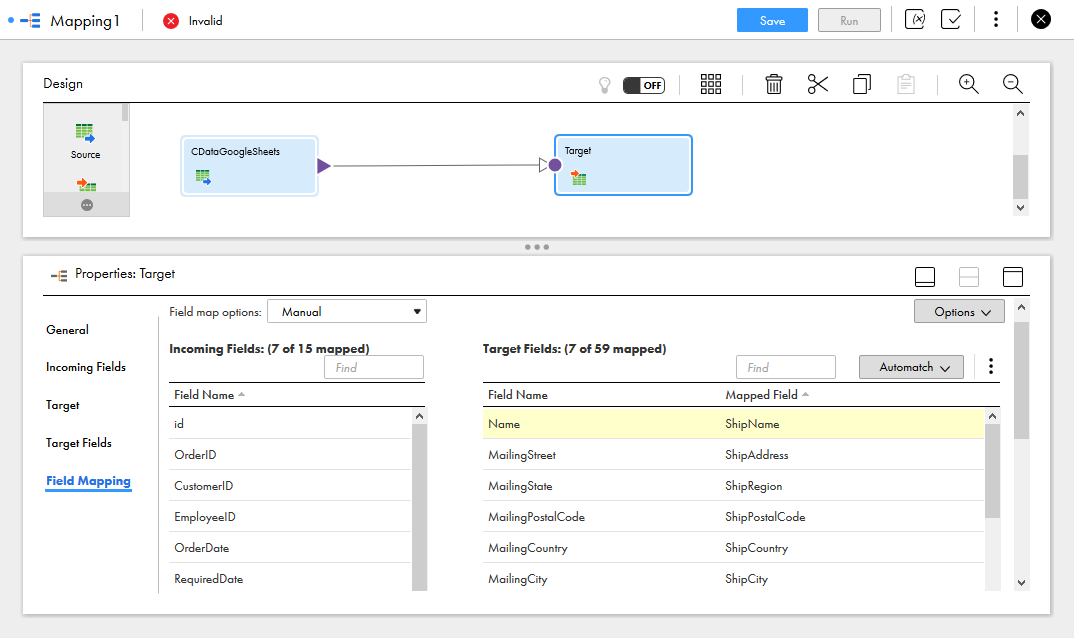
- Click the Target object and configure the Target source, table and fields. In the Field Mapping tab, map the source fields to the target fields.
With the mapping configured, you are ready to start integrating live Pushover data with any of the supported connections in Informatica Cloud. Download a free, 30-day trial of the CData API Driver for JDBC and start working with your live Pushover data in Informatica Cloud today.