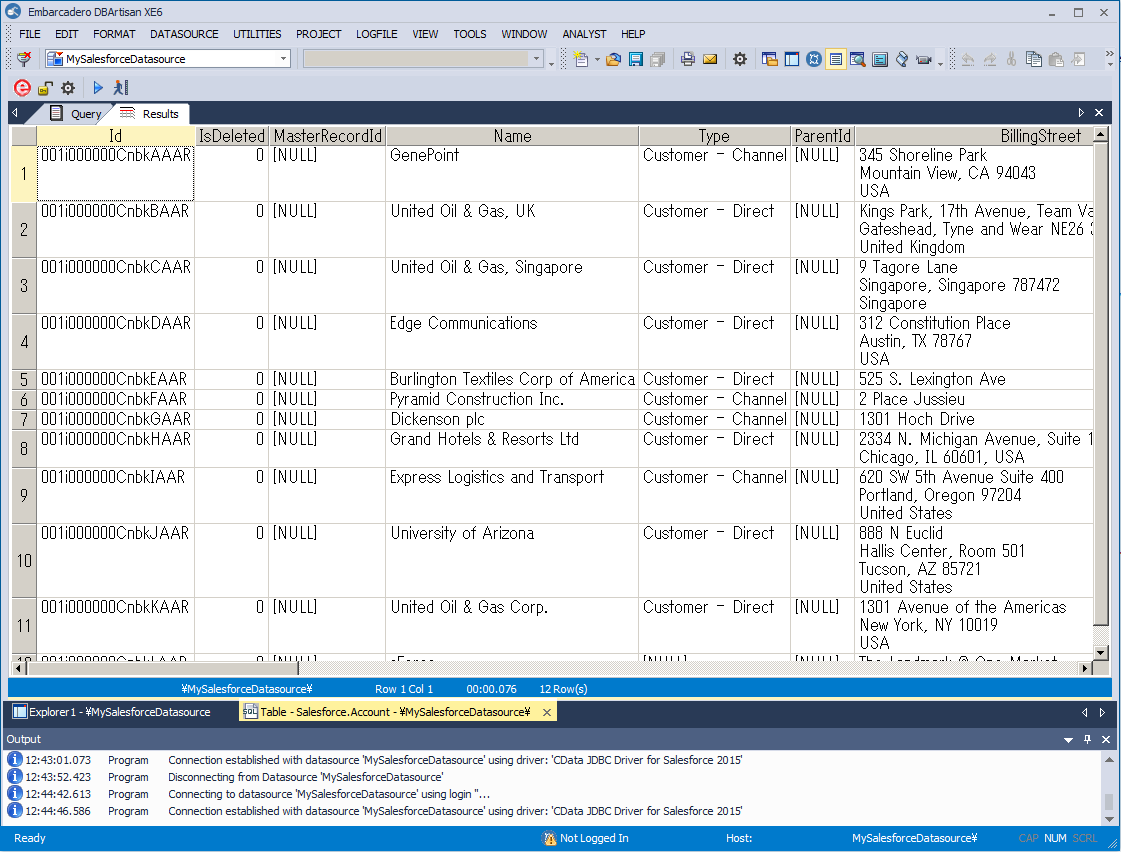
Manage Respond.io Data in DBArtisan as a JDBC Source

The CData JDBC Driver for Respond.io seamlessly integrates Respond.io data into database management tools like DBArtisan by enabling you to access Respond.io data as a database. This article shows how to create a JDBC source for Respond.io in DBArtisan. You can then edit data visually and execute standard SQL.
Integrate Respond.io Data into DBArtisan Projects
Follow the steps below to register Respond.io data as a database instance in your project:
- In DBArtisan, click Data Source -> Register Datasource.
- Select Generic JDBC.
- Click Manage.
- In the resulting dialog, click New. Enter a name for the driver and click Add. In the resulting dialog, navigate to the driver JAR. The driver JAR is located in the lib subfolder of the installation directory.
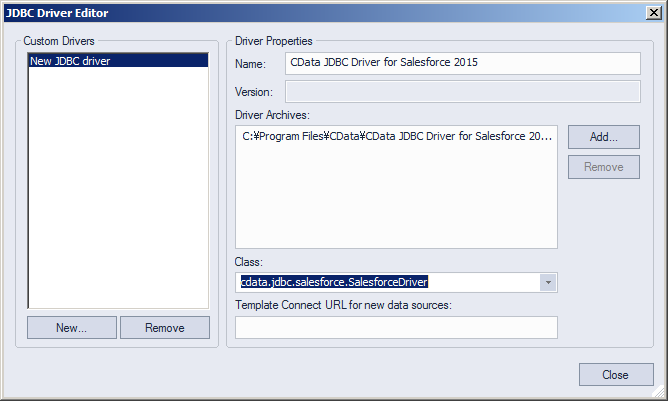
-
In the Connection URL box, enter credentials and other required connection properties in the JDBC URL.
Start by setting the Profile connection property to the location of the Respondio Profile on disk (e.g. C:\profiles\Respondio.apip). Next, set the ProfileSettings connection property to the connection string for Respondio (see below).
Respondio API Profile Settings
Respond.io uses API key authentication. To obtain an API key:
- Log in to your Respond.io account.
- Navigate to Settings in your workspace.
- Select Developer under the Integrations section.
- Copy the API key displayed on the page.
After obtaining your API key, set the following connection properties:
- AuthScheme: Set this to APIKey.
Set the following in the ProfileSettings connection property:
- APIKey: Set this to your Respond.io API key.
Built-in Connection String Designer
For assistance in constructing the JDBC URL, use the connection string designer built into the Respond.io JDBC Driver. Either double-click the JAR file or execute the jar file from the command-line.
java -jar cdata.jdbc.api.jarFill in the connection properties and copy the connection string to the clipboard.
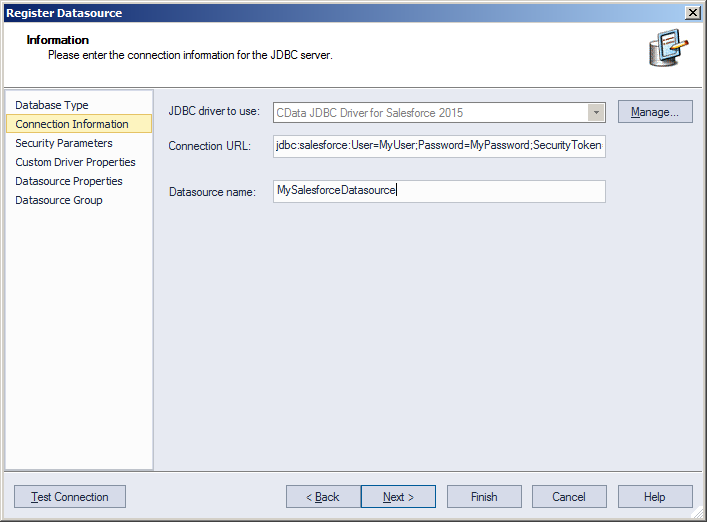
Below is a typical connection string:
jdbc:api:Profile=C:\profiles\Respondio.apip;AuthScheme=APIKey;ProfileSettings='APIKey=your_api_key'; - Finish the wizard to connect to Respond.io data. Respond.io entities are displayed in the Datasource Explorer.
You can now work with Respond.io data as you work with any other database. See the driver help documentation for more information on the queries supported by the Respond.io API.