How to Connect DBeaver to Respond.io via a JDBC Driver

The CData API Driver for JDBC implements JDBC standards that enable third-party tools to interoperate, from wizards in IDEs to business intelligence tools. This article shows how to connect to Respond.io data with wizards in DBeaver and browse data in the DBeaver GUI.
Create a JDBC Data Source for Respond.io Data
Follow the steps below to load the driver JAR in DBeaver.
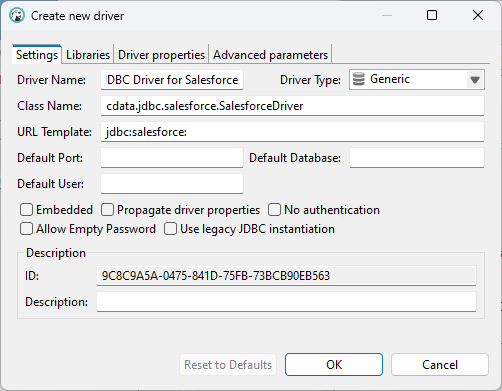
- Open the DBeaver application and, in the "Database" menu, select the "Driver Manager" option. Click "New" to open the "Create new driver" form.
- In the Settings tab:
- Set Driver Name to a user-friendly name for the driver (e.g. CData API Driver for JDBC).
- Set Class Name to the class name for the JDBC driver: cdata.jdbc.api.APIDriver.
- Set URL Template to jdbc:api:.
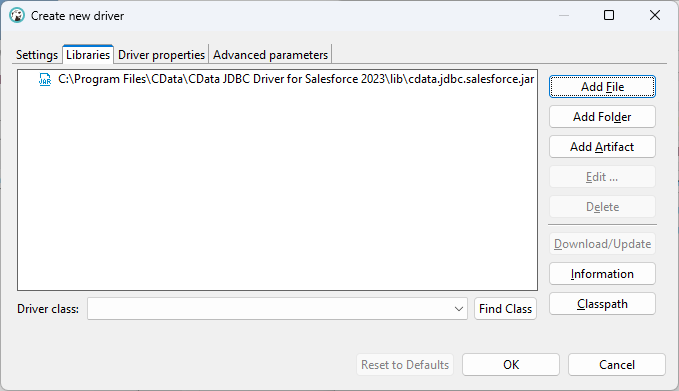
- In the Libraries tab, click "Add File," navigate to the "lib" folder in the installation directory (C:\Program Files\CData\CData API Driver for JDBC XXXX\) and select the JAR file (cdata.jdbc.API.jar).
Create a Connection to Respond.io Data
Follow the steps below to add credentials and other required connection properties.
- In the "Database" menu, click "New Database Connection."
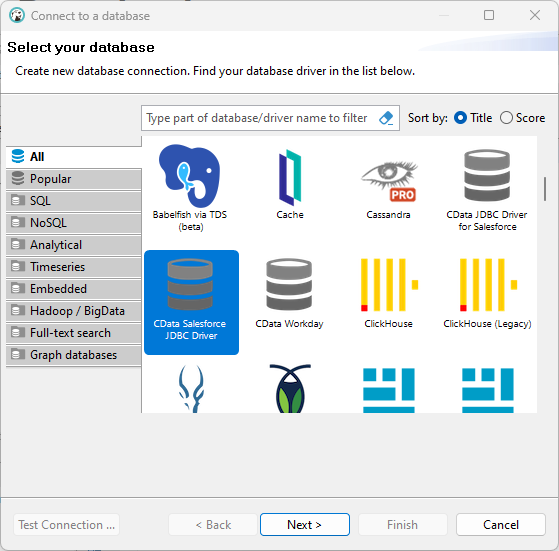
- In the "Connect to a database" wizard that results, select the driver you just created (e.g. CData API Driver for JDBC) and click "Next >."
- On the Main tab of the configuration wizard, set the JDBC URL, using the required connection properties:
Start by setting the Profile connection property to the location of the Respondio Profile on disk (e.g. C:\profiles\Respondio.apip). Next, set the ProfileSettings connection property to the connection string for Respondio (see below).
Respondio API Profile Settings
Respond.io uses API key authentication. To obtain an API key:
- Log in to your Respond.io account.
- Navigate to Settings in your workspace.
- Select Developer under the Integrations section.
- Copy the API key displayed on the page.
After obtaining your API key, set the following connection properties:
- AuthScheme: Set this to APIKey.
Set the following in the ProfileSettings connection property:
- APIKey: Set this to your Respond.io API key.
Built-in Connection String Designer
For assistance in constructing the JDBC URL, use the connection string designer built into the Respond.io JDBC Driver. Either double-click the JAR file or execute the jar file from the command-line.
java -jar cdata.jdbc.api.jarFill in the connection properties and copy the connection string to the clipboard.

Below is a typical connection string:
jdbc:api:Profile=C:\profiles\Respondio.apip;AuthScheme=APIKey;ProfileSettings='APIKey=your_api_key';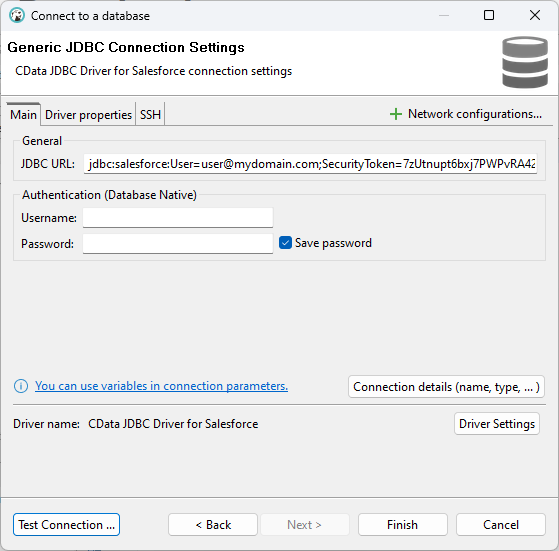
- Click "Test Connection ..." to ensure you have configured the connection properly.

- Click "Finish."
Query Respond.io Data
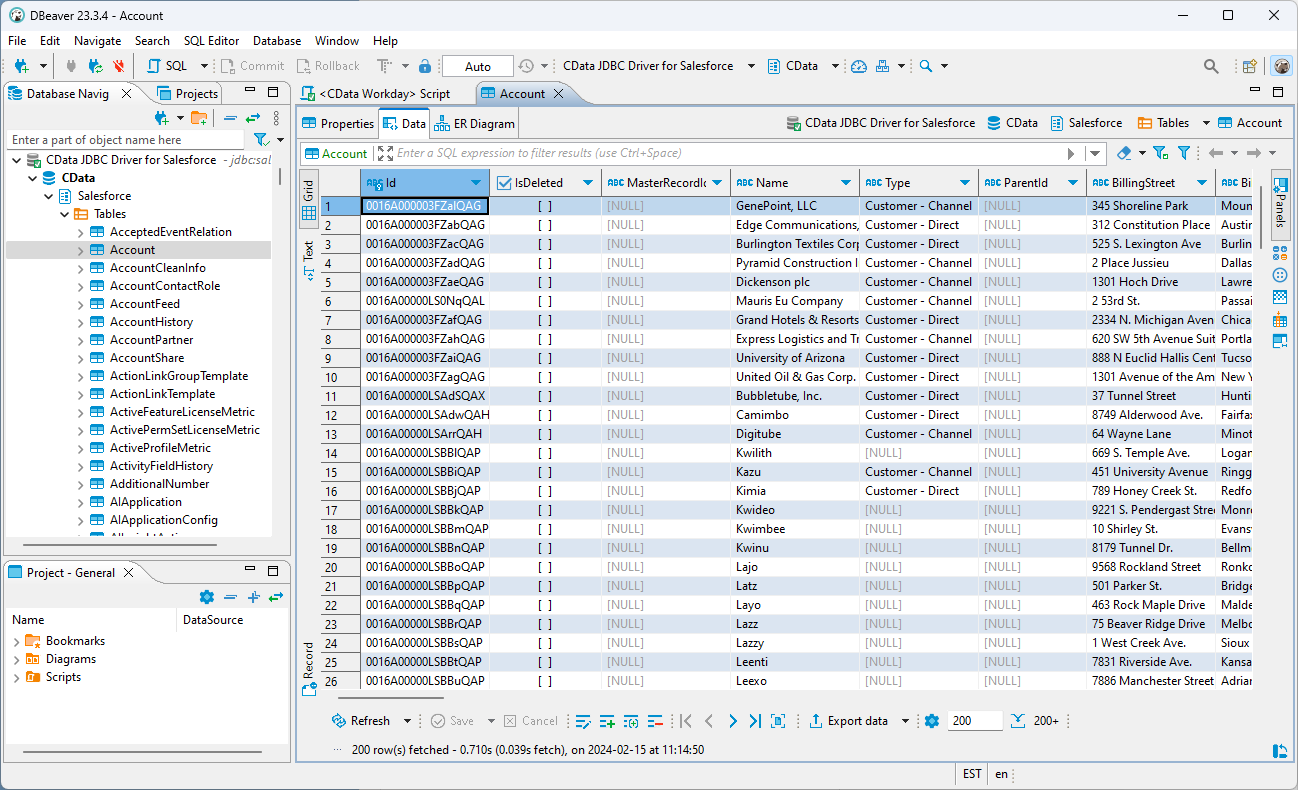
You can now query information from the tables exposed by the connection: Right-click a Table and then click View Table. The data is available on the Data tab.