




How to Visualize Respond.io Data in Python with pandas

The rich ecosystem of Python modules lets you get to work quickly and integrate your systems more effectively. With the CData API Driver for Python, the pandas & Matplotlib modules, and the SQLAlchemy toolkit, you can build Respond.io-connected Python applications and scripts for visualizing Respond.io data. This article shows how to use the pandas, SQLAlchemy, and Matplotlib built-in functions to connect to Respond.io data, execute queries, and visualize the results.
With built-in optimized data processing, the CData Python Connector offers unmatched performance for interacting with live Respond.io data in Python. When you issue complex SQL queries from Respond.io, the driver pushes supported SQL operations, like filters and aggregations, directly to Respond.io and utilizes the embedded SQL engine to process unsupported operations client-side (often SQL functions and JOIN operations).
Connecting to Respond.io Data
Connecting to Respond.io data looks just like connecting to any relational data source. Create a connection string using the required connection properties. For this article, you will pass the connection string as a parameter to the create_engine function.
Start by setting the Profile connection property to the location of the Respondio Profile on disk (e.g. C:\profiles\Respondio.apip). Next, set the ProfileSettings connection property to the connection string for Respondio (see below).
Respondio API Profile Settings
Respond.io uses API key authentication. To obtain an API key:
- Log in to your Respond.io account.
- Navigate to Settings in your workspace.
- Select Developer under the Integrations section.
- Copy the API key displayed on the page.
After obtaining your API key, set the following connection properties:
- AuthScheme: Set this to APIKey.
Set the following in the ProfileSettings connection property:
- APIKey: Set this to your Respond.io API key.
Follow the procedure below to install the required modules and start accessing Respond.io through Python objects.
Install Required Modules
Use the pip utility to install the pandas & Matplotlib modules and the SQLAlchemy toolkit:
pip install pandas
pip install matplotlib
pip install sqlalchemy
Be sure to import the module with the following:
import pandas
import matplotlib.pyplot as plt
from sqlalchemy import create_engine
Visualize Respond.io Data in Python
You can now connect with a connection string. Use the create_engine function to create an Engine for working with Respond.io data.
engine = create_engine("api:///?Profile=C:\profiles\Respondio.apip&AuthScheme=APIKey&ProfileSettings='APIKey=your_api_key'")
Execute SQL to Respond.io
Use the read_sql function from pandas to execute any SQL statement and store the resultset in a DataFrame.
df = pandas.read_sql("SELECT Id, Email FROM Contacts WHERE Identifier = 'id:438180634'", engine)
Visualize Respond.io Data
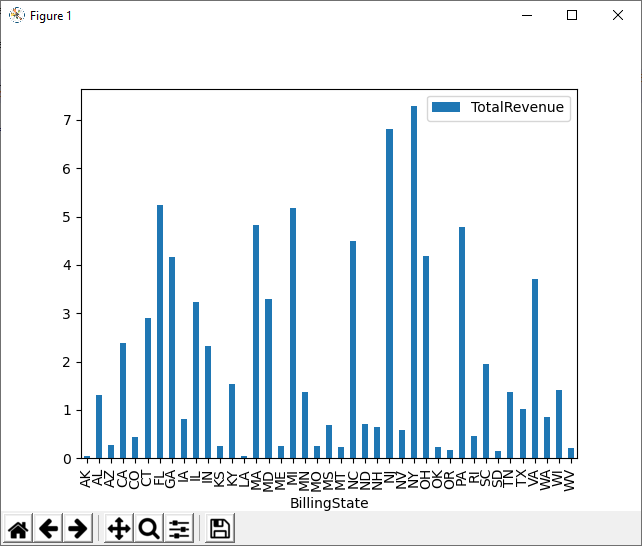
With the query results stored in a DataFrame, use the plot function to build a chart to display the Respond.io data. The show method displays the chart in a new window.
df.plot(kind="bar", x="Id", y="Email")
plt.show()
Free Trial & More Information
Download a free, 30-day trial of the CData API Driver for Python to start building Python apps and scripts with connectivity to Respond.io data. Reach out to our Support Team if you have any questions.
Full Source Code
import pandas
import matplotlib.pyplot as plt
from sqlalchemy import create_engin

engine = create_engine("api:///?Profile=C:\profiles\Respondio.apip&AuthScheme=APIKey&ProfileSettings='APIKey=your_api_key'")
df = pandas.read_sql("SELECT Id, Email FROM Contacts WHERE Identifier = 'id:438180634'", engine)

df.plot(kind="bar", x="Id", y="Email")
plt.show()