Consume Sage X3 Cloud OData Feeds in SAP Lumira

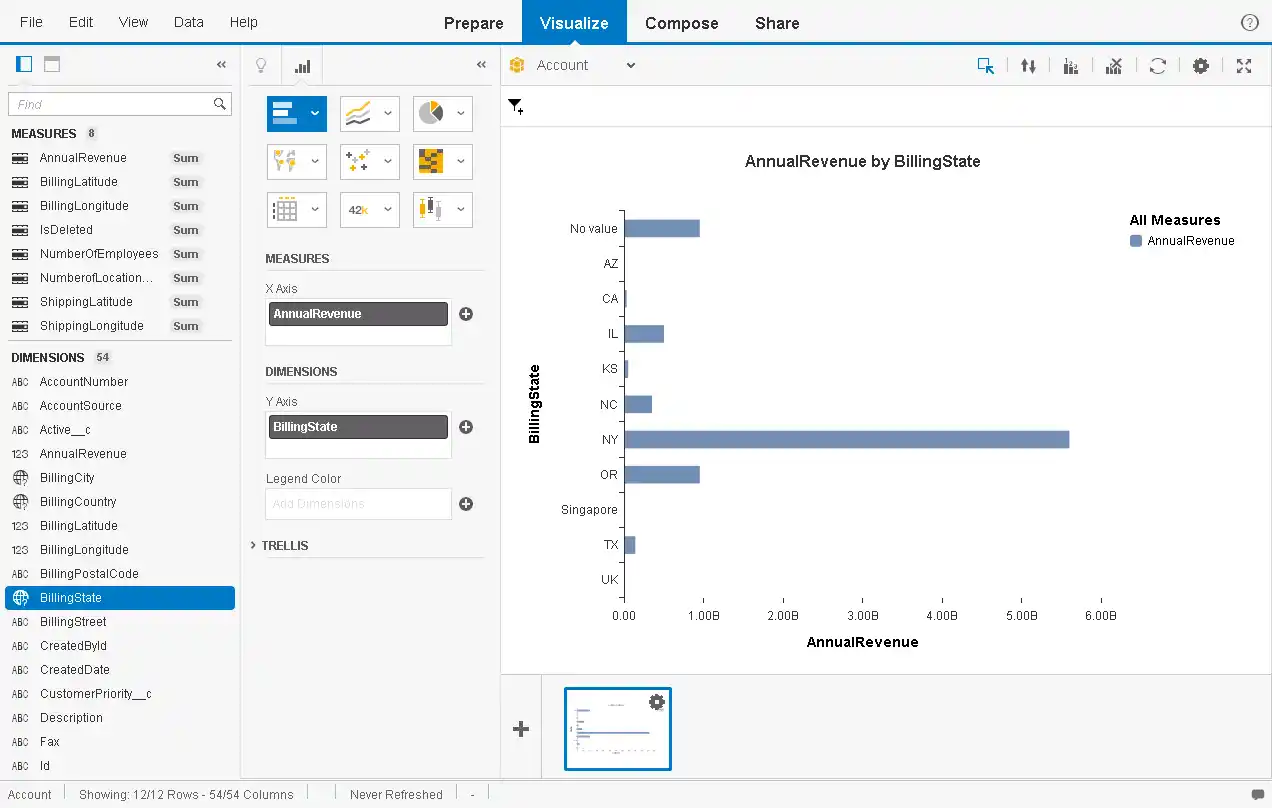
You can use the CData API Server to create data visualizations based on Sage X3 Cloud data in SAP Lumira. The API Server enables connectivity to live data: dashboards and reports can be refreshed on demand. This article shows how to create a chart that is always up to date.
Set Up the API Server
If you have not already done so, download the CData API Server. Once you have installed the API Server, follow the steps below to begin producing secure Sage X3 Cloud OData services:
Connect to Sage X3 Cloud
To work with Sage X3 Cloud data from SAP Lumira, we start by creating and configuring a Sage X3 Cloud connection. Follow the steps below to configure the API Server to connect to Sage X3 Cloud data:
- First, navigate to the Connections page.
-
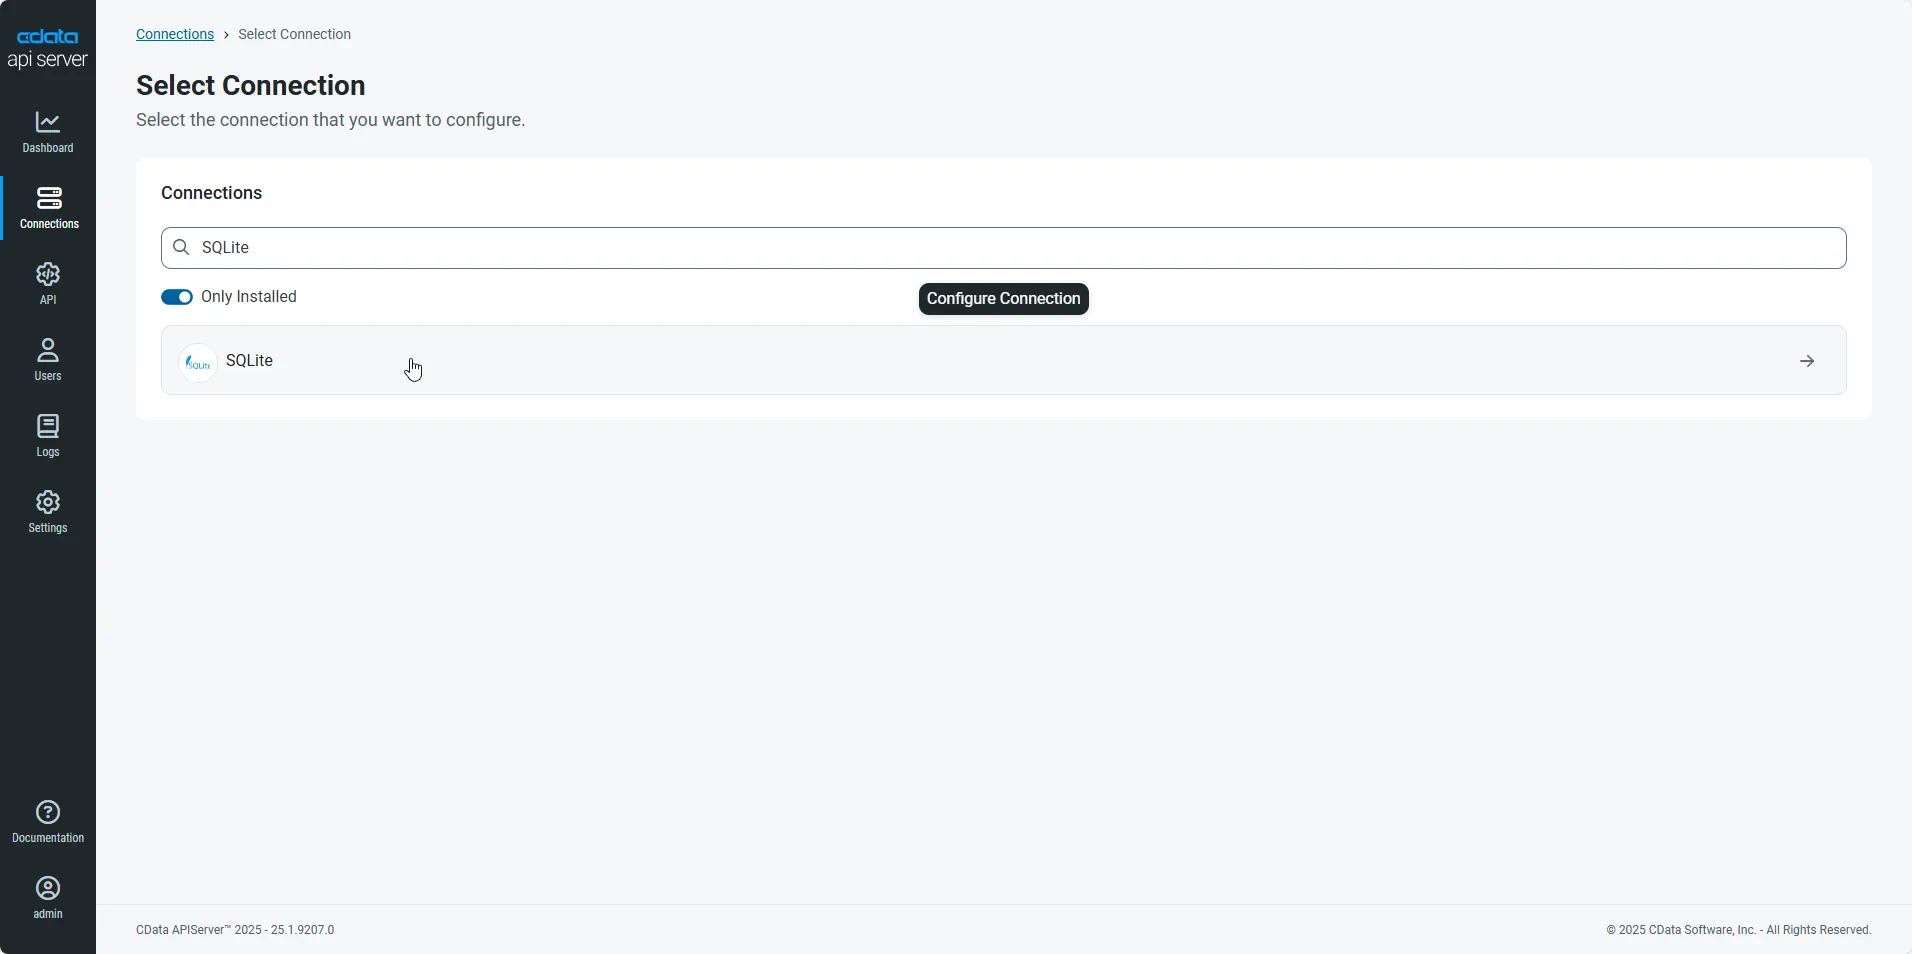
Click Add Connection and then search for and select the Sage X3 Cloud connection.
-
Enter the necessary authentication properties to connect to Sage X3 Cloud.
Sage X3 Cloud uses the OAuth 2.0 Client Credentials flow, and an X-API-Key is also required for API access. Set AuthScheme to OAuth and specify the following connection properties:
- URL: The base URL of your Sage X3 Cloud instance.
- OAuthAccessTokenUrl: The OAuth token endpoint (e.g., https://your-auth-domain/oauth/token).
- OAuthClientId: Your OAuth application client ID.
- OAuthClientSecret: Your OAuth application client secret.
- Audience: The API audience value for the token request.
- XAPIKey: The X-API-Key provided by your Sage X3 Cloud administrator.
- Folder: The Sage X3 folder name (e.g., SEED). This folder is used as the default schema.
- Folders (optional): A comma-separated list of Sage X3 folders (e.g., SEED,PERF). Each folder is exposed as a separate schema, so you can query across folders with the Schema.Table syntax.
The driver obtains an access token with the Client Credentials flow and sends it with the X-API-Key on every API request. With InitiateOAuth set to GETANDREFRESH (the default), the driver acquires and refreshes the token automatically.
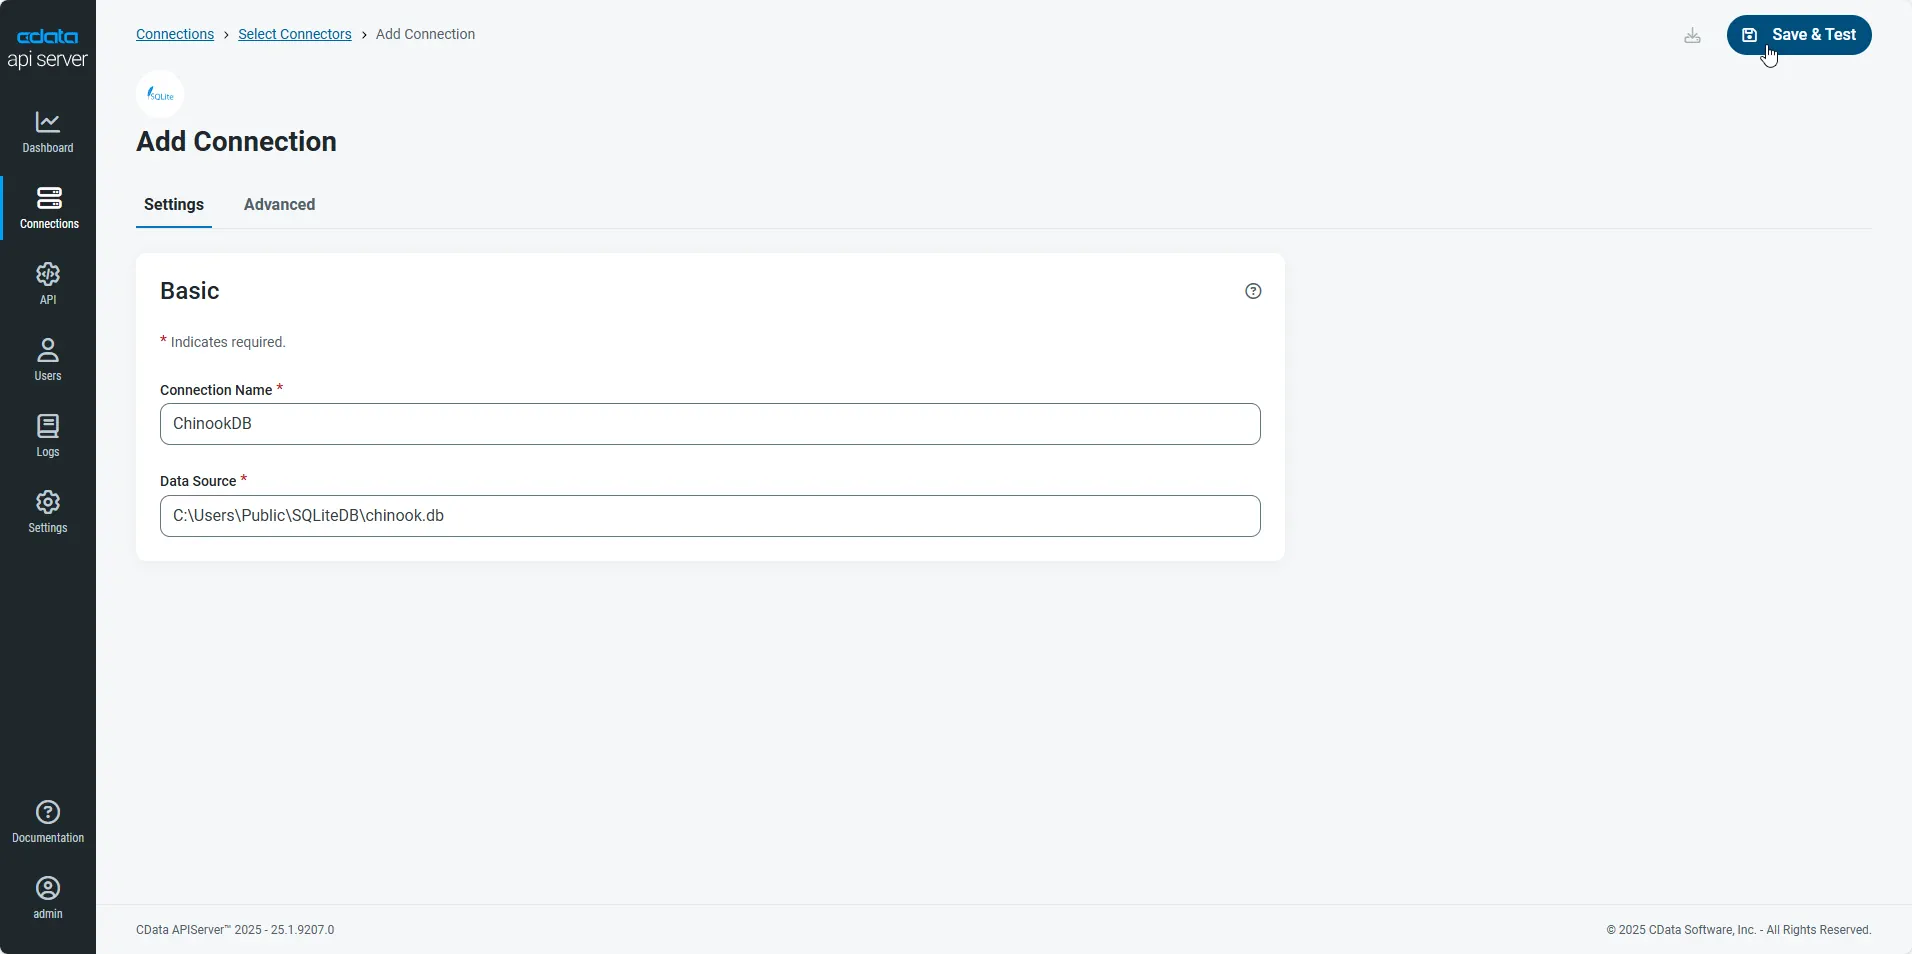
- After configuring the connection, click Save & Test to confirm a successful connection.
Configure API Server Users
Next, create a user to access your Sage X3 Cloud data through the API Server. You can add and configure users on the Users page. Follow the steps below to configure and create a user:
- On the Users page, click Add User to open the Add User dialog.
-
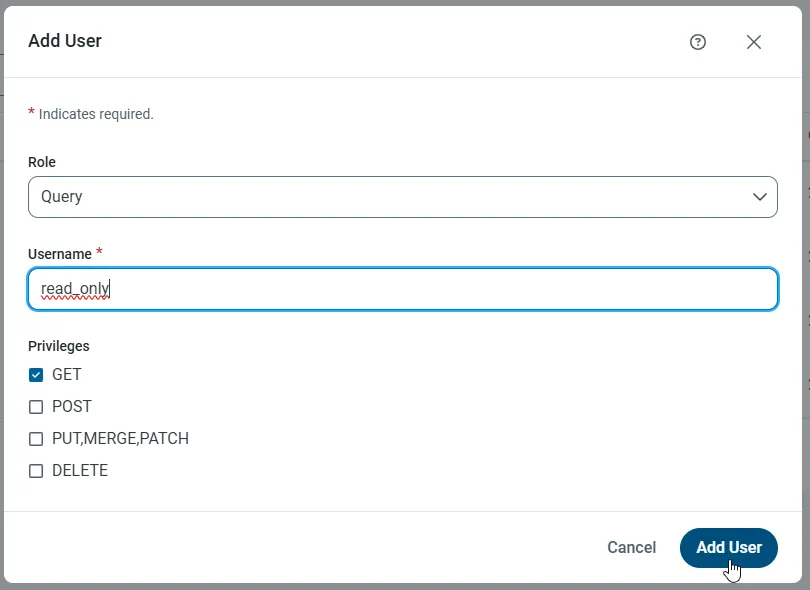
Next, set the Role, Username, and Privileges properties and then click Add User.
-
An Authtoken is then generated for the user. You can find the Authtoken and other information for each user on the Users page:
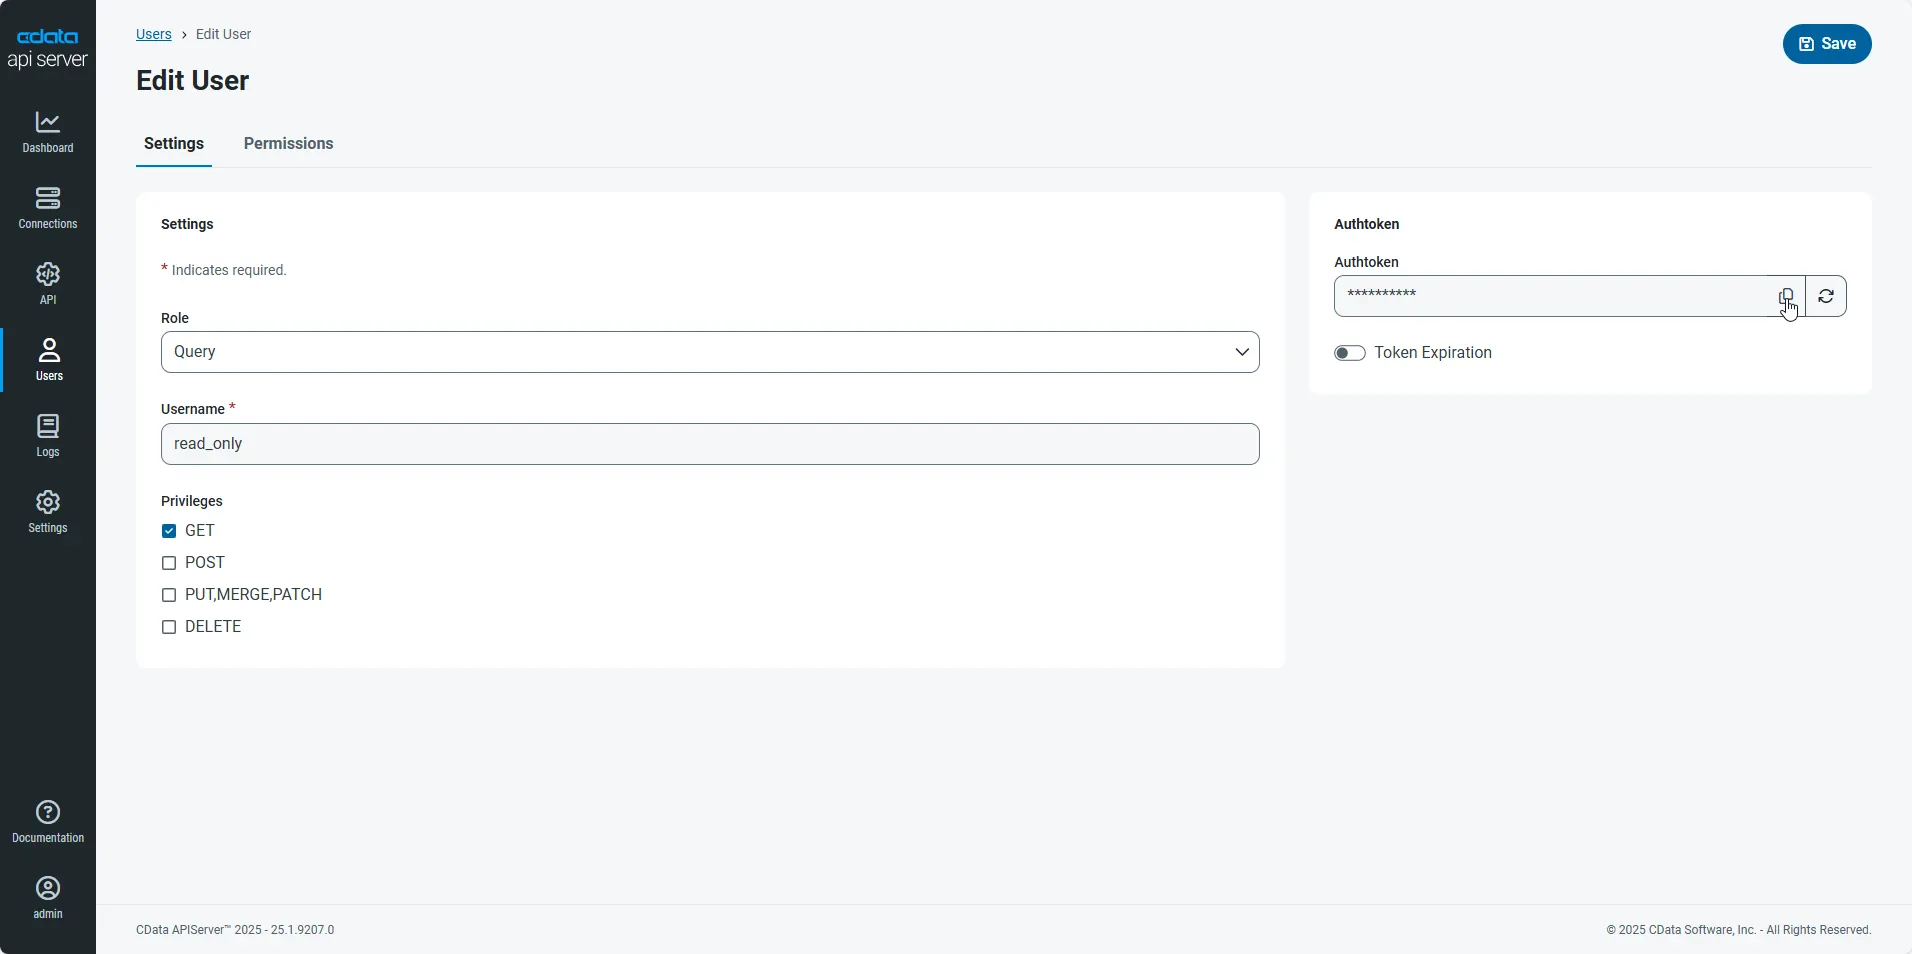
Creating API Endpoints for Sage X3 Cloud
Having created a user, you are ready to create API endpoints for the Sage X3 Cloud tables:
-
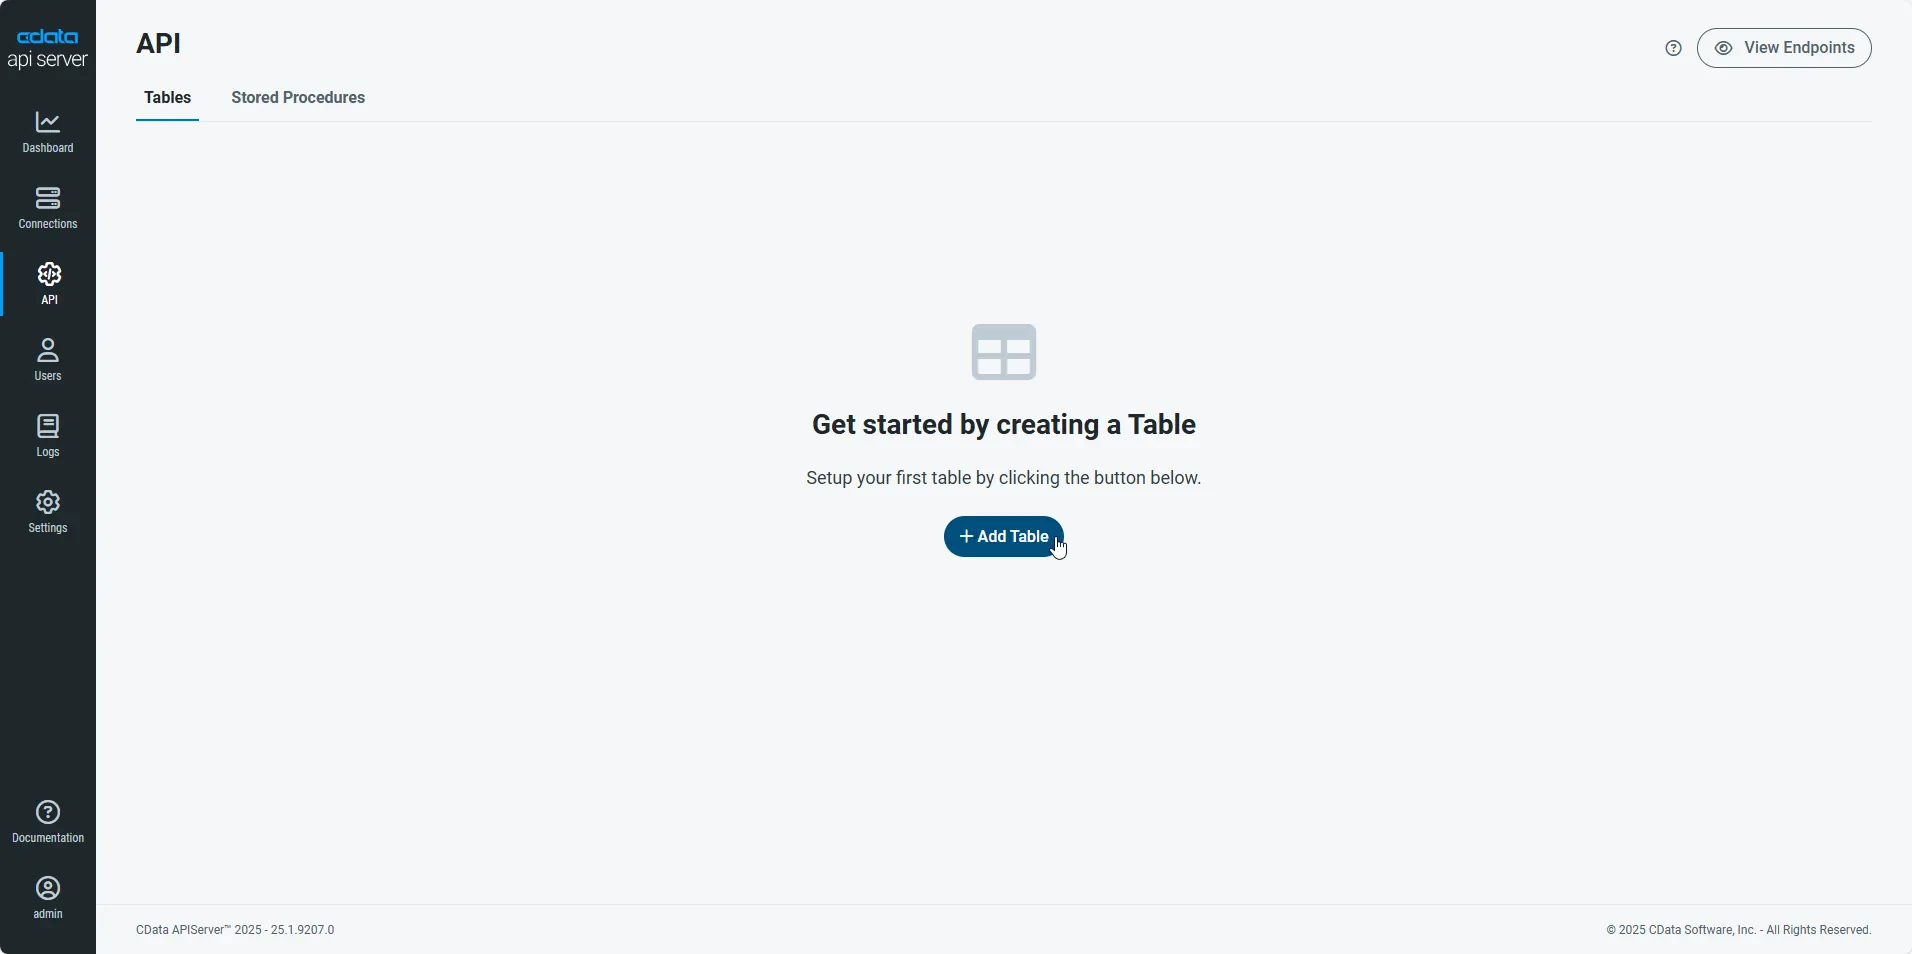
First, navigate to the API page and then click
Add Table
.
-
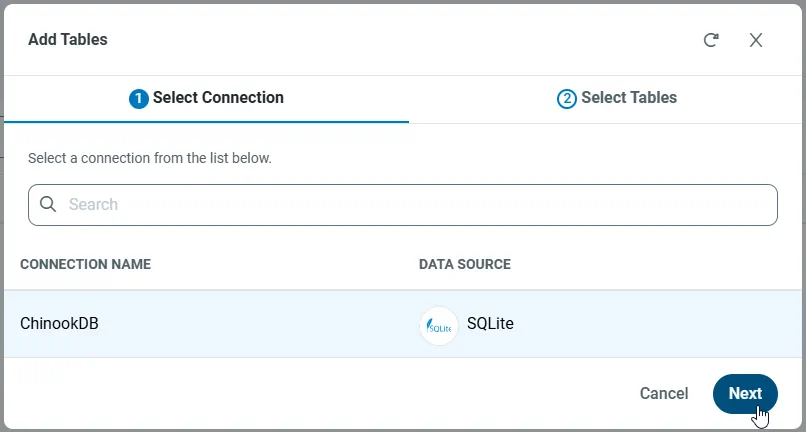
Select the connection you wish to access and click Next.
-
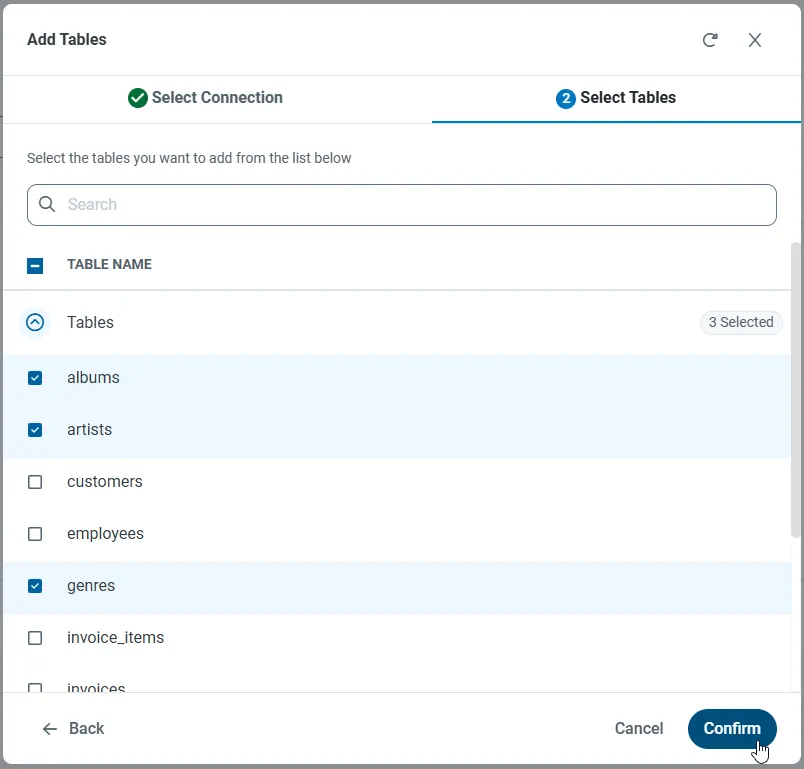
With the connection selected, create endpoints by selecting each table and then clicking Confirm.
Gather the OData Url
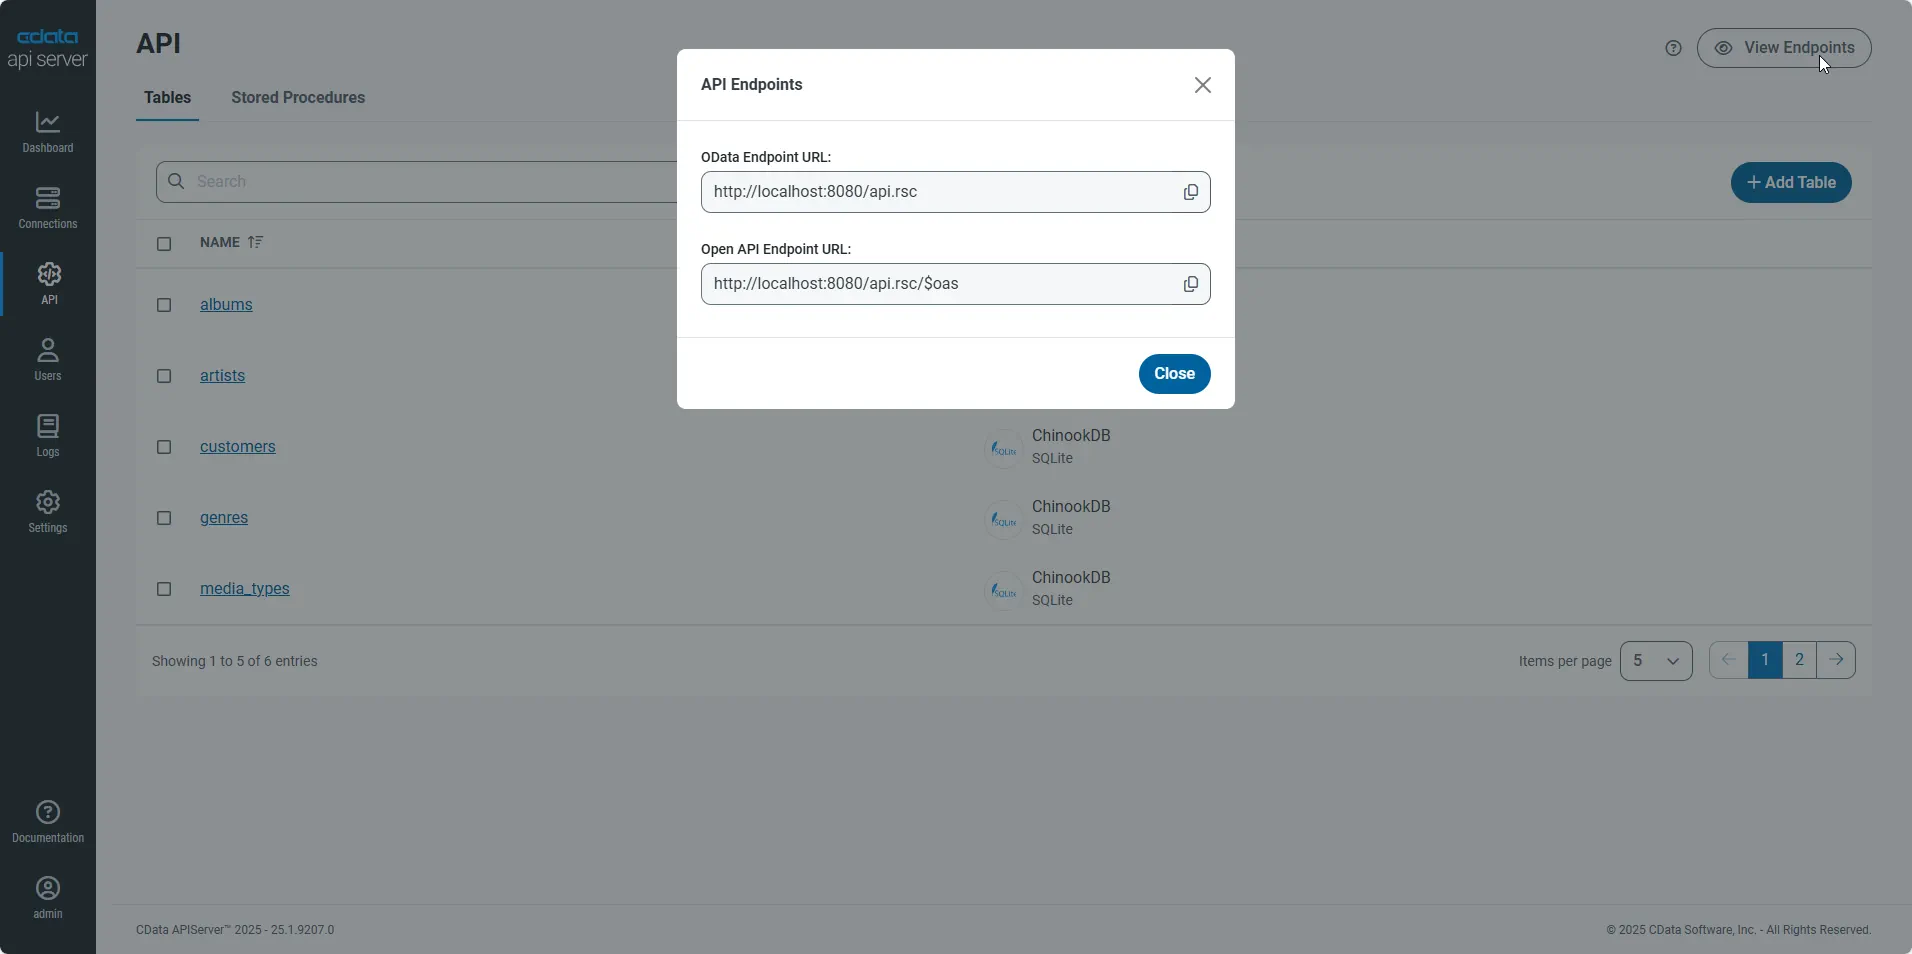
Having configured a connection to Sage X3 Cloud data, created a user, and added resources to the API Server, you now have an easily accessible REST API based on the OData protocol for those resources. From the API page in API Server, you can view and copy the API Endpoints for the API:
Connect to Sage X3 Cloud from SAP Lumira
Follow the steps below to retrieve Sage X3 Cloud data into SAP Lumira. You can execute an SQL query or use the UI.
- In SAP Lumira, click File -> New -> Query with SQL. The Add New Dataset dialog is displayed.
- Expand the Generic section and click the Generic OData 2.0 Connector option.
-
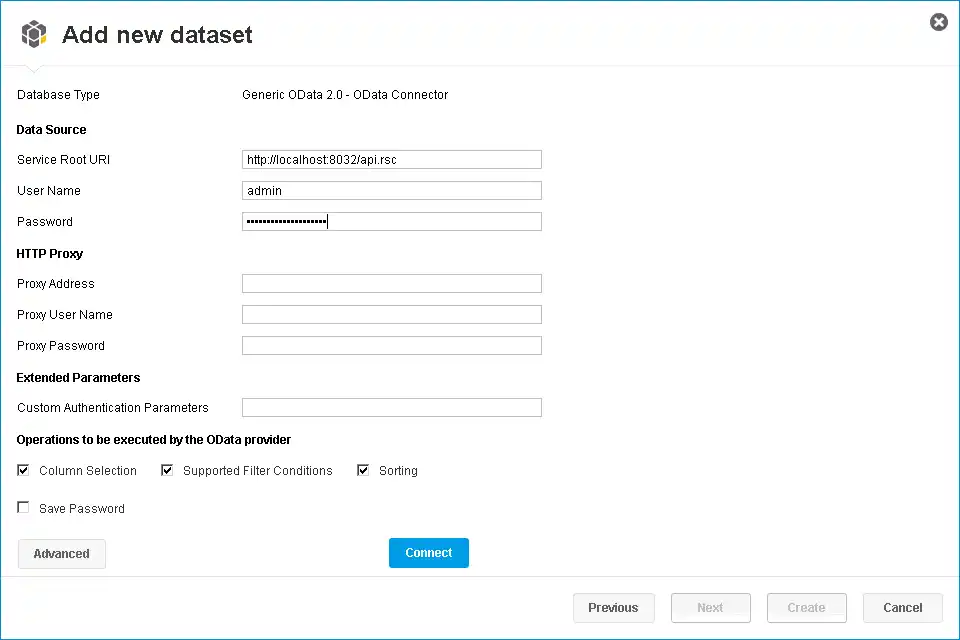
In the Service Root URI box, enter the OData endpoint of the API Server. This URL will resemble the following:
https://your-server:8080/api.rsc -
In the User Name and Password boxes, enter the username and authtoken of an API user. These credentials will be used in HTTP Basic authentication.
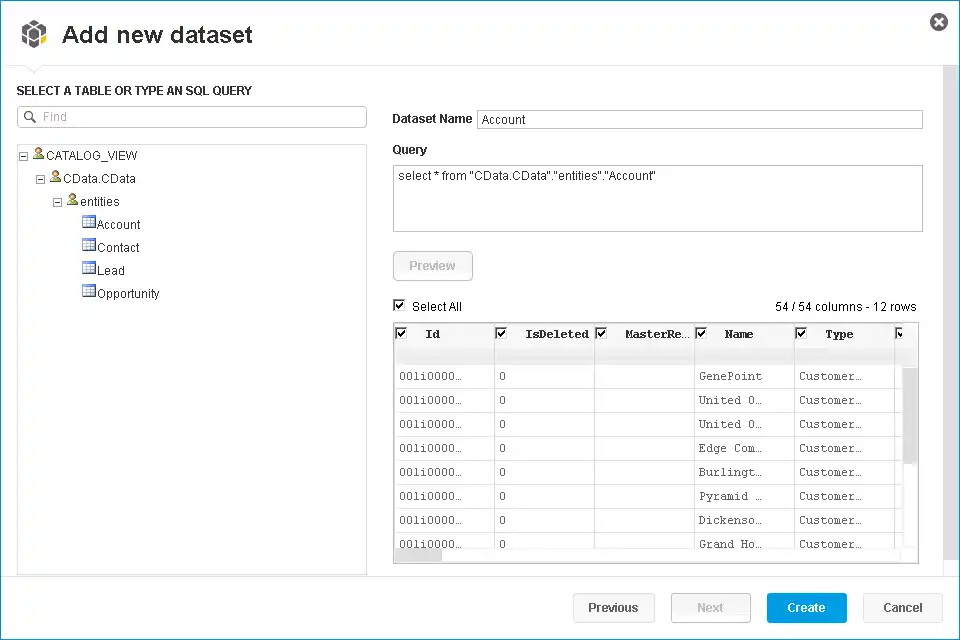
Select entities in the tree or enter an SQL query. This article imports Sage X3 Cloud BPCUSTOMER entities.
-
When you click Connect, SAP Lumira will generate the corresponding OData request and load the results into memory. You can then use any of the data processing tools available in SAP Lumira, such as filters, aggregates, and summary functions.
Create Data Visualizations
After you have imported the data, you can create data visualizations in the Visualize room. Follow the steps below to create a basic chart.
In the Measures and Dimensions pane, drag measures and dimensions onto the x-axis and y-axis fields in the Visualization Tools pane. SAP Lumira automatically detects dimensions and measures from the metadata service of the API Server.
By default, the SUM function is applied to all measures. Click the gear icon next to a measure to change the default summary.
- In the Visualization Tools pane, select the chart type.
- In the Chart Canvas pane, apply filters, sort by measures, add rankings, and update the chart with the current Sage X3 Cloud data.