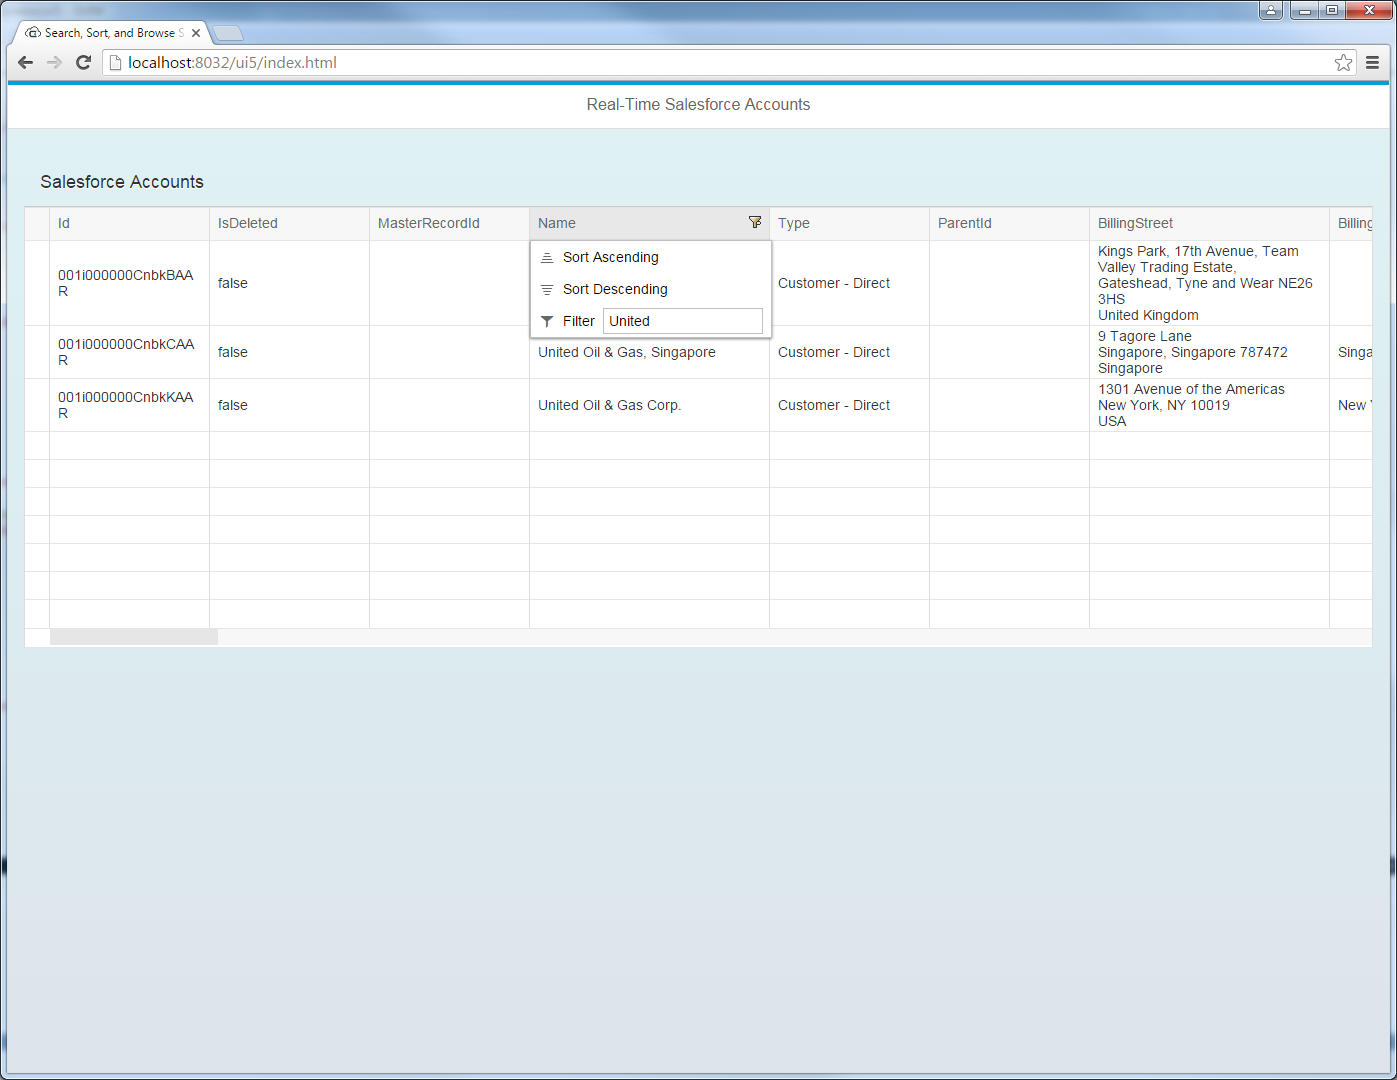
Integrate Real-Time Access to Sage X3 Cloud in SAPUI5 MVC Apps

In this article we show how to use the CData API Server to write SAPUI5 apps that leverage the capabilities of the Sage X3 Cloud API, without writing to a back-end database. The API Server is a lightweight Web application that runs on your server and produces OData feeds of Sage X3 Cloud data. OData is the standard for real-time data access over the Web and has built-in support in SAPUI5 and OpenUI5.
Set Up the API Server
If you have not already done so, download the CData API Server. Once you have installed the API Server, follow the steps below to begin producing secure Sage X3 Cloud OData services:
Connect to Sage X3 Cloud
To work with Sage X3 Cloud data from SAPUI5, we start by creating and configuring a Sage X3 Cloud connection. Follow the steps below to configure the API Server to connect to Sage X3 Cloud data:
- First, navigate to the Connections page.
-
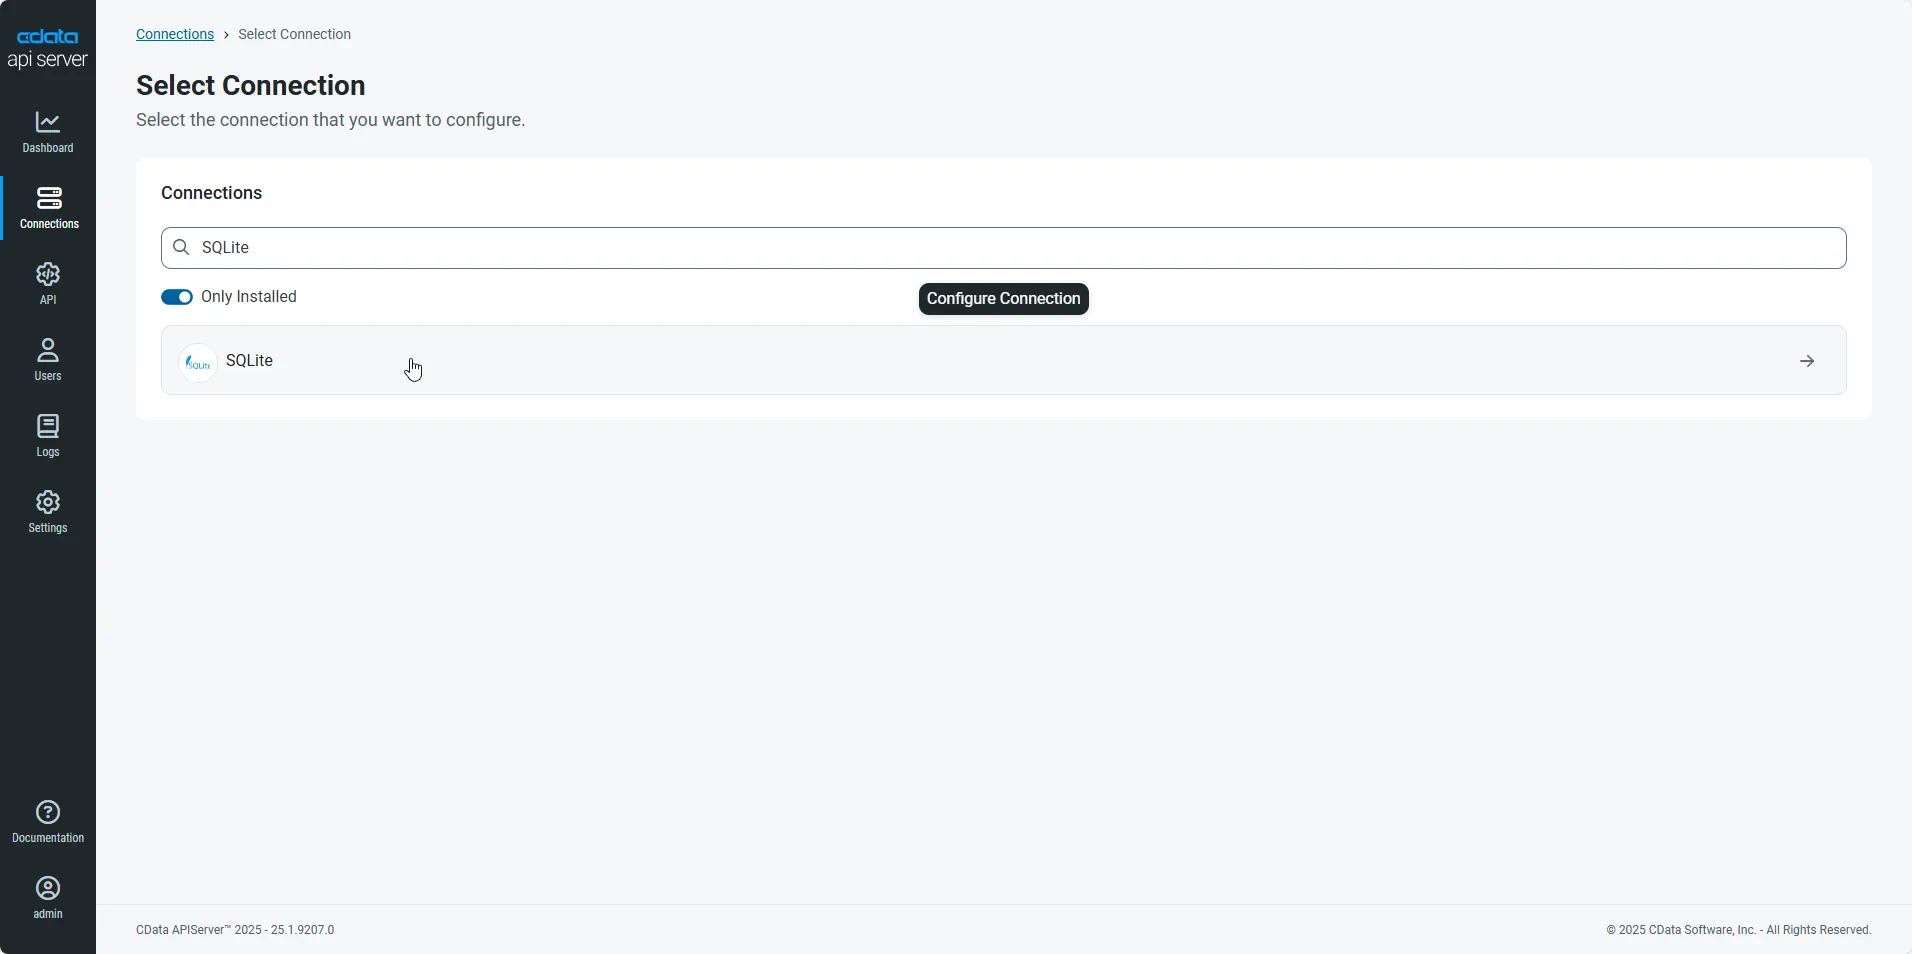
Click Add Connection and then search for and select the Sage X3 Cloud connection.
-
Enter the necessary authentication properties to connect to Sage X3 Cloud.
Sage X3 Cloud uses the OAuth 2.0 Client Credentials flow, and an X-API-Key is also required for API access. Set AuthScheme to OAuth and specify the following connection properties:
- URL: The base URL of your Sage X3 Cloud instance.
- OAuthAccessTokenUrl: The OAuth token endpoint (e.g., https://your-auth-domain/oauth/token).
- OAuthClientId: Your OAuth application client ID.
- OAuthClientSecret: Your OAuth application client secret.
- Audience: The API audience value for the token request.
- XAPIKey: The X-API-Key provided by your Sage X3 Cloud administrator.
- Folder: The Sage X3 folder name (e.g., SEED). This folder is used as the default schema.
- Folders (optional): A comma-separated list of Sage X3 folders (e.g., SEED,PERF). Each folder is exposed as a separate schema, so you can query across folders with the Schema.Table syntax.
The driver obtains an access token with the Client Credentials flow and sends it with the X-API-Key on every API request. With InitiateOAuth set to GETANDREFRESH (the default), the driver acquires and refreshes the token automatically.
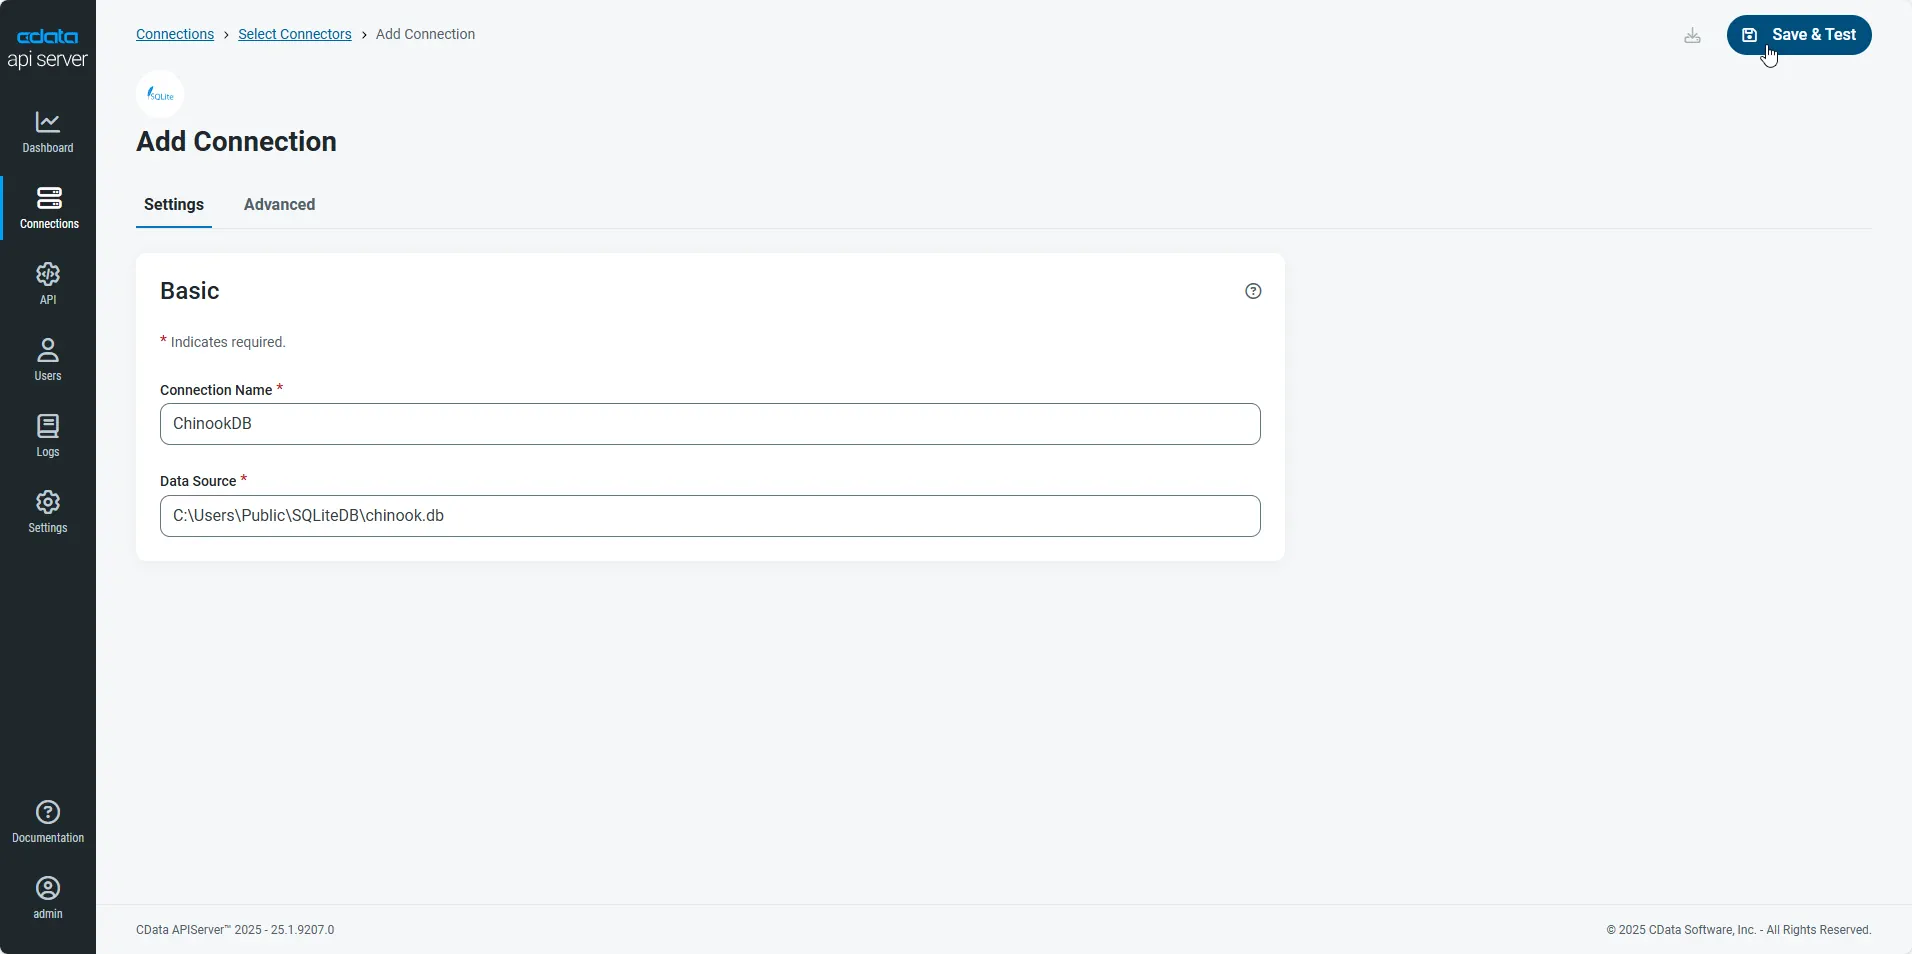
- After configuring the connection, click Save & Test to confirm a successful connection.
Configure API Server Users
Next, create a user to access your Sage X3 Cloud data through the API Server. You can add and configure users on the Users page. Follow the steps below to configure and create a user:
- On the Users page, click Add User to open the Add User dialog.
-
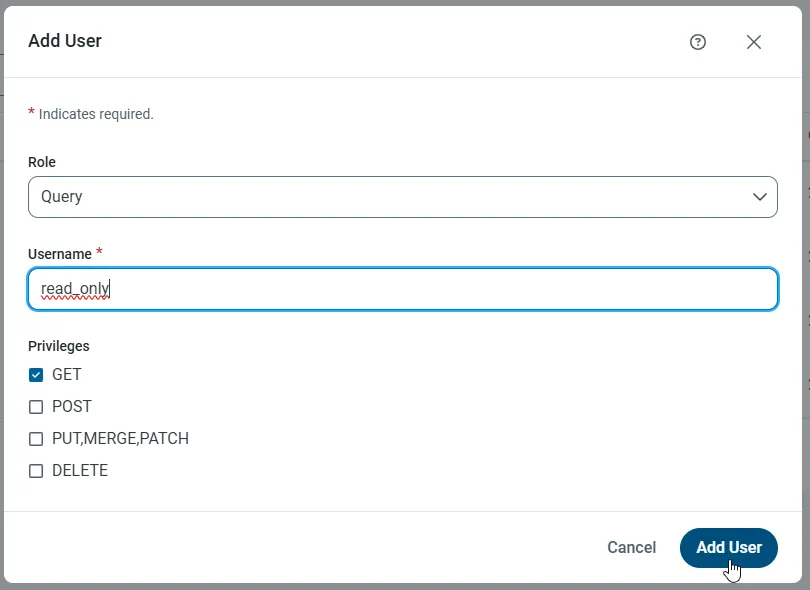
Next, set the Role, Username, and Privileges properties and then click Add User.
-
An Authtoken is then generated for the user. You can find the Authtoken and other information for each user on the Users page:
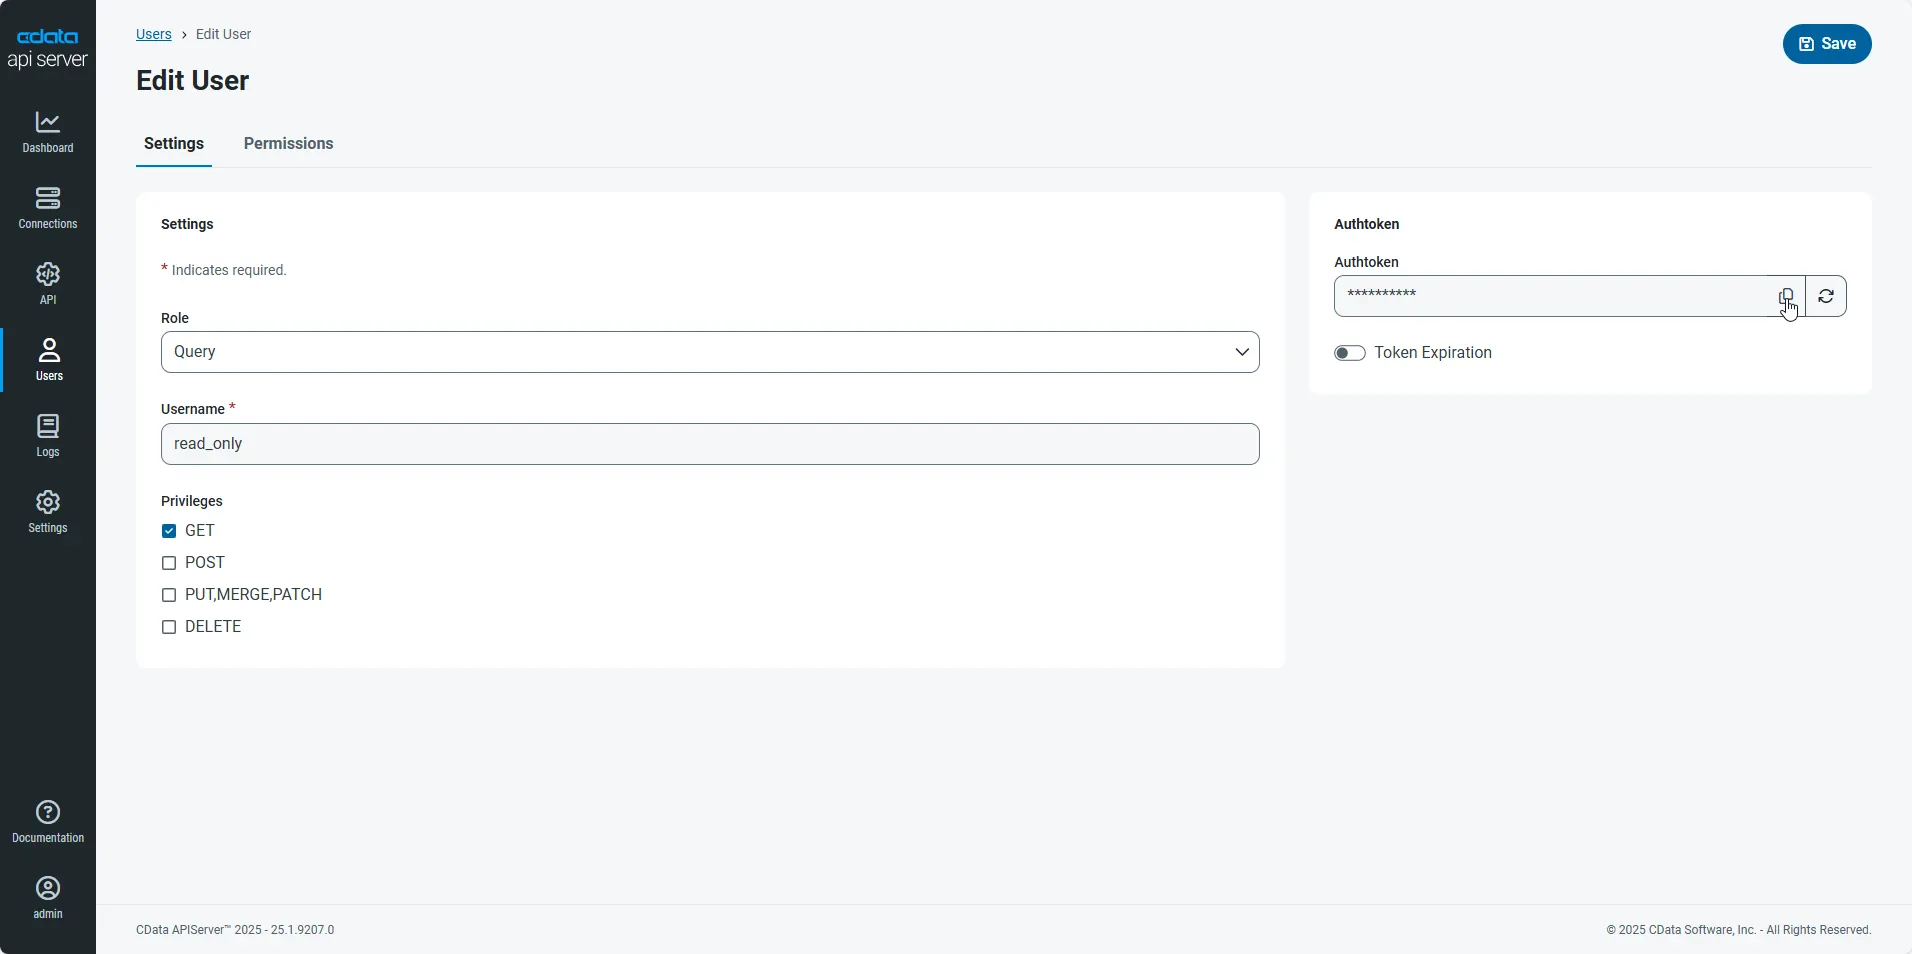
Creating API Endpoints for Sage X3 Cloud
Having created a user, you are ready to create API endpoints for the Sage X3 Cloud tables:
-
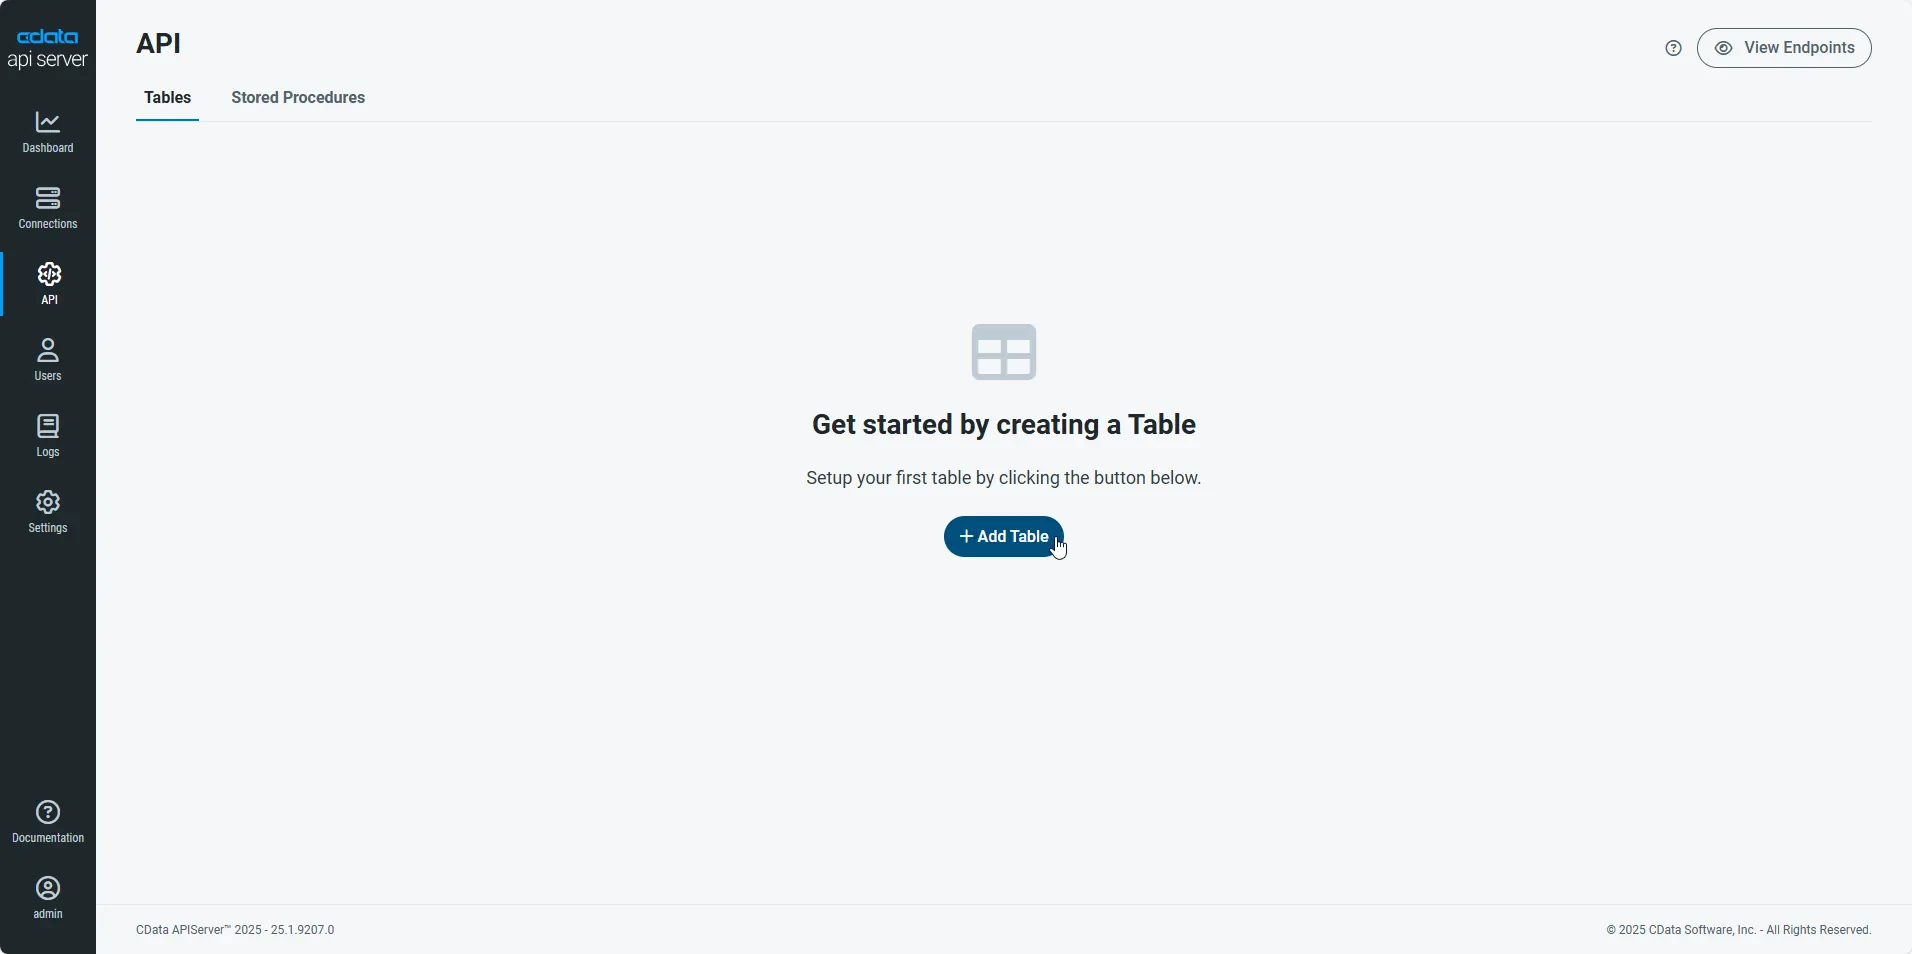
First, navigate to the API page and then click
Add Table
.
-
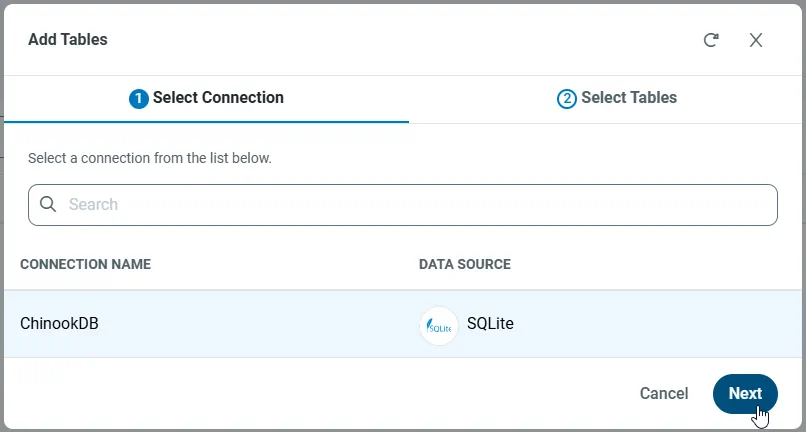
Select the connection you wish to access and click Next.
-
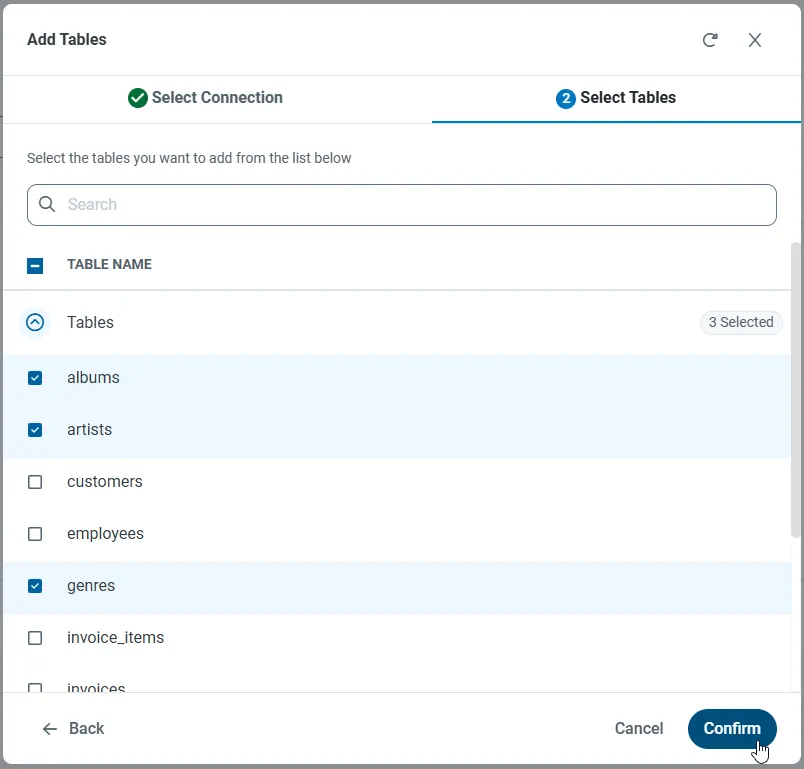
With the connection selected, create endpoints by selecting each table and then clicking Confirm.
Gather the OData Url
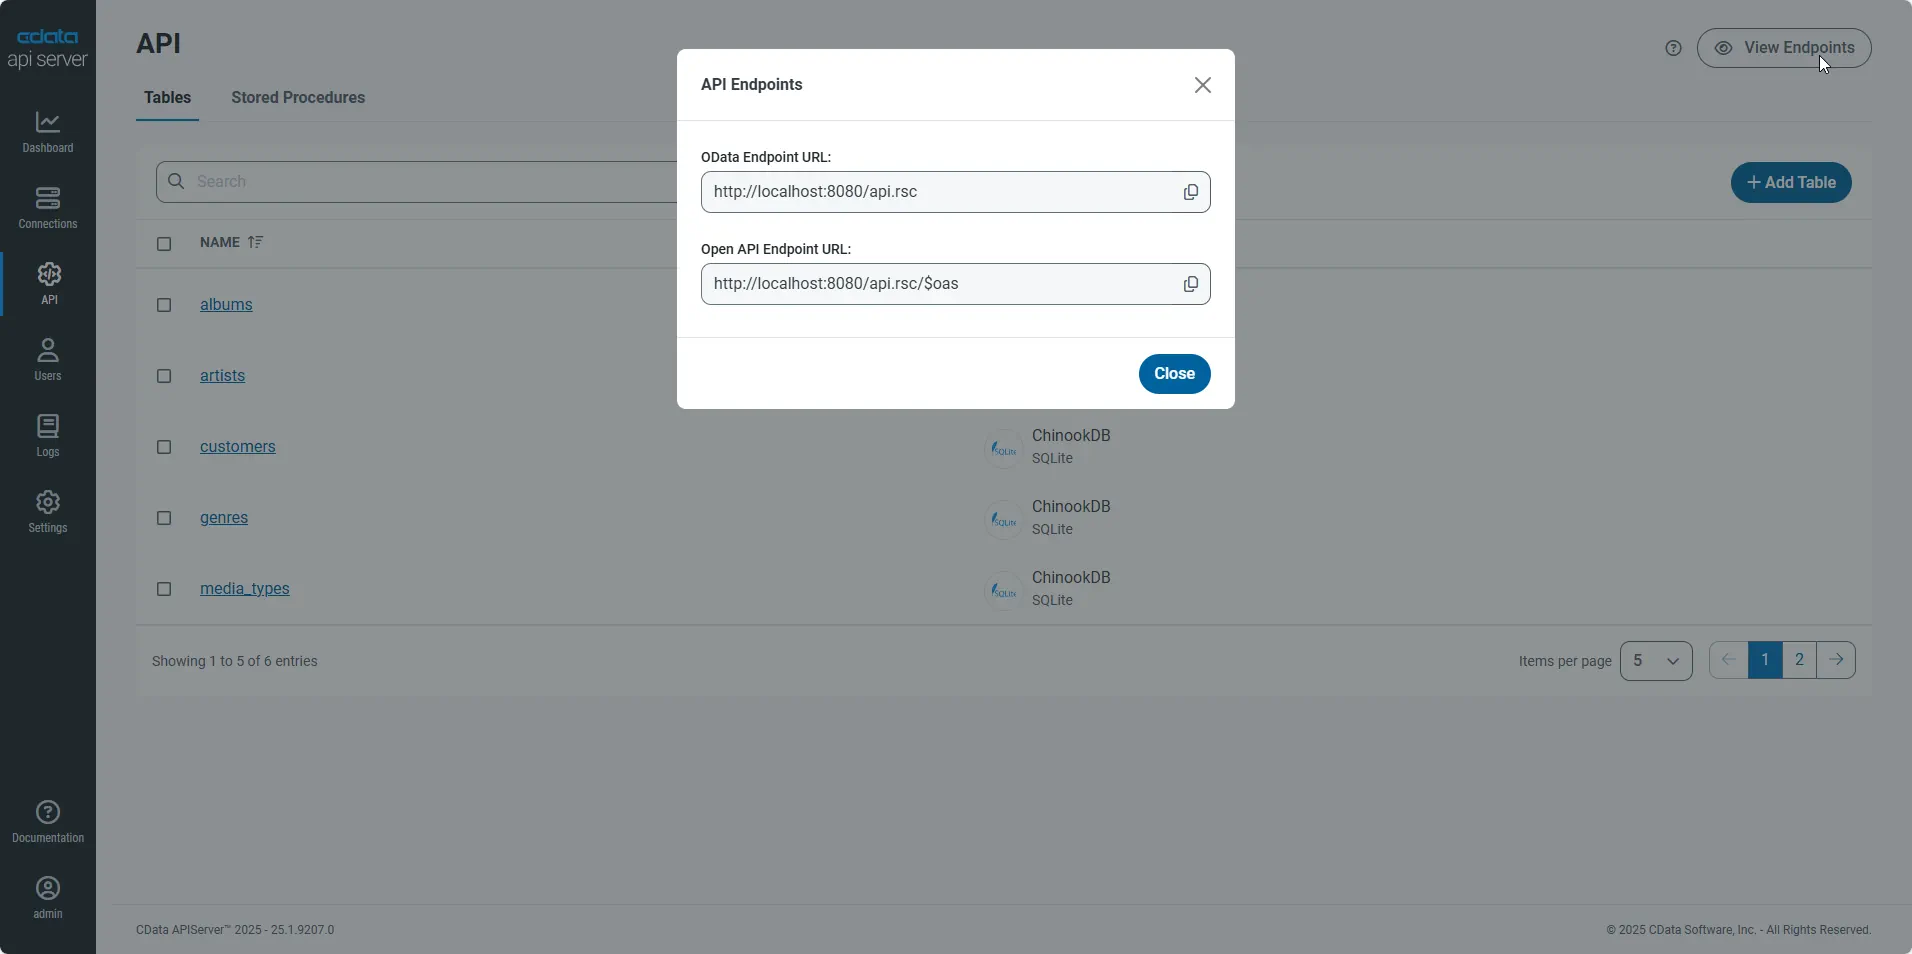
Having configured a connection to Sage X3 Cloud data, created a user, and added resources to the API Server, you now have an easily accessible REST API based on the OData protocol for those resources. From the API page in API Server, you can view and copy the API Endpoints for the API:
Create the View
In this article the user views and interacts with Sage X3 Cloud data through an SAPUI5 table control. Table columns will be automatically detected from the metadata retrieved from the API Server's API endpoint. We define the following table in a separate View.view.xml file:
<mvc:View
  controllerName="sap.ui.table.sample.OData2.Controller"
  xmlns="sap.ui.table"
  xmlns:mvc="sap.ui.core.mvc"
  xmlns:u="sap.ui.unified"
  xmlns:c="sap.ui.core"
  xmlns:m="sap.m">
  <m:Page
    showHeader="false"
    enableScrolling="false"
    class="sapUiContentPadding">
    <m:content>
      <Table
        id="table"
        selectionMode="MultiToggle"
        visibleRowCount="10"
        enableSelectAll="false"
        rows="{/BPCUSTOMER}"
        threshold="15"
        enableBusyIndicator="true"
        columns="{
          path: 'meta>/dataServices/schema/[${namespace}===\'CData\']/entityType/[${name}===\'BPCUSTOMER\']/property',
          factory: '.columnFactory'
        }">
        <toolbar>
          <m:Toolbar>
            <m:Title text="Sage X3 Cloud BPCUSTOMER"></m:Title>
          </m:Toolbar>
        </toolbar>
        <noData>
          <m:BusyIndicator class="sapUiMediumMargin"/>
        </noData>
      </Table>
    </m:content>
  </m:Page>
</mvc:View>
Create the Model and Controller
In SAPUI5, you do not need to write any OData queries; an ODataModel instance handles the application's data access commands. The API Server then translates the queries into Sage X3 Cloud API calls.
The controller processes user input and represents information to the user through a view. Define the controller in a new file, Controller.controller.js. Instantiate the model in the onInit function -- you will need to replace the placeholder values for the URL to the API Server, a user allowed to access the OData endpoint of the API Server, and the authtoken for the user.
sap.ui.define([
  "sap/ui/core/mvc/Controller",
  "sap/ui/model/odata/v2/ODataModel",
  "sap/ui/model/json/JSONModel",
  "sap/ui/table/Column",
  "sap/m/Text",
], function(Controller, ODataModel, JSONModel, Column, Text ) {
  "use strict";


  return Controller.extend("sap.ui.table.sample.OData2.Controller", {

    onInit : function () {

      var oView = this.getView();
      var oDataModel = new ODataModel("http://myserver/api.rsc/",{user: "MyUser", password: "MyAuthToken"});

      oDataModel.getMetaModel().loaded().then(function(){
        oView.setModel(oDataModel.getMetaModel(), "meta");
      });
      oView.setModel(oDataModel);

      var oTable = oView.byId("table");
      var oBinding = oTable.getBinding("rows");
      var oBusyIndicator = oTable.getNoData();
      oBinding.attachDataRequested(function(){
      oTable.setNoData(oBusyIndicator);
      });
      oBinding.attachDataReceived(function(){
        oTable.setNoData(null); //use default again ("no data" in case no data is available)
      });
    },

    onExit : function () {
    },

    columnFactory : function(sId, oContext) {
      var oModel = this.getView().getModel();
      var sName = oContext.getProperty("name");
      var sType = oContext.getProperty("type");
      var iLen = oContext.getProperty("maxLength");
      iLen = iLen ? parseInt(iLen, 10) : 10;

      return new Column(sId, {
        sortProperty: sName,
        filterProperty: sName,
        width: (iLen > 9 ? (iLen > 50 ? 15 : 10) : 5) + "rem",
        label: new sap.m.Label({text: "{/#BPCUSTOMER/" + sName + "/@name}"}),
        hAlign: sType && sType.indexOf("Decimal") >= 0 ? "End" : "Begin",
        template: new Text({text: {path: sName}})
      });
    }

  });

});
Describe Application Logic
Create a component that contains the resources of your application. Define the following in Component.js:
sap.ui.define([
  'sap/ui/core/UIComponent'
], function(UIComponent) {
  "use strict";

  return UIComponent.extend("sap.ui.table.sample.OData2.Component", {
    metadata : {
      rootView : "sap.ui.table.sample.OData2.View",
      dependencies : {
        libs : [
          "sap.ui.table",
          "sap.ui.unified",
          "sap.m"
        ]
      },

      config : {
        sample : {
          stretch : true,
          files : [
            "View.view.xml",
            "Controller.controller.js"
          ]
        }
      }
    }
  });

});
Bootstrap OpenUI5 and Launch
To complete the MVC application, simply add the bootstrap and initialization code. Add these directly to index.html:
<!DOCTYPE HTML>

<html>
<head>
  <meta http-equiv="x-ua-compatible" content="ie=edge">
  <meta charset="utf-8">
  <title>Sage X3 Cloud BPCUSTOMER</title>

  <script id="sap-ui-bootstrap"
    src="https://openui5.hana.ondemand.com/resources/sap-ui-core.js"
    data-sap-ui-libs="sap.m"
    data-sap-ui-theme="sap_bluecrystal"
    data-sap-ui-xx-bindingSyntax="complex"
    data-sap-ui-preload="async"
    data-sap-ui-compatVersion="edge"
    data-sap-ui-resourceroots='{"sap.ui.table.sample.OData2": "./", "sap.ui.demo.mock": "mockdata"}'>
  </script>

  <!-- application launch configuration -->
  <script>

      sap.ui.getCore().attachInit(function() {
        new sap.m.App ({
          pages: [
                new sap.m.Page({
                    title: "Sage X3 Cloud BPCUSTOMER",
                    enableScrolling : false,
                  content: [ new sap.ui.core.ComponentContainer({
                  height : "100%", name : "sap.ui.table.sample.OData2"
                })]
            })
          ]
      }).placeAt("content");
    });

  </script>
</head>
  <!-- UI Content -->
<body class="sapUiBody" id="content" role="application">
</body>
</html>
The resulting SAPUI5 table control reflects any changes to a table in the remote Sage X3 Cloud data. You can now browse and search current Sage X3 Cloud data.