




Back Up Talkdesk data to SQL Server through SSIS

This article illustrates using the Talkdesk ADO.NET Data Provider within a SQL Server SSIS workflow for the direct transfer of Talkdesk data to a Microsoft SQL Server database. It's worth noting that the identical process detailed below is applicable to any CData ADO.NET Data Providers, enabling the direct connection of SQL Server with remote data through SSIS.
- Open Visual Studio and create a new Integration Services project.
- Add a new Data Flow task from the toolbox onto the Control Flow screen.
In the Data Flow screen, add an ADO.NET Source and an OLE DB Destination from the toolbox.
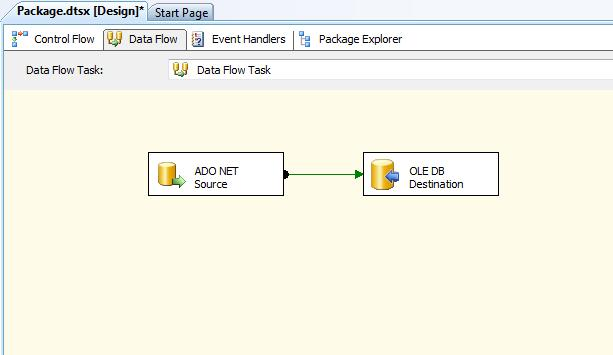
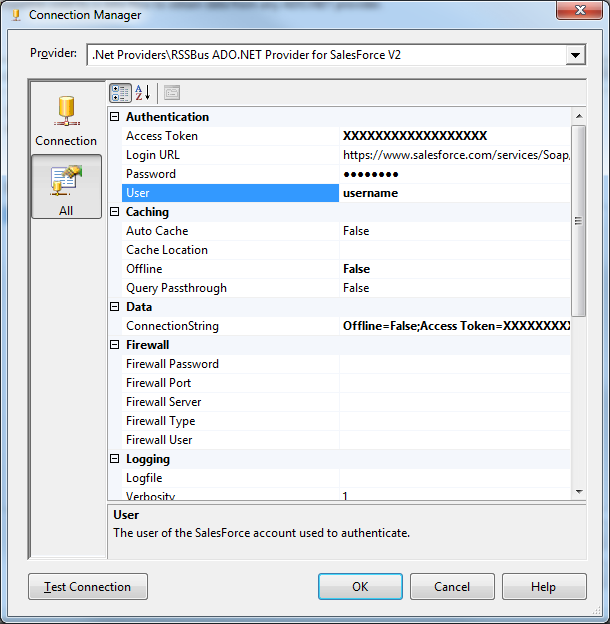
- Add a new connection and select .NET Providers\CData ADO.NET Provider for Talkdesk.
In the connection manager, enter the connection details for Talkdesk data.
Talkdesk uses the OAuth 2.0 Client Credentials grant. There is no browser-based authorization step and no callback URL.
Set the following connection properties:
- AccountName: The name of your Talkdesk account.
- Region: The region where your Talkdesk instance is deployed. Supported values are US (default), EU, CA, AU, UK, and FedRamp.
- OAuthClientId: The Client Id assigned when you registered your custom OAuth application.
- OAuthClientSecret: The Client Secret assigned to your custom OAuth application.
Creating a Custom OAuth Application
- Log in to your Talkdesk account and select OAuth Clients from the navigation menu.
- Click Create OAuth Client and give the client a descriptive name.
- Set Grant Type to Client Credentials.
- Click Add scopes and select the scopes for the data you want to access.
- Click Create and copy the Client Id and Client Secret.
When you connect, the driver automatically requests an access token from Talkdesk, caches it, and refreshes it when it expires. Make sure the scopes selected for the application match the views you plan to query, or the token request can fail.
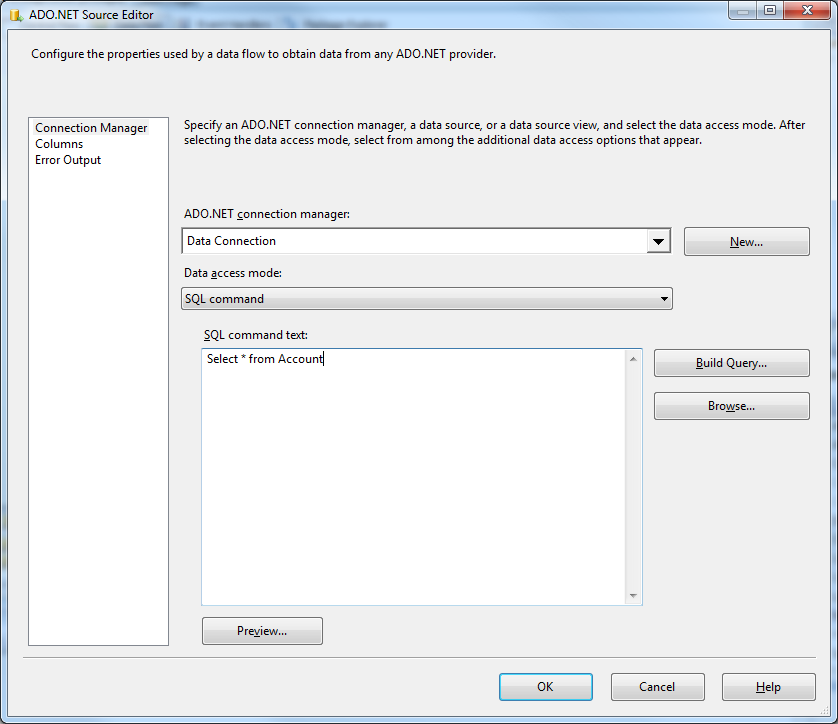
Open the DataReader editor and set the following information:
- ADO.NET connection manager: In the Connection Managers menu, select the Data Connection you just created.
- Data access mode: Select 'SQL command'.
- SQL command text: In the DataReader Source editor, open the Component Properties tab and enter a SELECT command, such as the one below:
SELECT Id, Name FROM Users WHERE Active = 'true'
- Close the DataReader editor and drag the arrow below the DataReader Source to connect it to the OLE DB Destination.
Open the OLE DB Destination and enter the following information in the Destination Component Editor.
- Connection manager: Add a new connection. Enter your server and database information here. In this example, SQLExpress is running on a separate machine.
- Data access mode: Set your data access mode to "table or view" and select the table or view to populate in your database.
Configure any properties you wish on the Mappings screen.
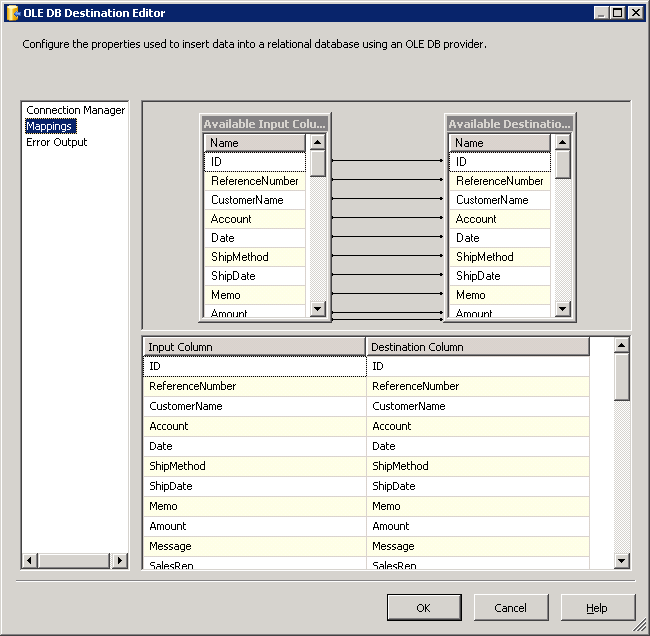
- Close the OLE DB Destination Editor and run the project. After the SSIS task has finished executing, your database will be populated with data obtained from Talkdesk data.
Ready to get started?
Download a free trial of the Talkdesk Data Provider to get started:
Download NowLearn more:
 Talkdesk ADO.NET Provider
Rapidly create and deploy powerful .NET applications that integrate with Talkdesk data including Accounts, Attributes, BillingAccounts, Callbacks, Campaigns, Cases, Contacts, GuardianUsers, Invoices, Products, Subscriptions, Teams, Users, Wallets, and more!