




Build Talkdesk-Connected Apps in Choreo

The Choreo platform from WS02 is a versatile platform designed for low-code and cloud-native engineering. Developers, even those without advanced coding skills, can leverage Choreo's user-friendly low-code environment to simplify application development. When combined with CData Connect AI, users gain immediate cloud-to-cloud access to Talkdesk data for applications. This article details the process of connecting to Talkdesk using Connect AI and building an application with real-time access to Talkdesk data within Choreo.
CData Connect AI delivers a pure cloud-to-cloud interface for Talkdesk, enabling you to construct applications within Choreo that utilize live Talkdesk data data, all without the need for data replication to a natively supported database. With its built-in optimized data processing capabilities, CData Connect AI efficiently directs all supported SQL operations, including filters and JOINs, directly to Talkdesk, capitalizing on server-side processing to swiftly provide the requested Talkdesk data.
Configure Talkdesk Connectivity for Choreo
Connectivity to Talkdesk from Choreo is made possible through CData Connect AI. To work with Talkdesk data from Choreo, we start by creating and configuring a Talkdesk connection.
- Log into Connect AI, click Sources, and then click Add Connection
- Select "Talkdesk" from the Add Connection panel
-
Enter the necessary authentication properties to connect to Talkdesk.
Talkdesk uses the OAuth 2.0 Client Credentials grant. There is no browser-based authorization step and no callback URL.
Set the following connection properties:
- AccountName: The name of your Talkdesk account.
- Region: The region where your Talkdesk instance is deployed. Supported values are US (default), EU, CA, AU, UK, and FedRamp.
- OAuthClientId: The Client Id assigned when you registered your custom OAuth application.
- OAuthClientSecret: The Client Secret assigned to your custom OAuth application.
Creating a Custom OAuth Application
- Log in to your Talkdesk account and select OAuth Clients from the navigation menu.
- Click Create OAuth Client and give the client a descriptive name.
- Set Grant Type to Client Credentials.
- Click Add scopes and select the scopes for the data you want to access.
- Click Create and copy the Client Id and Client Secret.
When you connect, the driver automatically requests an access token from Talkdesk, caches it, and refreshes it when it expires. Make sure the scopes selected for the application match the views you plan to query, or the token request can fail.

- Click Save & Test
-
Navigate to the Permissions tab in the Add Talkdesk Connection page and update the User-based permissions.



Add a Personal Access Token
When connecting to Connect AI through the REST API, the OData API, or the Virtual SQL Server, a Personal Access Token (PAT) is used to authenticate the connection to Connect AI. It is best practice to create a separate PAT for each service to maintain granularity of access.
- Click on the Gear icon () at the top right of the Connect AI app to open the settings page.
- On the Settings page, go to the Access Tokens section and click Create PAT.
-
Give the PAT a name and click Create.

- The personal access token is only visible at creation, so be sure to copy it and store it securely for future use.
With the connection configured and a PAT generated, you are ready to connect to Talkdesk data from Choreo.
Connect to Talkdesk from Choreo
The steps below outline connecting to CData Connect AI from Choreo to create a new application with access to live Talkdesk data.
Creating a Construct
-
Sign in to the Choreo platform. Note: This article is from the perspective of an Anonymous user.
-
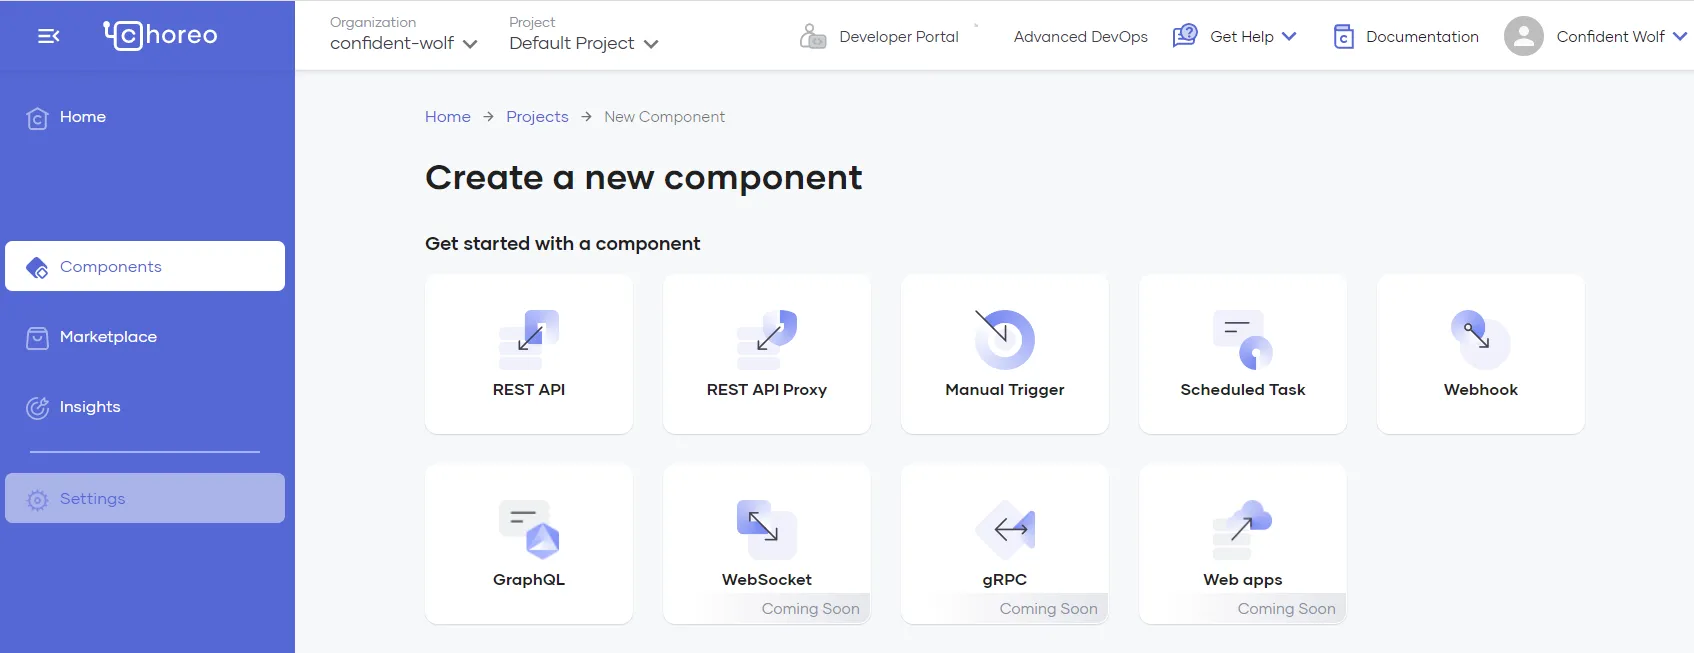
Select Components from the left sidebar and then click +Create. Next, choose Manual Trigger and then Start from scratch.
-
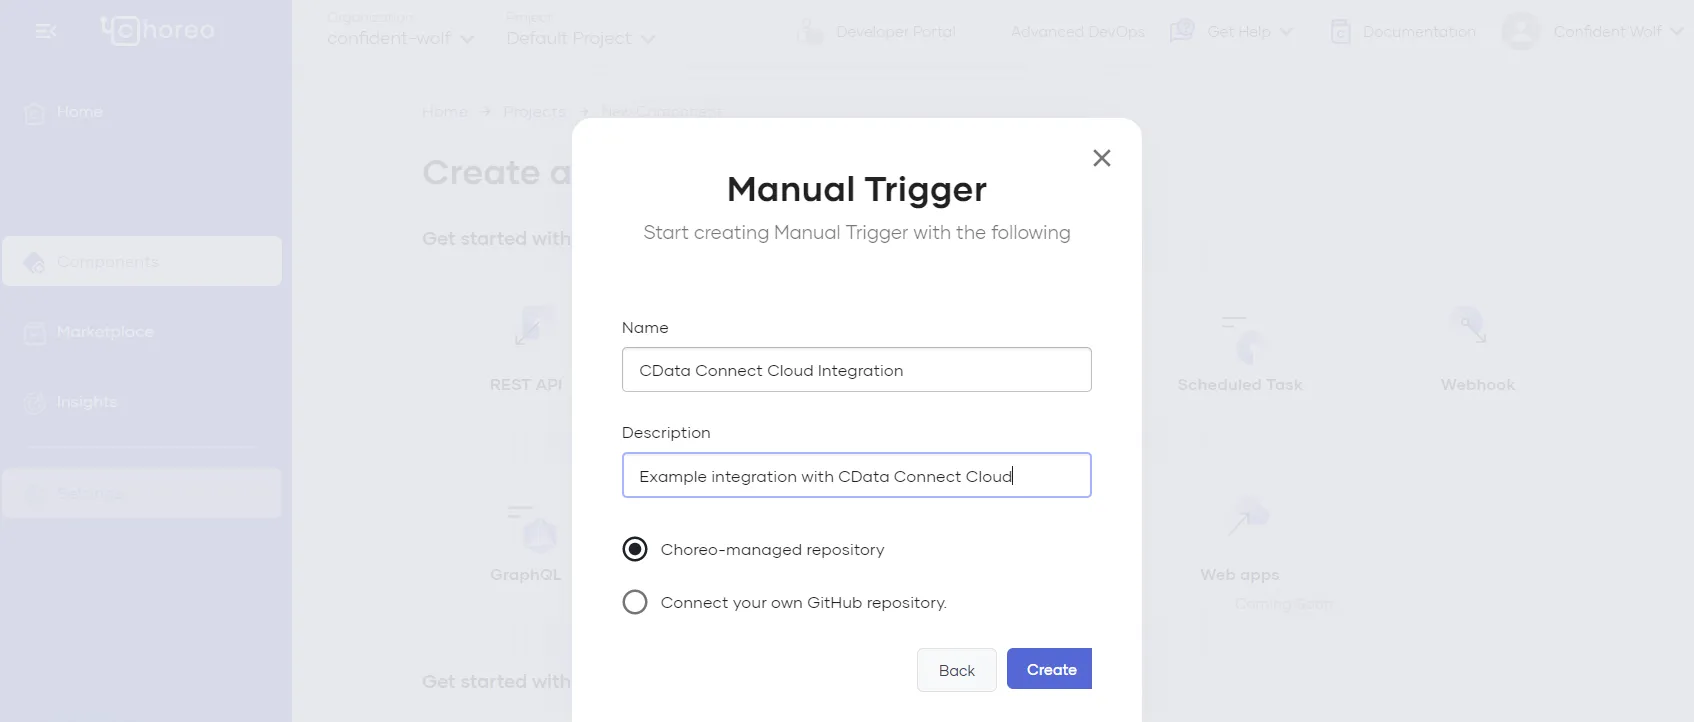
Give the manual trigger a Name and Description and click Create.
-
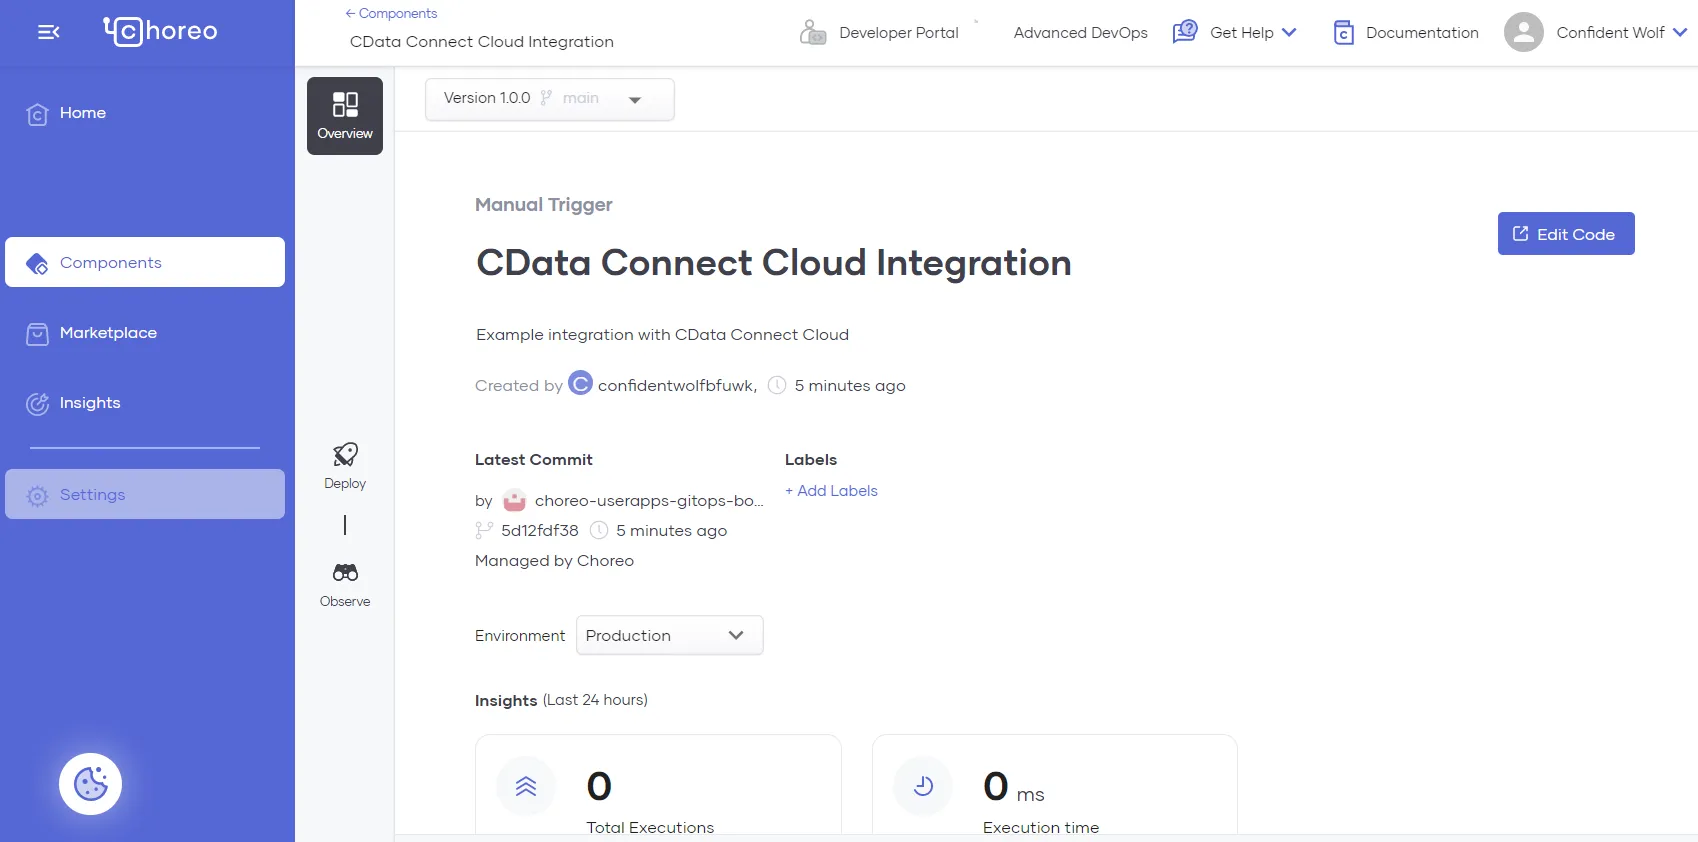
After the trigger is created, click on Edit Code.
-
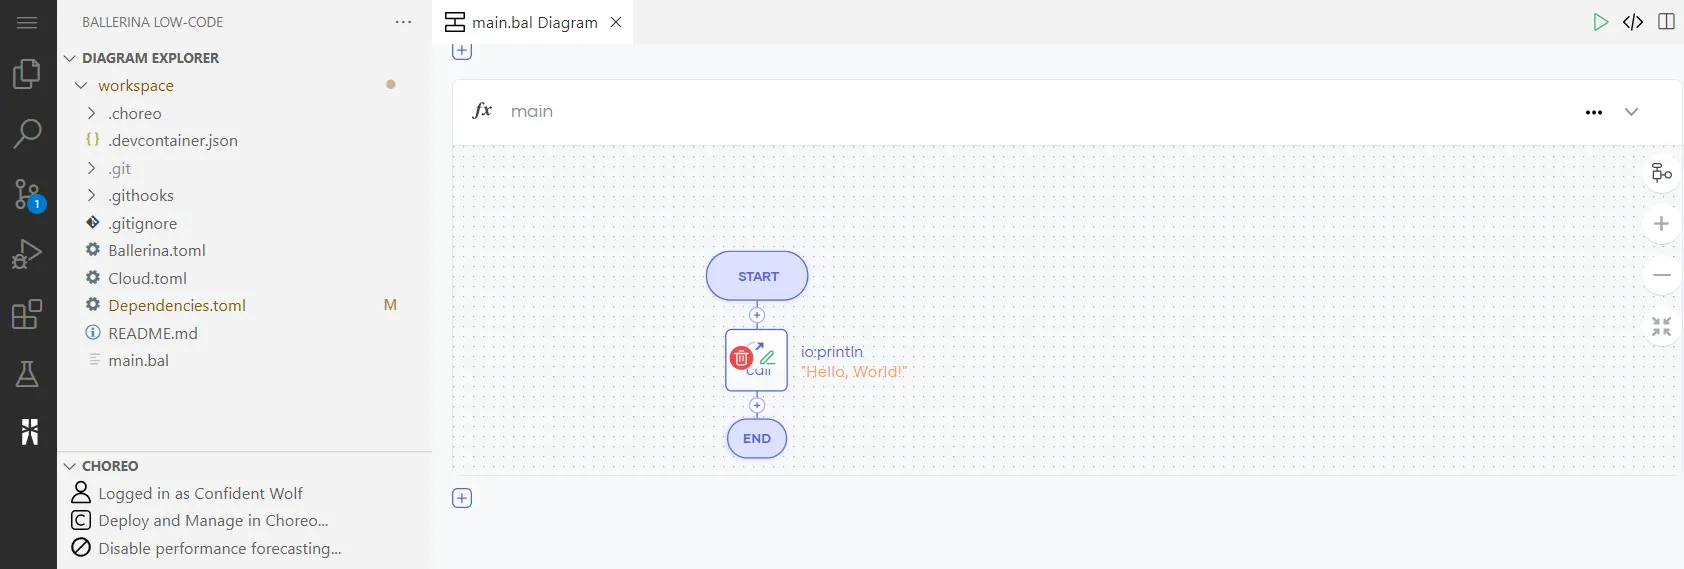
The Ballerina Low-Code IDE is displayed. Choreo automatically generates a construct in the low-code diagram
view. Delete this construct by highlighting it and clicking on the trashcan icon.
-
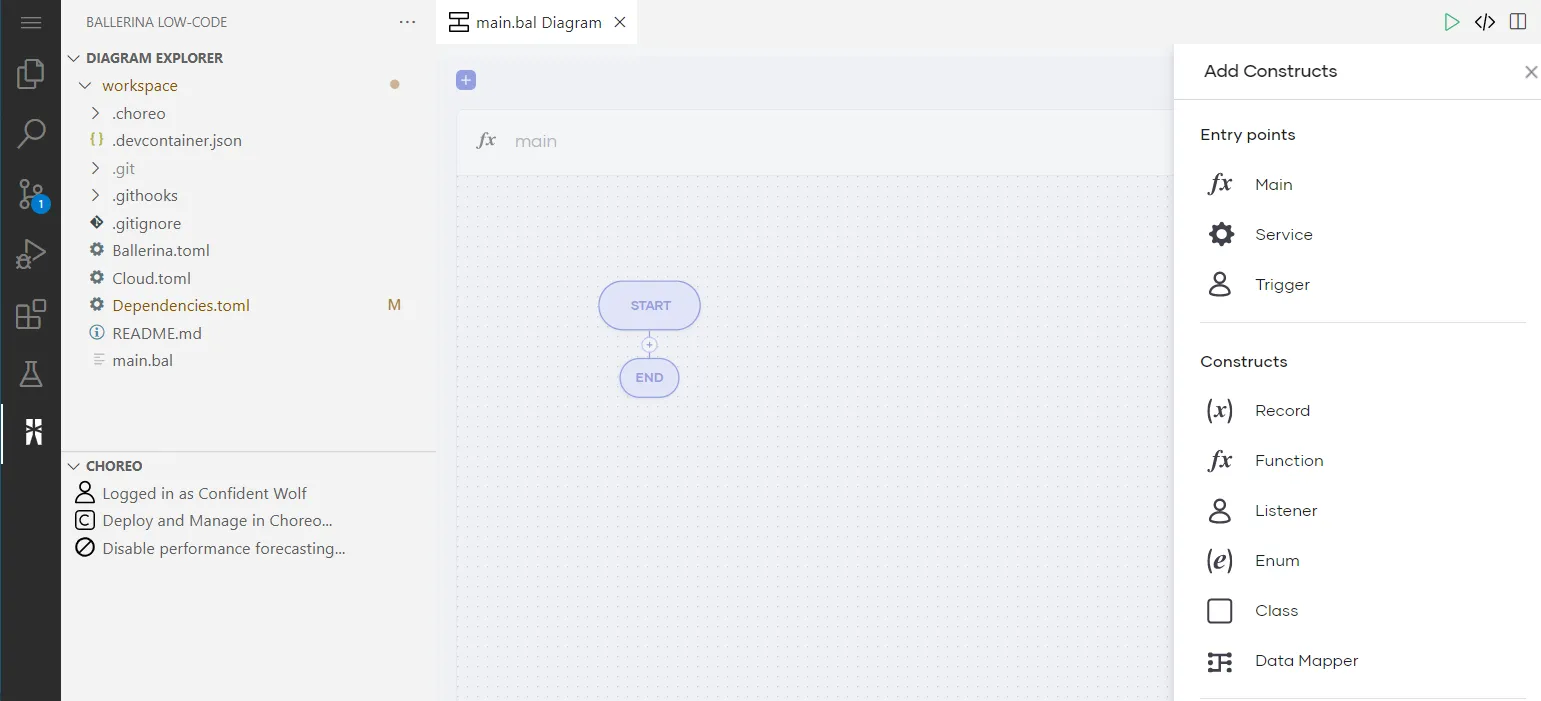
Click the + icon towards the top of the screen and select Main from the Add Constructs
toolbar on the right. In the following Function Configuration form, click Save.
Adding the CData Connect AI Connector
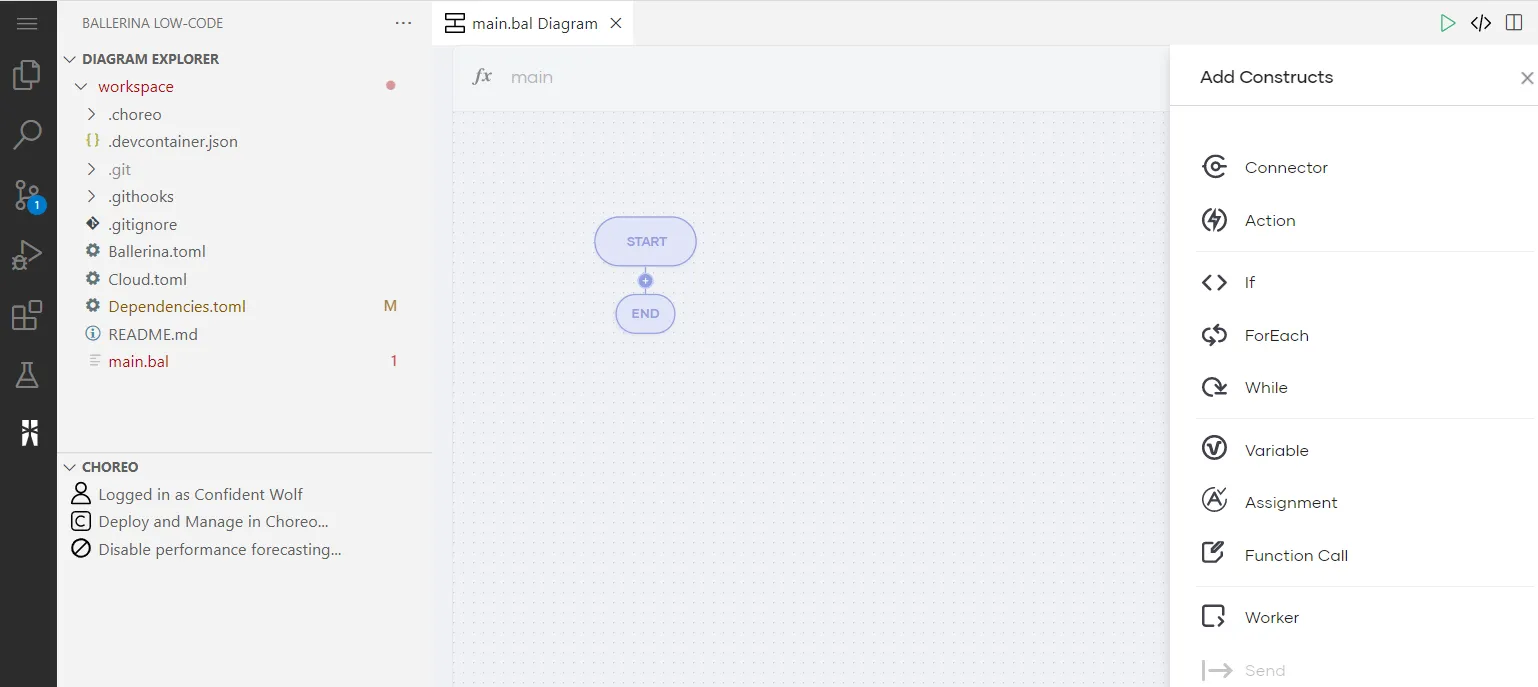
- Click the + icon between the Start and End ellipses and click Connector.
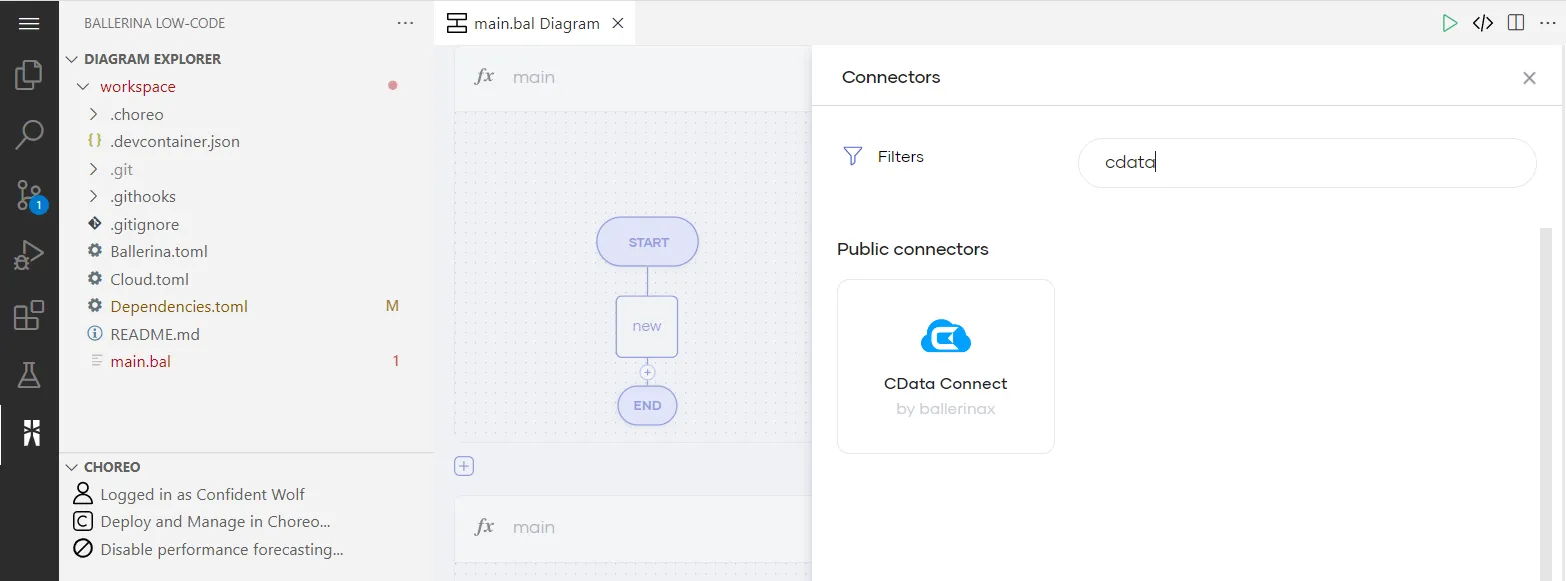
- In the Connectors sidebar on the right, search for "CData". Click CData Connect to open the Connector settings pane.
-
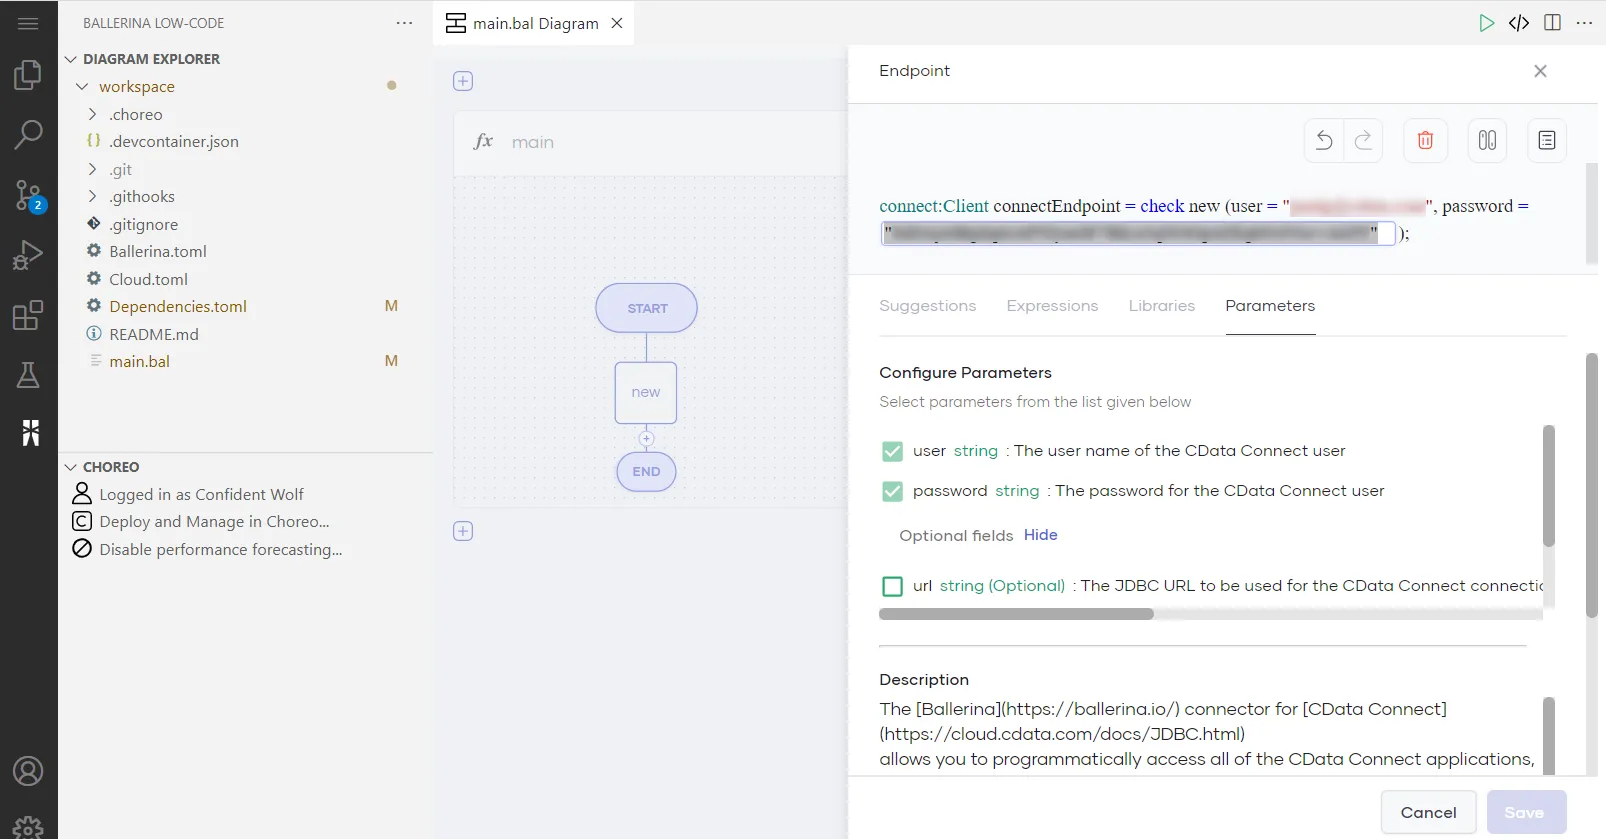
In the Connector settings pane, enter the configuration settings:
- Enter an Endpoint Name for your use. In this example, we use "connectEndpoint".
- In the User field, enter the email address of the CData Connect AI user, wrapped in quotation marks (for example, "[email protected]").
- In the Password field, enter the PAT you generated earlier, wrapped in quotation marks (for example, "SampleToken").
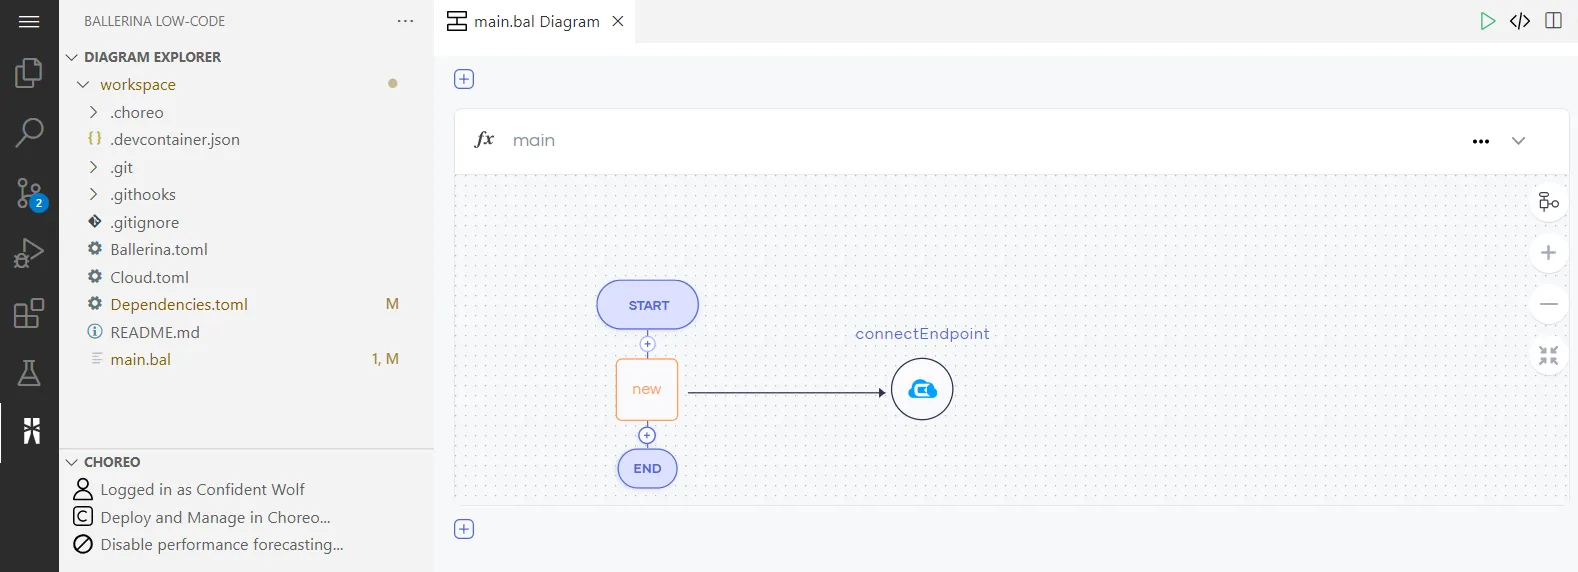
- After clicking Save, the low-code editor appears with the CData Connect AI logo.
Adding a Query Action
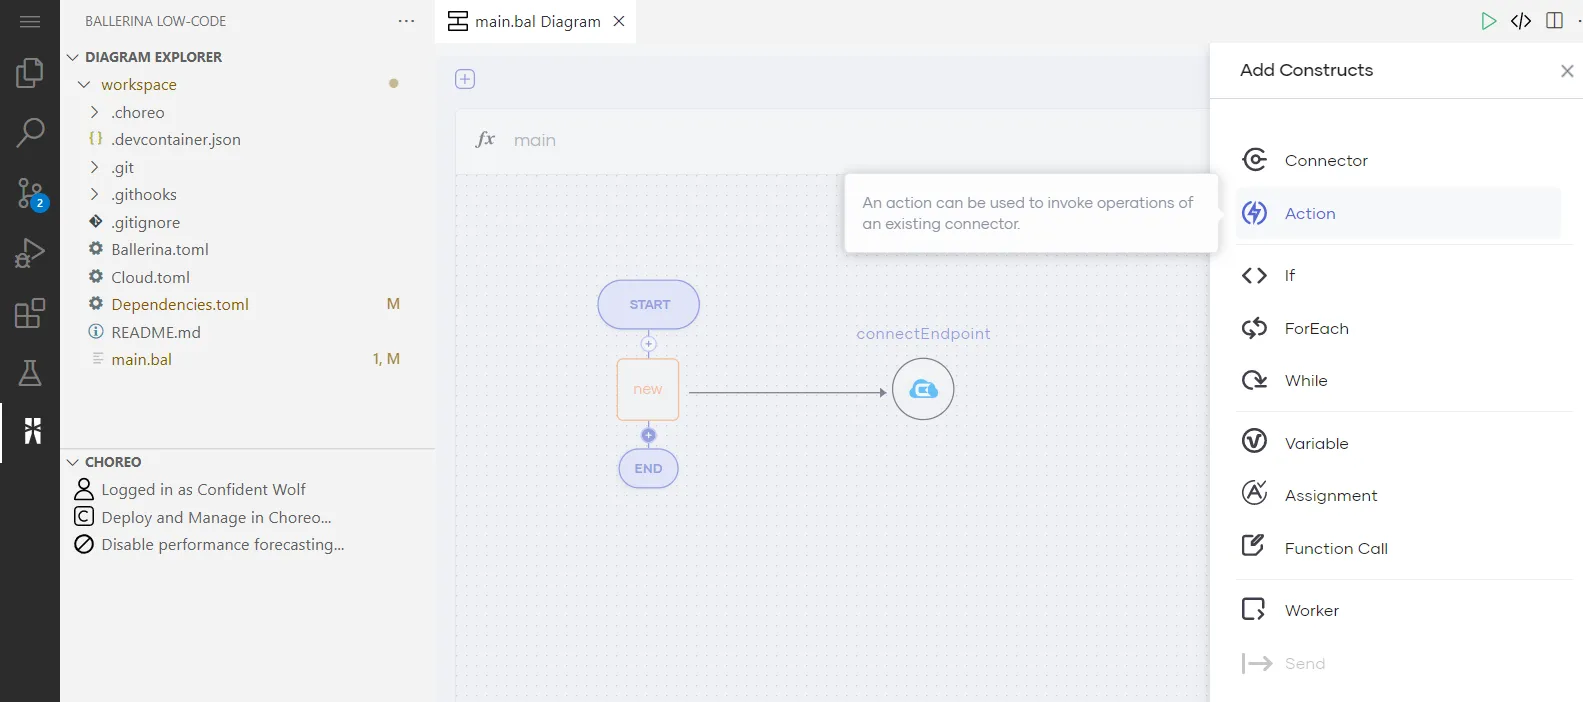
- Click the + icon between the new and end shapes, select Action, and then select our existing connector endpoint.
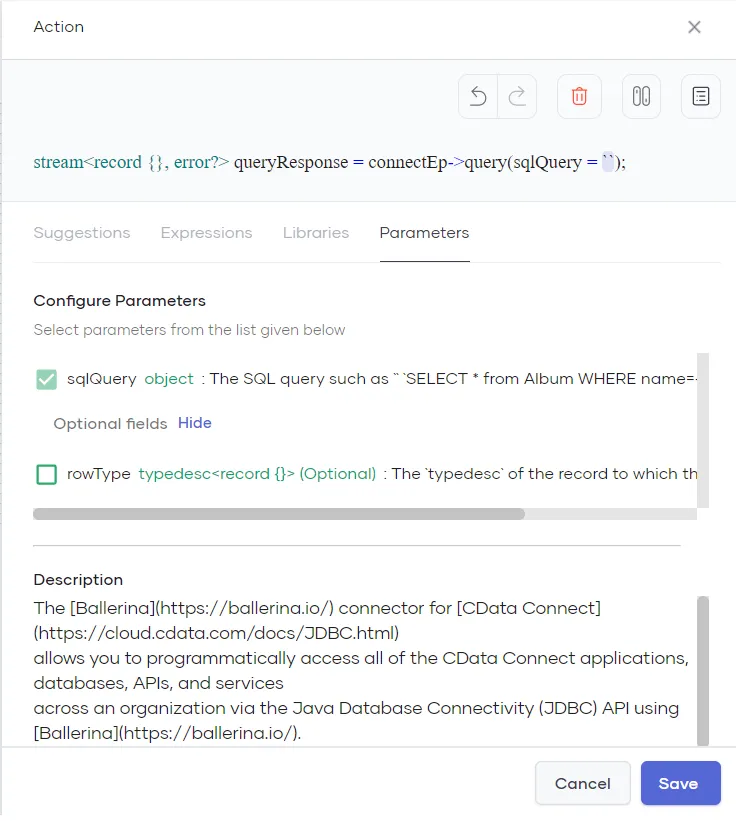
- Select query for the connector Operation. There is now an Action pane on the right.
- Enter a SQL query to retrieve Talkdesk data as the sqlQuery parameter for the query. For example:
SELECT * FROM Talkdesk1.Talkdesk.Users LIMIT 10- When writing the query, be sure to specify the Connection Name as the catalog and Data Source Name as the schema. For example, Talkdesk1.Talkdesk.
- These parameters appear on the Connections page of your CData Connect AI dashboard.
Iterating over Talkdesk Data
- Click the Show Source icon in the top right of the code editor.
- Add an import statment to import the ballerina/io library:
import ballerina/io;
- Next, add a from statement after the query action to iterate through the results of the SQL query:
- The code for the construct will now look similar to this:
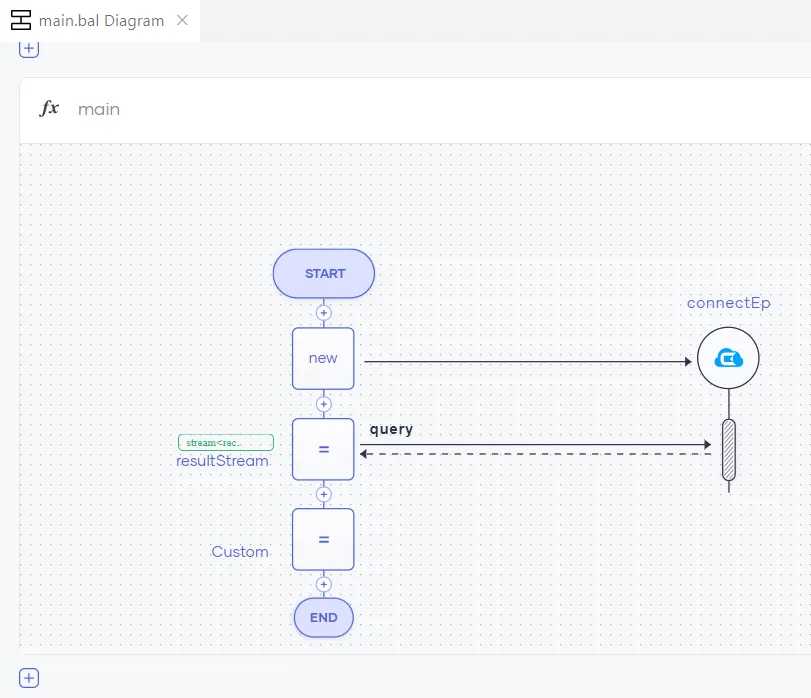
- Click Save to save the action. The diagram should now look similar to this:
		check from record{} result in resultStream
		do {
			io:println("Full Users details: ", result);
		};
			import ballerinax/cdata.connect;
			import ballerinax/cdata.connect.driver as _;
			import ballerina/io;

			public function main() returns error? {
				connect:Client connectEp = check new (user = "connect_cloud_username", password="connect_cloud_pat");

				stream<record {}, error=""?> resultStream =
				connectEp->query(sqlQuery = `SELECT * FROM Talkdesk1.Talkdesk.Users LIMIT 10`);

				check from record{} result in resultStream
				do {
					io:println("Full Users details: ", result);
				};
			}
Deploying the Program
Once you have added all of your desired actions to your program, follow these steps:
- Commit and push your final source code in the web editor and sync those changes with the Choreo platform.
- Click Deploy in the left navigation bar of the Choreo Console.
- Under Build Area, click Configure & Deploy to deploy your program.
- When prompted, enter the same CData Connect AI username and password that you used earlier and click Deploy.
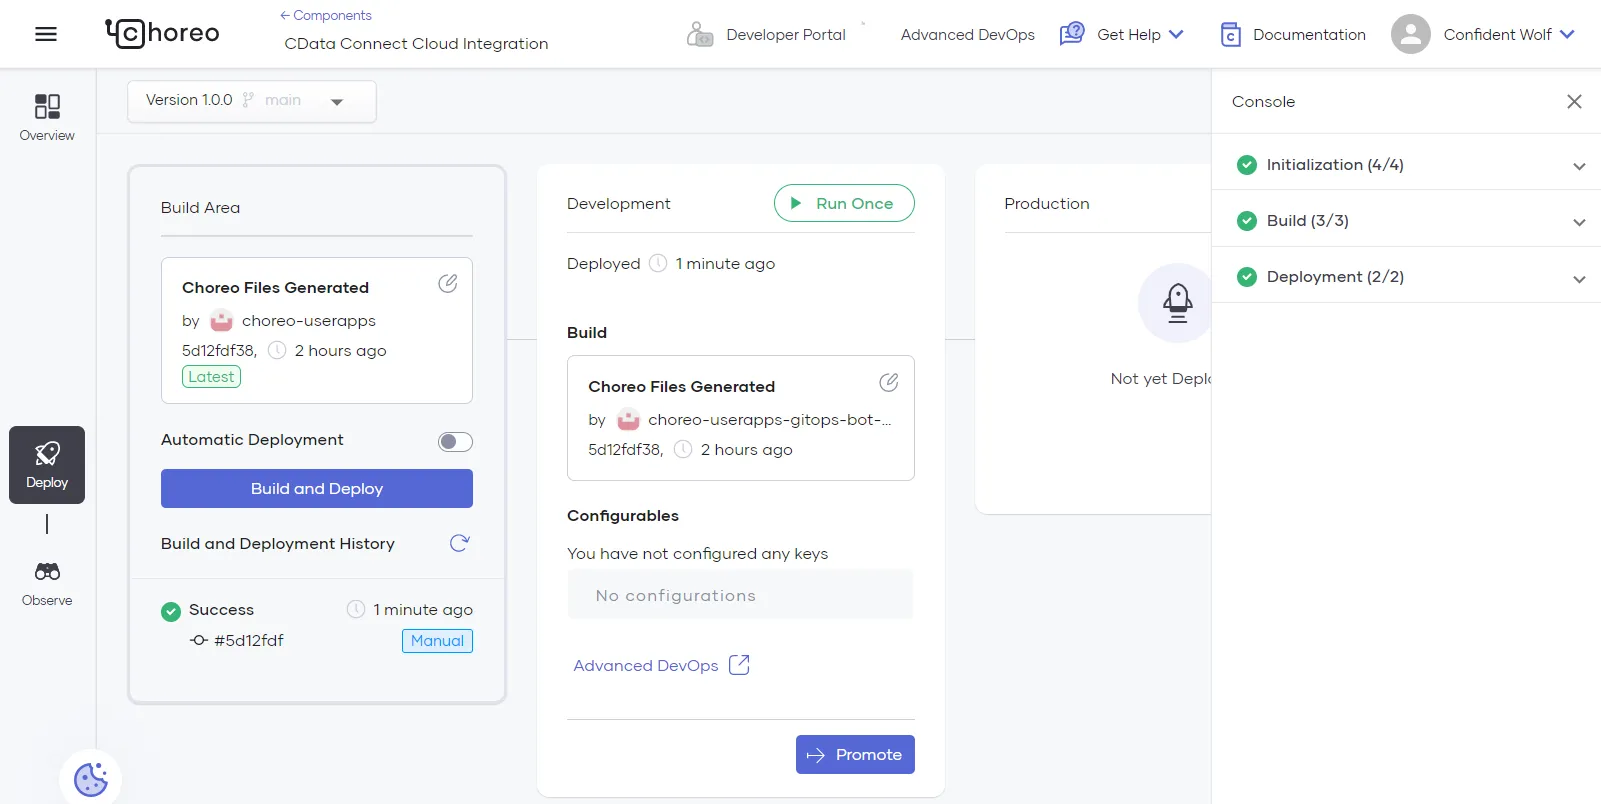
You have now created an application with access to live Talkdesk data in Choreo.
Get CData Connect AI
For more information about using Choreo with CData Connect AI, see the CData Connect Ballerina Guide. To get live data access to hundreds of SaaS, Big Data, and NoSQL sources directly from your cloud applications, try CData Connect AI today!