




Integrate Cline with Live Talkdesk Data via CData Connect AI

Cline is an autonomous AI coding agent that runs inside modern IDEs such as VS Code and Cursor. It enables developers to build agent-driven workflows that can reason through tasks, execute actions, and interact with external systems directly from the editor using a structured execution model.
By integrating Cline with CData Connect AI through the built-in MCP (Model Context Protocol) Server, the agent gains the ability to query, analyze, and act on live Talkdesk data in real time. This integration bridges Cline's in-IDE agent framework with the governed enterprise connectivity of CData Connect AI, ensuring all data access runs securely against authorized sources without manual data movement.
This article outlines the steps to configure Talkdesk connectivity in Connect AI, generate the required personal access token, register the Connect AI MCP Server in Cline, and verify that the agent can successfully interact with live Talkdesk data from within the IDE.
Step 1: Configure Talkdesk connectivity for Cline
Connectivity to Talkdesk from Cline is made possible through CData Connect AI's Remote MCP Server. To interact with Talkdesk data from Cline, start by creating and configuring a Talkdesk connection in CData Connect AI.
- Log into Connect AI, click Sources, and then click Add Connection
- Select Talkdesk from the Add Connection panel
-
Enter the necessary authentication properties to connect to Talkdesk.
Talkdesk uses the OAuth 2.0 Client Credentials grant. There is no browser-based authorization step and no callback URL.
Set the following connection properties:
- AccountName: The name of your Talkdesk account.
- Region: The region where your Talkdesk instance is deployed. Supported values are US (default), EU, CA, AU, UK, and FedRamp.
- OAuthClientId: The Client Id assigned when you registered your custom OAuth application.
- OAuthClientSecret: The Client Secret assigned to your custom OAuth application.
Creating a Custom OAuth Application
- Log in to your Talkdesk account and select OAuth Clients from the navigation menu.
- Click Create OAuth Client and give the client a descriptive name.
- Set Grant Type to Client Credentials.
- Click Add scopes and select the scopes for the data you want to access.
- Click Create and copy the Client Id and Client Secret.
When you connect, the driver automatically requests an access token from Talkdesk, caches it, and refreshes it when it expires. Make sure the scopes selected for the application match the views you plan to query, or the token request can fail.

- Click Save & Test
- Navigate to the Permissions tab and update user-based permissions



Add a Personal Access Token
A Personal Access Token (PAT) is used to authenticate the connection to Connect AI from Cline. It is best practice to create a separate PAT for each integration to maintain granular access control.
- Click the gear icon () at the top right of the Connect AI app to open Settings
- On the Settings page, go to the Access Tokens section and click Create PAT
- Give the PAT a descriptive name and click Create
- Copy the token when displayed and store it securely. It will not be shown again

With the Talkdesk connection configured and a PAT generated, Cline can now connect to Talkdesk data through the CData Connect Ai.
Step 2: Install and set up Cline
Cline is distributed as an IDE extension and can be installed in environments such as VS Code or Cursor. In this example, Cursor is used, but the steps are identical for supported IDEs.
-
Open Cursor and install the Cline extension from the Extensions Marketplace
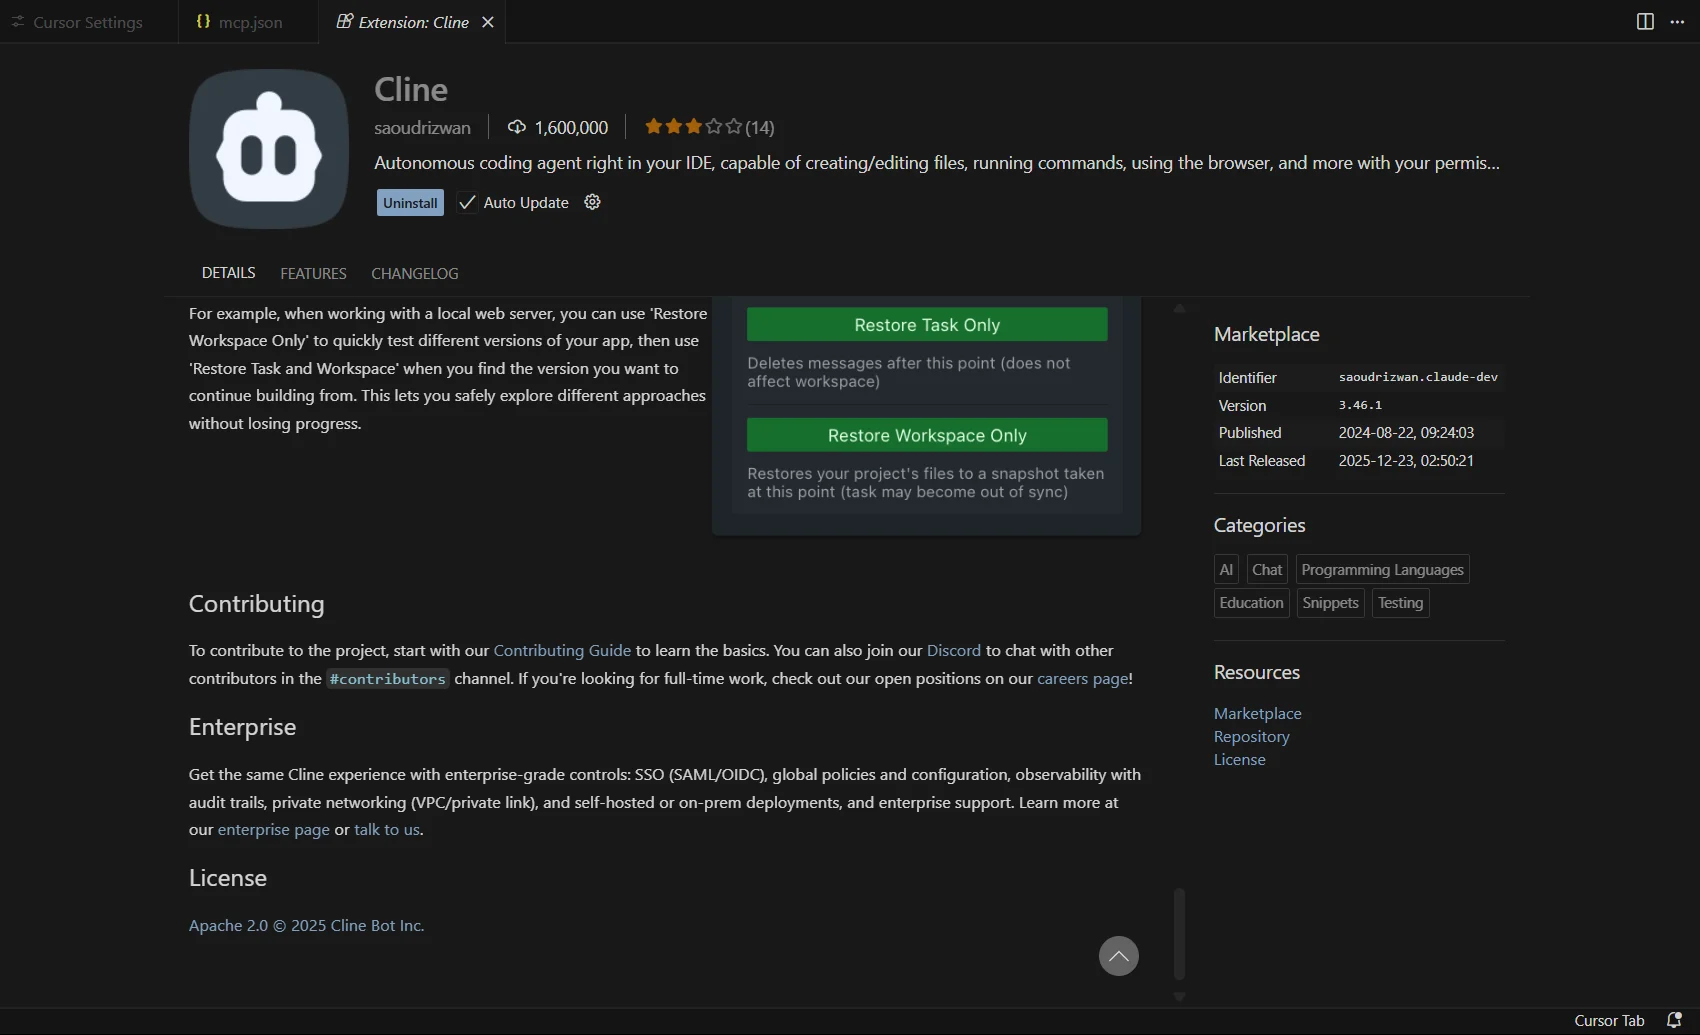
- Complete the initial Cline setup flow, including model selection and permission prompts
- After setup is complete, the Cline agent panel opens automatically inside the IDE
Step 3: Add the Connect AI Remote MCP Server
Once Cline is running, add the CData Connect AI Remote MCP Server so the agent can access live Talkdesk data through Connect AI.
-
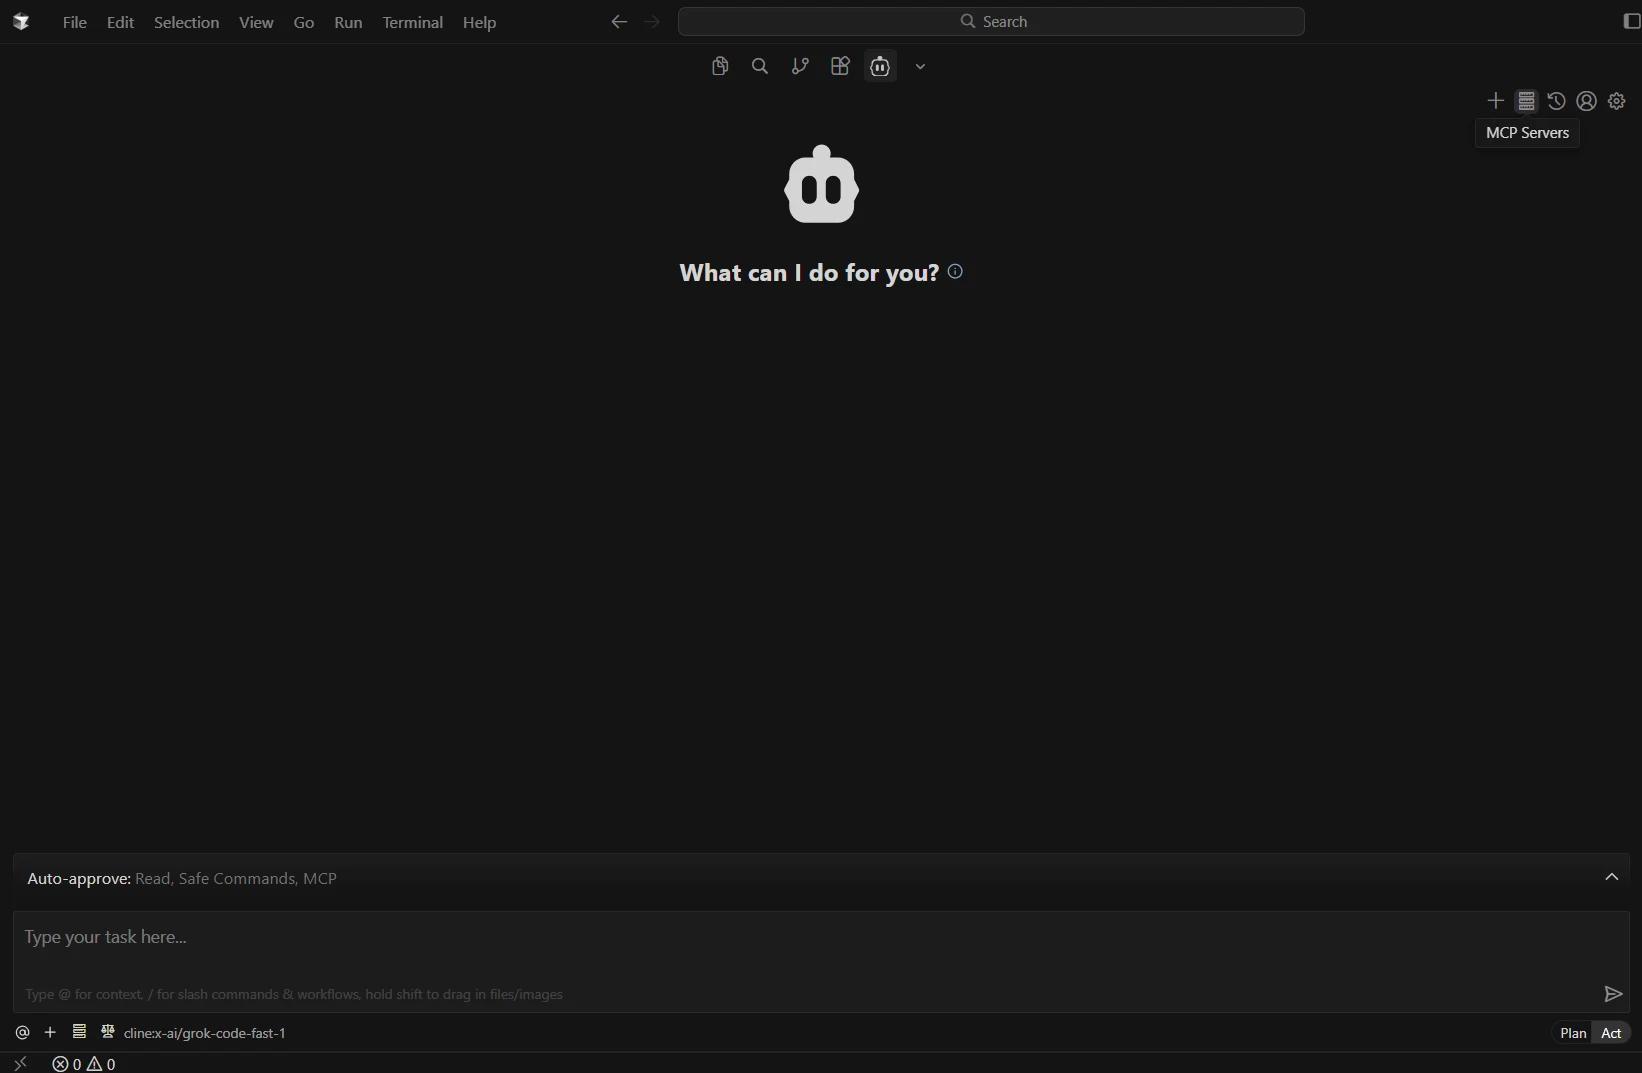
In the Cline panel, click MCP Servers
-
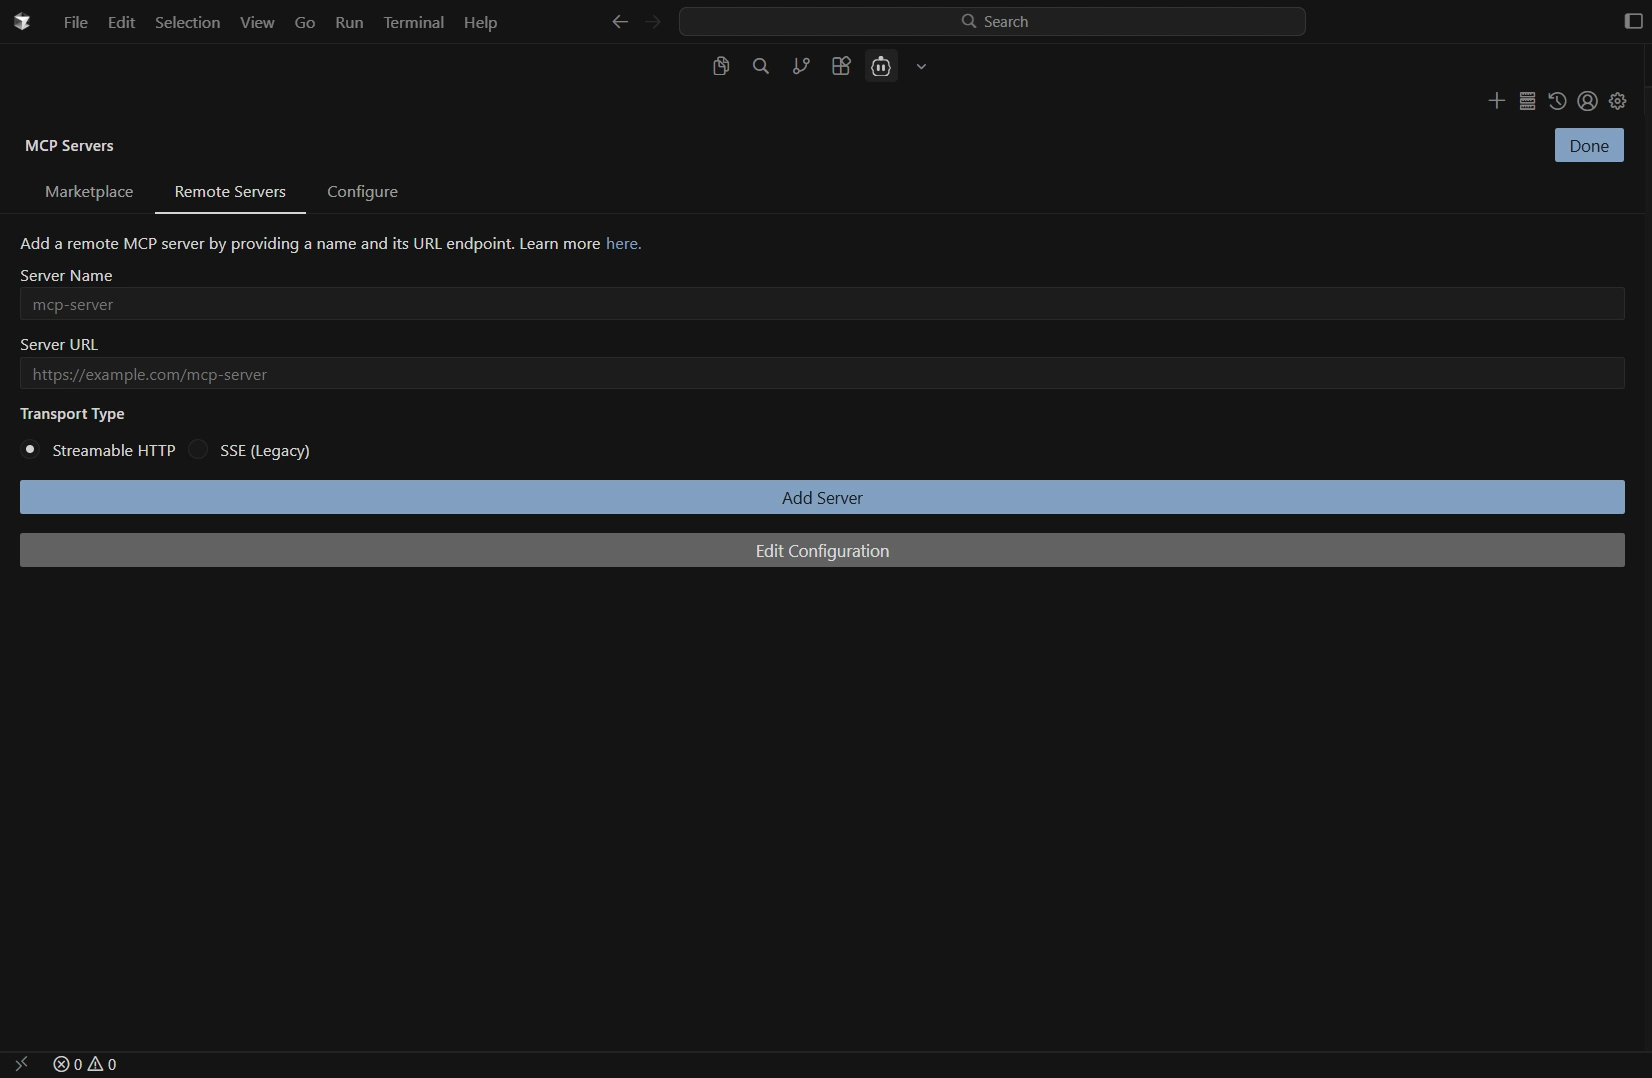
Open Remote Servers and click Edit Configuration
-
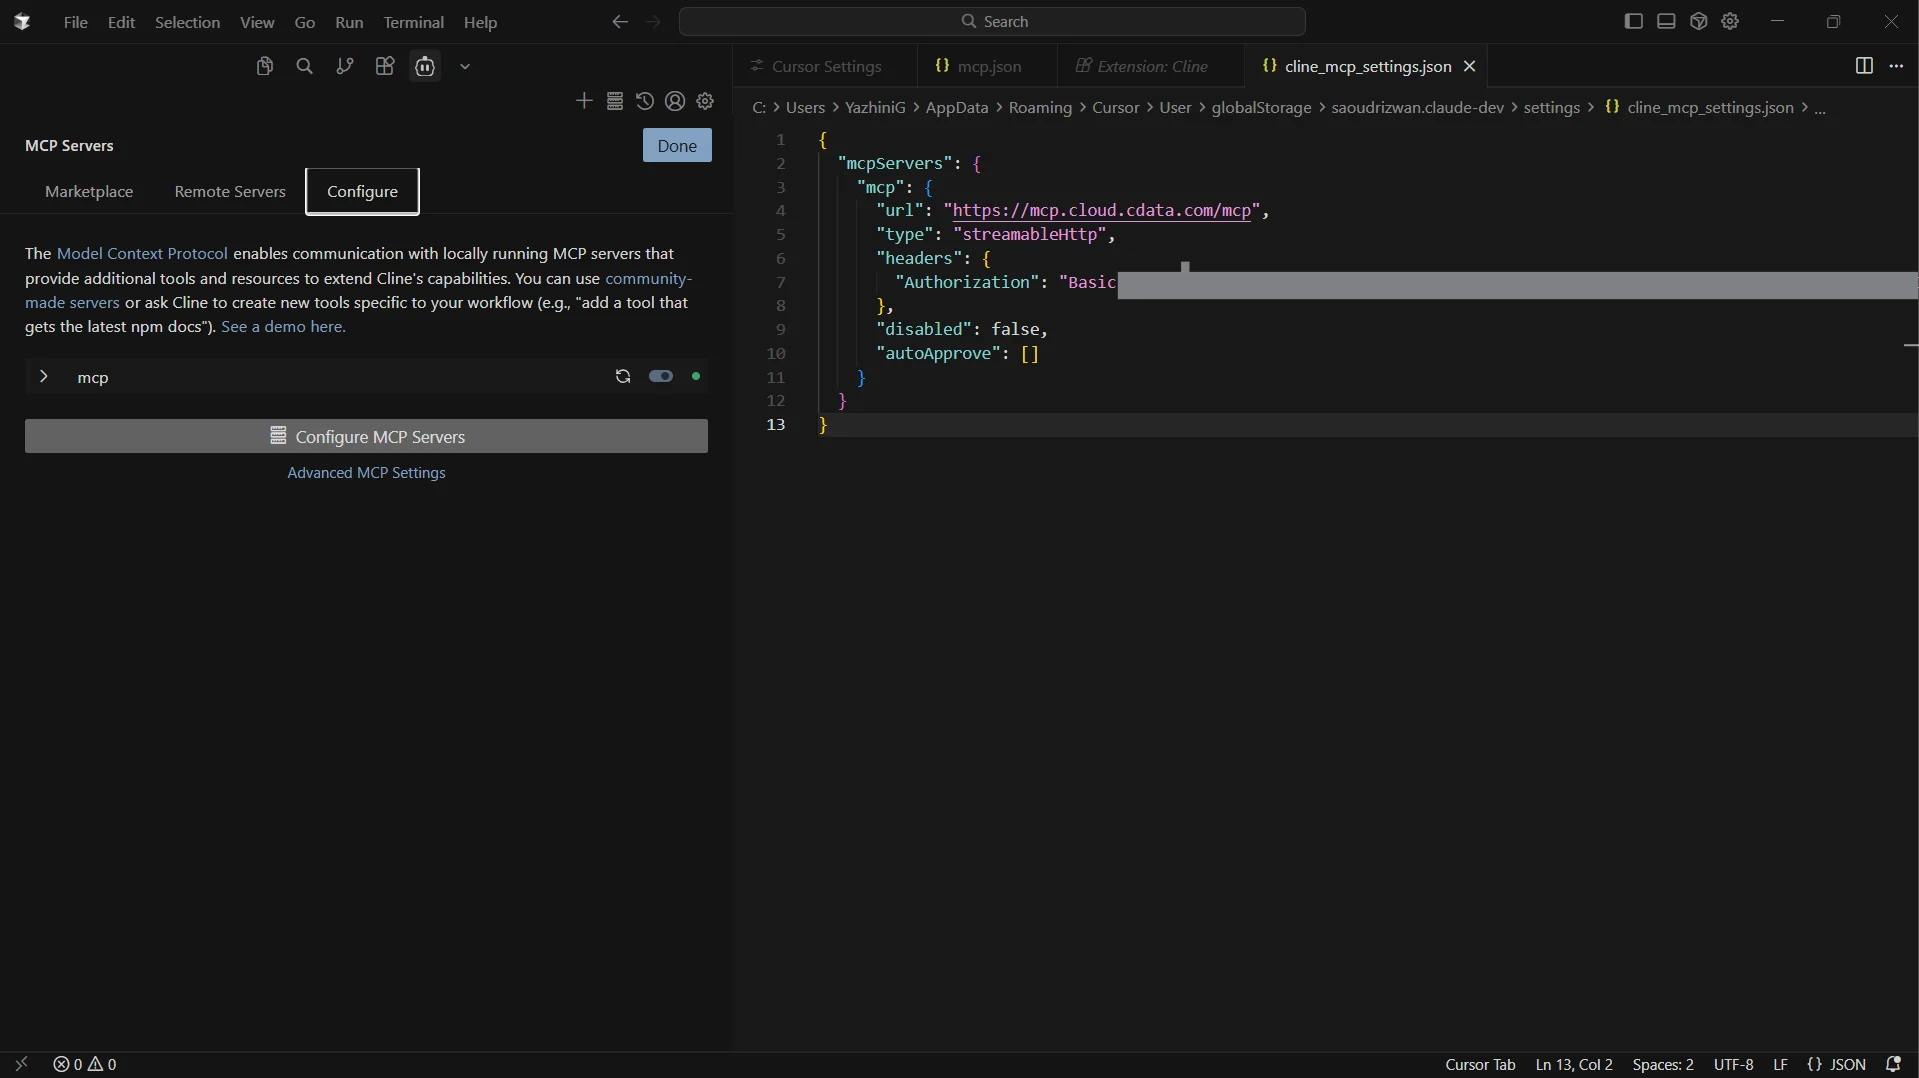
This opens a JSON configuration file. Paste the configuration below
{
  "mcpServers": {
    "mcp": {
      "url": "https://mcp.cloud.cdata.com/mcp",
      "type": "streamableHttp",
      "headers": {
        "Authorization": "Basic your_email:your_PAT"
      },
      "disabled": false,
      "autoApprove": []
    }
  }
}
Note: Cline will use Basic authentication with Connect AI. Combine your Connect AI user email and the PAT you created earlier. For example, [email protected]:ABC123...XYZ789 and add the value for the Authorization header like, Basic [email protected]:ABC123...XYZ789.
-
Save the file and return to the MCP Servers screen to confirm the server is listed and enabled
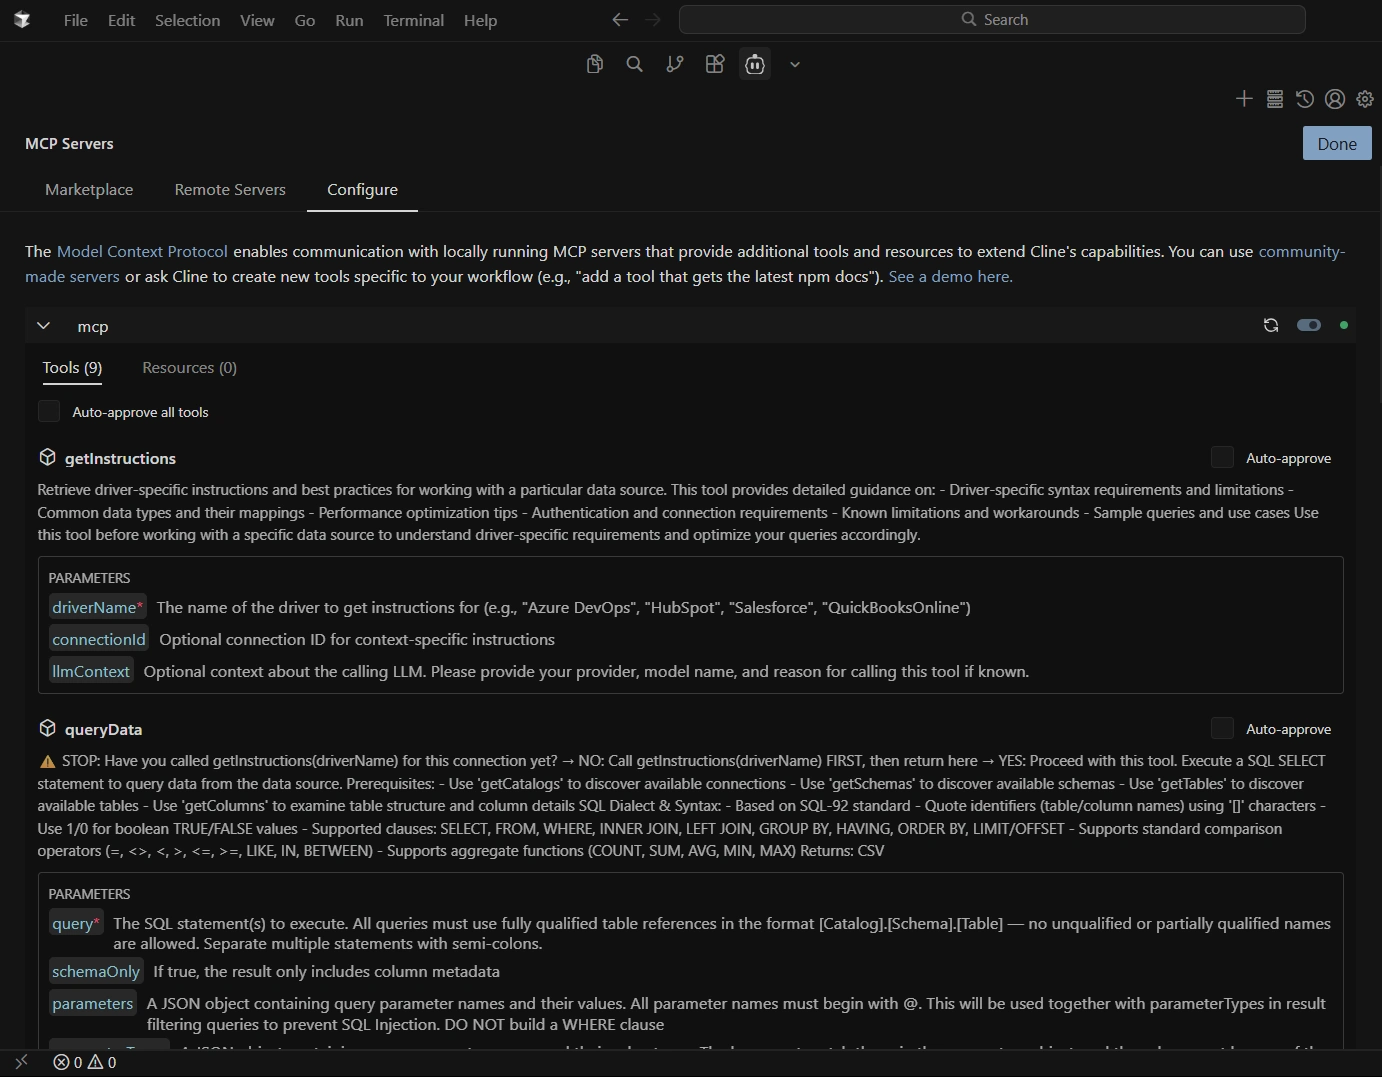
Step 4: Query live data from Cline
With the MCP server registered, Cline can now interact with live data sources exposed by Connect AI.
-
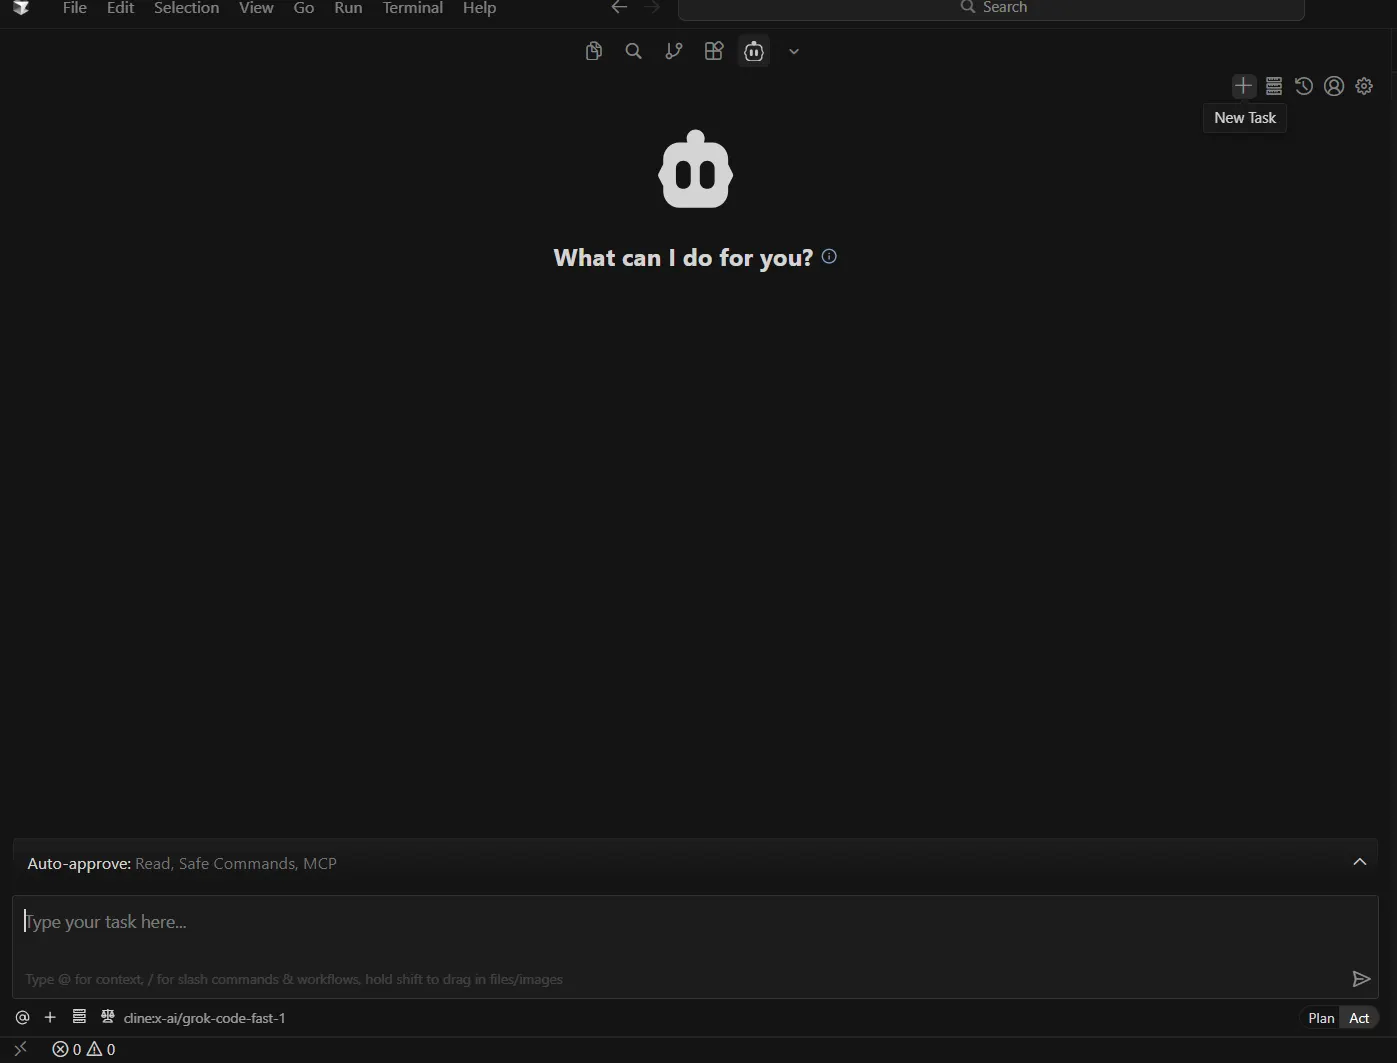
Click the icon in the Cline panel to start a New Task/Chat
-
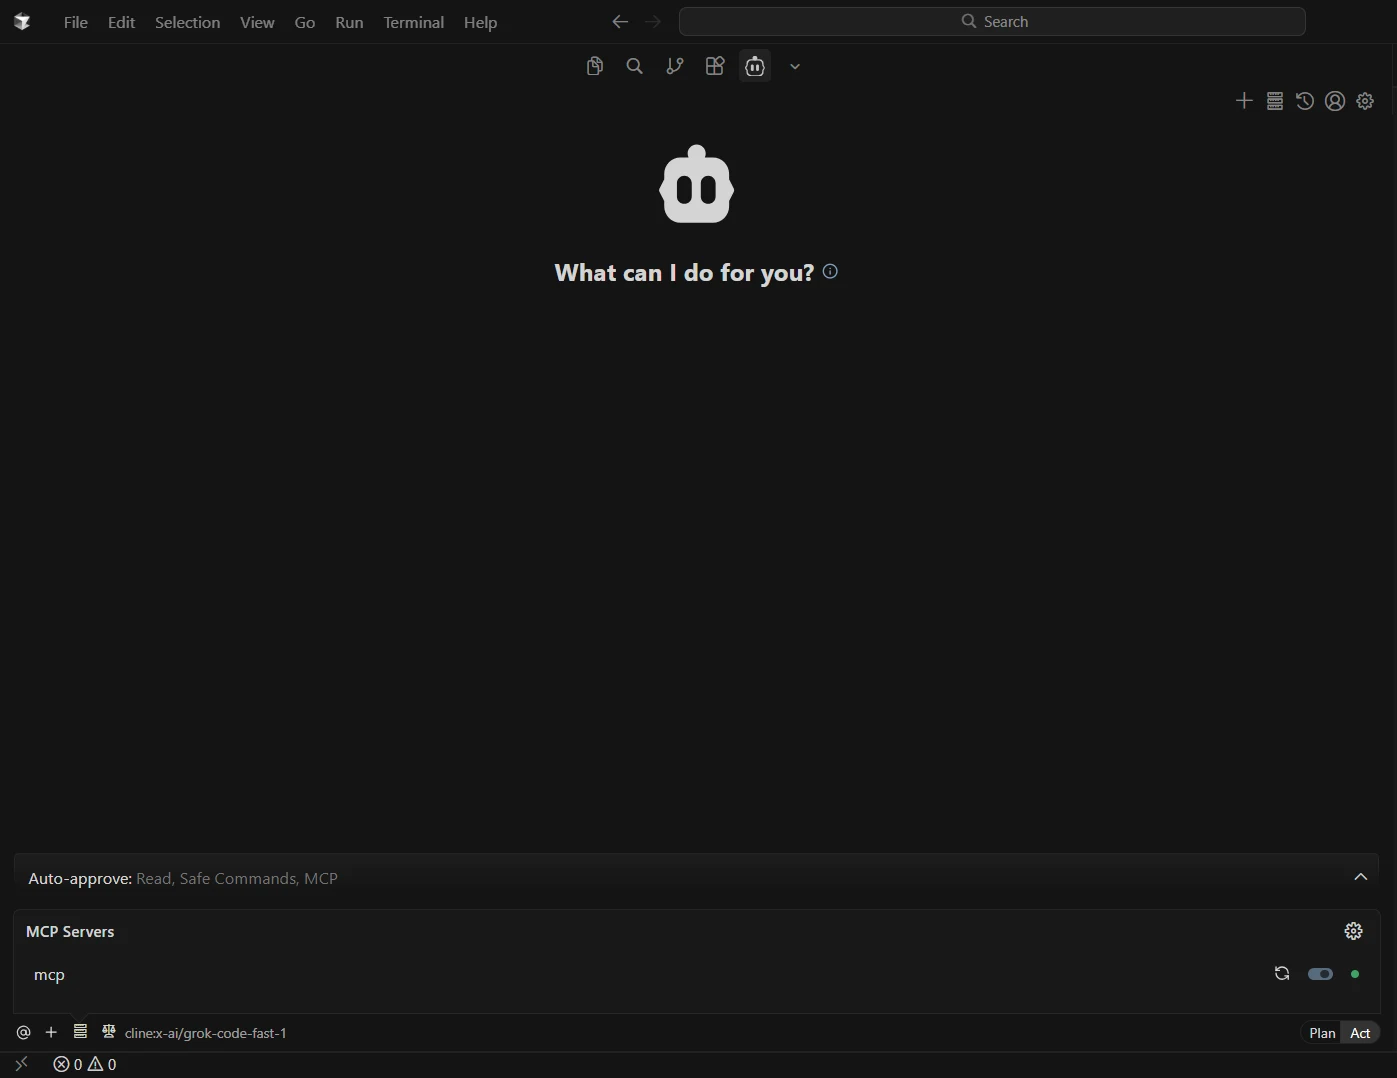
At the bottom of the chat window, confirm that the configured MCP server is selected
-
Start interacting with the agent by entering prompts such as:
- List connections
- Show schemas for a catalog
- Query recent records from Talkdesk data
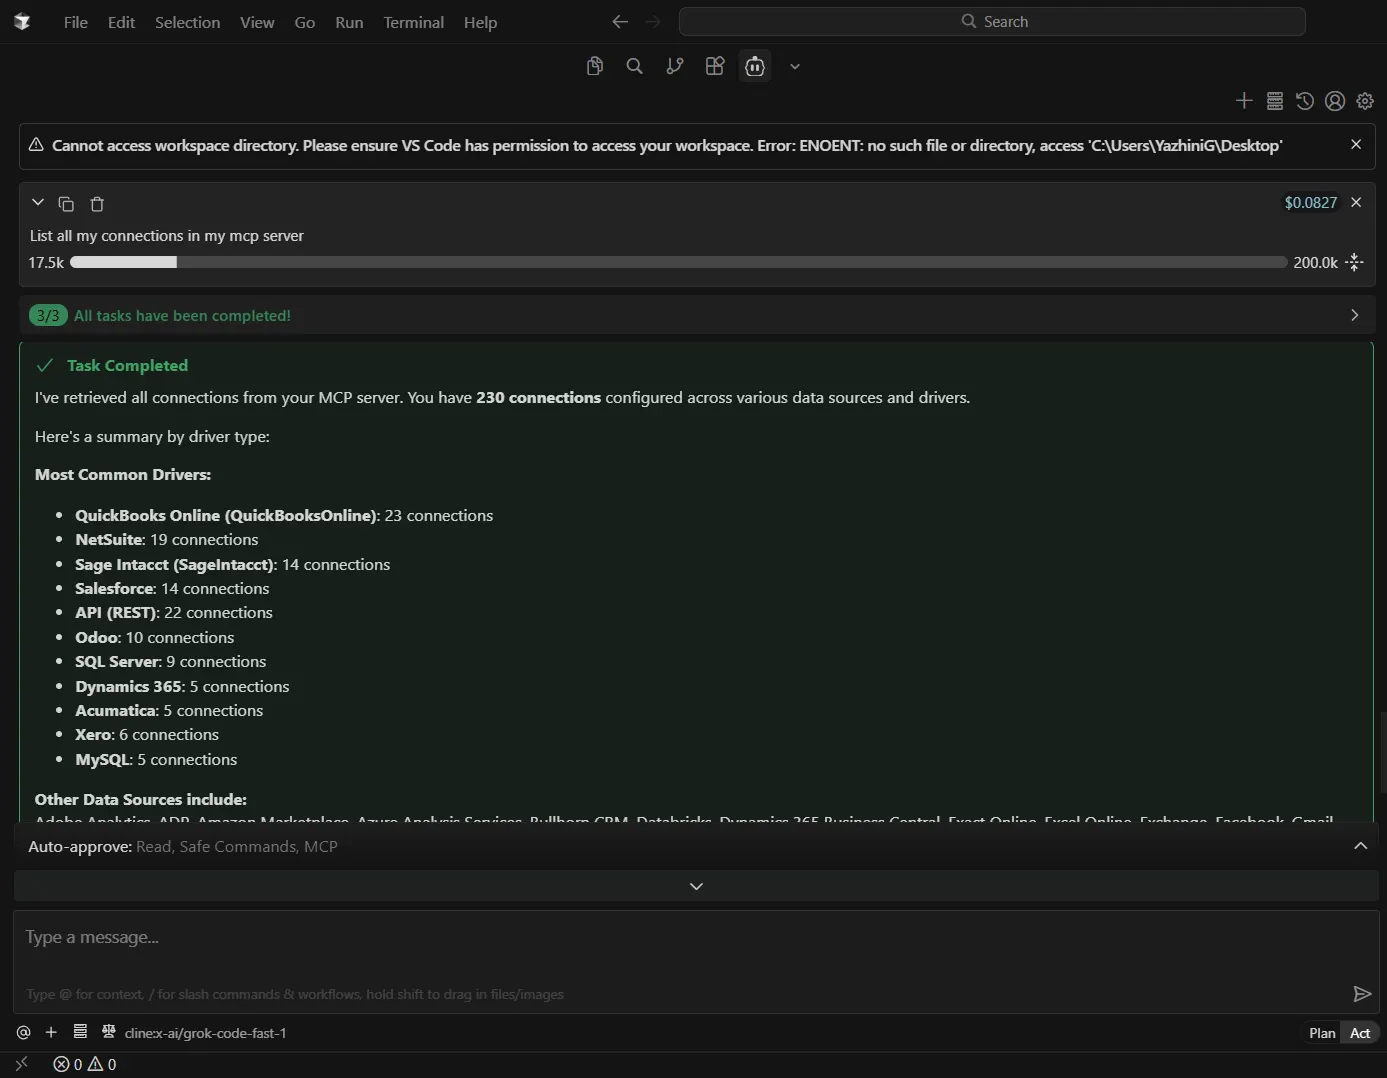
Cline is now fully configured to access and query live Talkdesk data through the CData Connect AI Remote MCP Server, enabling real-time, data-driven workflows directly from your IDE.
Get CData Connect AI
To access hundreds of SaaS, Big Data, and NoSQL sources through secure, AI-ready interfaces, try CData Connect AI today.