




Back Up Apache Airflow data to SQL Server through SSIS

This article illustrates using the Apache Airflow ADO.NET Data Provider within a SQL Server SSIS workflow for the direct transfer of Apache Airflow data to a Microsoft SQL Server database. It's worth noting that the identical process detailed below is applicable to any CData ADO.NET Data Providers, enabling the direct connection of SQL Server with remote data through SSIS.
- Open Visual Studio and create a new Integration Services project.
- Add a new Data Flow task from the toolbox onto the Control Flow screen.
In the Data Flow screen, add an ADO.NET Source and an OLE DB Destination from the toolbox.
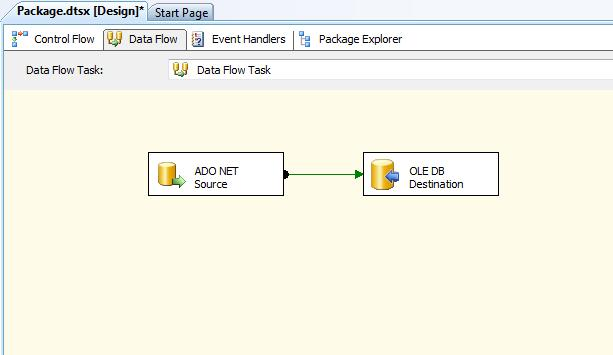
- Add a new connection and select .NET Providers\CData ADO.NET Provider for Apache Airflow.
In the connection manager, enter the connection details for Apache Airflow data.
Start by setting the Profile connection property to the location of the ApacheAirflow Profile on disk (e.g. C:\profiles\ApacheAirflow.apip). Next, set the ProfileSettings connection property to the connection string for ApacheAirflow (see below).
ApacheAirflow API Profile Settings
Apache Airflow 3 uses JWT Bearer tokens for API authentication. You can generate a token from the Airflow web UI under Settings or via the Airflow CLI using airflow users create and the /api/v2/auth/token endpoint. Note that this profile targets Apache Airflow 3.x using the /api/v2 REST API. The legacy /api/v1 endpoint used by Airflow 2.x is not supported.
After setting the following connection properties, you are ready to connect:
- AuthScheme: Set this to APIKey.
- APIKey: Set this to your Apache Airflow JWT Bearer token.
- Server: Set this to the base URL of your Airflow instance (e.g. http://localhost:8080).
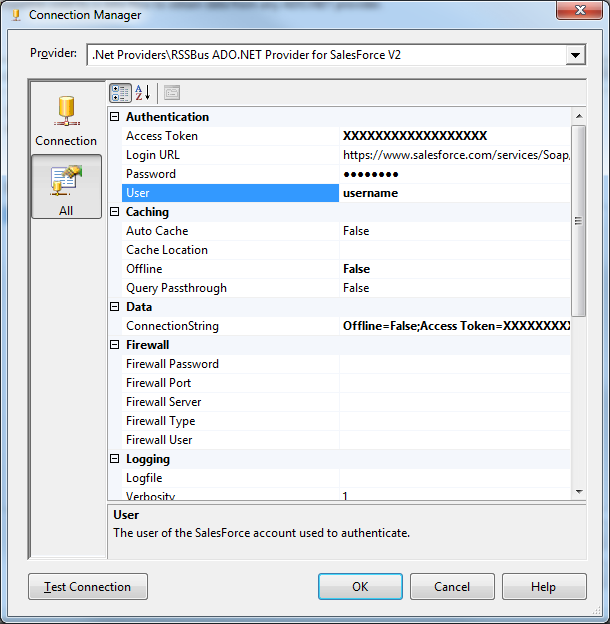
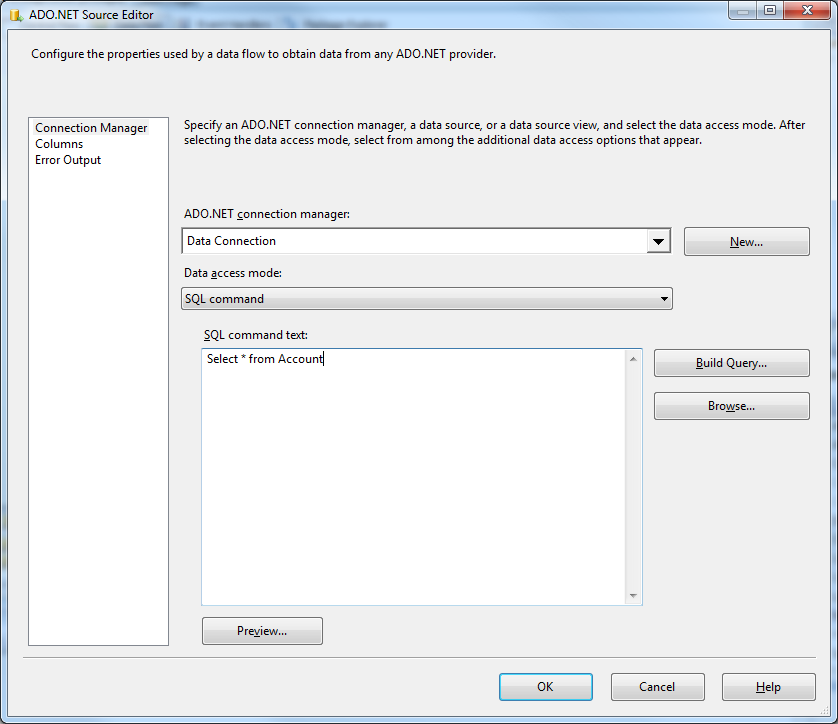
Open the DataReader editor and set the following information:
- ADO.NET connection manager: In the Connection Managers menu, select the Data Connection you just created.
- Data access mode: Select 'SQL command'.
- SQL command text: In the DataReader Source editor, open the Component Properties tab and enter a SELECT command, such as the one below:
SELECT DagRunId, State FROM DagRuns WHERE DagId = 'example_dag'
- Close the DataReader editor and drag the arrow below the DataReader Source to connect it to the OLE DB Destination.
Open the OLE DB Destination and enter the following information in the Destination Component Editor.
- Connection manager: Add a new connection. Enter your server and database information here. In this example, SQLExpress is running on a separate machine.
- Data access mode: Set your data access mode to "table or view" and select the table or view to populate in your database.
Configure any properties you wish on the Mappings screen.
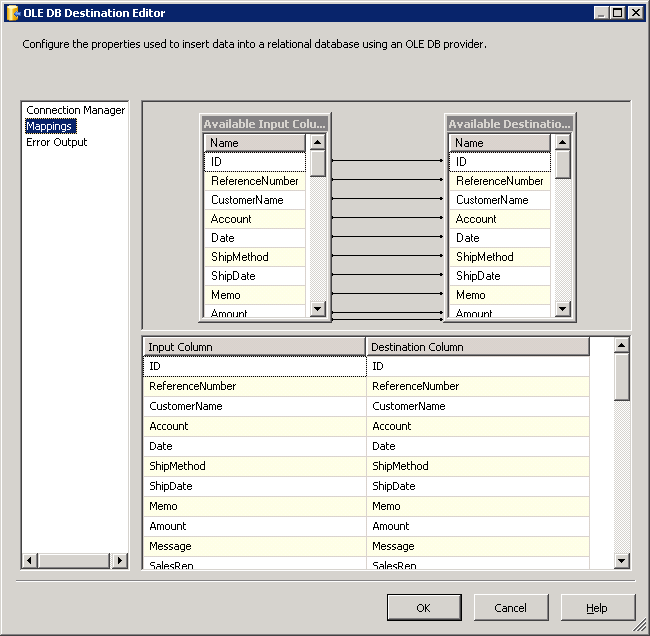
- Close the OLE DB Destination Editor and run the project. After the SSIS task has finished executing, your database will be populated with data obtained from Apache Airflow data.