




Connect to BugHerd Data as an External Source in Dremio

The CData API Driver for JDBC implements JDBC Standards and allows various applications, including Dremio, to work with live BugHerd data. Dremio is a data lakehouse platform designed to empower self-service, interactive analytics on the data lake. With the CData JDBC driver, you can include live BugHerd data as a part of your enterprise data lake. This article describes how to connect to BugHerd data from Dremio as an External Source.
The CData JDBC Driver enables high-speed access to live BugHerd data in Dremio. Once you install the driver, authenticate with BugHerd and gain immediate access to BugHerd data within your data lake. By surfacing BugHerd data using native data types and handling complex filters, aggregations, & other operations automatically, the CData JDBC Driver grants seamless access to BugHerd data.
Prerequisites
This article assumes you are utilizing Docker to run Dremio. You can create a Docker container with the Dremio service using a command similar to the follow:
docker run -d --name dremio -p 9047:9047 -p 31010:31010 dremio/dremio-oss
Where dremio is the name of the container, 9047 is the container's port for the Dremio web interface and 31010 is the port that maps to the Dremio query service. dremio/dremio-oss specifies the image to use.
Build the ARP Connector
To use the CData JDBC Driver in Dremio, you need to build an Advanced Relation Pushdown (ARP) Connector. You can view the source code for the Connector on GitHub or download the ZIP file (GitHub.com) directly. Once you copy or extract the files, run the following command from the root directory of the connector (the directory containing the pom.xml file) to build the connector.
mvn clean install
NOTE: The CData ARP Connectors are build to be compiled with Java 11. Be sure to install Java 11 and use the correct version. You can update your Java version using a command similar to the following:
sudo update-alternatives --config java
Once the JAR file for the connector is built (in the target directory), you are ready to copy the ARP connector and JDBC Driver to your Dremio instance.
Installing the Connector and JDBC Driver
Install the ARP Connector to %DREMIO_HOME%/jars/ and the JDBC Driver for BugHerd to %DREMIO_HOME%/jars/3rdparty. You can use commands similar to the following:
ARP Connector
docker cp PATH\TO\dremio-api-plugin-{DREMIO_VERSION}.jar dremio_image_name:/opt/dremio/jars/
JDBC Driver for BugHerd
docker cp PATH\TO\cdata.jdbc.api.jar dremio_image_name:/opt/dremio/jars/3rdparty/
Connecting to BugHerd
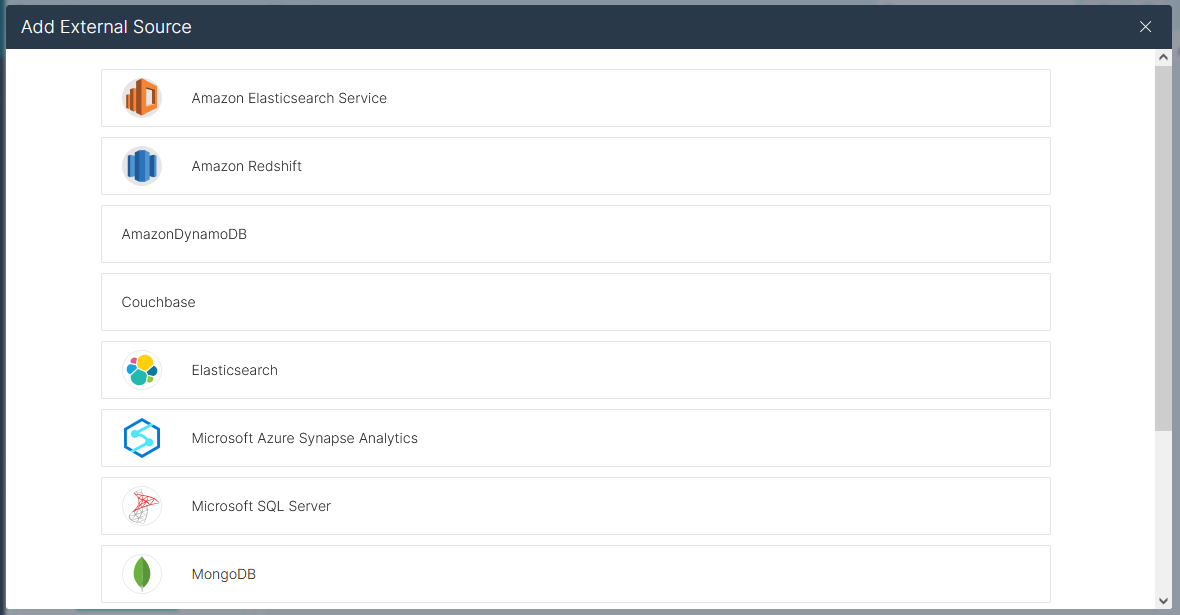
BugHerd will now appear as an External Source option in Dremio. The ARP Connector built uses a JDBC URL to connect to BugHerd data. The JDBC Driver has a built-in connection string designer that you can use (see below).
Built-in Connection String Designer
For assistance in constructing the JDBC URL, use the connection string designer built into the BugHerd JDBC Driver. Double-click the JAR file or execute the jar file from the command line.
java -jar cdata.jdbc.api.jar
Fill in the connection properties and copy the connection string to the clipboard.
Start by setting the Profile connection property to the location of the BugHerd Profile on disk (e.g. C:\profiles\BugHerd.apip). Next, set the ProfileSettings connection property to the connection string for BugHerd (see below).
BugHerd API Profile Settings
BugHerd uses HTTP Basic authentication with an API key as the username. To obtain an API key:
- Sign in to your BugHerd account at https://www.bugherd.com
- Navigate to Settings > General Settings
- Locate the API Key section and copy the generated key
After obtaining your API key, set the following connection properties:
- AuthScheme: Set this to APIKey.
Set the following in the ProfileSettings connection property:
- APIKey: Set this to your BugHerd API key. The driver uses the key as the Basic auth username and sets the password internally to the literal value 'x' as required by BugHerd.

NOTE: To use the JDBC Driver in Dremio, you will need a license (full or trial) and a Runtime Key (RTK). For more information on obtaining this license (or a trial), contact our sales team.
Add the Runtime Key (RTK) to the JDBC URL. You will end up with a JDBC URL similar to the following:
jdbc:api:RTK=5246...;Profile=C:\profiles\BugHerd.apip;AuthScheme=APIKey;ProfileSettings='APIKey=your_api_key';
Access BugHerd as an External Source
To add BugHerd as an External Source, click to add a new source and select API. Copy the JDBC URL and paste it into the New API Source wizard.
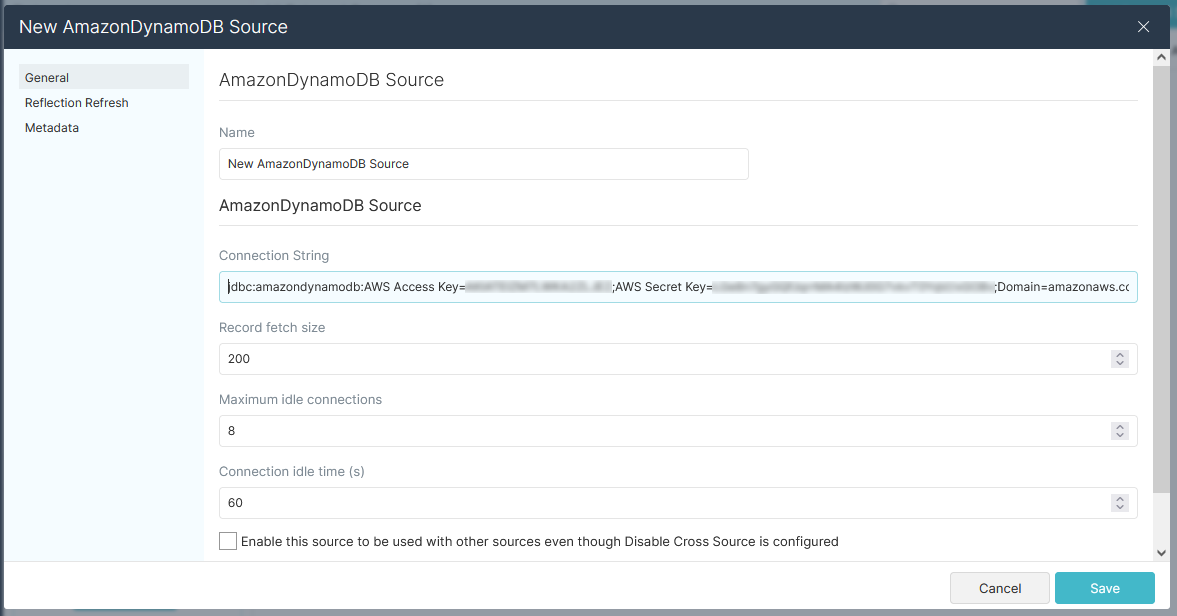
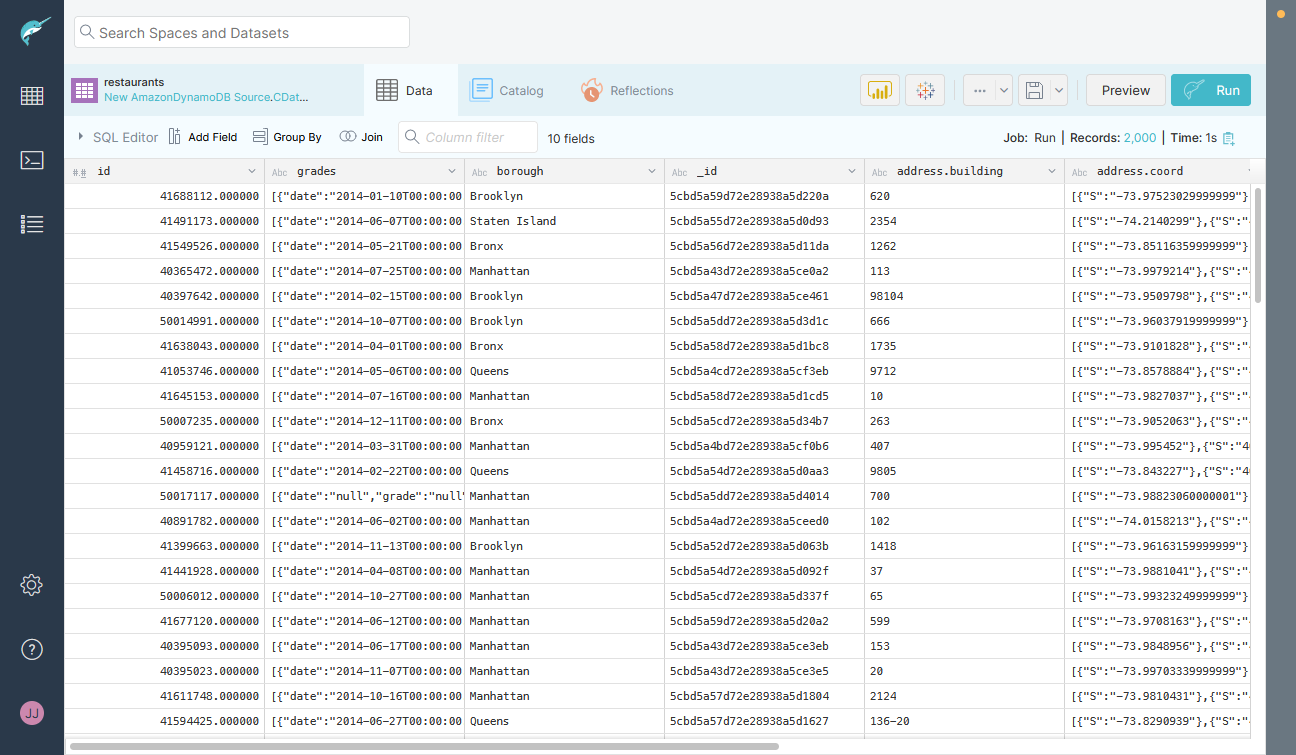
Save the connection and you are ready to query live BugHerd data in Dremio, easily incorporating BugHerd data into your data lake.
More Information & Free Trial
Using the CData API Driver for JDBC in Dremio, you can incorporate live BugHerd data into your data lake. Check out our CData API Driver for JDBC page for more information about connecting to BugHerd. Download a free, 30 day trial of the CData API Driver for JDBC and get started today.