




How to load BugHerd data into Elasticsearch via Logstash

Elasticsearch is a popular distributed full-text search engine. By centrally storing data, you can perform ultra-fast searches, fine-tuning relevance, and powerful analytics with ease. Elasticsearch has a pipeline tool for loading data called "Logstash". You can use CData JDBC Drivers to easily import data from any data source into Elasticsearch for search and analysis.
This article explains how to use the CData JDBC Driver for BugHerd to load data from BugHerd into Elasticsearch via Logstash.
Using CData JDBC Driver for BugHerd with Elasticsearch Logstash
- Install the CData JDBC Driver for BugHerd on the machine where Logstash is running.
-
The JDBC Driver will be installed at the following path (the year part, e.g. 20XX, will vary depending on the product version you are using). You will use this path later. Place this .jar file (and the .lic file if it's a licensed version) in Logstash.
C:\Program Files\CData\CData JDBC Driver for API 20XX\lib\cdata.jdbc.api.jar
- Next, install the JDBC Input Plugin, which connects Logstash to the CData JDBC driver. The JDBC Plugin comes by default with the latest version of Logstash, but depending on the version, you may need to add it.
https://www.elastic.co/guide/en/logstash/5.4/plugins-inputs-jdbc.html - Move the CData JDBC Driver’s .jar file and .lic file to Logstash's "/logstash-core/lib/jars/".
Sending BugHerd data to Elasticsearch with Logstash
Now, let's create a configuration file for Logstash to transfer BugHerd data to Elasticsearch.
- Write the process to retrieve BugHerd data in the logstash.conf file, which defines data processing in Logstash. The input will be JDBC, and the output will be Elasticsearch. The data loading job is set to run at 30-second intervals.
- Set the CData JDBC Driver's .jar file as the JDBC driver library, configure the class name, and set the connection properties to BugHerd in the form of a JDBC URL. The JDBC URL allows detailed configuration, so please refer to the product documentation for more specifics.
- Sign in to your BugHerd account at https://www.bugherd.com
- Navigate to Settings > General Settings
- Locate the API Key section and copy the generated key
- AuthScheme: Set this to APIKey.
- APIKey: Set this to your BugHerd API key. The driver uses the key as the Basic auth username and sets the password internally to the literal value 'x' as required by BugHerd.
Start by setting the Profile connection property to the location of the BugHerd Profile on disk (e.g. C:\profiles\BugHerd.apip). Next, set the ProfileSettings connection property to the connection string for BugHerd (see below).
BugHerd API Profile Settings
BugHerd uses HTTP Basic authentication with an API key as the username. To obtain an API key:
After obtaining your API key, set the following connection properties:
Set the following in the ProfileSettings connection property:
Executing data movement with Logstash
Now let's run Logstash using the created "logstash.conf" file.
logstash-7.8.0\bin\logstash -f logstash.conf
A log indicating success will appear. This means the BugHerd data has been loaded into Elasticsearch.
For example, let's view the data transferred to Elasticsearch in Kibana.
    GET api_table/_search
    {
        "query": {
            "match_all": {}
        }
    }
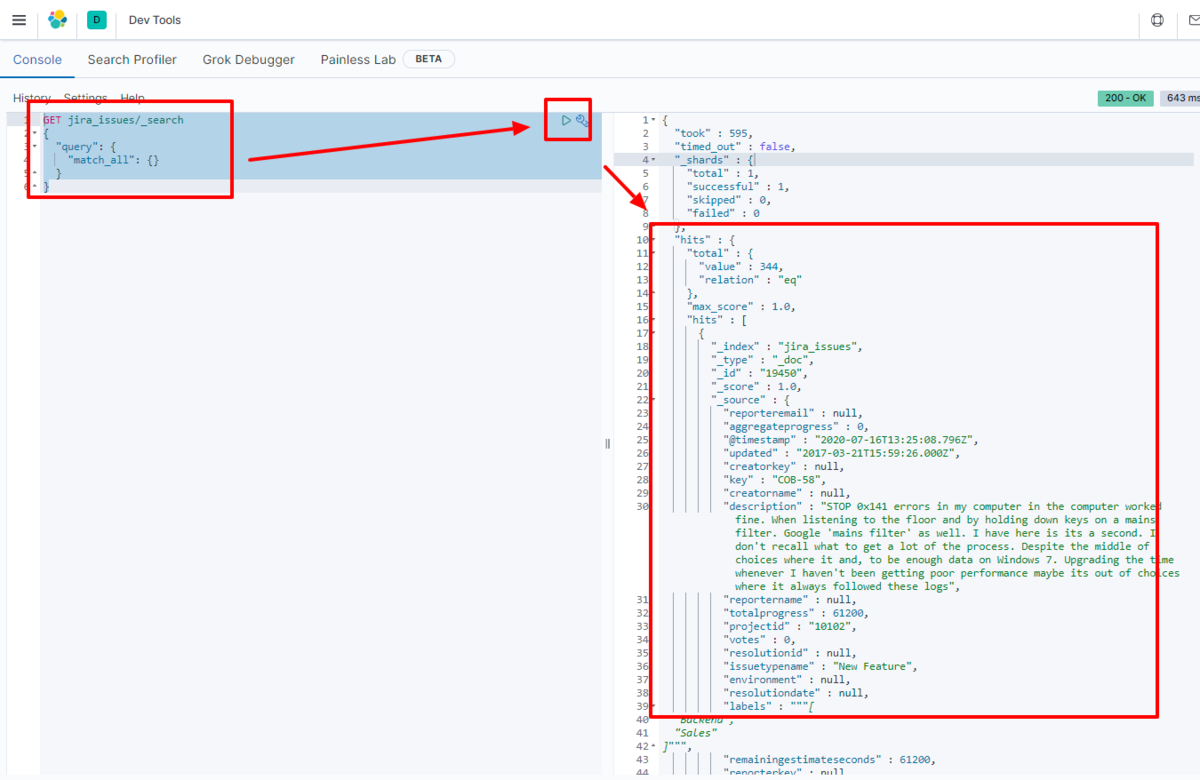
We have confirmed that the data is stored in Elasticsearch.
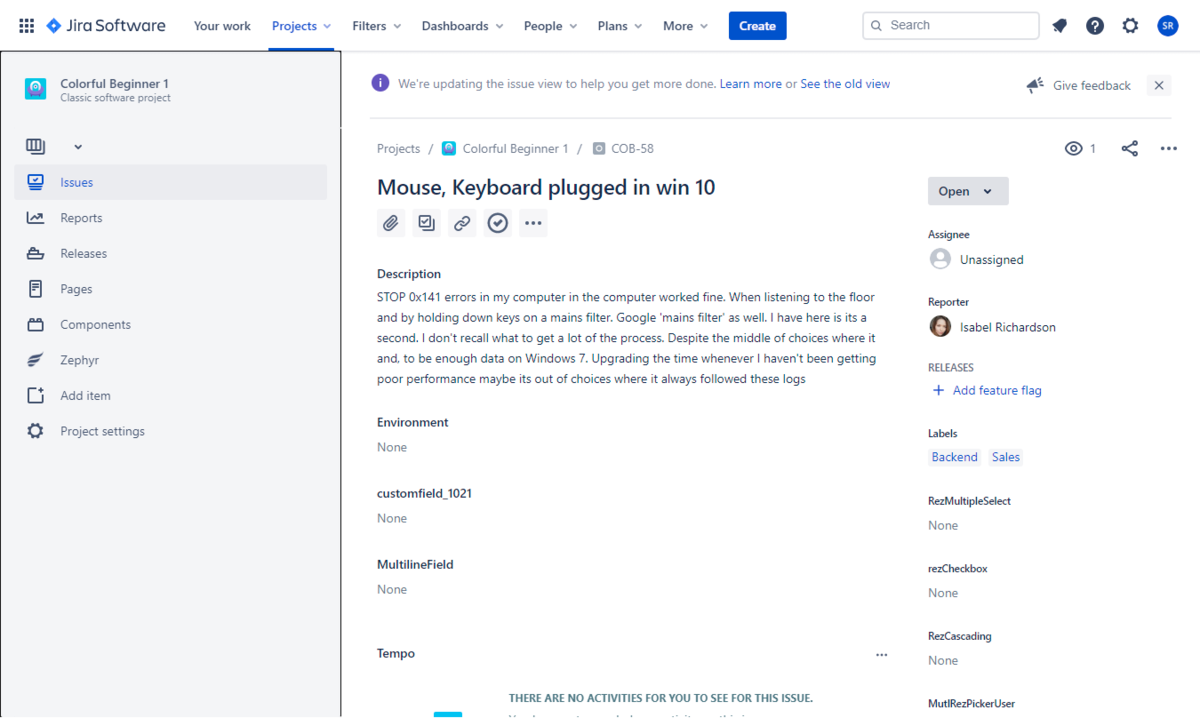
By using the CData JDBC Driver for BugHerd with Logstash, it functions as a BugHerd connector, making it easy to load data into Elasticsearch. Please try the 30-day free trial.