




Query BugHerd Data through ODBC in Node.js

Node.js is a JavaScript runtime environment that allows you to run JavaScript code outside of a browser. With the CData API Driver for ODBC, you can access live BugHerd data from Node.js apps and scripts. In this article, we walk through installing node-odbc and the required tools to create a simple Node.js app with access to live BugHerd data.
With built-in optimized data processing, the CData ODBC Driver offers unmatched performance for interacting with live BugHerd data in Node.js. When you issue complex SQL queries from Node.js to BugHerd, the driver pushes supported SQL operations, like filters and aggregations, directly to BugHerd and utilizes the embedded SQL engine to process unsupported operations client-side (often SQL functions and JOIN operations).
Connecting to BugHerd Data
If you have not already done so, provide values for the required connection properties in the data source name (DSN). You can use the built-in Microsoft ODBC Data Source Administrator to configure the DSN. This is also the last step of the driver installation. See the "Getting Started" chapter in the help documentation for a guide to using the Microsoft ODBC Data Source Administrator to create and configure a DSN.
Start by setting the Profile connection property to the location of the BugHerd Profile on disk (e.g. C:\profiles\BugHerd.apip). Next, set the ProfileSettings connection property to the connection string for BugHerd (see below).
BugHerd API Profile Settings
BugHerd uses HTTP Basic authentication with an API key as the username. To obtain an API key:
- Sign in to your BugHerd account at https://www.bugherd.com
- Navigate to Settings > General Settings
- Locate the API Key section and copy the generated key
After obtaining your API key, set the following connection properties:
- AuthScheme: Set this to APIKey.
Set the following in the ProfileSettings connection property:
- APIKey: Set this to your BugHerd API key. The driver uses the key as the Basic auth username and sets the password internally to the literal value 'x' as required by BugHerd.
Building node-odbc
In order to connect to BugHerd through the CData ODBC Driver, you need to build node-odbc manually (after installing the required tools).
Installing the Required Tools
The following commands install the tools required to build node-odbc (note the -g parameter, which installs the tools globally).
npm i -g windows-build-tools
npm i -g node-gyp
Building node-odbc
After installing the required tools, create a directory for the Node.js app and install odbc (which builds the binary for us to use in our Node.js script).
mkdir nodeodbc
cd nodeodbc
npm i -g node
Querying BugHerd from Node.js
With the ODBC Driver installed, a DSN Configured, and node-odbc built, we are ready to query live BugHerd data from a Node.js app. The sample code below connects to a specific DSN and queries the Tasks table.
myscript.js
const odbc = require('odbc');

async function queryAPI() {
    const connection = await odbc.connect(`DSN=CData API Source`);
    const data = await connection.query('SELECT Id, Title FROM Tasks');
    console.log(data);
}

queryAPI();
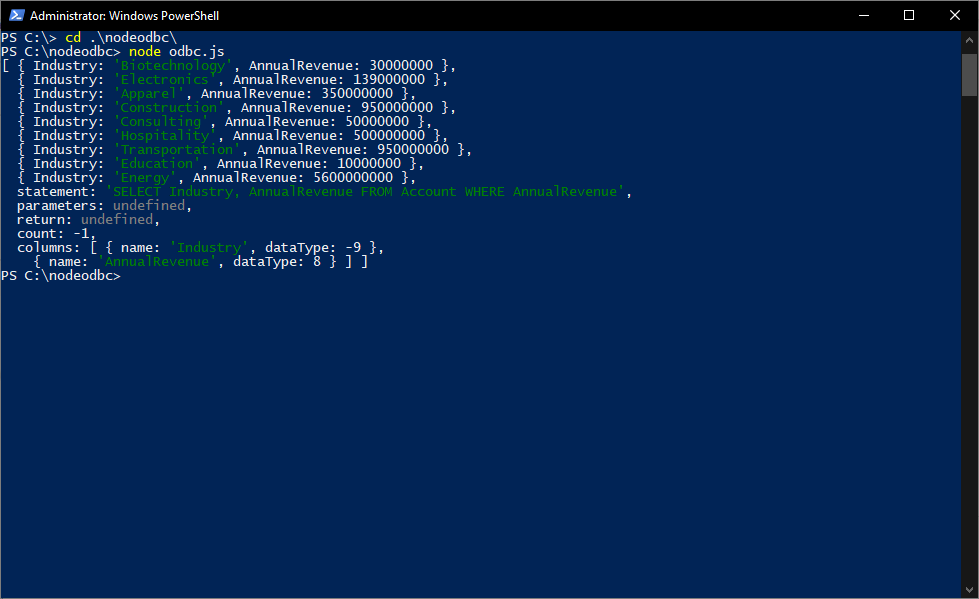
Once you write the app, use node to execute the script:
node myscript.js
Download a free, 30-day trial of the CData API Driver for ODBC and start working with your live BugHerd data in Node.js. Reach out to our Support Team if you have any questions.