




How to Access Live BugHerd Data in Power Automate Desktop via ODBC

The CData ODBC Driver for BugHerd enables you to access live BugHerd data in workflow automation tools like Power Automate. This article shows how to integrate BugHerd data into a simple workflow, moving BugHerd data into a CSV file.
Through optimized data processing, CData ODBC Drivers offer unmatched performance for interacting with live BugHerd data in Microsoft Power Automate. When you issue complex SQL queries from Power Automate to BugHerd, the driver pushes supported SQL operations, like filters and aggregations, directly to BugHerd and utilizes the embedded SQL engine to process unsupported operations client-side (e.g. SQL functions and JOIN operations).
Connect to BugHerd as an ODBC Data Source
If you have not already, first specify connection properties in an ODBC DSN (data source name). This is the last step of the driver installation. You can use the Microsoft ODBC Data Source Administrator to create and configure ODBC DSNs.
Start by setting the Profile connection property to the location of the BugHerd Profile on disk (e.g. C:\profiles\BugHerd.apip). Next, set the ProfileSettings connection property to the connection string for BugHerd (see below).
BugHerd API Profile Settings
BugHerd uses HTTP Basic authentication with an API key as the username. To obtain an API key:
- Sign in to your BugHerd account at https://www.bugherd.com
- Navigate to Settings > General Settings
- Locate the API Key section and copy the generated key
After obtaining your API key, set the following connection properties:
- AuthScheme: Set this to APIKey.
Set the following in the ProfileSettings connection property:
- APIKey: Set this to your BugHerd API key. The driver uses the key as the Basic auth username and sets the password internally to the literal value 'x' as required by BugHerd.
When you configure the DSN, you may also want to set the Max Rows connection property. This will limit the number of rows returned, which is especially helpful for improving performance when designing workflows.
Integrate BugHerd Data into Power Automate Workflows
After configuring the DSN for BugHerd, you are ready to integrate BugHerd data into your Power Automate workflows. Open Microsoft Power Automate, add a new flow, and name the flow.
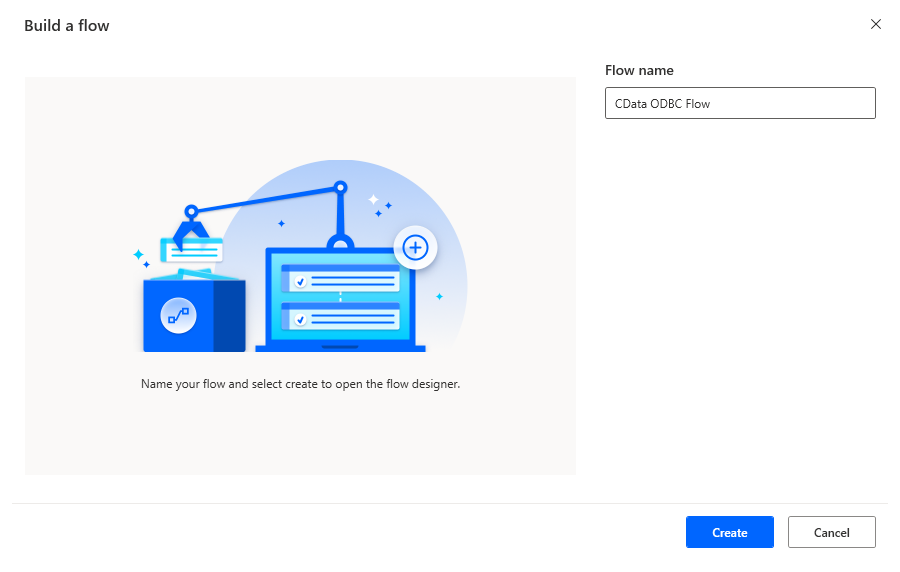
In the flow editor, you can add the actions to connect to BugHerd, query BugHerd using SQL, and write the query results to a CSV document.
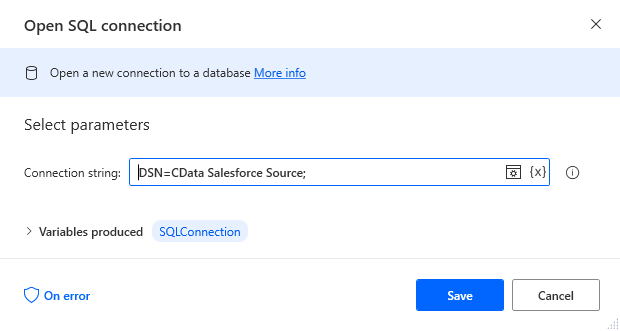
Add an Open SQL Connection Action
Add an "Open SQL connection" action (Actions -> Database) and configure the properties.
- Connection string: DSN=CData BugHerd Source
After configuring the action, click Save.
Add an Execute SQL Statement Action
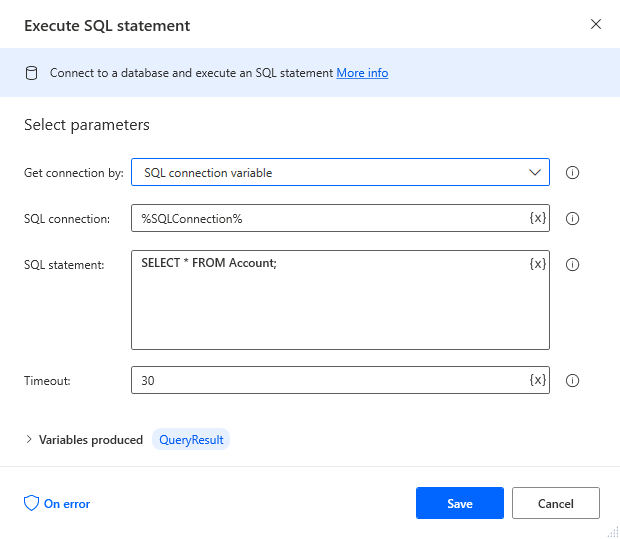
Add an "Execute SQL statement" action (Actions -> Database) and configure the properties.
- Get connection by: SQL connection variable
- SQL connection: %SQLConnection% (the variable from the "Open SQL connection" action above)
- SQL statement: SELECT * FROM Tasks
After configuring the action, click Save.
Add a Write to CSV File Action
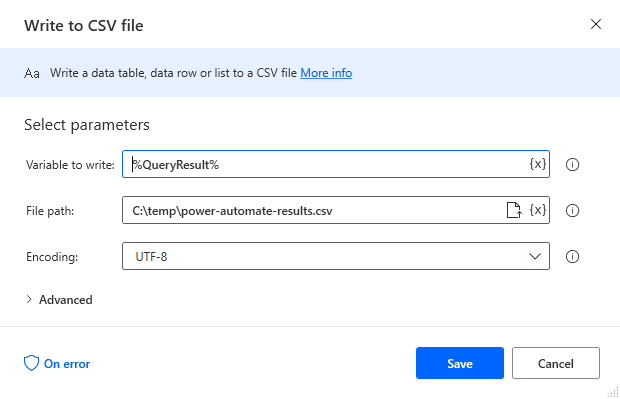
Add a "Write to CSV file" action (Actions -> File) and configure the properties.
- Variable to write to: %QueryResult% (the variable from the "Execute SQL statement" action above)
- File path: set to a file on disk
- Configure Advanced settings as needed.
After configuring the action, click Save.
Add a Close SQL Connection Action
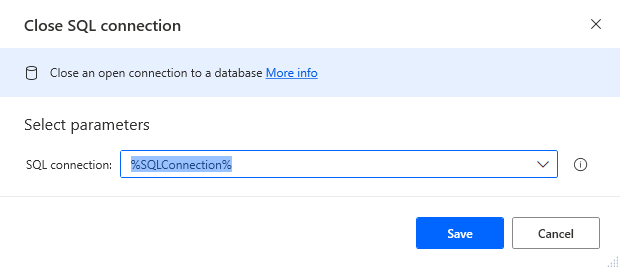
Add a "Close SQL connection" action (Actions -> Database) and configure the properties.
- SQL Connection: %SQLConnection% (the variable from the "Open SQL connection" action above)
After configuring the action, click Save.
Save & Run the Flow
Once you have configured all the actions for the flow, click the disk icon to save the flow. Click the play icon to run the flow.
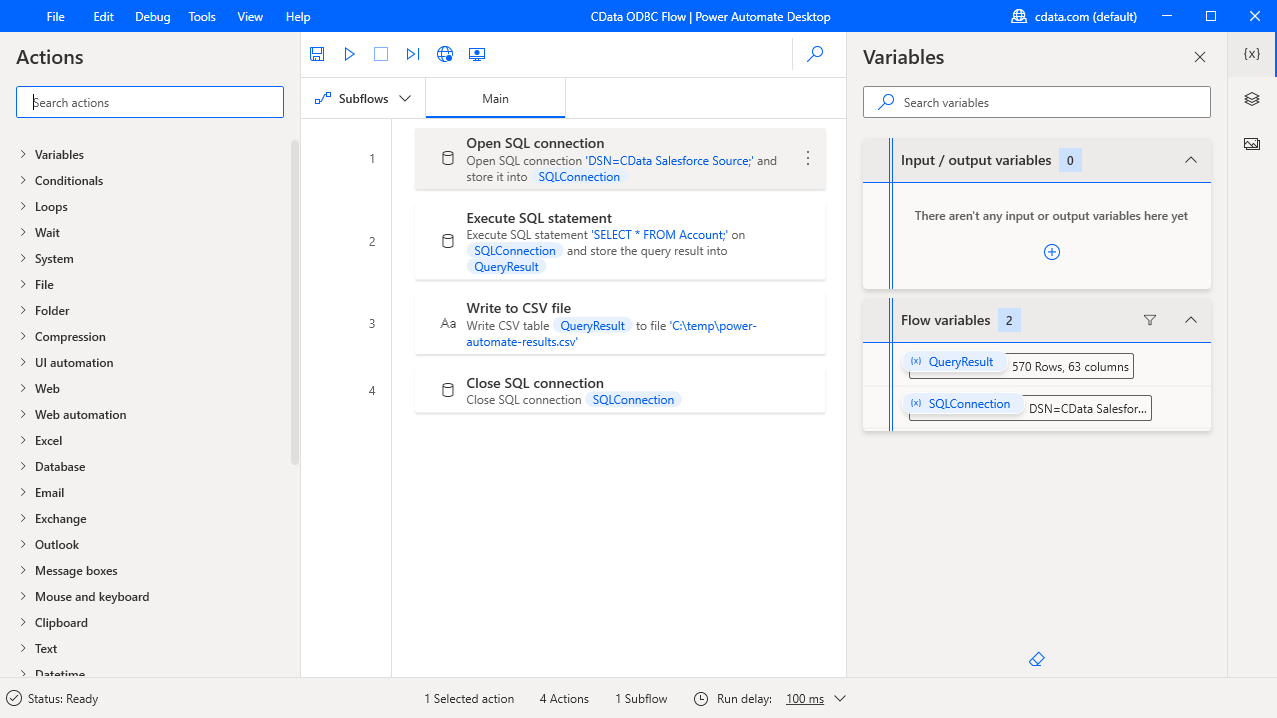
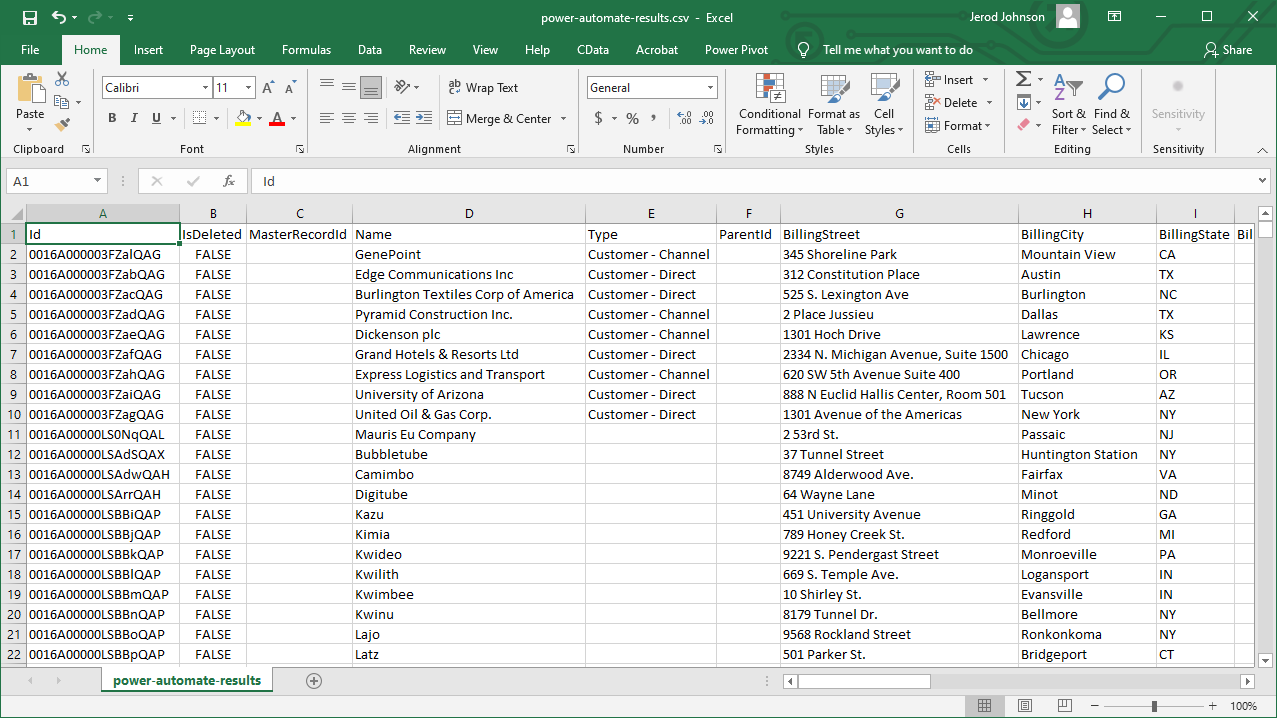
Now you have a workflow to move BugHerd data into a CSV file.
With the CData ODBC Driver for BugHerd, you get live connectivity to BugHerd data within your Microsoft Power Automate workflows.