




Import Real-Time CleverPush Data via ODBC in ColdFusion to Build Applications

Adobe ColdFusion is a web and mobile application development platform. It uses its own scripting language, ColdFusion Markup Language (CFML), to create data-driven websites as well as generate remote services, such as REST. When ColdFusion is paired with the CData API Driver for ODBC, you can link your ColdFusion web and mobile applications to operational CleverPush data. This allows for your applications to be more robust and complete. This article details how to use the ODBC driver to create a table populated with CleverPush data from within a ColdFusion markup file.
To follow along with this tutorial, you need to install the CData API Driver for ODBC and Adobe ColdFusion.
Configuring the Connection
If you have not already, first specify connection properties in an ODBC DSN (Data Source Name). This is the last step of the driver installation process. You can use the Microsoft ODBC Data Source Administrator to create and configure ODBC DSNs.
Start by setting the Profile connection property to the location of the Cleverpush Profile on disk (e.g. C:\profiles\Cleverpush.apip). Next, set the ProfileSettings connection property to the connection string for Cleverpush (see below).
Cleverpush API Profile Settings
CleverPush uses private API keys to authenticate requests. Your API key is passed as the Authorization request header value on every API call.
You can find your private API key in the CleverPush dashboard under Settings > API. Use the private key (not the public key) for server-side access.
After setting the following connection properties, you are ready to connect:
- AuthScheme: Set this to APIKey.
- APIKey: Set this to your CleverPush private API key.
Optional Connection Properties
- ChannelId: Set this to your default CleverPush channel identifier. Most tables require a channel filter. Setting this property allows queries without specifying ChannelId in every WHERE clause.
Adding a Data Source and Creating a Table
After creating a DSN, follow the steps below to add a new data source, test our connection to it, create a ColdFusion markup file, and, finally, import CleverPush Data and display it in a table in ColdFusion:
-
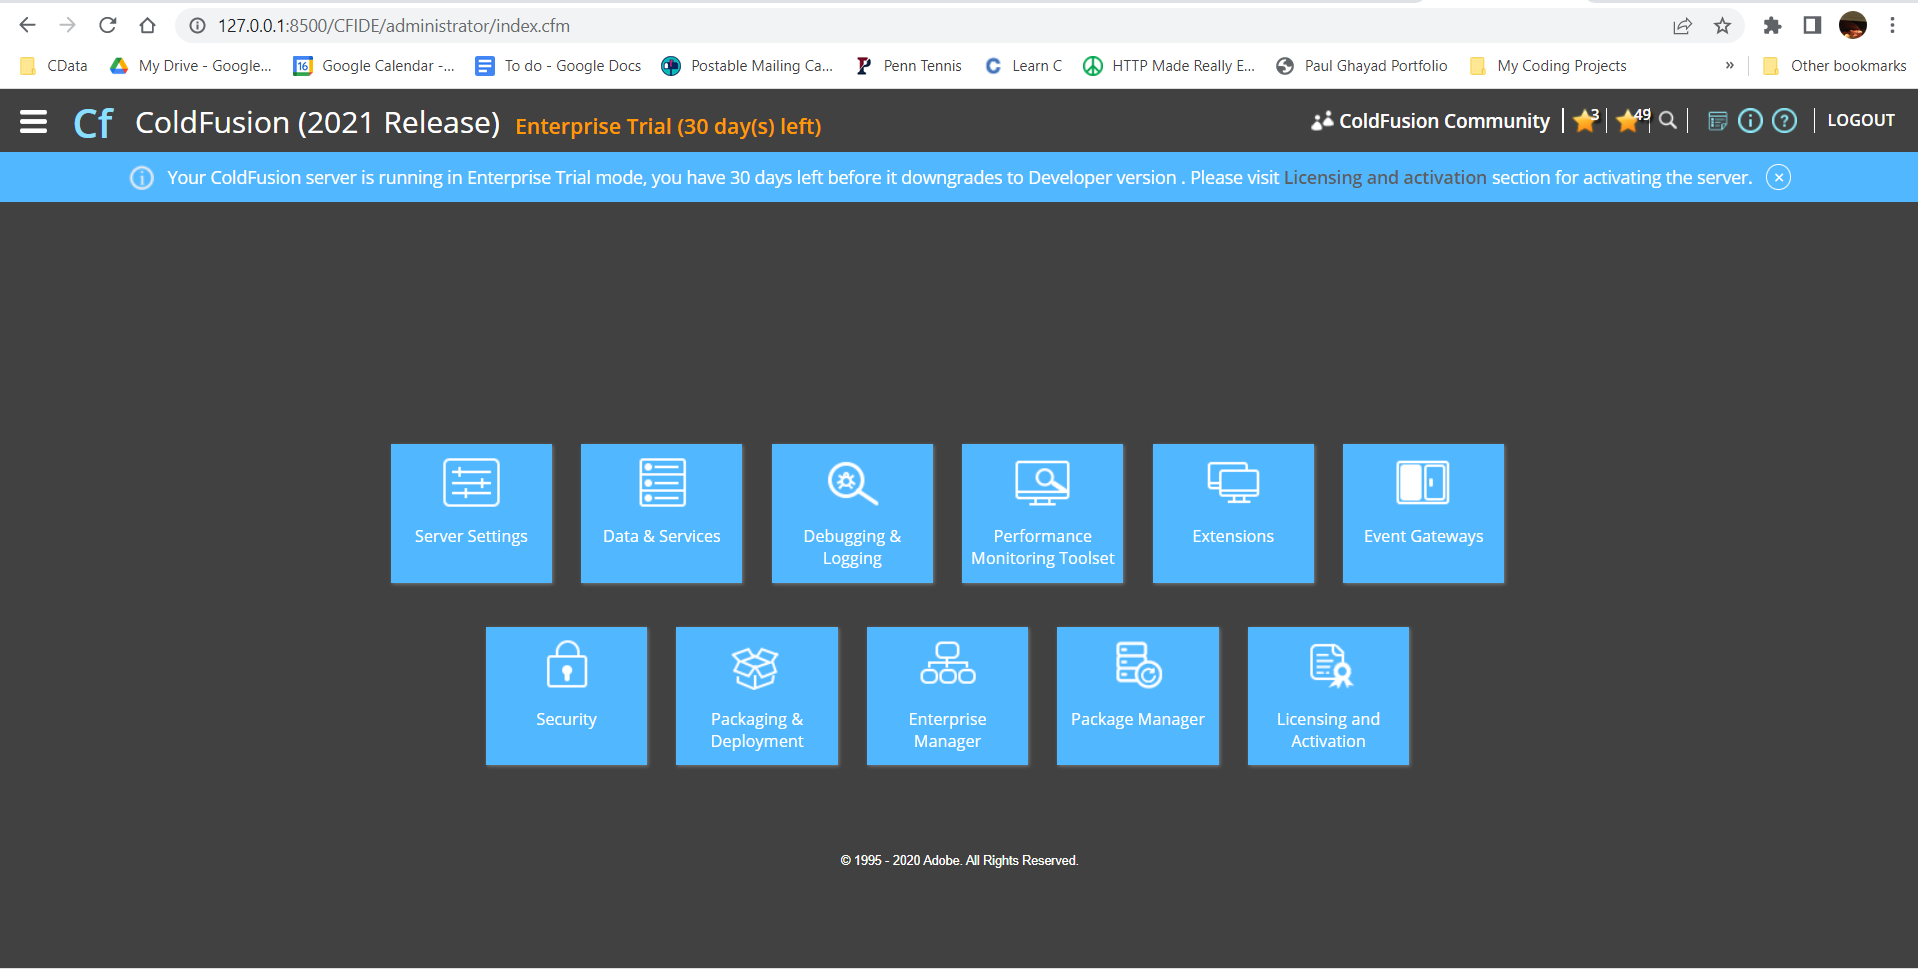
From the ColdFusion administrator interface, choose Data & Services.
-
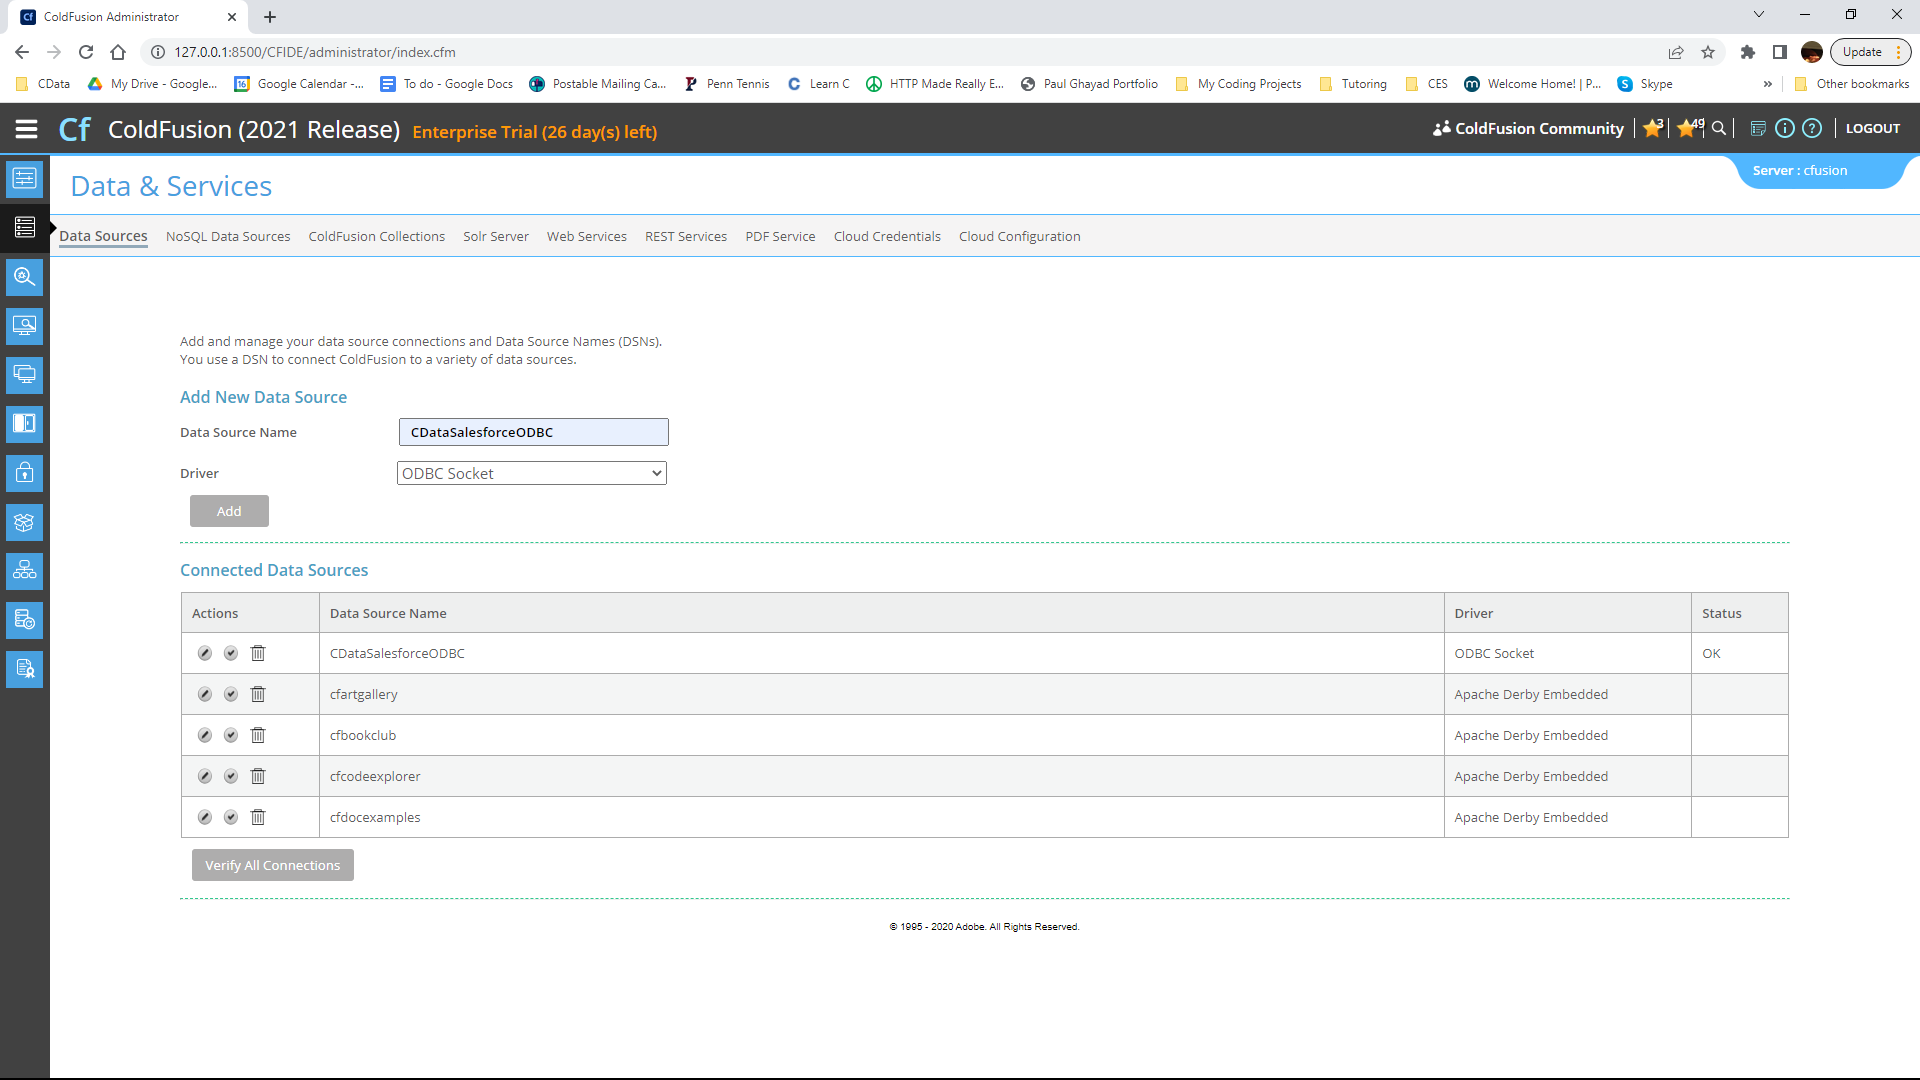
Here, click "Add New Data Source". The data source name can be any name, provided it conforms to the ColdFusion
variable naming conventions. For our ODBC driver, choose "ODBC Socket", then click the "Add" button.
-
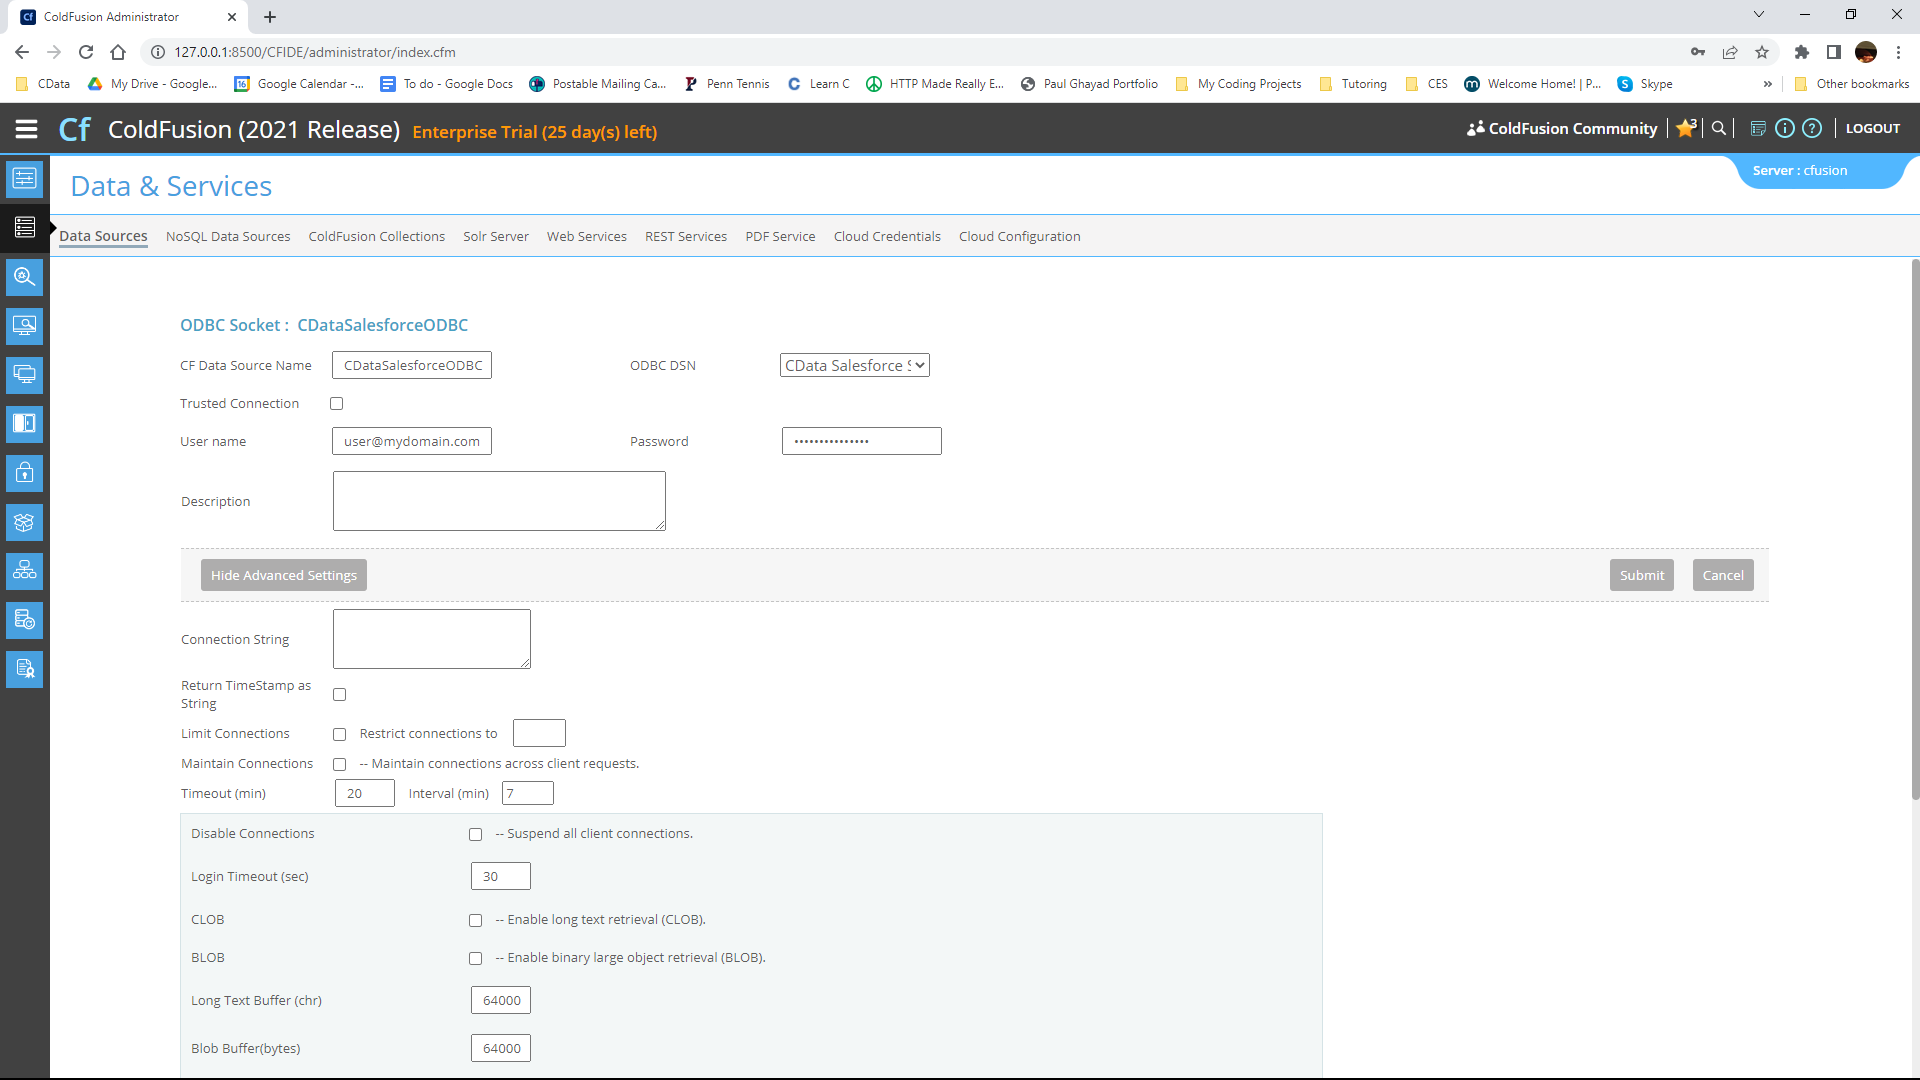
From the ODBC DSN Dropdown menu select CData CleverPush Sys. Under the Advanced Settings section, leave the
Connection String blank. Note that any properties specified in this input field will override the ones specified in the
DSN Configuration.
-
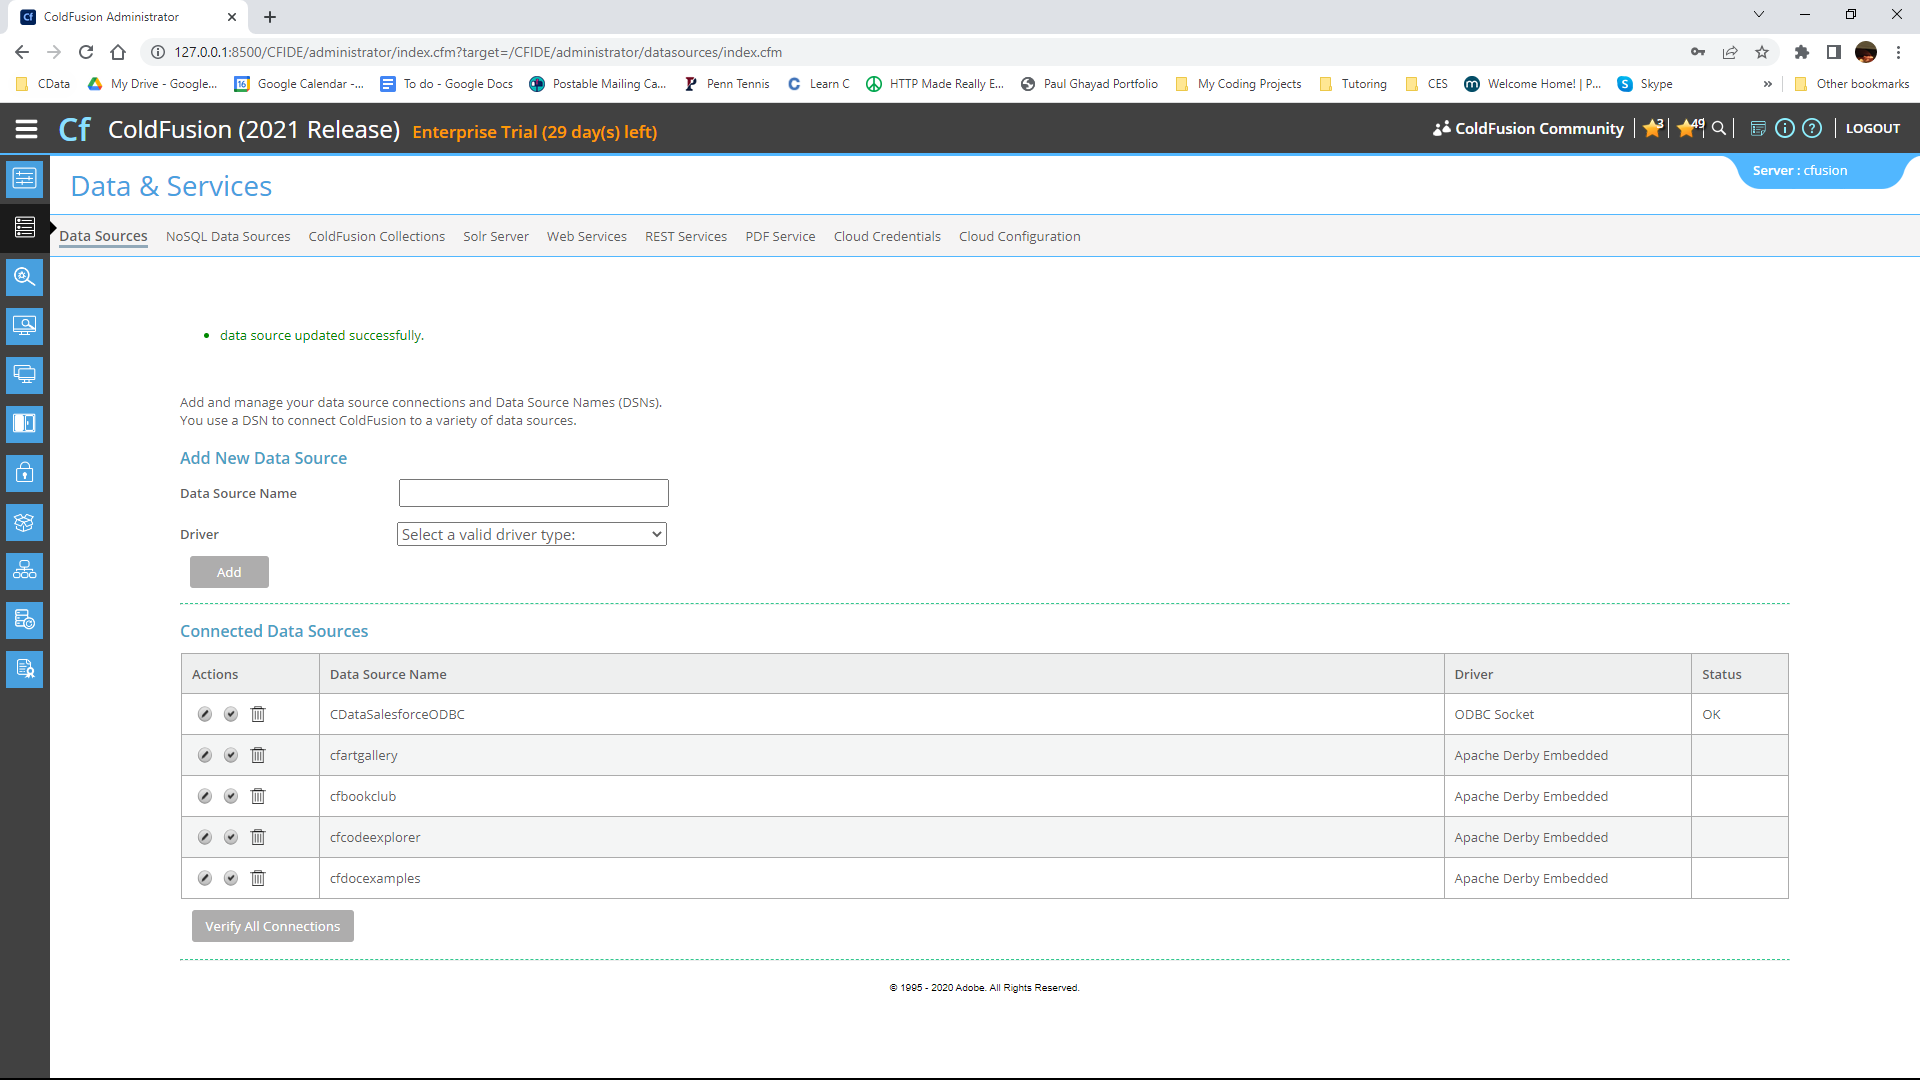
Now, test the connection by pressing the check mark to the left of the CDataCleverPushODBC data source you just created.
When the data source reports an "OK" status, it is ready for use.
-
Next, create a new ColdFusion Markup file (.cfm) and place it in the wwwroot directory ("C:\ColdFusion2021\cfusion\wwwroot")
for ColdFusion.
The following code queries the data source:
        <cfquery name="CleverPushQuery" dataSource="CDataCleverPushODBC">
          SELECT * FROM Segments
        </cfquery>
And a CFTable can be used to quickly output the table in HTML:<cftable query = "CleverPushQuery" border = "1" colHeaders colSpacing = "2" headerLines = "2" HTMLTable maxRows = "500" startRow = "1"> <cfcol header="<b>Id</b>" align="Left" width=2 text="Id"/> <cfcol header="<b>Name</b>" align="Left" width=15 text="Name"/> ... </cftable>Full code, including the HTML portion is available below:<html> <head><title>CData Software | CleverPush Segments Table Demo </title></head> <body> <cfoutput>#ucase("CleverPush Segments Table Demo")#</cfoutput> <cfquery name="CleverPushQuery" dataSource="CDataCleverPushODBC"> SELECT * FROM Segments </cfquery> <cftable query = "CleverPushQuery" border = "1" colHeaders colSpacing = "2" headerLines = "2" HTMLTable maxRows = "500" startRow = "1"> <cfcol header="<b>Id</b>" align="Left" width=2 text="Id"/> <cfcol header="<b>Name</b>" align="Left" width=15 text="Name"/> ... </cftable> </body> </html> -
Finally, run the code in a browser. It produces a table populated with CleverPush data!
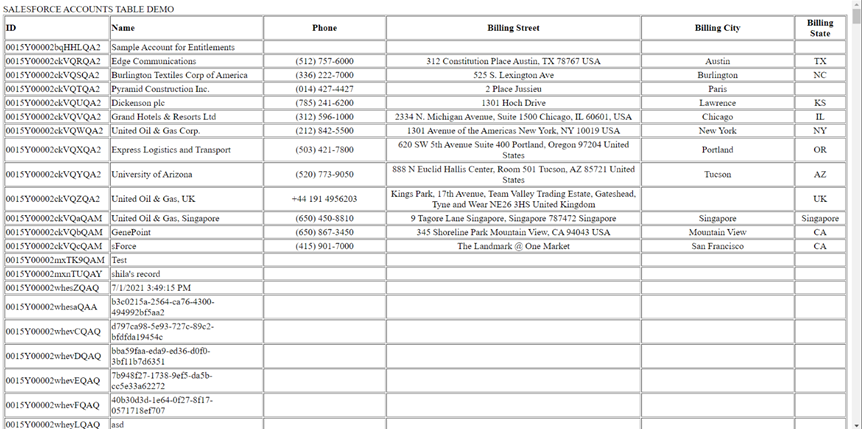
As a note, the CData ODBC Drivers also support parameterized queries using the cfqueryparam element. For example:
SELECT * FROM Account WHERE name = Get Started Today
Download a free, 30-day trial of the CData ODBC Driver for CleverPush and start building CleverPush-connected applications with Adobe ColdFusion. Reach out to our Support Team if you have any questions.