




Migrating data from Linear to Snowflake using CData SSIS Components.

Snowflake is a leading cloud data warehouse and a popular backbone for enterprise BI, analytics, data management, and governance initiatives. Snowflake offers features such as data sharing, real-time data processing, and secure data storage which makes it a common choice for cloud data consolidation.
The CData SSIS Components enhance SQL Server Integration Services by enabling users to easily import and export data from various sources and destinations.
In this article, we explore the data type mapping considerations when exporting to Snowflake and walk through how to migrate Linear data to Snowflake using the CData SSIS Components for Linear and Snowflake.
Data Type Mapping
| Snowflake Schema | CData Schema |
|---|---|
|
NUMBER, DECIMAL, NUMERIC, INT, INTEGER, BIGINT, SMALLINT, TINYINT, BYTEINT |
decimal |
|
DOUBLE, FLOAT, FLOAT4, FLOAT8, DOUBLEPRECISION, REAL |
real |
|
VARCHAR, CHAR, STRING, TEXT, VARIANT, OBJECT, ARRAY, GEOGRAPHY |
varchar |
|
BINARY, VARBINARY |
binary |
|
BOOLEAN |
bool |
|
DATE |
date |
|
DATETIME, TIMESTAMP, TIMESTAMP_LTZ, TIMESTAMP_NTZ, TIMESTAMP_TZ |
datetime |
|
TIME |
time |
Special Considerations
- Casing: Snowflake enforces an exact case match by default for identifiers, so it is common to run into issues that can be attributed to mismatched casing. Set the IgnoreCase property to True in your CData SSIS Components for Snowflake connection to resolve these issues. This property directly maps to the QUOTED_IDENTIFIERS_IGNORE_CASE property in Snowflake and specifies whether Snowflake will treat identifiers as case-sensitive.
-
Timestamps: Snowflake supports three timestamp types:
- TIMESTAMP_NTZ: This timestamp stores UTC time with a specified precision. However, all operations are performed in the current session's time zone, controlled by the TIMEZONE session parameter.
- TIMESTAMP_LTZ: This timestamp stores "wallclock" time with a specified precision. All operations are performed without taking any time zone into account.
- TIMESTAMP_TZ: This timestamp stores UTC time together with an associated time zone offset. When a time zone isn't provided, the session time zone offset is used.
By default the CData SSIS Components write timestamps to Snowflake as TIMESTAMP_NTZ unless manually configured.
Prerequisites
- Visual Studio 2022
- SQL Server Integration Services Projects extension for Visual Studio 2022
- CData SSIS Components for Snowflake
- CData SSIS Components for Linear
Create the project and add components
-
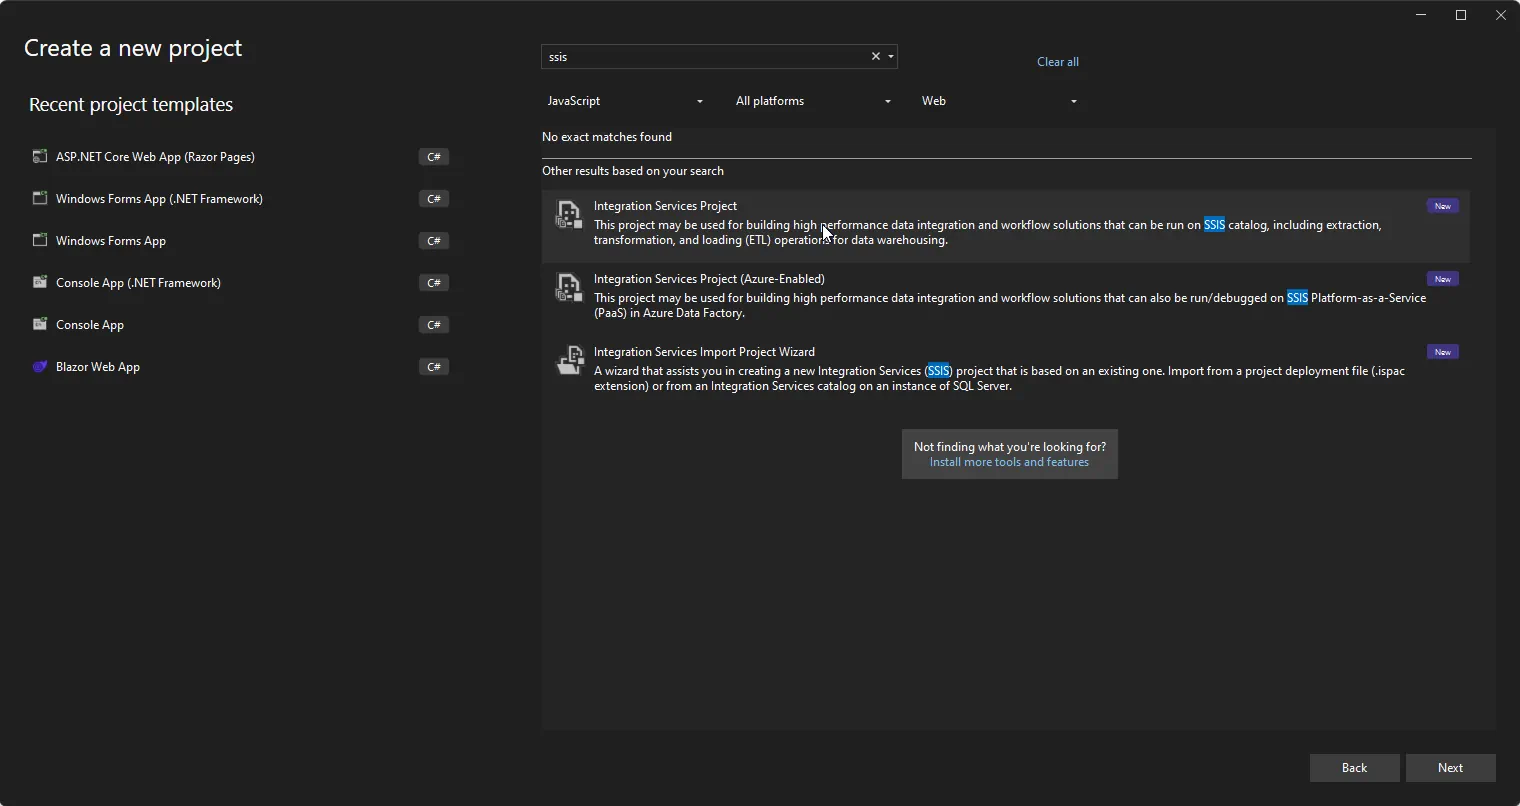
Open Visual Studio and create a new Integration Services Project.
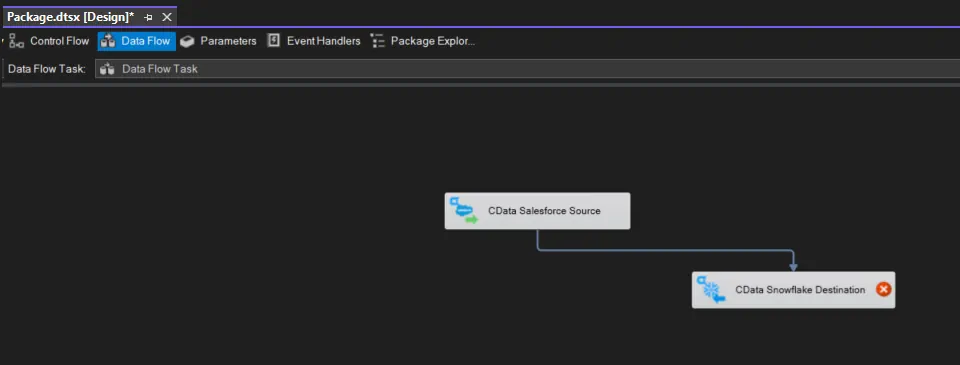
- Add a new Data Flow Task to the Control Flow screen and open the Data Flow Task.
-
Add a CData Linear Source control and a CData Snowflake Destination control to the data flow task.
Configure the Linear source
Follow the steps below to specify properties required to connect to Linear.
-
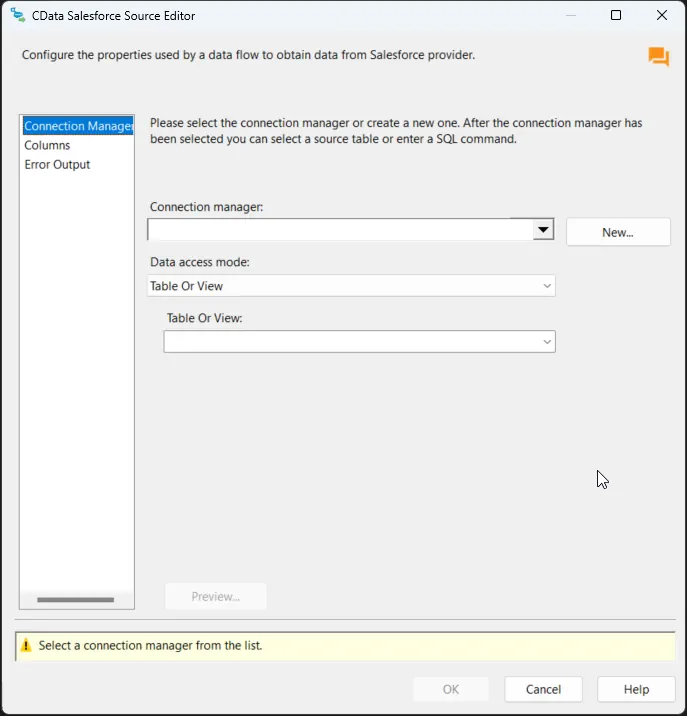
Double-click the CData Linear Source to open the source component editor and add a new connection.
-
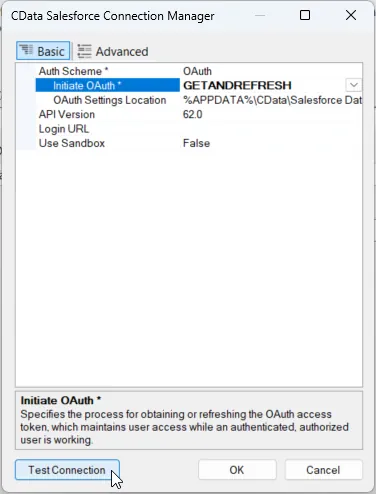
In the CData Linear Connection Manager, configure the connection properties, then test and save the connection.
You can authenticate to Linear with a personal API key or with OAuth 2.0. The API key is the simplest option for connecting with your own Linear account.
Authenticating with an API Key
Set the following connection properties:
- AuthScheme: Set this to APIKey.
- APIKey: A Linear personal API key.
To create a personal API key, log in to Linear, open Settings > Security & access > Personal API keys, select New API key, and create it. Copy the key immediately, because Linear shows it only once.
Authenticating with OAuth
OAuth requires a custom OAuth application registered in Linear (Settings > API > OAuth applications), which provides the OAuthClientId and OAuthClientSecret. Two flows are supported:
- Authorization code: Set AuthScheme to OAuth, InitiateOAuth to GETANDREFRESH, and provide OAuthClientId, OAuthClientSecret, and the CallbackURL defined in your application (e.g., http://localhost:33333). The driver opens Linear in your browser so you can grant access.
- Client credentials: Set AuthScheme to OAuthClient and provide OAuthClientId and OAuthClientSecret. This authenticates the application itself, with no browser interaction, and suits machine-to-machine integrations.
By default, the driver requests the read,write scopes. The driver refreshes the access token automatically when it expires.
-
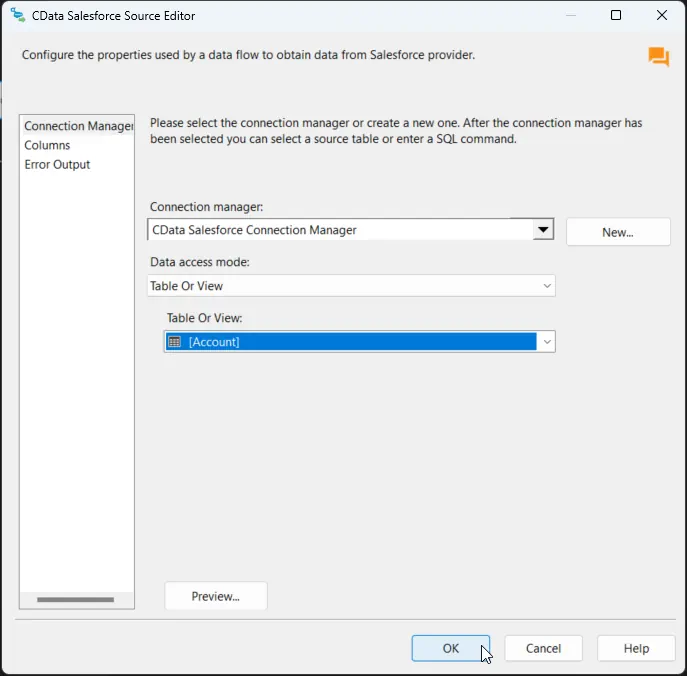
After saving the connection, select "Table or view" and select the table or view to export into Snowflake, then close the CData Linear Source Editor.
Configure the Snowflake destination
With the Linear Source configured, we can configure the Snowflake connection and map the columns.
-
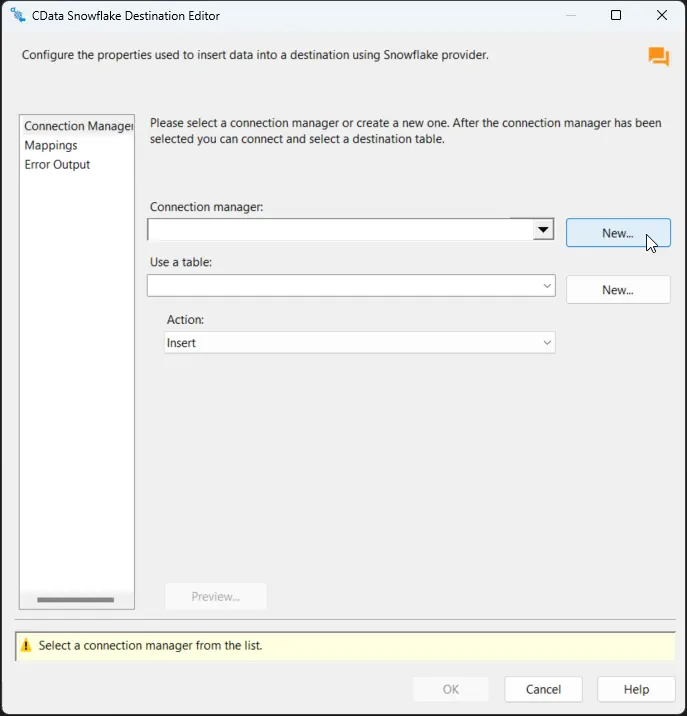
Double-click the CData Snowflake Destination to open the destination component editor and add a new connection.
-
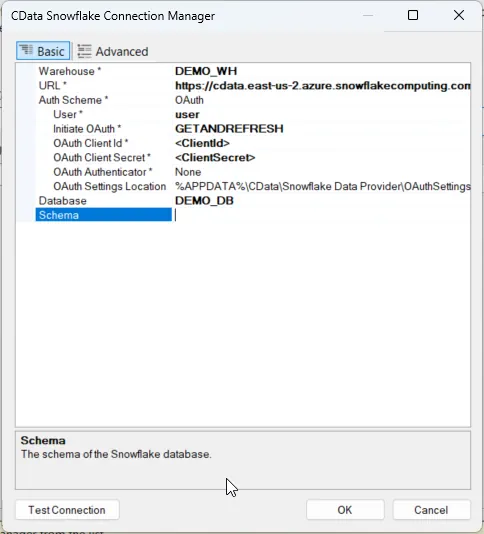
In the CData Snowflake Connection Manager, configure the connection properties, then test and save the connection.
- The component supports Snowflake user authentication, federated authentication, and SSL client authentication. To authenticate, set User and Password, and select the authentication method in the AuthScheme property. Starting with accounts created using Snowflake’s bundle 2024_08 (October 2024), password-based authentication is no longer supported due to security concerns. Instead, use alternative authentication methods such as OAuth or Private Key authentication.
Other helpful connection properties
- QueryPassthrough: When this is set to True, queries are passed through directly to Snowflake.
- ConvertDateTimetoGMT: When this is set to True, the components will convert date-time values to GMT, instead of the local time of the machine.
- IgnoreCase: A session parameter that specifies whether Snowflake will treat identifiers as case sensitive. Default: false(case is sensitive).
- BindingType: There are two kinds of binding types: DEFAULT and TEXT. DEFAULT uses the binding type DATE for the Date type, TIME for the Time type, and TIMESTAMP_* for the Timestamp_* type. TEST uses the binding type TEXT for Date, Time, and Timestamp_* types.
-
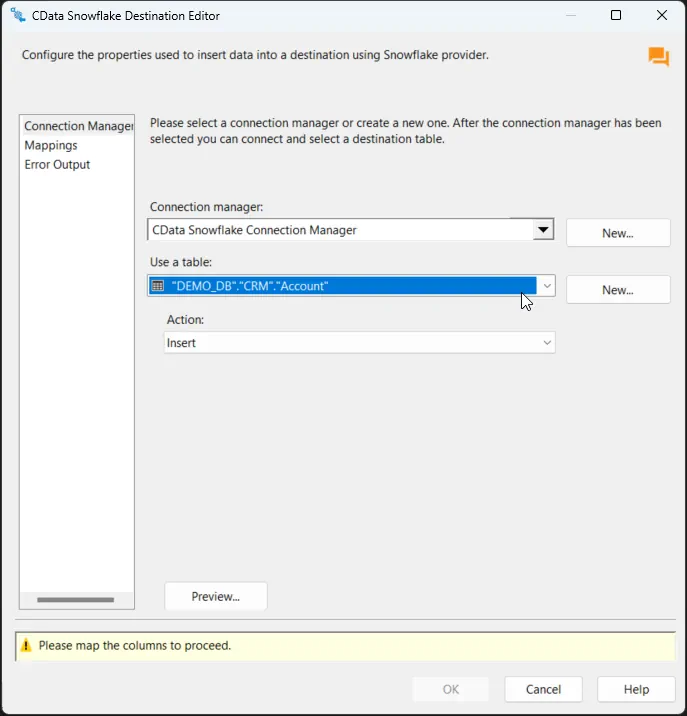
After saving the connection, select a table in the Use a Table menu and in the Action menu, select Insert.
-
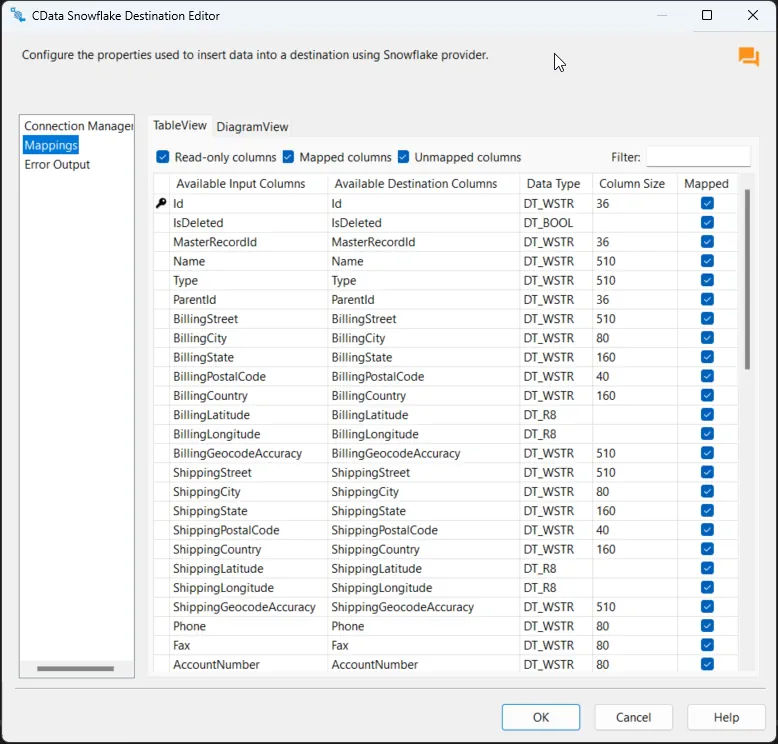
On the Column Mappings tab, configure the mappings from the input columns to the destination columns.
Run the project
You can now run the project. After the SSIS Task has finished executing, data from your SQL table will be exported to the chosen table.
Ready to get started?
Download a free trial of the Linear SSIS Component to get started:
Download NowLearn more:
 Linear SSIS Components
Powerful SSIS Source Components that allow you to easily connect SQL Server with Linear through SSIS Workflows.
Use the Linear Data Flow Components to synchronize with Linear AgentSession, Comment, Customer, Cycle, Initiative, Integration, Issue, ProjectStatus, Release, Team, User, and more. Perfect for data synchronization, local back-ups, workflow automation, and more!