




How to publish and share Talkdesk Data dashboards with Tableau Server

Integrate connectivity to Talkdesk data into your enterprise reporting capabilities. The CData ODBC Driver for Talkdesk enables you to access live Talkdesk data in business intelligence tools like Tableau Server. Connectivity to Talkdesk APIs enables you to monitor changes to your data in real time. Other members of your organization can access your dashboards from a Web browser and get updates from their mobile phone.
This article explains how to configure a DSN on the client and server machines, publish a data source for Talkdesk to Tableau Server, and publish an entire Workbook to Tableau Server (including the data source). If you publish a data source, you will be able to create new, refreshable workbooks in Tableau Server.
Connect to Talkdesk as an ODBC Data Source
To create a data source or workbook in Tableau Desktop and publish the data source or workbook to Tableau server, you will need to configure a DSN on each machine (Desktop and Server), specifying connection properties and creating DSNs using the same name on each machine. Information for connecting to Talkdesk follows, along with different instructions for configuring a DSN in Windows and Linux environments.
Talkdesk uses the OAuth 2.0 Client Credentials grant. There is no browser-based authorization step and no callback URL.
Set the following connection properties:
- AccountName: The name of your Talkdesk account.
- Region: The region where your Talkdesk instance is deployed. Supported values are US (default), EU, CA, AU, UK, and FedRamp.
- OAuthClientId: The Client Id assigned when you registered your custom OAuth application.
- OAuthClientSecret: The Client Secret assigned to your custom OAuth application.
Creating a Custom OAuth Application
- Log in to your Talkdesk account and select OAuth Clients from the navigation menu.
- Click Create OAuth Client and give the client a descriptive name.
- Set Grant Type to Client Credentials.
- Click Add scopes and select the scopes for the data you want to access.
- Click Create and copy the Client Id and Client Secret.
When you connect, the driver automatically requests an access token from Talkdesk, caches it, and refreshes it when it expires. Make sure the scopes selected for the application match the views you plan to query, or the token request can fail.
When you configure the DSN, you may also want to set the Max Rows connection property. This will limit the number of rows returned, which is especially helpful for improving performance when designing reports and visualizations.
Windows
If you are installing the CData ODBC Driver for Talkdesk on Windows, DSN configuration is the last step of the driver installation. If you already have the driver installed, or you wish to configure new DSNs, you can use the Microsoft ODBC Data Source Administrator.
Linux
If you are installing the CData ODBC Driver for Talkdesk in a Linux environment, the driver installation predefines a system DSN. You can modify the DSN by editing the system data sources file (/etc/odbc.ini) and defining the required connection properties.
/etc/odbc.ini
[CData Talkdesk Source]
Driver = CData ODBC Driver for Talkdesk
Description = My Description
AccountName = myAccount
Region = US
OAuthClientId = myClientId
OAuthClientSecret = myClientSecret
For specific information on using these configuration files, please refer to the help documentation (installed and found online).
Publish the Talkdesk Data Source to Tableau Server
With the connections to Talkdesk data configured, you are ready to publish a Talkdesk data source on Tableau, ready to be leveraged by users in your organization to create workbooks based on Talkdesk data.
Create and Publish a Data Source
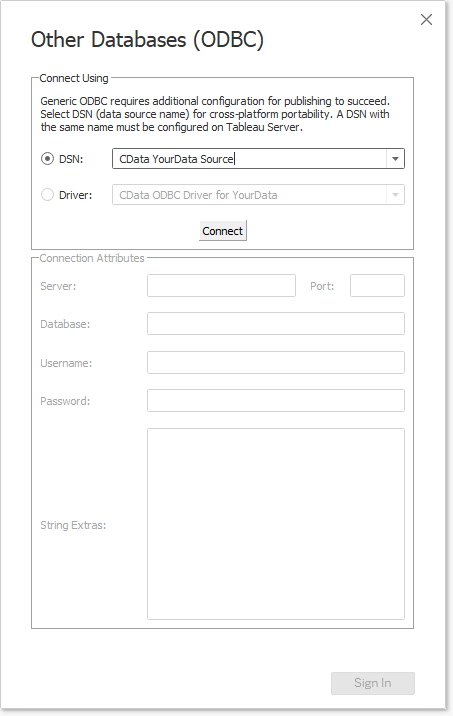
In the Connect pane, click More -> Other Databases (ODBC). Select CData Talkdesk Sys, the system DSN.
The driver installation automatically creates matching user and system DSNs: The system DSN is needed to connect from Tableau Server.
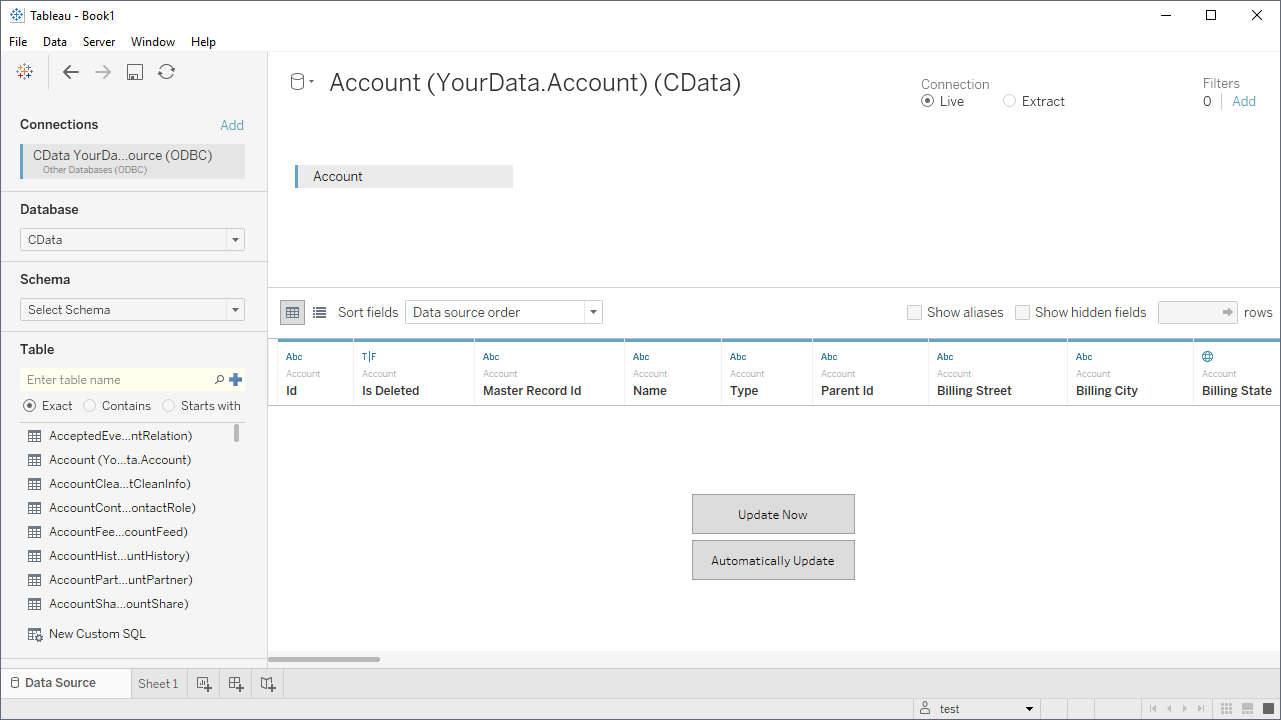
- In the Database menu, select CData.
- In the Table box, enter a table name or click New Custom SQL to enter an SQL query.
- Drag the table onto the join area.
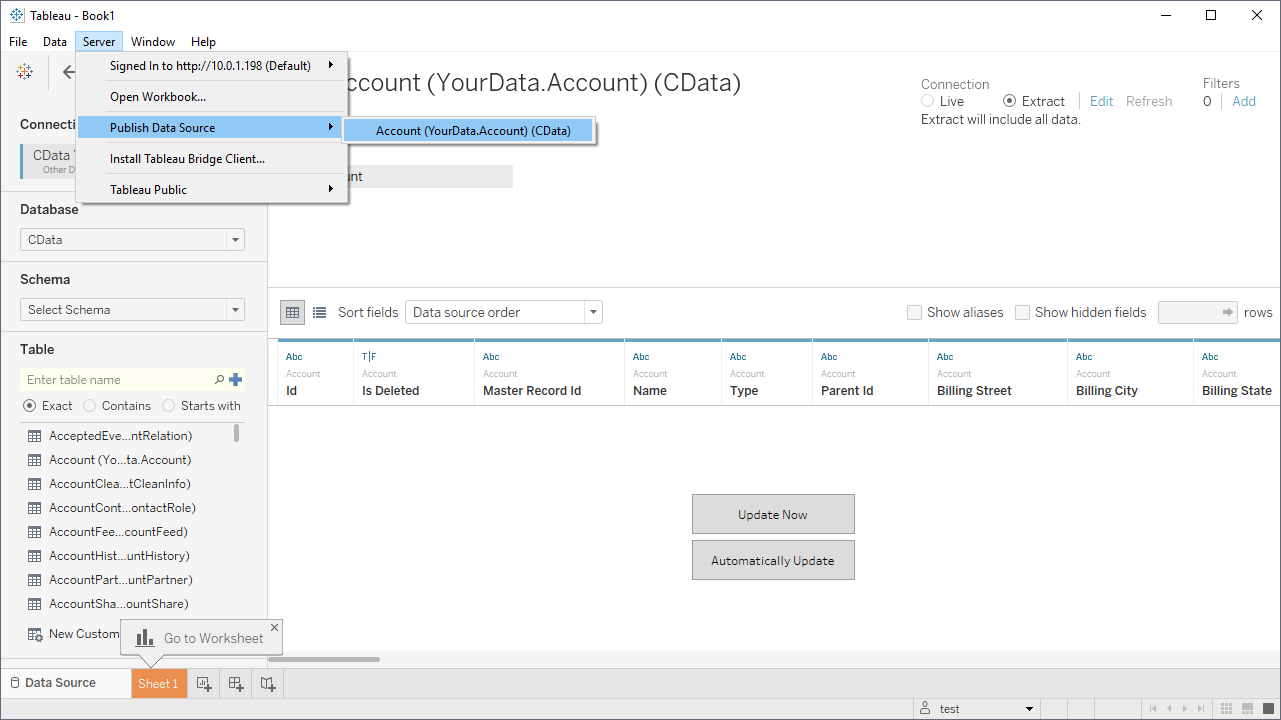
- From the Server menu, click Publish Data Source -> (YOUR DATA SOURCE).
- Enter the URL to the server. For most instances, you will authenticate with the Tableau Server username and password. Other authentication scenarios can be found below:
- If Tableau is configured to use Kerberos and your computer has valid Active Directory credentials, Tableau connects to the server.
- If Tableau is configured to use SAML, a login prompt for your external identity provider is displayed.
- If Tableau is configured to use Active Directory, enter your Windows username and password.
- In the resulting dialog, set the Project, Data Source, and other properties. If you want to schedule refreshes, select Embedded Password in the Authentication menu. Click Publish.
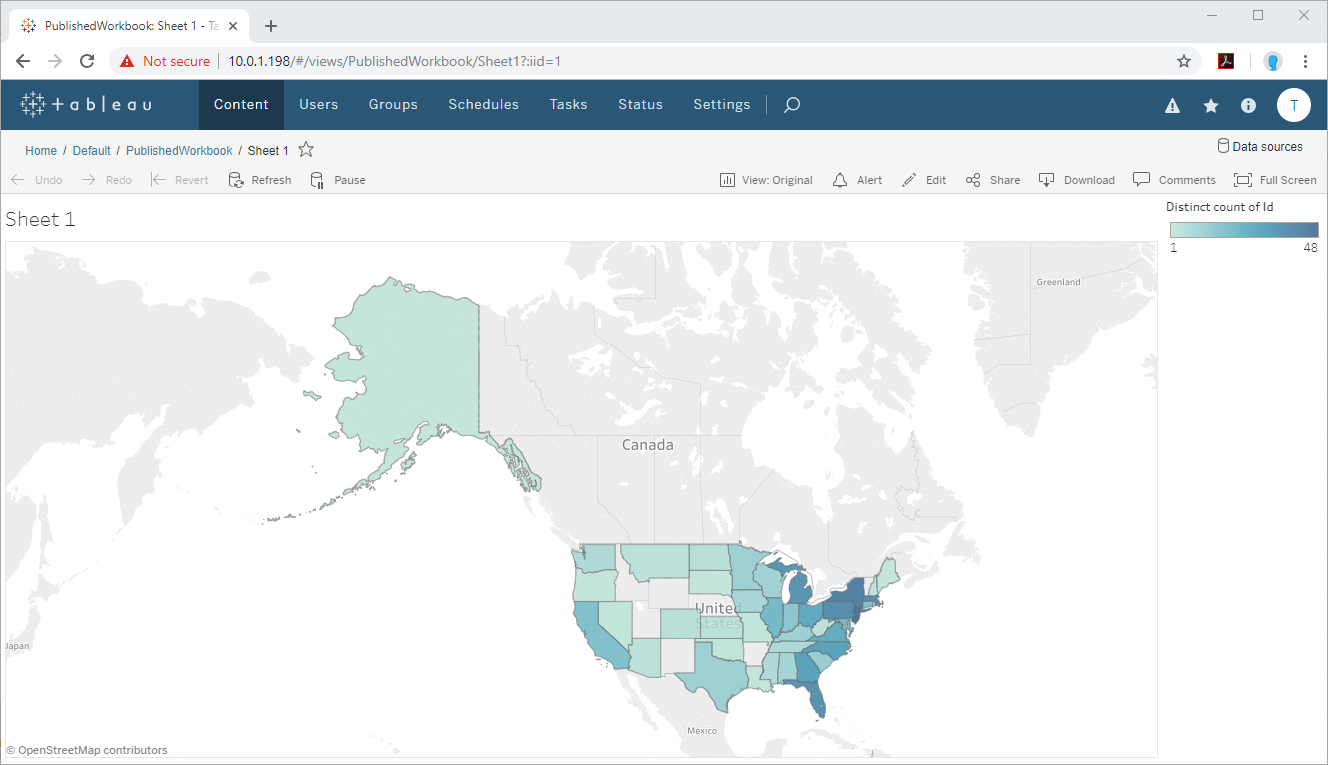
You and other users in your organization can now create and share workbooks based on the published data source.
Refresh Workbooks
With a system DSN configured on the client (Tableau Desktop) machine and server (Tableau Server) machine, you can refresh workbooks connected to the Talkdesk data source. From the Web interface for Tableau Sever, click Data -> (YOUR DATA SOURCE) -> Refresh.

Publish a Completed Workbook with Talkdesk Data to Tableau Server
If you have a specific Workbook that you wish to share with your organization, you can create the Workbook on Tableau Desktop and publish the Workbook directly to Tableau Server.
- To connect to Talkdesk and select data, follow steps 1-5 above.
- Click Server -> Sign in and configure the connection to the server. For most instances, you will authenticate with the Tableau Server username and password. Other authentication scenarios can be found below:
- If Tableau is configured to use Kerberos and your computer has valid Active Directory credentials, Tableau connects to the server.
- If Tableau is configured to use SAML, a login prompt for your external identity provider is displayed.
- If Tableau is configured to use Active Directory, enter your Windows username and password.
- With the data selected, select dimensions and measures to visualize and select a type of chart or graph to build your visualization(s).
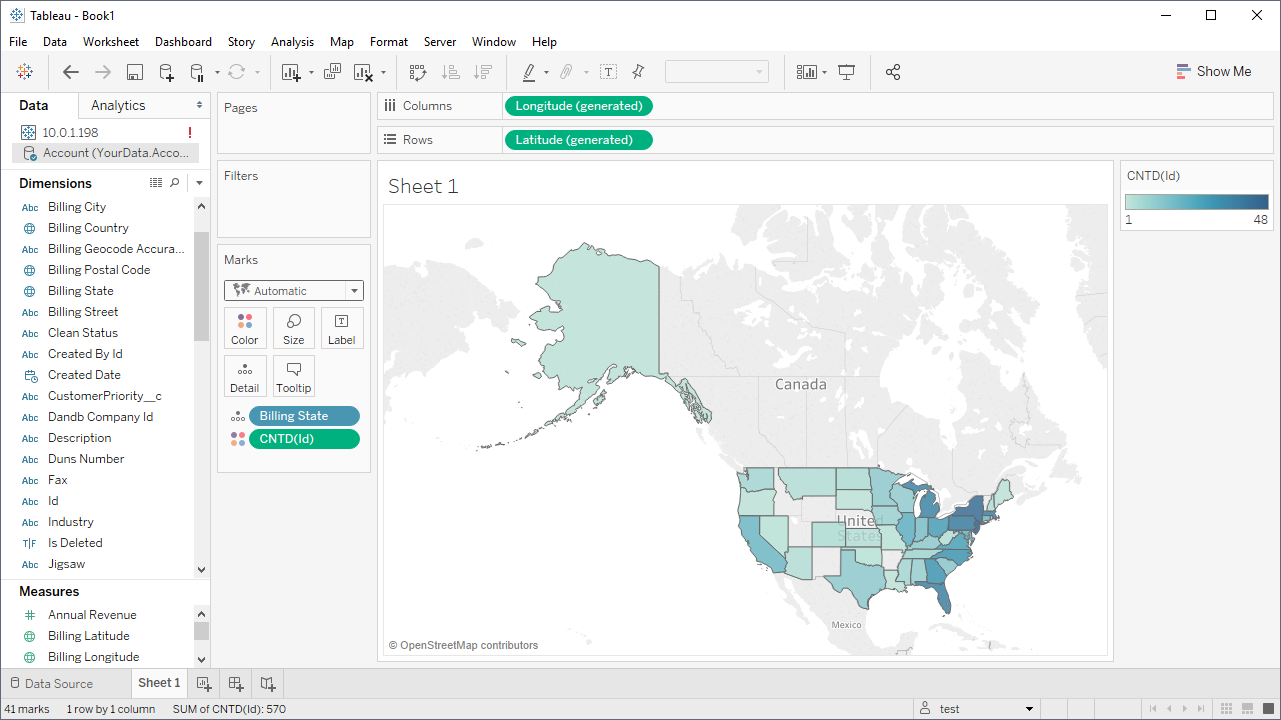
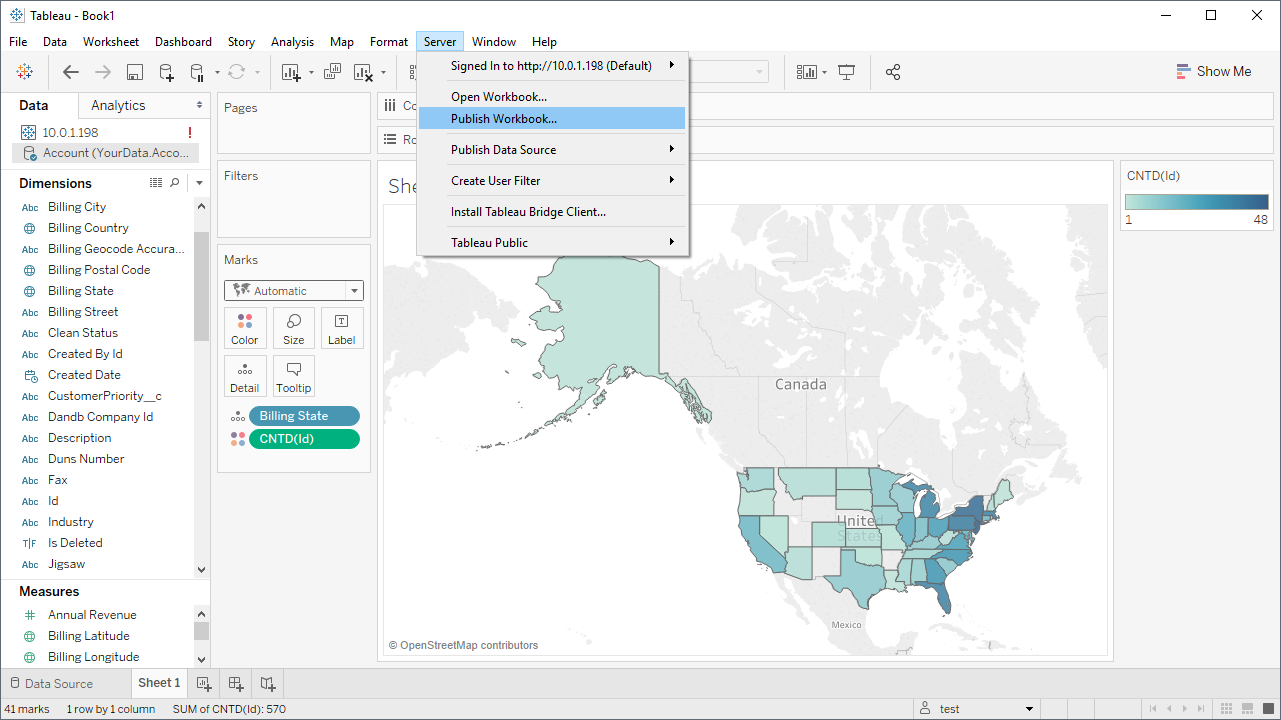
- Once the Workbook is complete, click Server -> Publish Workbook to publish the Workbook to Tableau Server.
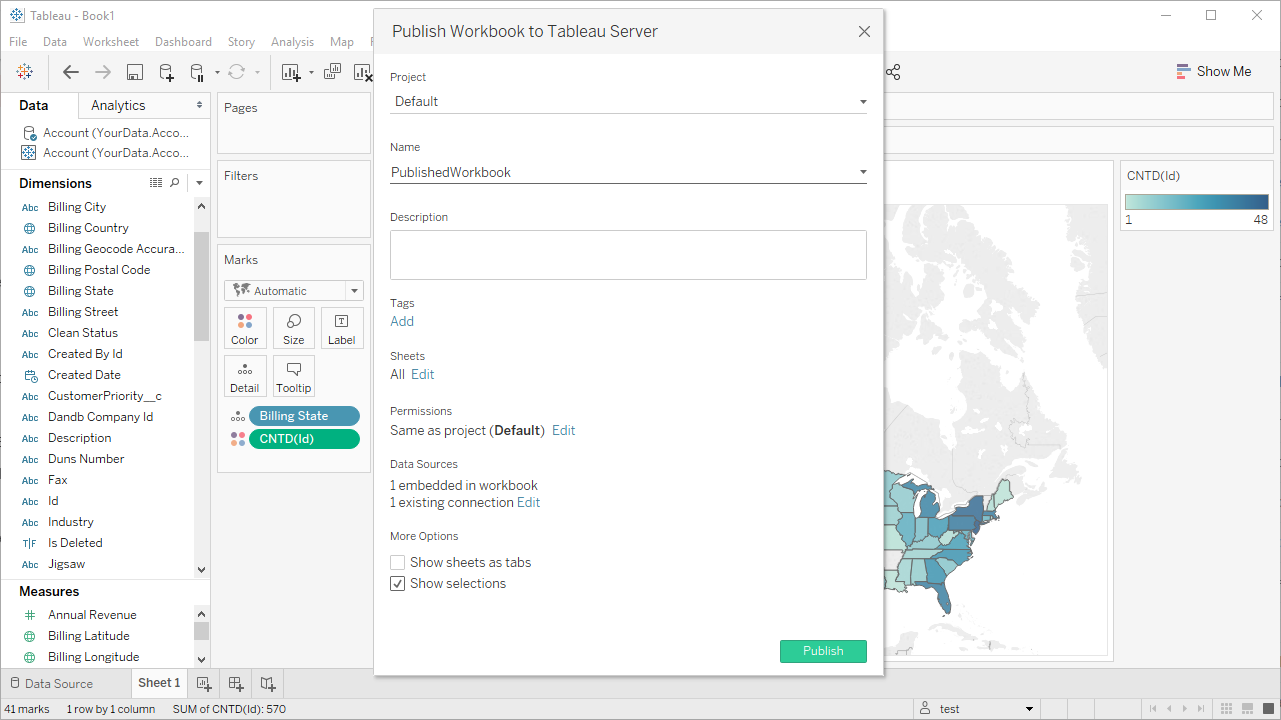
- In the resulting dialog, set the Project, Name, Description and other properties. If you want to schedule refreshes, click Edit under Data Sources and change the Authentication option to Embedded Password. Click Publish.
You and other users in your organization can now review the published workbook from Tableau Server.

Ready to get started?
Download a free trial of the Talkdesk ODBC Driver to get started:
Download NowLearn more:
 Talkdesk ODBC Driver
The Talkdesk ODBC Driver is a powerful tool that allows you to connect with live data from Talkdesk, directly from any applications that support ODBC connectivity.
Access Talkdesk data like you would a database - read Talkdesk Accounts, Attributes, BillingAccounts, Callbacks, Campaigns, Cases, Contacts, GuardianUsers, Invoices, Products, Subscriptions, Teams, Users, Wallets, etc. through a standard ODBC Driver interface.