







Integrate Devin with Live Confluence Data Using CData Connect AI

Devin is an AI software engineer from Cognition that plans, writes, and tests code in autonomous sessions. It supports the model context protocol (MCP) through its built-in MCP marketplace, allowing you to install remote MCP servers and give Devin access to external tools and live data sources.
By integrating Devin with CData Connect AI through the built-in MCP Server, Devin gains governed, real-time access to live Confluence data. You can list catalogs, explore schemas, and query records from Confluence data using natural language prompts, with all data access running securely against authorized sources.
This article explains how to configure Confluence connectivity in Connect AI, install the CData Connect AI MCP Server from the Devin MCP marketplace, and verify the integration by querying live Confluence data from a Devin session.
Step 1: Configure Confluence connectivity for Devin
Connectivity to Confluence from Devin is made possible through Connect AI's Remote MCP Server. To interact with Confluence data from Devin, start by creating and configuring a Confluence connection in Connect AI.
- Log into Connect AI, click Sources, and then click Add Connection
- Select Confluence from the Add Connection panel
-
Enter the necessary authentication properties to connect to Confluence.
Obtaining an API Token
An API token is necessary for account authentication. To generate one, login to your Atlassian account and navigate to API tokens > Create API token. The generated token will be displayed.
Connect Using a Confluence Cloud Account
To connect to a Cloud account, provide the following (Note: Password has been deprecated for connecting to a Cloud Account and is now used only to connect to a Server Instance.):
- User: The user which will be used to authenticate with the Confluence server.
- APIToken: The API Token associated with the currently authenticated user.
- Url: The URL associated with your JIRA endpoint. For example, https://yoursitename.atlassian.net.
Connect Using a Confluence Server Instance
To connect to a Server instance, provide the following:
- User: The user which will be used to authenticate with the Confluence instance.
- Password: The password which will be used to authenticate with the Confluence server.
- Url: The URL associated with your JIRA endpoint. For example, https://yoursitename.atlassian.net.

- Click Save & Test
- Navigate to the Permissions tab and update user-based permissions



With the Confluence connection configured, Devin can now connect to Confluence data through Connect AI.
Step 2: Install the Connect AI MCP Server in Devin
Next, install the CData Connect AI MCP Server from the Devin MCP servers list so your sessions can discover and call live data tools through Connect AI.
Note: Installing MCP servers in Devin requires the Manage MCP Servers permission. If you don't have this permission, use the Suggest option or contact your organization admin.
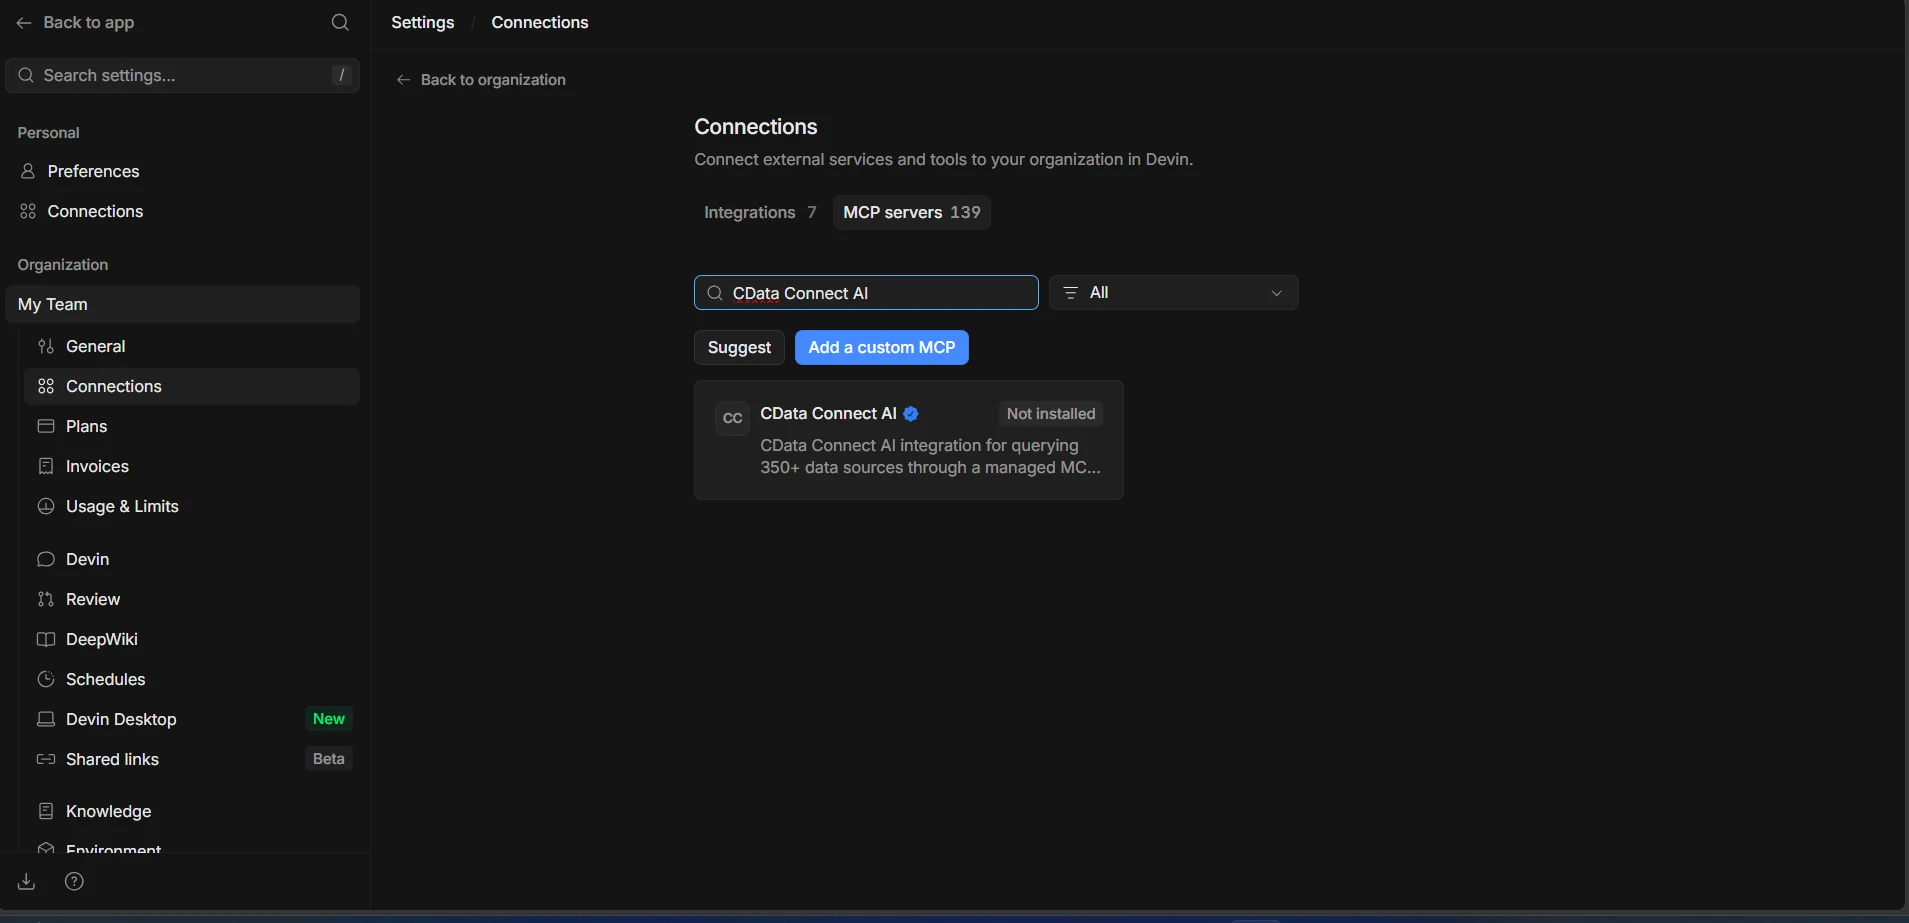
- Log into Devin and navigate to Settings and Connections, then select the MCP servers tab
- Search for CData Connect AI in the marketplace and select the verified listing
-
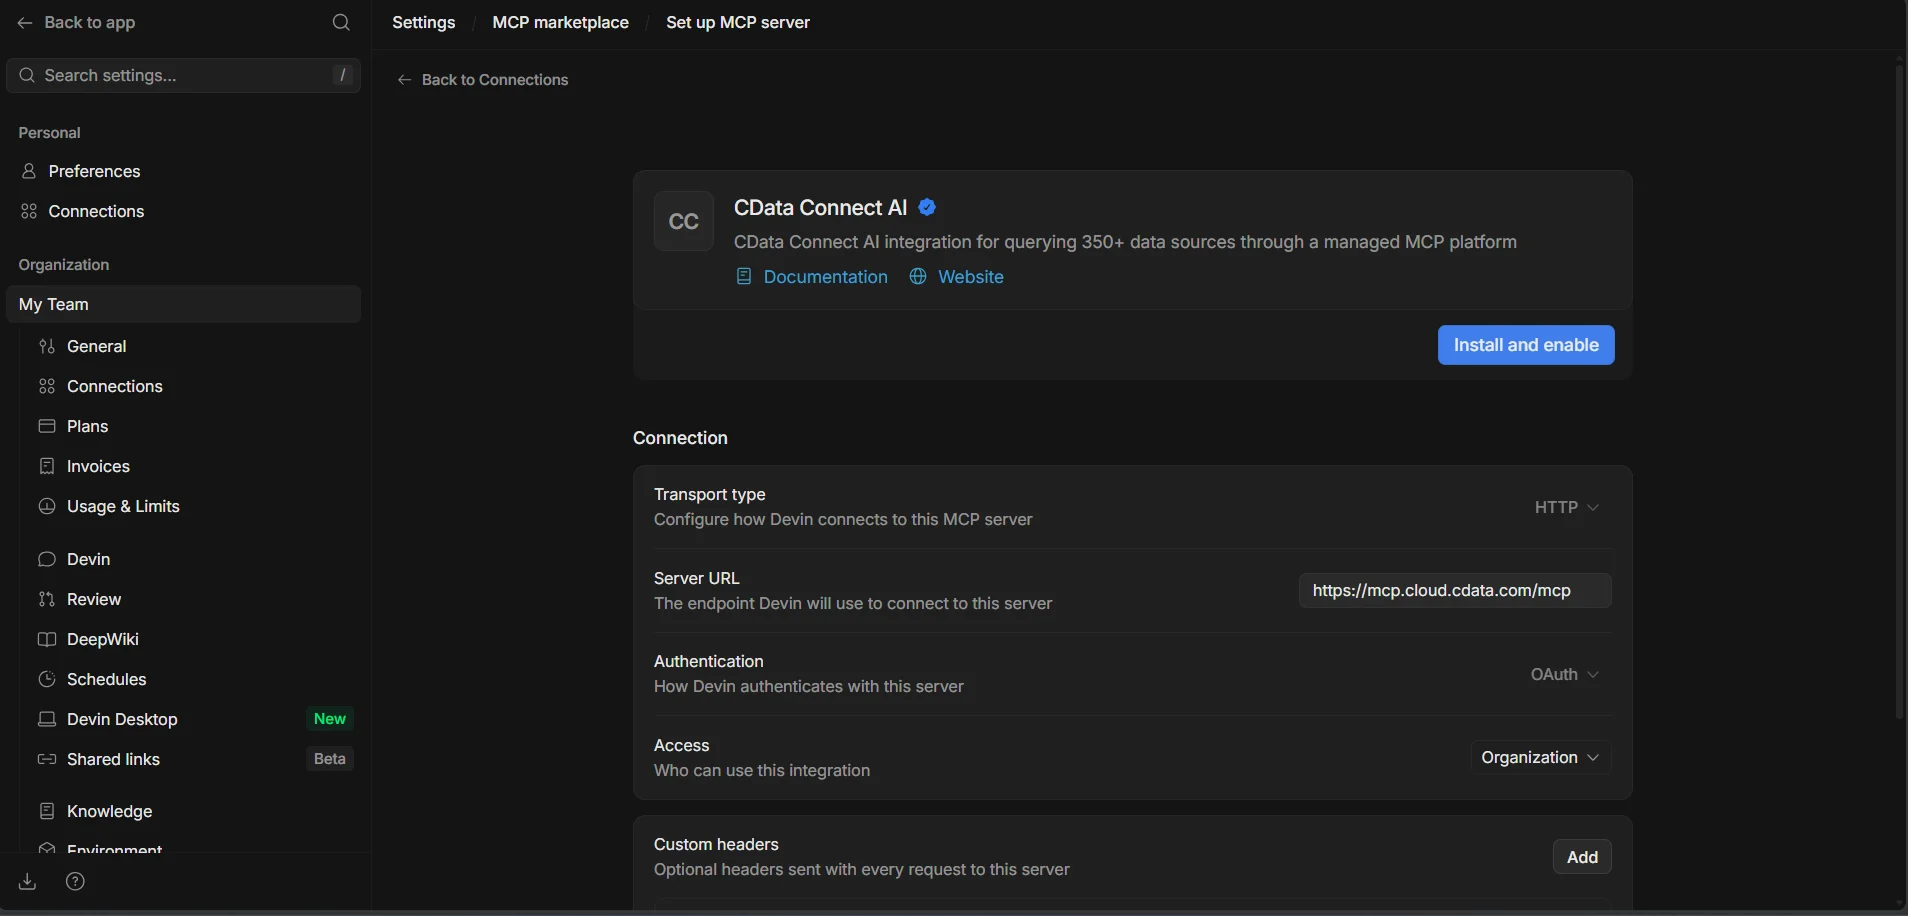
Click Install and enable. When prompted, complete the OAuth flow to authenticate with your Connect AI account
-
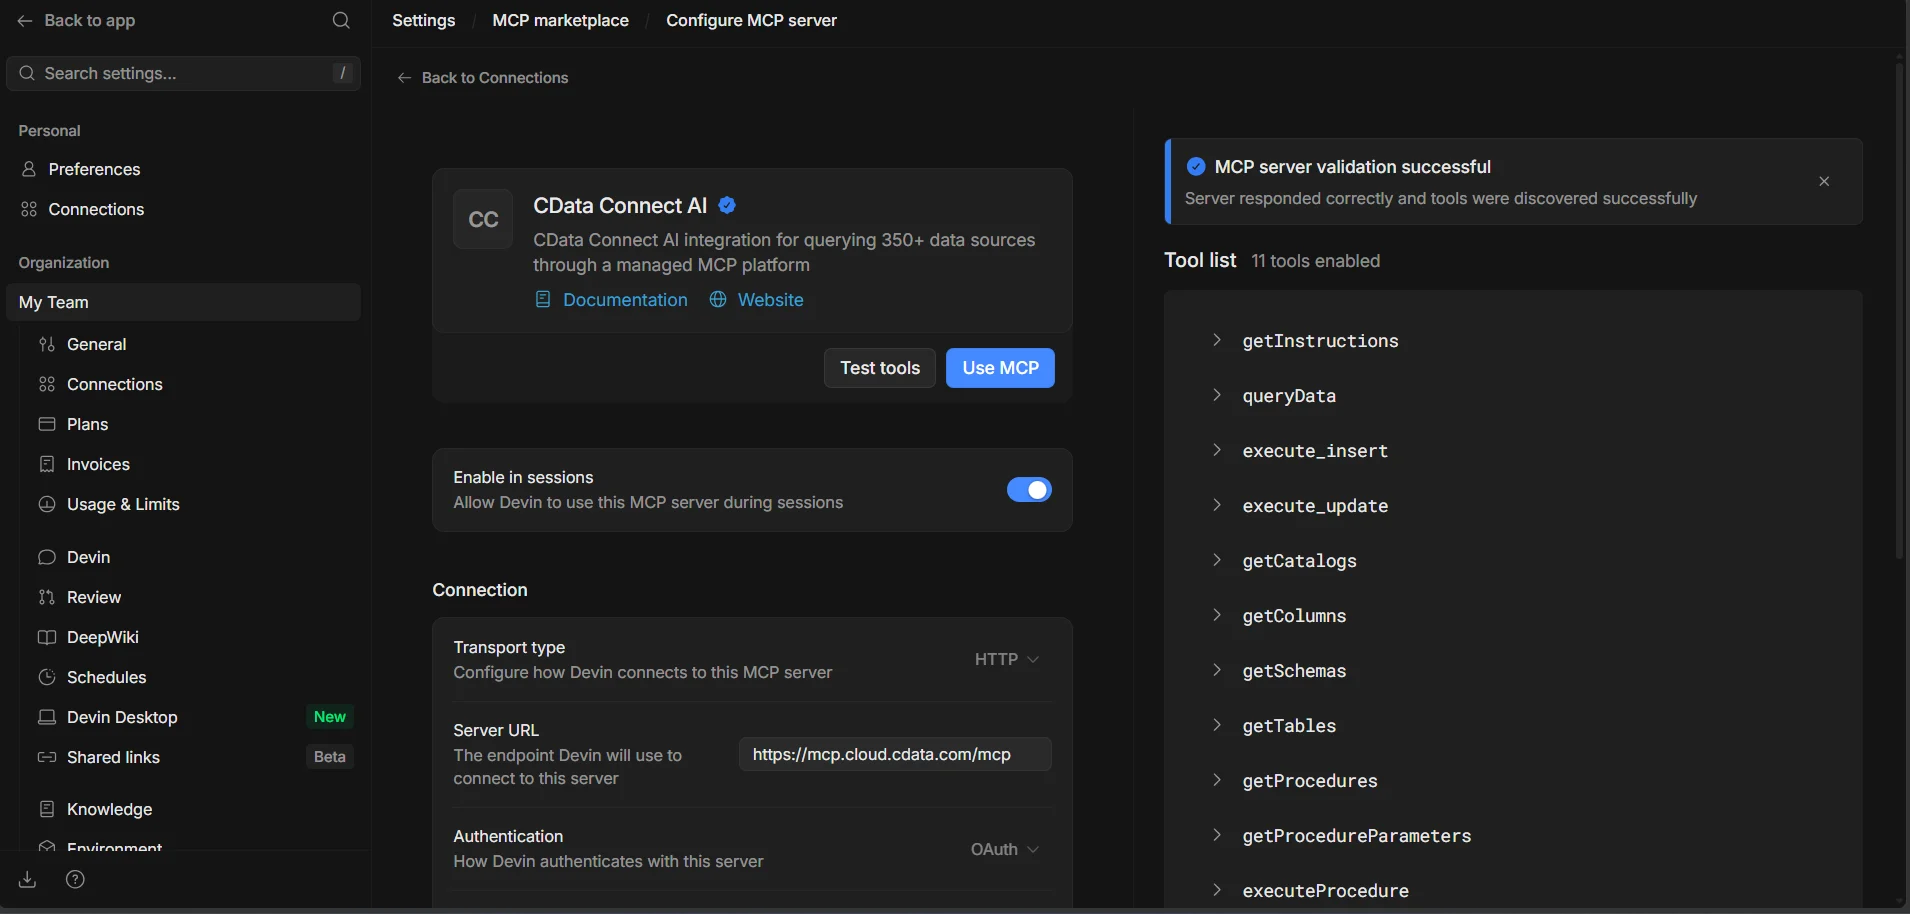
Once installed, confirm the Enable in sessions toggle is on and click Test tools. Devin validates the connection and lists the available Connect AI tools, such as getCatalogs, getSchemas, getTables, and queryData
With the MCP server installed and enabled, the Connect AI tools are available to every Devin session in your workspace.
Step 3: Query live Confluence data from Devin
With the integration complete, start a Devin session and interact with live Confluence data through natural language prompts.
- From the Devin home page, start a new session
-
In the session prompt, ask Devin to work with your Connect AI data, for example:
- Can you list the connections in CData Connect AI
- Show the available schemas and tables for Confluence
- Query the top 5 records from a table in Confluence
-
Devin calls the Connect AI MCP Server and returns live results from Confluence data directly in the session. You can follow the tool calls, inputs, and outputs in the Progress panel
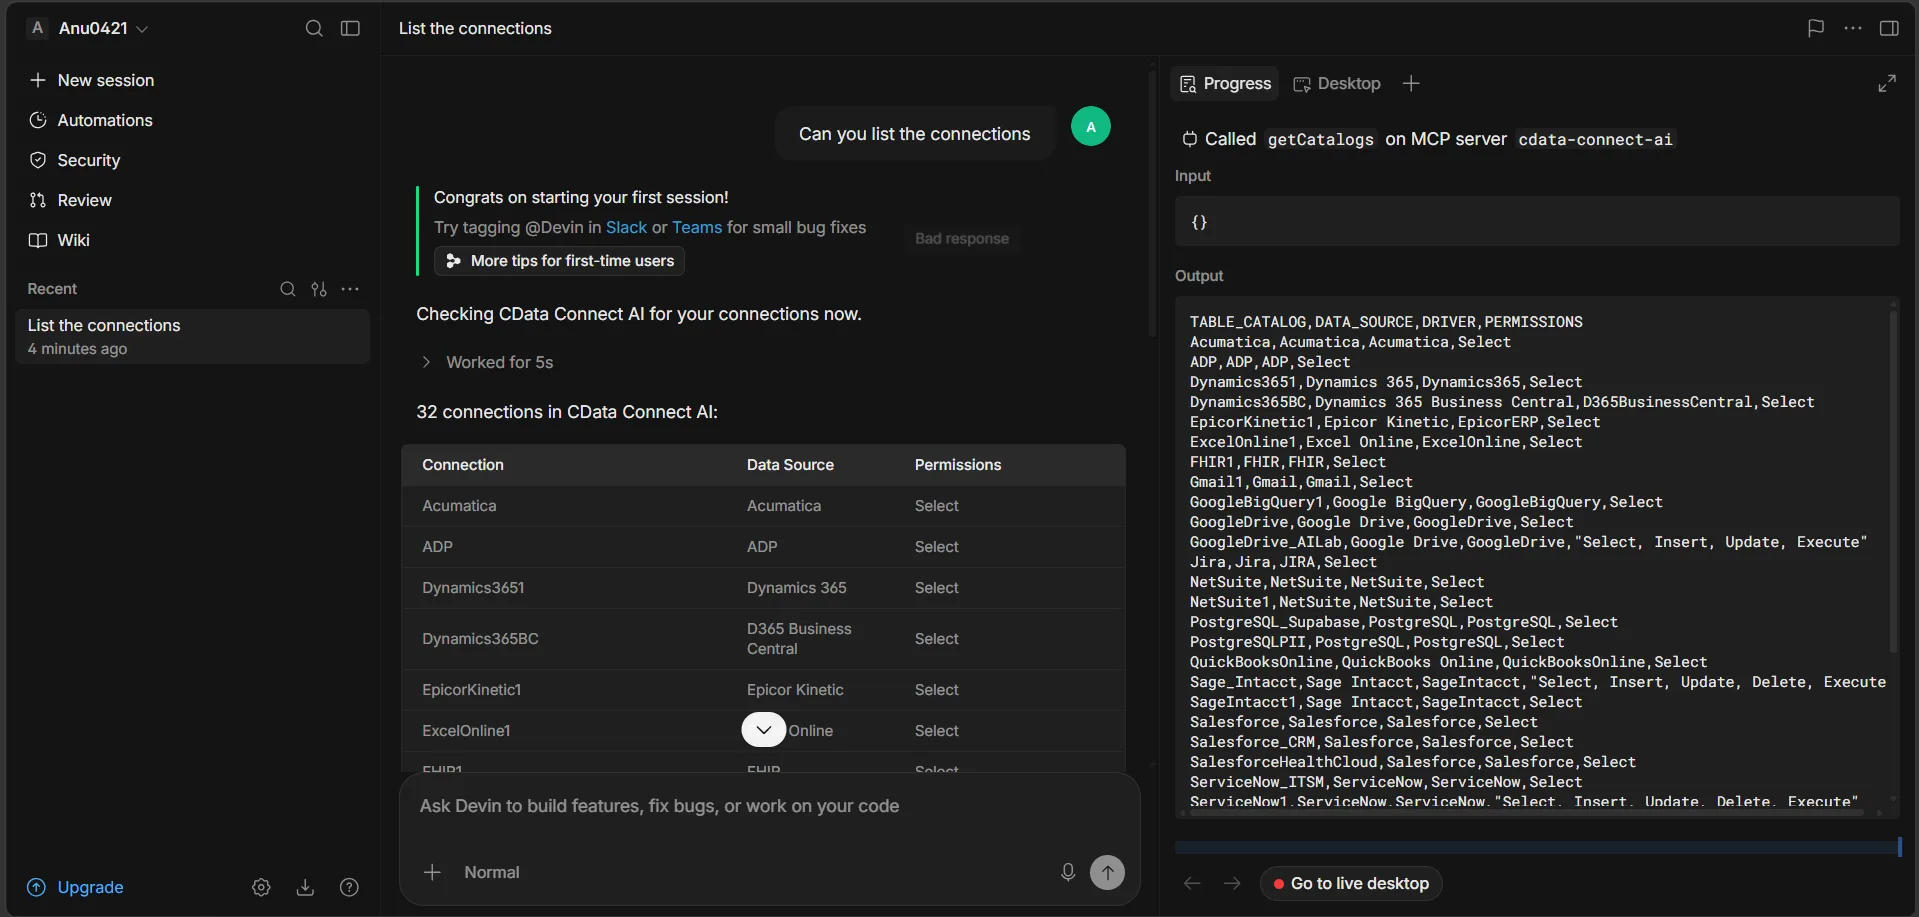
At this point, Devin communicates with the Connect AI MCP Server and retrieves live Confluence data through remote MCP tools directly from your sessions, whether you're exploring data, building features against it, or automating engineering tasks.
Get started with CData Connect AI
To access hundreds of SaaS, big data, and NoSQL sources directly from your cloud applications, try CData Connect AI today. Download a free 14-day trial of CData Connect AI, and our Support Team is available to help with any questions you have.