








Integrating Gumloop with Exa Data via CData Connect AI

Gumloop is a visual automation platform designed to create AI-powered workflows by combining triggers, AI nodes, APIs, and data connectors. By integrating Gumloop with CData Connect AI through the built-in MCP (Model Context Protocol) Server, workflows can seamlessly access and interact with live Exa data.
The platform provides a low-code environment, making it easier to orchestrate complex processes without heavy development effort. Its flexibility allows integration across multiple business applications, enabling end-to-end automation with live data.
This article outlines the steps required to configure Exa connectivity in Connect AI, register the MCP server in Gumloop, and build a workflow that queries Exa data.
Step 1: Configure Exa Connectivity for Gumloop
Connectivity to Exa from Gumloop is made possible through CData Connect AI's Remote MCP Server. To interact with Exa data from Gumloop, we start by creating and configuring a Exa connection in CData Connect AI.
- Log into Connect AI, click Sources, and then click Add Connection
- Select "Exa" from the Add Connection panel
-
Enter the necessary authentication properties to connect to Exa.
Start by setting the Profile connection property to the location of the Exa Profile on disk (e.g. C:\profiles\Exa.apip). Next, set the ProfileSettings connection property to the connection string for Exa (see below).
Exa API Profile Settings
Visit dashboard.exa.ai, sign in or create an account, and generate an API key from your API settings.

- Click Save & Test
-
Navigate to the Permissions tab in the Add Exa Connection page and update the User-based permissions.



Add a Personal Access Token
A Personal Access Token (PAT) is used to authenticate the connection to Connect AI from Gumloop. It is best practice to create a separate PAT for each service to maintain granularity of access.
- Click on the Gear icon () at the top right of the Connect AI app to open the settings page.
- On the Settings page, go to the Access Tokens section and click Create PAT.
-
Give the PAT a name and click Create.

- The personal access token is only visible at creation, so be sure to copy it and store it securely for future use.
With the Exa connection configured and a PAT generated, Gumloop is prepared to connect to Exa data through the CData MCP server.
Step 2: Connect to the MCP server in Gumloop
The MCP server endpoint and authentication values from Connect AI must be added to Gumloop credentials.
- Sign in to Gumloop and create an account
- Visit the Gumloop Credentials page to configure MCP server
- Click on Add Credentials and search and select MCP Server
- Provide the following details:
- URL: https://mcp.cloud.cdata.com/mcp
- Label: A descriptive name such as Exa-mcp-server
- Access Token / API Key: leave blank
- Additional Header: Authorization: Basic YOUR EMAIL:YOUR PAT
- Save the credentials
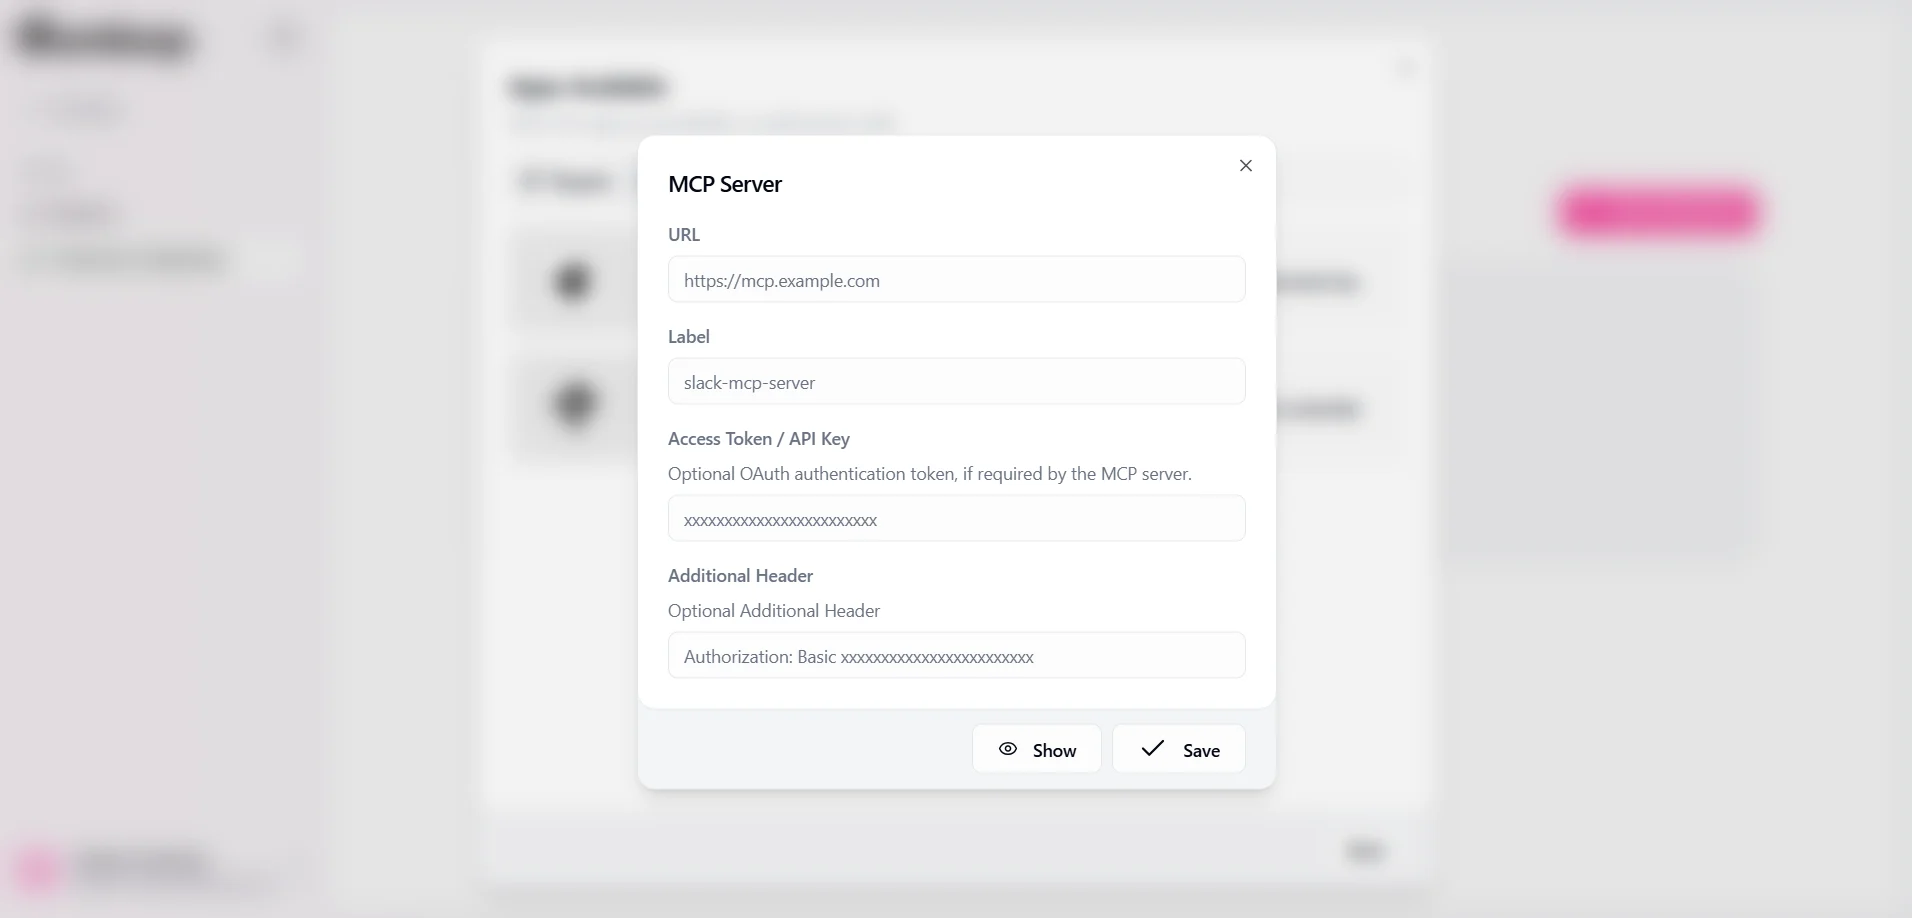
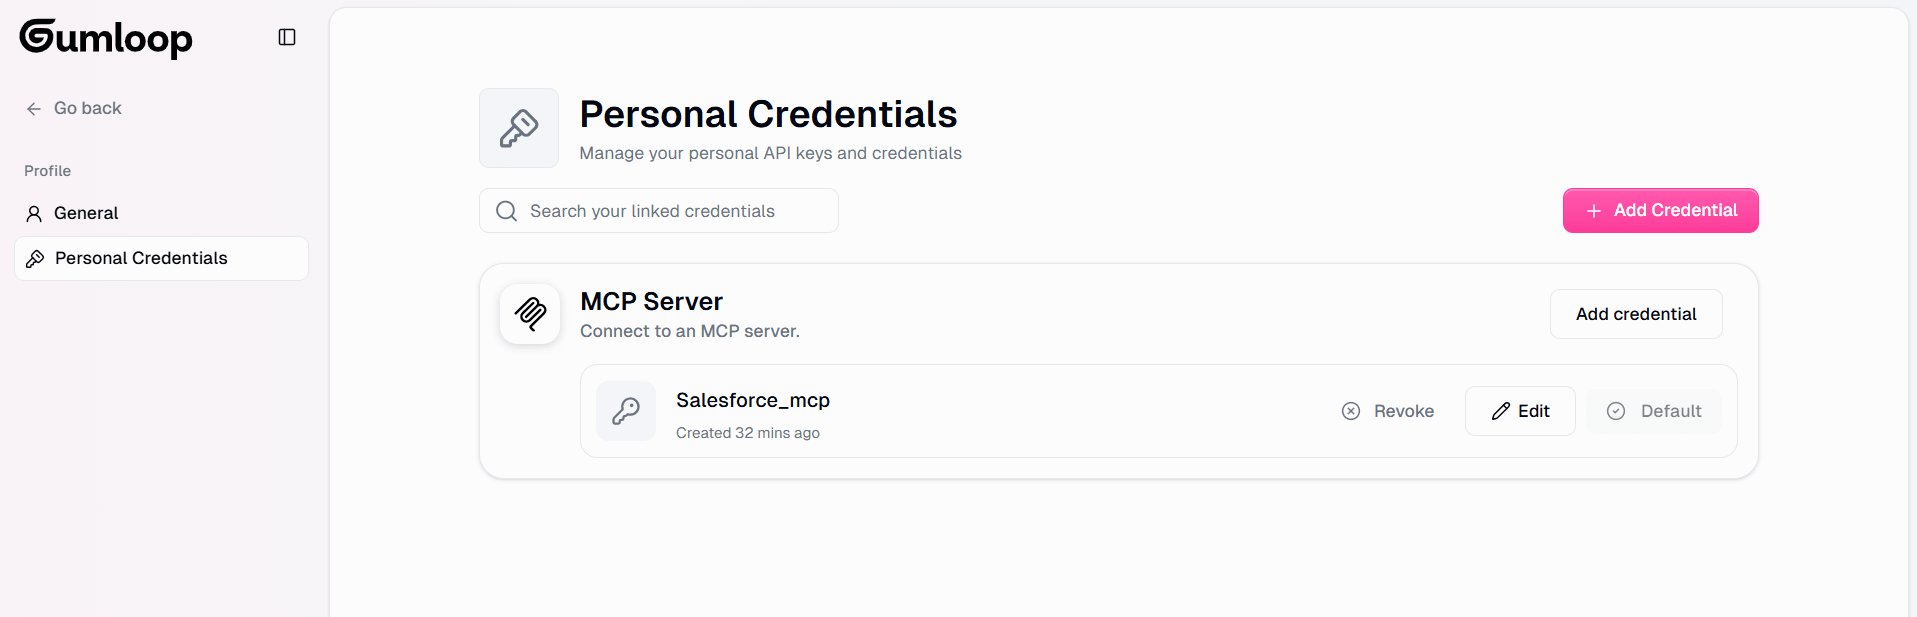

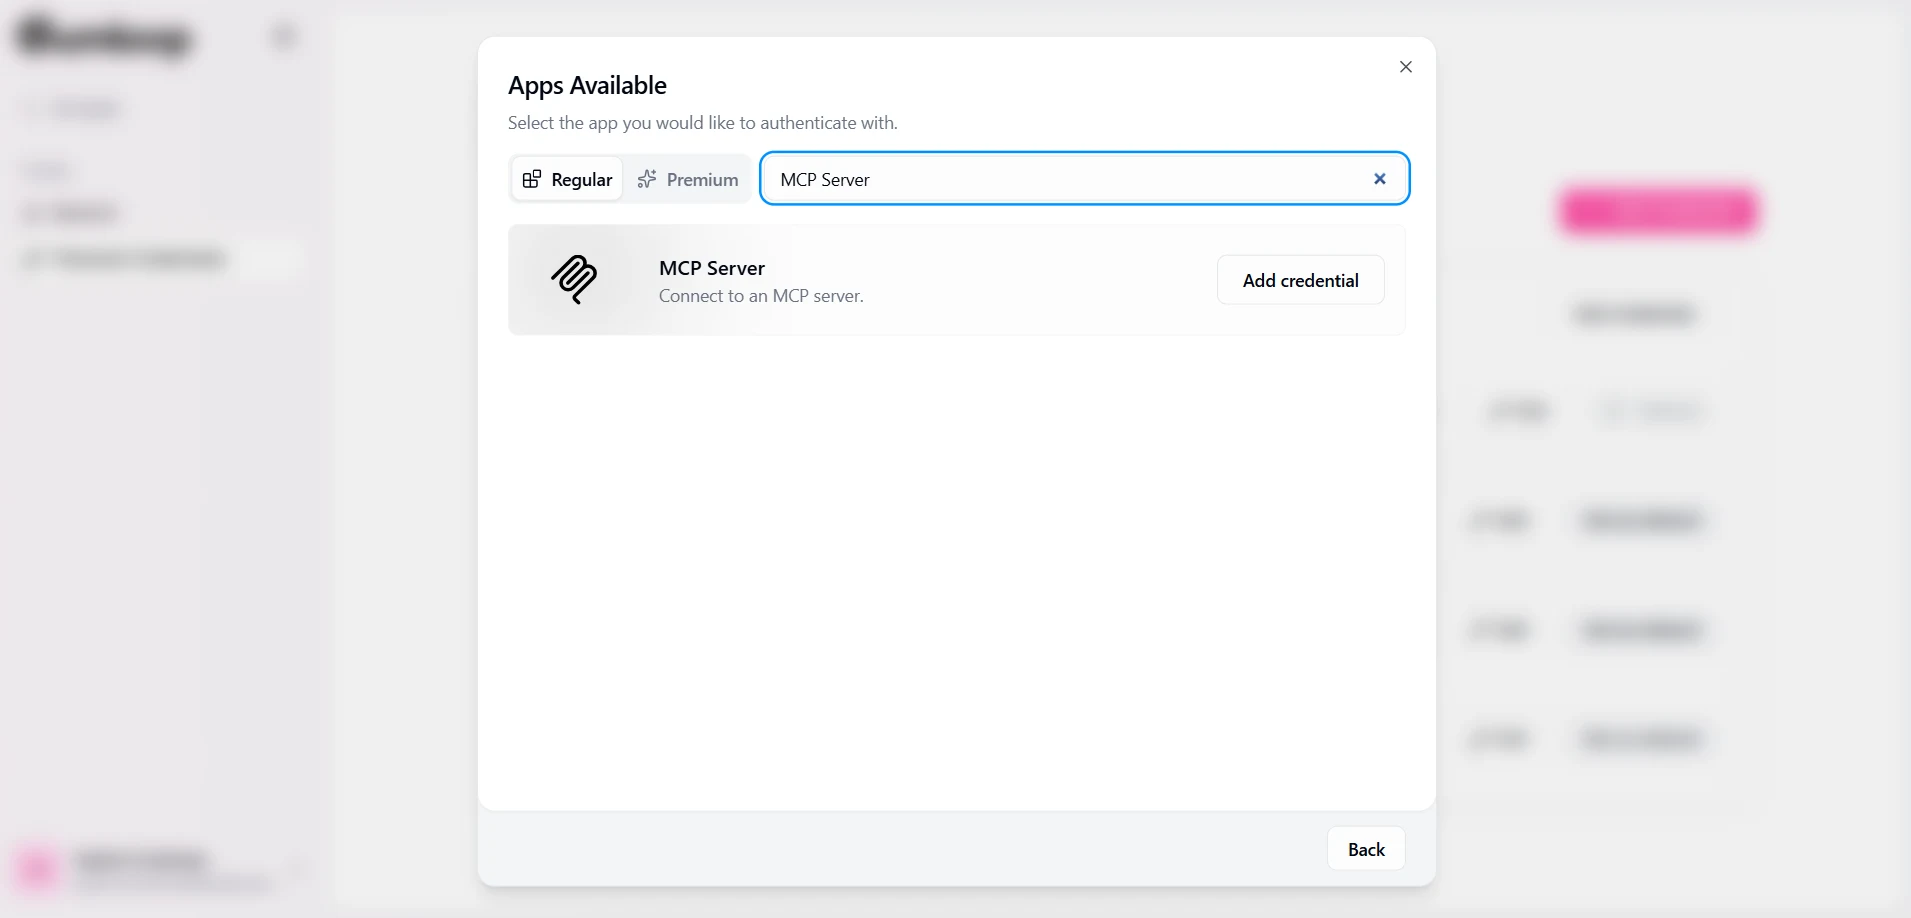
The MCP server is now available to build workflows in Gumloop.
Step 3: Build a workflow and explore live Exa data with Gumloop
- Visit Gumloop Personal workspace and click on the Create Flow
- Select the icon or press Ctrl + B to add a node or a subflow
- Search for Ask AI and select it
- Click Show More Options and enable the Connect MCP Server? option
- From the MCP Servers dropdown, choose the saved MCP credential
- Add a Prompt and Choose an AI Model according to your requirements
- After configuring the required details, Click Run to run the pipeline
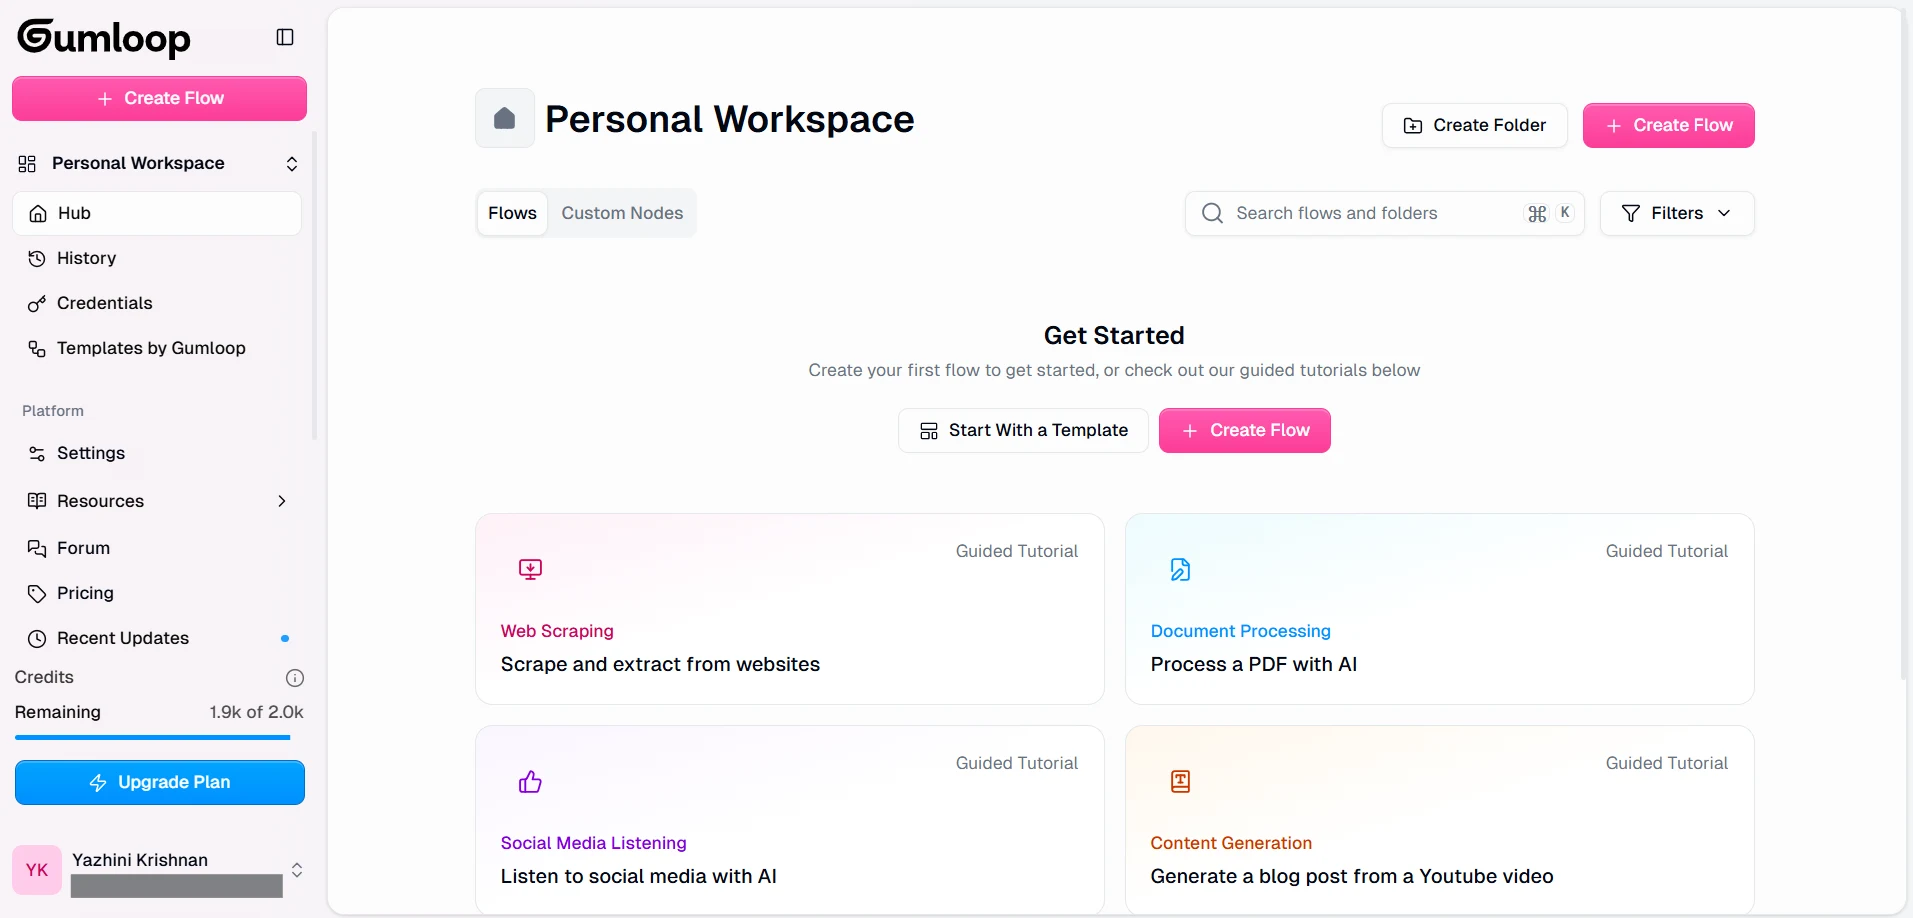
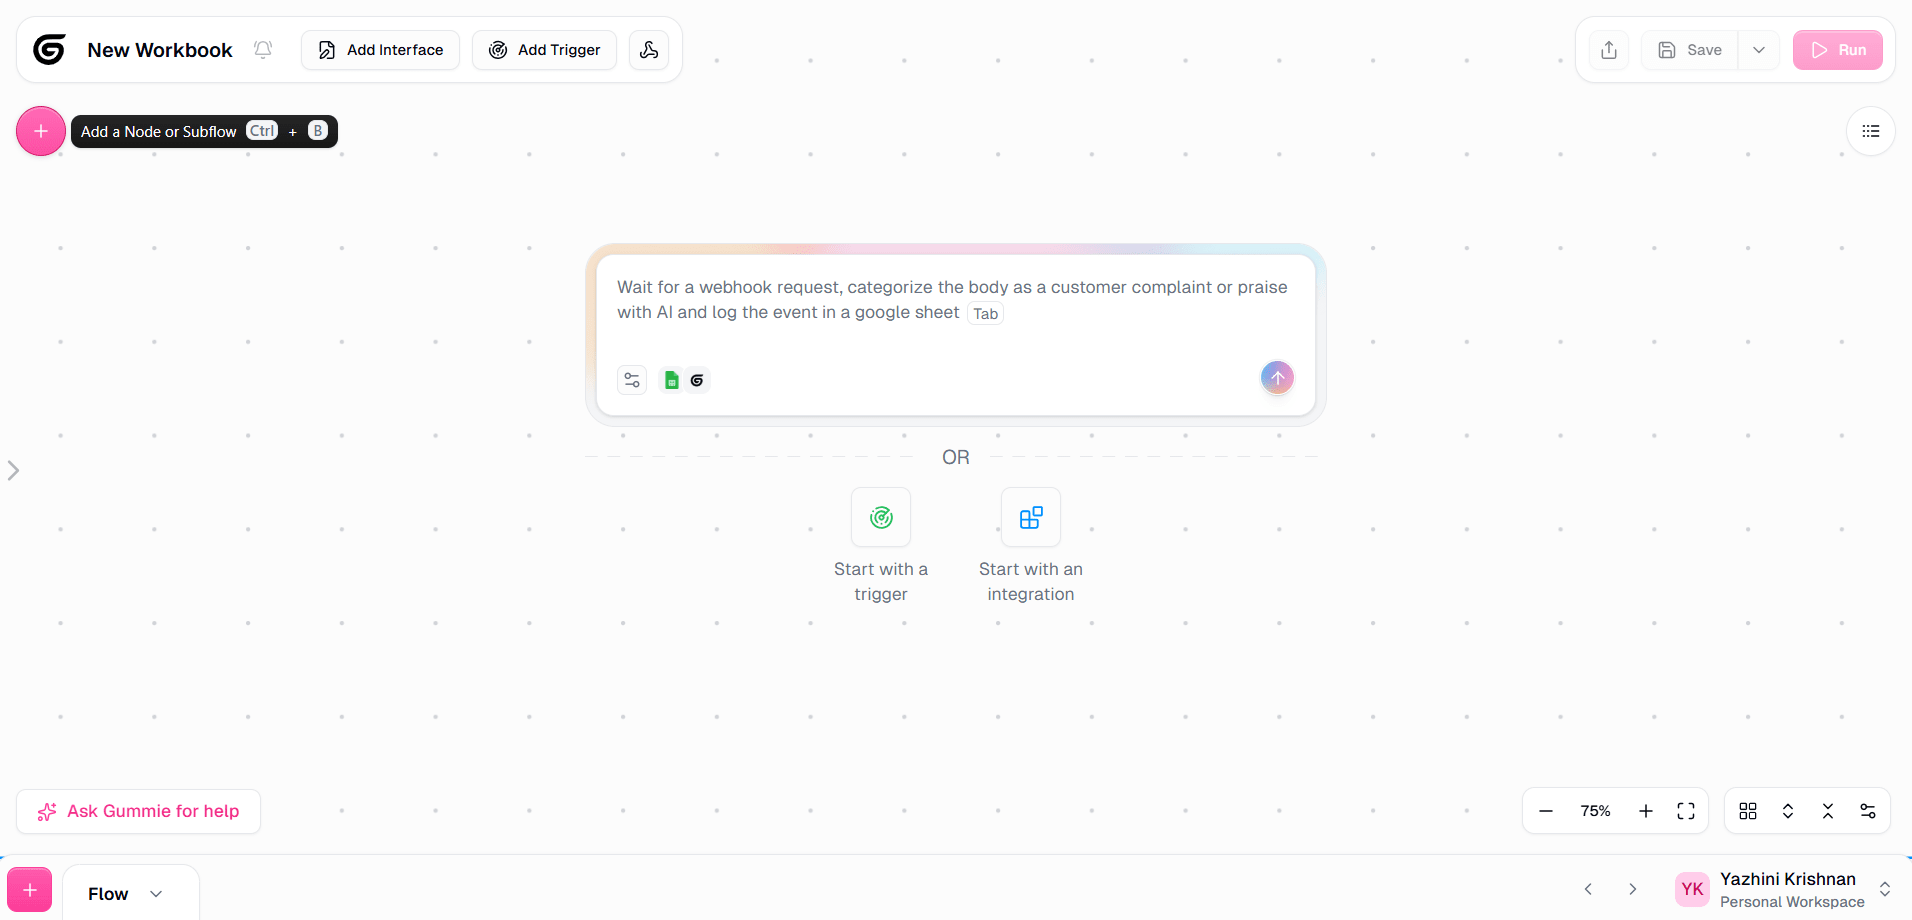
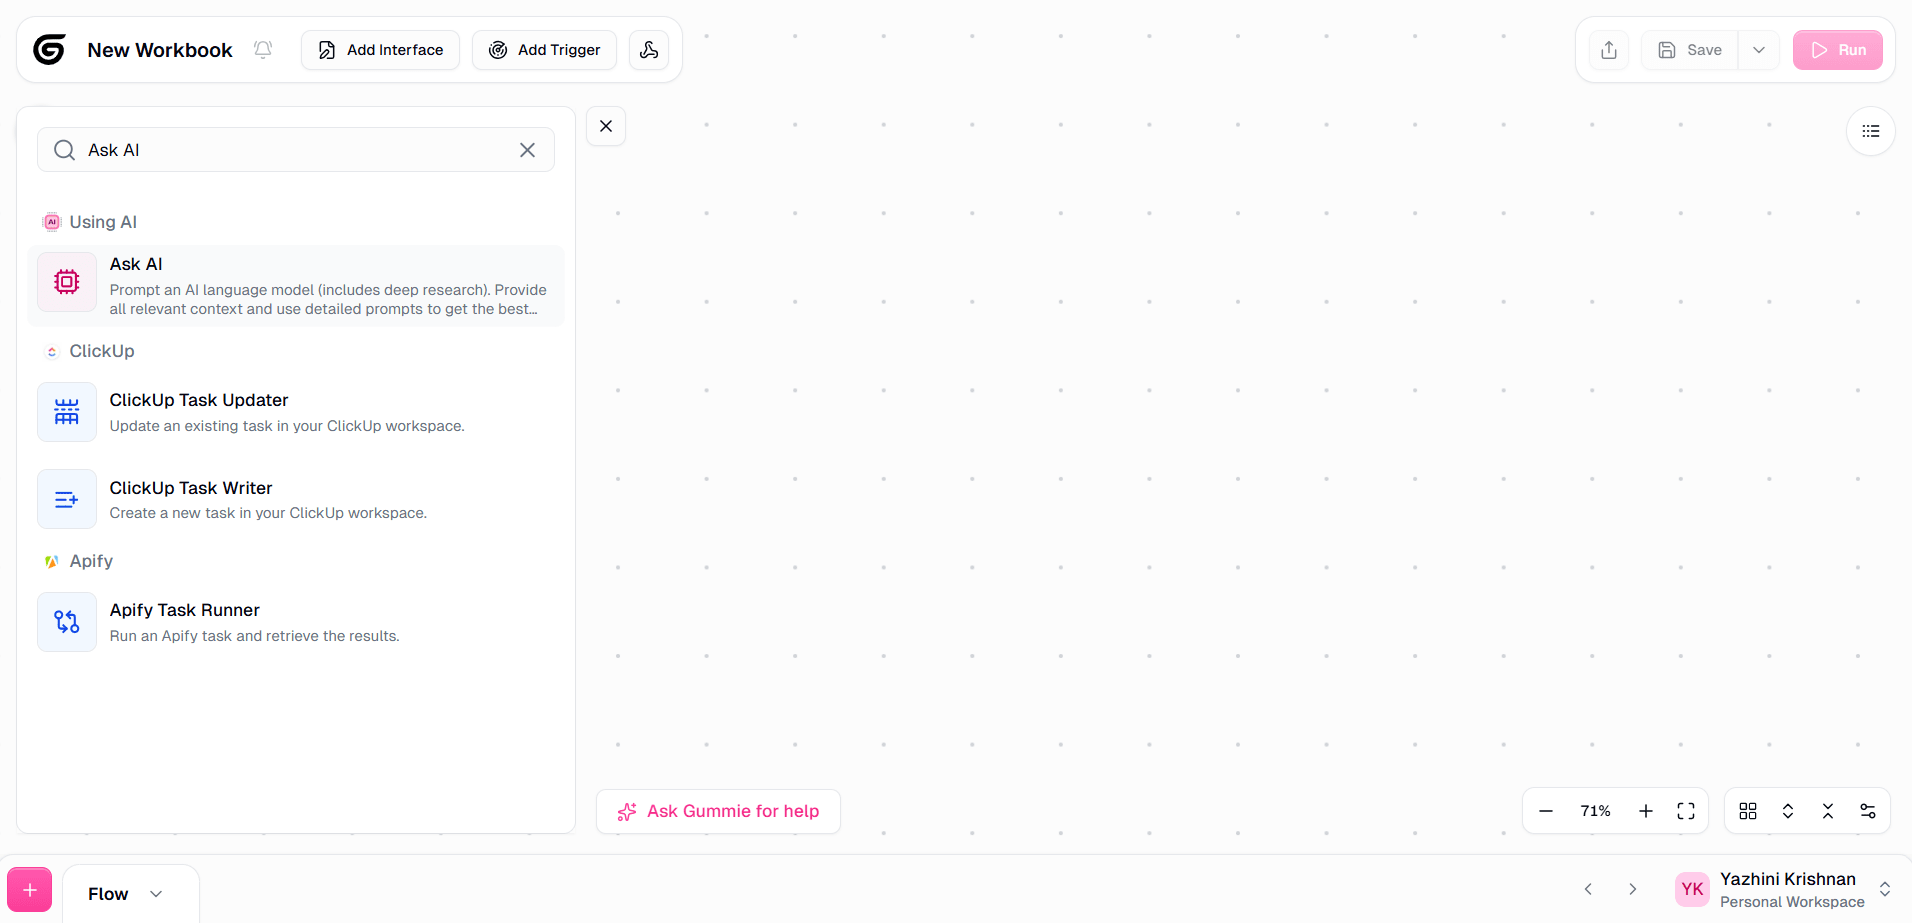
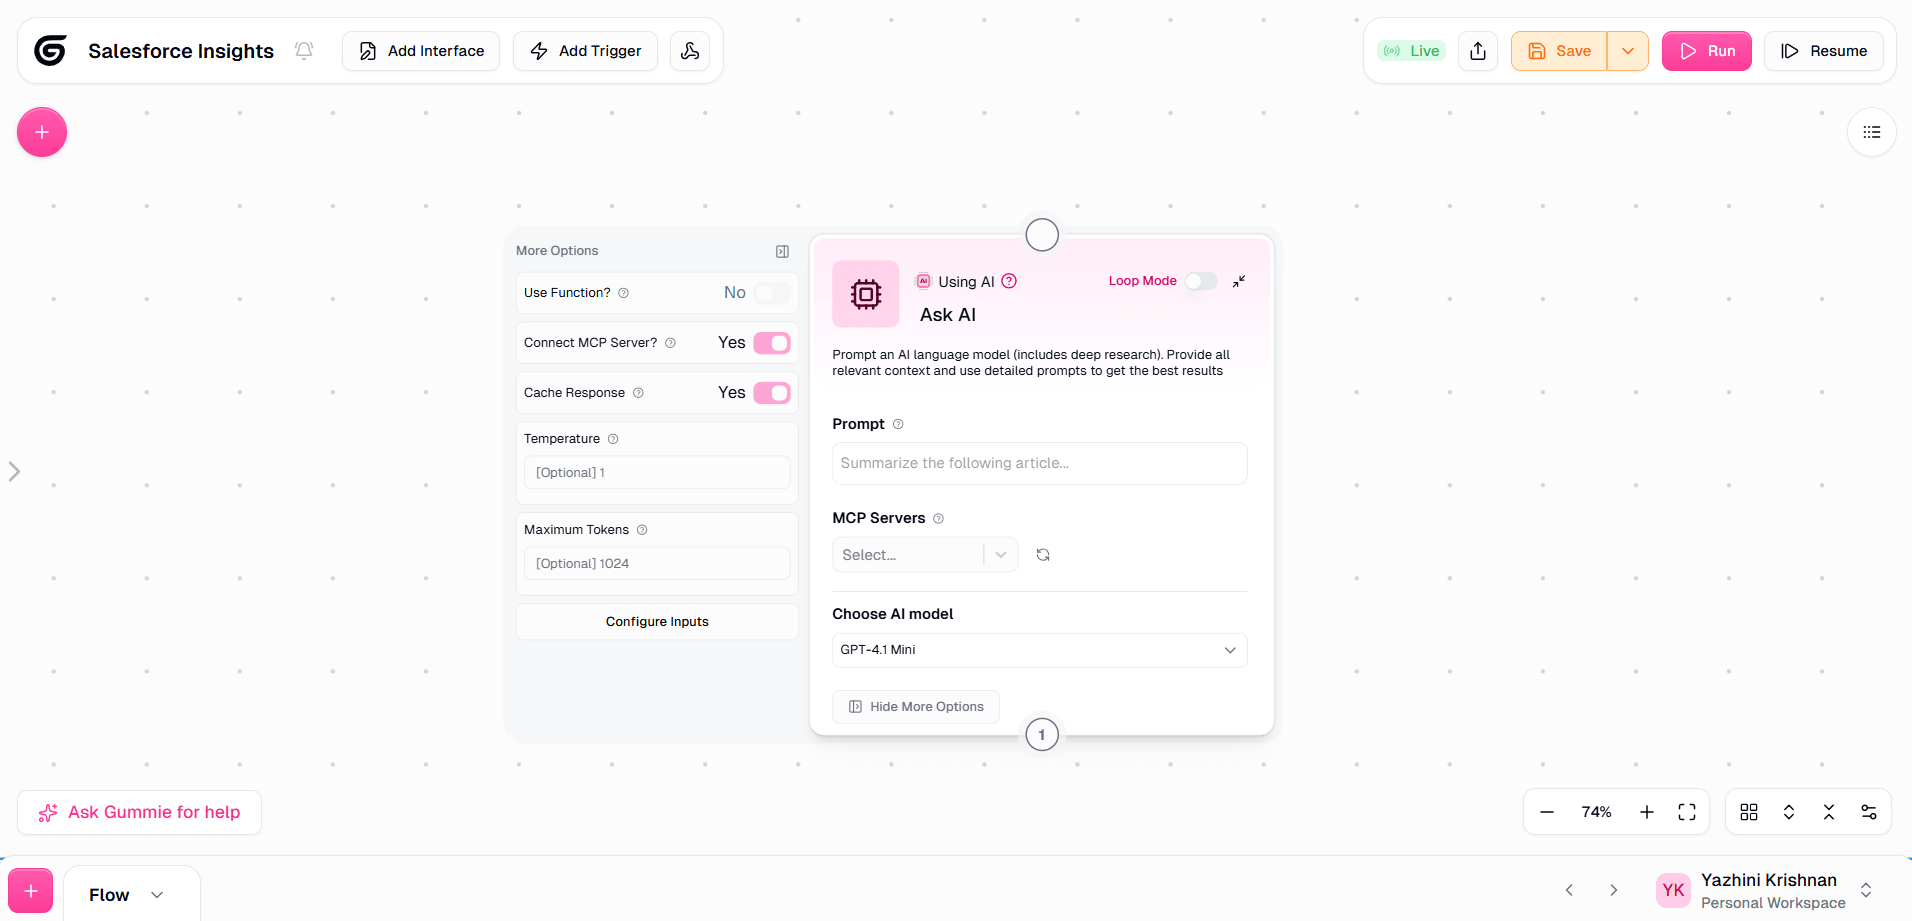
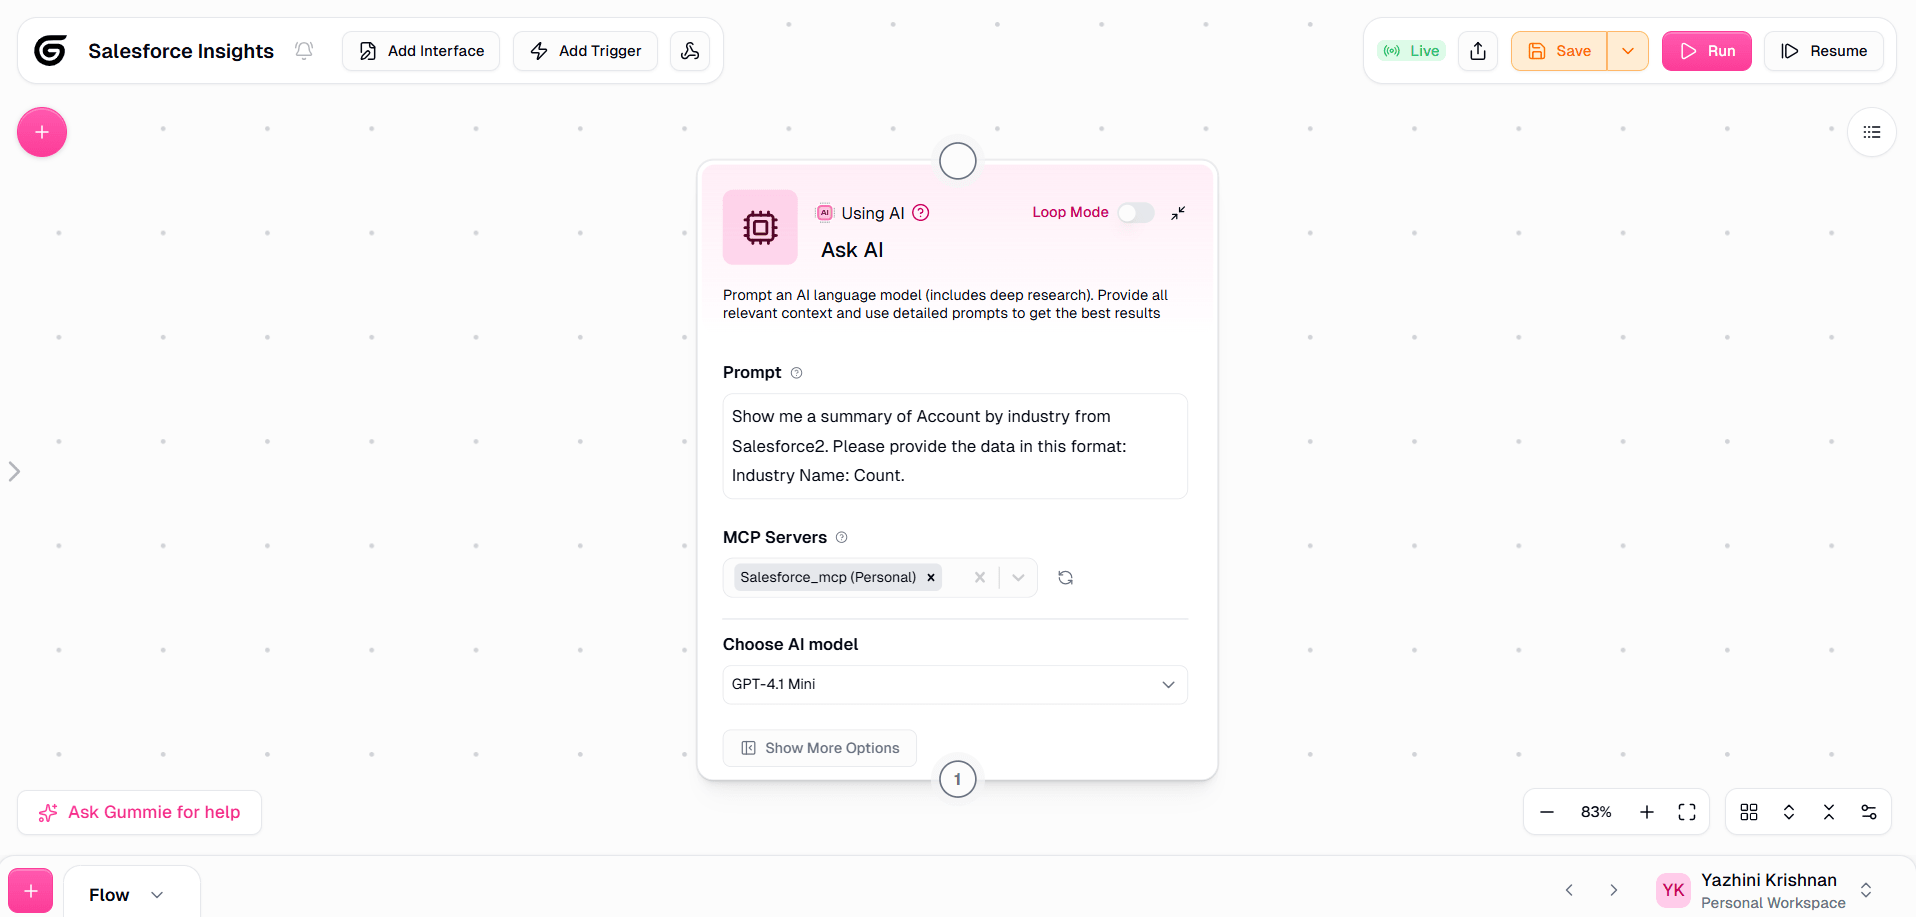
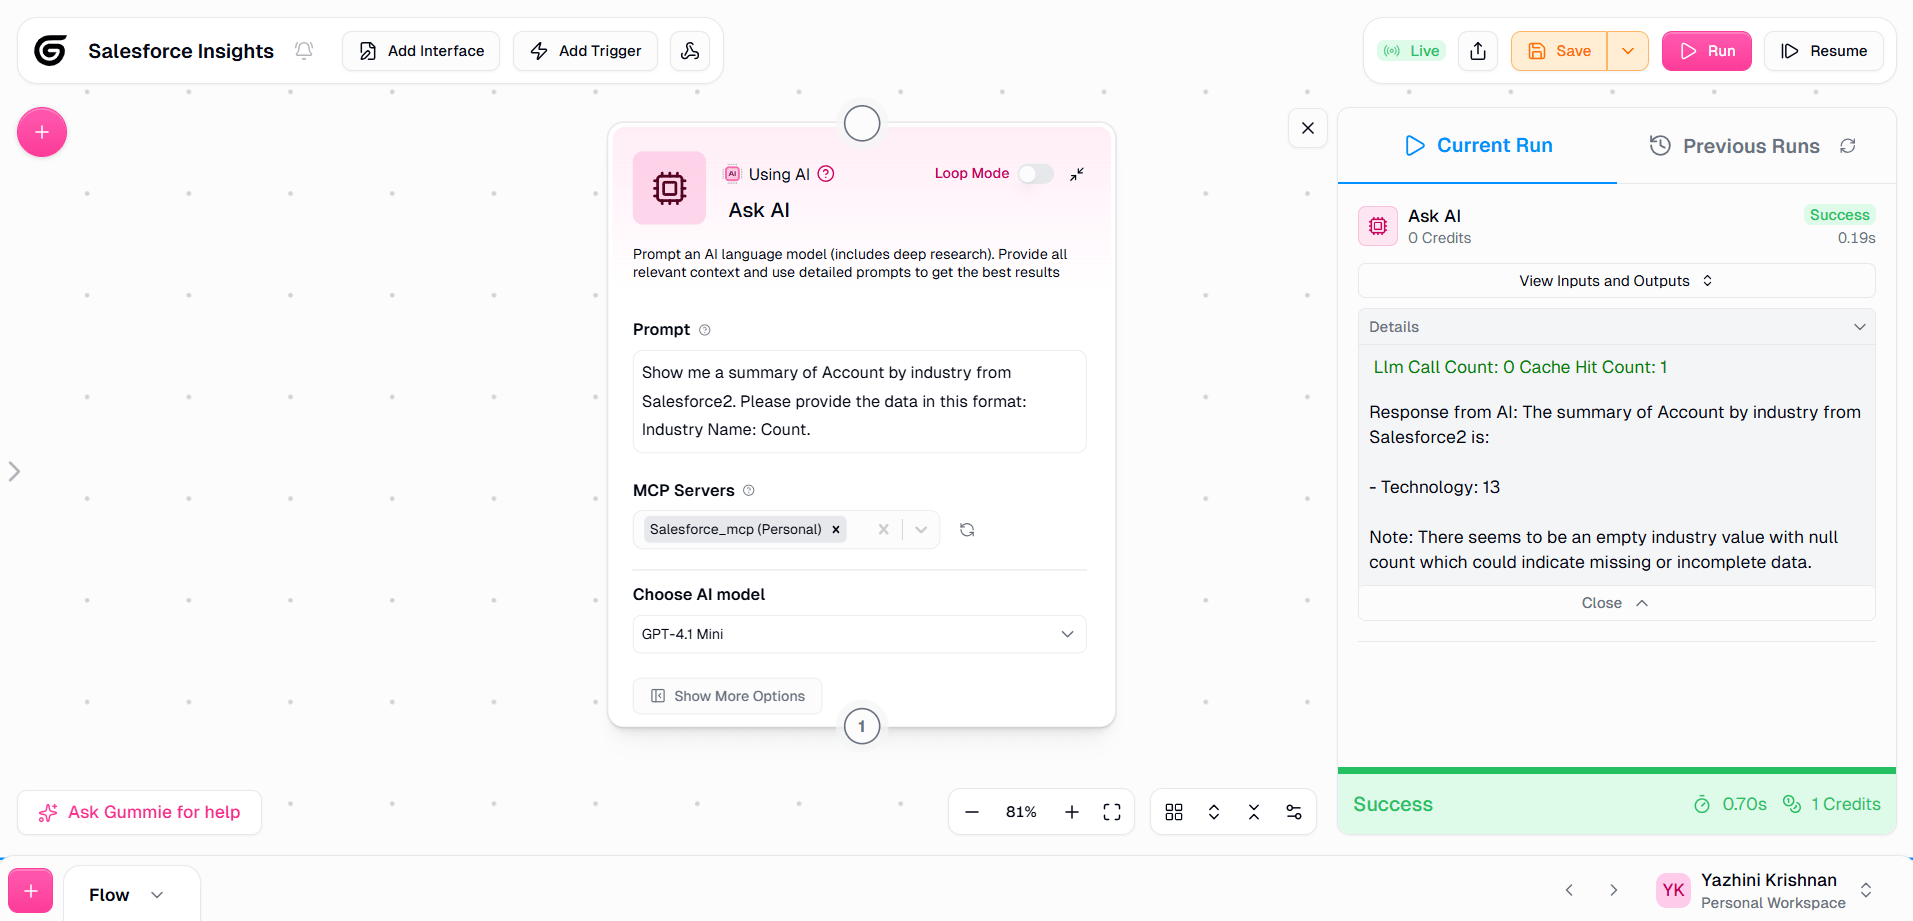
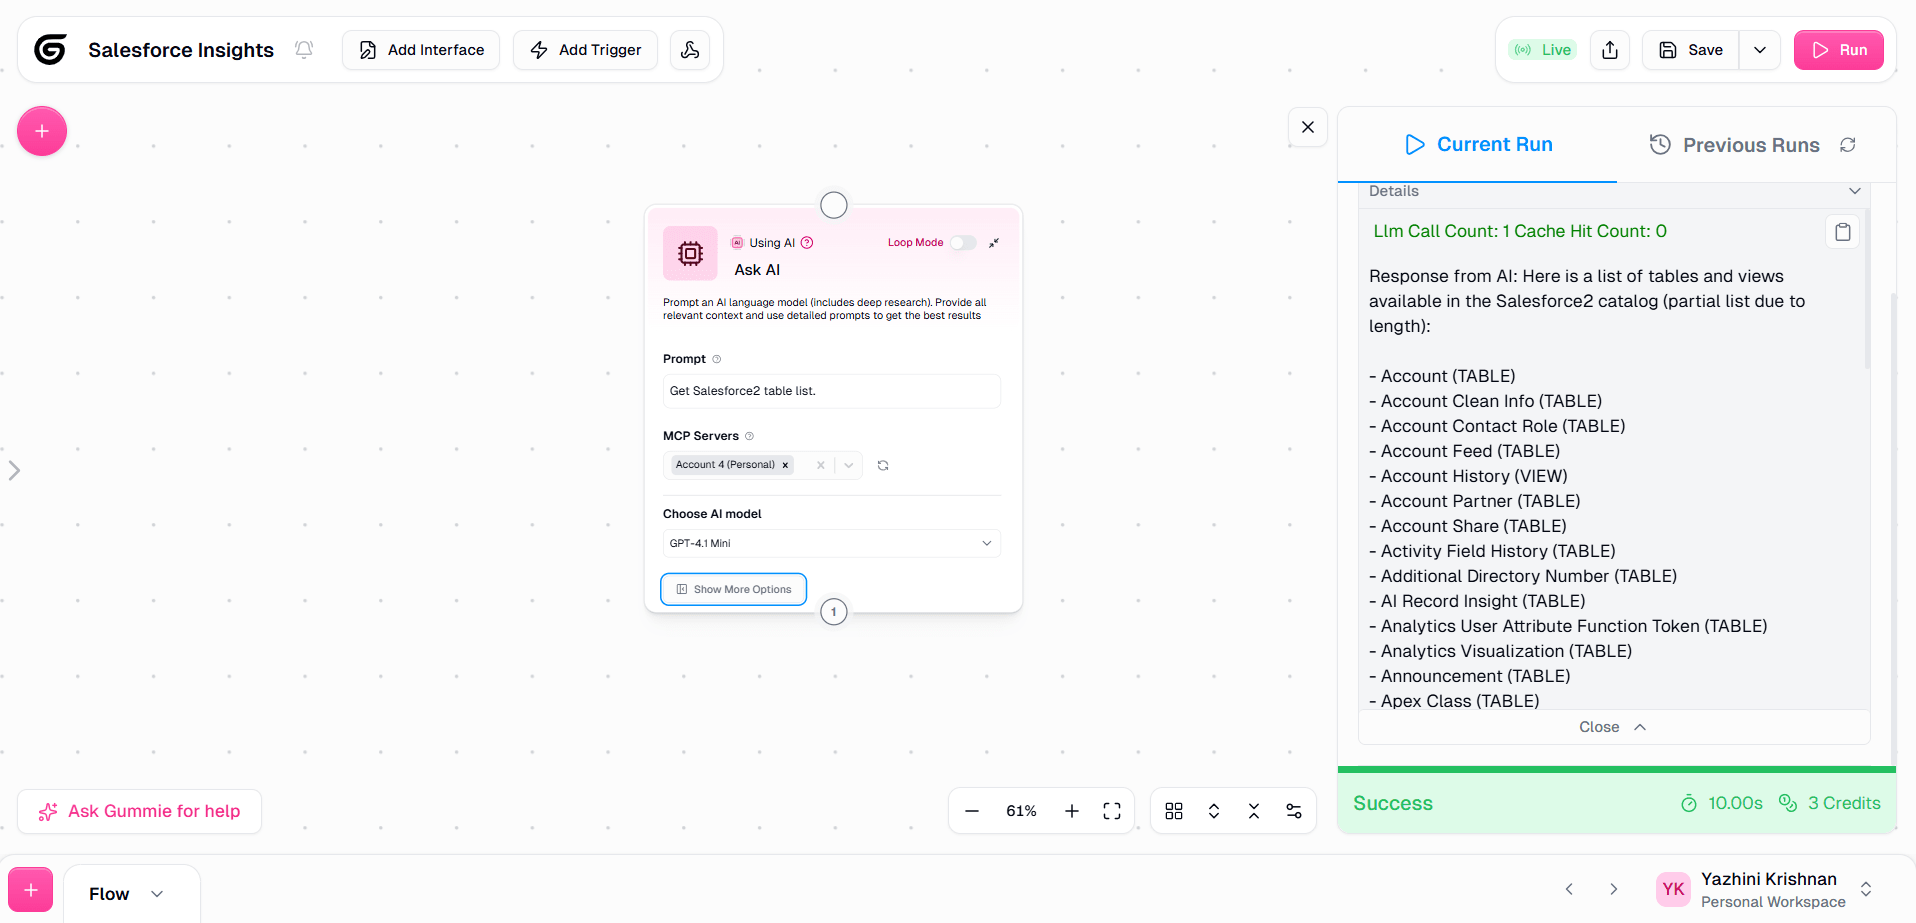
With the workflow run completed, Gumloop demonstrates successful retrieval of Exa data through the CData Connect AI MCP server, with the MCP Client node providing the ability to ask questions, retrieve records, and perform actions on the data.
Get CData Connect AI
To get live data access to hundreds of SaaS, Big Data, and NoSQL sources directly from your cloud applications, try CData Connect AI today!