








Use ChatGPT to Talk to Your Printify Data via CData Connect AI

ChatGPT is an AI chatbot developed by OpenAI, launched in November 2022. Based on large language models (LLMs), it enables users to refine and steer conversations through natural language processing. ChatGPT's developer mode, available to Plus and Pro subscribers, provides full Model Context Protocol (MCP) support for connecting to external data sources and tools.
CData Connect AI offers a dedicated cloud-to-cloud interface for connecting to Printify data. The CData Connect AI Remote MCP Server enables secure communication between ChatGPT and Printify. This allows you to ask questions and take actions on your Printify data using ChatGPT, all without the need for data replication to a natively supported database. With its inherent optimized data processing capabilities, CData Connect AI efficiently channels all supported SQL operations, including filters and JOINs, directly to Printify. This leverages server-side processing to swiftly deliver the requested Printify data.
Step 1: Configure Printify Connectivity for ChatGPT
Connectivity to Printify from ChatGPT is made possible through CData Connect AI Remote MCP. To interact with Printify data from ChatGPT, we start by creating and configuring a Printify connection in CData Connect AI.
- Log into your Connect AI account, click Sources, and then click Add Connection.
- Select "Printify" from the Add Connection panel.
-
Enter the necessary authentication properties to connect to Printify.
Start by setting the Profile connection property to the location of the Printify Profile on disk (e.g. C:\profiles\Profile.apip). Next, set the ProfileSettings connection property to the connection string for Printify (see below).
Printify API Profile Settings
In order to authenticate to Printify, you'll need to provide your API Key. To get your API Key navigate to My Profile, then Connections. In the Connections section you will be able to generate your Personal Access Token (API Key) and set your Token Access Scopes. Personal Access Tokens are valid for one year. An expired Personal Access Token can be re-generated using the same steps after it expires. Set the API Key to your Personal Access Token in the ProfileSettings property to connect.

- Click Save & Test


With the connection configured, we are ready to connect to Printify data from ChatGPT.
Step 2: Connect ChatGPT to CData Connect AI
Follow these steps to add a CData Connect AI connection in ChatGPT:
- Sign in to ChatGPT with a Plus or Pro subscription.
- Navigate to Apps from the left panel.
- Select the CData Connect AI app from the list. .
- Click Connect to authenticate to your Connect AI account.
- Click Sign in with CData Connect AI to add Connect AI to your ChatGPT account.
- After successful authorization, you will be redirected back to ChatGPT.
- Click Start Chat to start a new conversation in ChatGPT with Connect AI connected at the background.
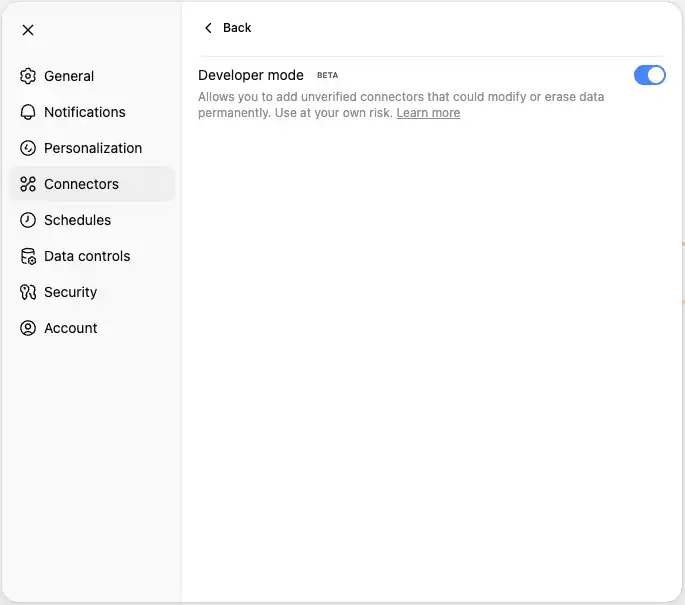
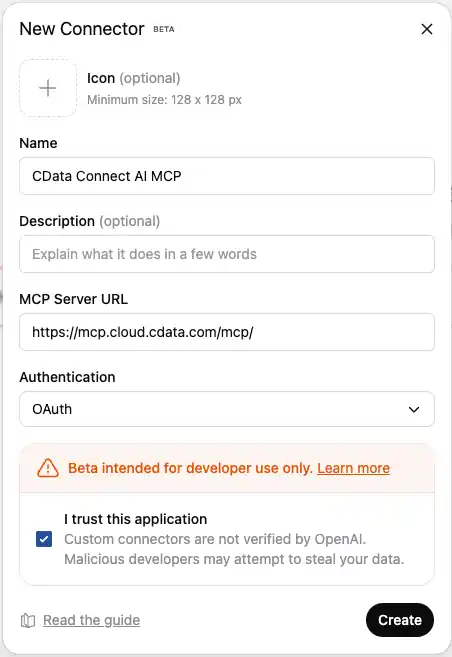


Step 3: Explore Live Printify Data with ChatGPT
- Start a new conversation in ChatGPT.
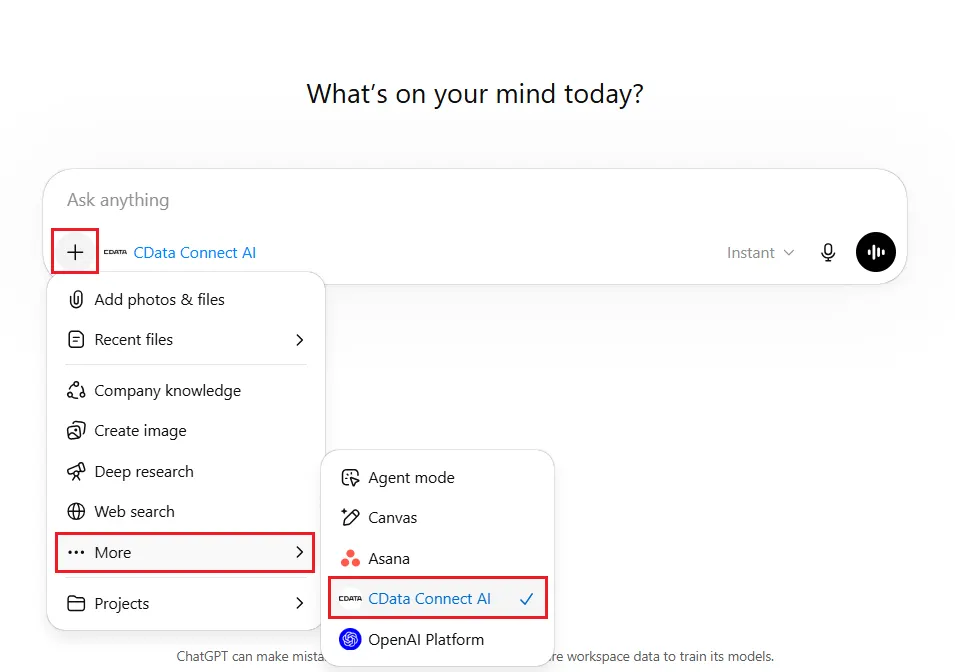
- Connect AI should ideally be automatically enabled in the chat. If not, navigate to -> More -> CData Connect AI, under the chatbox, to enable the connector from the dropdown
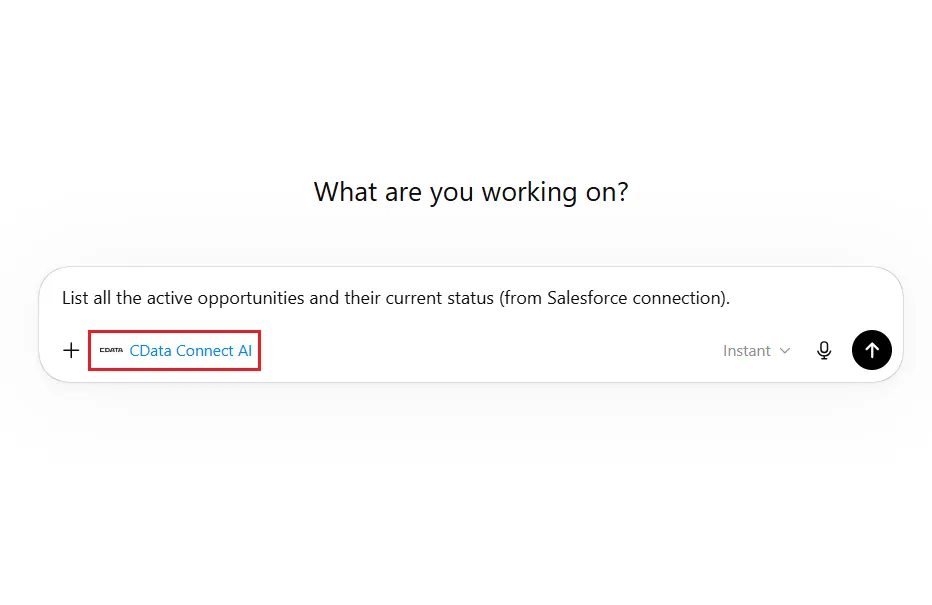
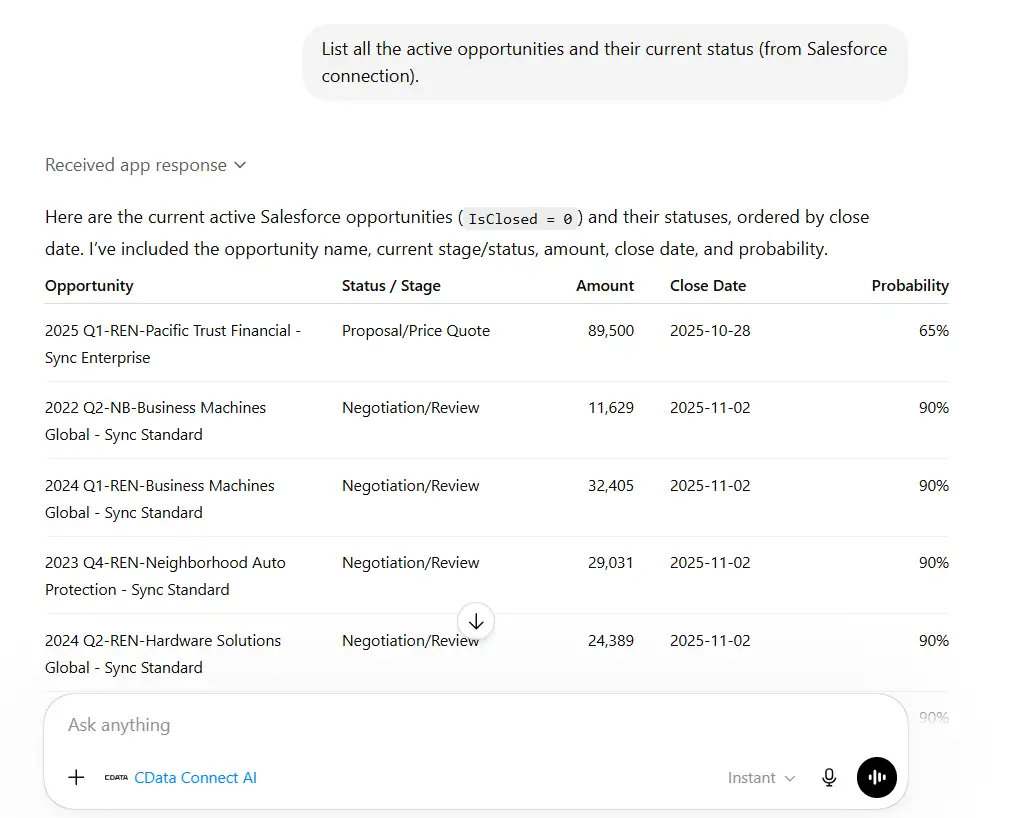
- You can now start exploring your data with natural language prompts. ChatGPT will use the Connect AI MCP server to query your live Printify data. Example prompts:
- "Show me all customers from the last 30 days"
- "What are my top performing products?"
- "Analyze sales trends for this quarter"
- "List all active projects and their current status"
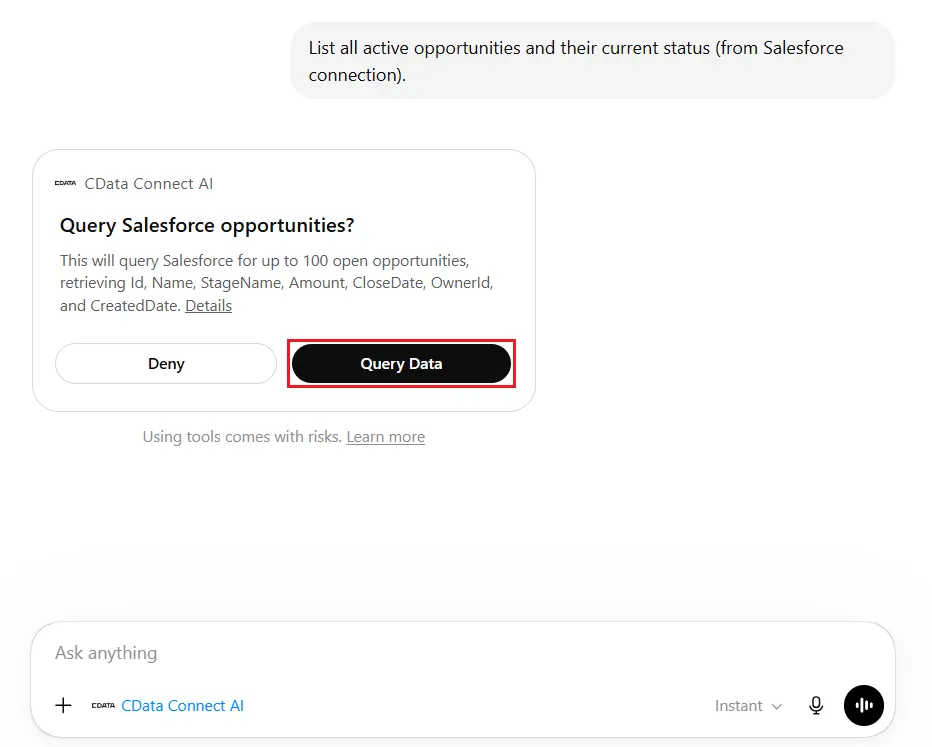
- Permit ChatGPT to access your Printify data. Click Query Data to continue, or Deny to refuse.
- ChatGPT translates your natural language queries into SQL and execute them against your Printify data through the Connect AI MCP server.
Get CData Connect AI
To get live data access to hundreds of SaaS, Big Data, and NoSQL sources directly from your cloud applications, try CData Connect AI today!