








Visualize Live Sage 300 Data in Power BI (via CData Connect AI)

Power BI transforms your company's data into rich visuals for you to collect and organize so you can focus on what matters to you. When paired with CData Connect AI, you get access to Sage 300 data for visualizations, dashboards, and more. This article shows how to use CData Connect to create a live connection to Sage 300, connect to Sage 300 data from Power BI and then create reports on Sage 300 data in Power BI.
Configure Sage 300 Connectivity for Power BI
Connectivity to Sage 300 from Power BI is made possible through CData Connect AI. To work with Sage 300 data from Power BI, we start by creating and configuring a Sage 300 connection.
- Log into Connect AI, click Sources, and then click Add Connection
- Select "Sage 300" from the Add Connection panel
-
Enter the necessary authentication properties to connect to Sage 300.
Sage 300 requires some initial setup in order to communicate over the Sage 300 Web API.
- Set up the security groups for the Sage 300 user. Give the Sage 300 user access to the
option under Security Groups (per each module required). - Edit both web.config files in the /Online/Web and /Online/WebApi folders; change the key AllowWebApiAccessForAdmin to true. Restart the webAPI app-pool for the settings to take.
- Once the user access is configured, click https://server/Sage300WebApi/ to ensure access to the web API.
Authenticate to Sage 300 using Basic authentication.
Connect Using Basic Authentication
You must provide values for the following properties to successfully authenticate to Sage 300. Note that the provider reuses the session opened by Sage 300 using cookies. This means that your credentials are used only on the first request to open the session. After that, cookies returned from Sage 300 are used for authentication.
- Url: Set this to the url of the server hosting Sage 300. Construct a URL for the Sage 300 Web API as follows: {protocol}://{host-application-path}/v{version}/{tenant}/ For example, http://localhost/Sage300WebApi/v1.0/-/.
- User: Set this to the username of your account.
- Password: Set this to the password of your account.

- Set up the security groups for the Sage 300 user. Give the Sage 300 user access to the
- Click Save & Test
-
Navigate to the Permissions tab in the Add Sage 300 Connection page and update the User-based permissions.



With the connection configured, you are ready to connect to Sage 300 data from Power BI.
Query Sage 300 Tables
Follow the steps below to build a query to pull Sage 300 data into the report:
- Open Power BI Desktop and click Get Data -> Online Services -> CData Connect AI and click "Connect"
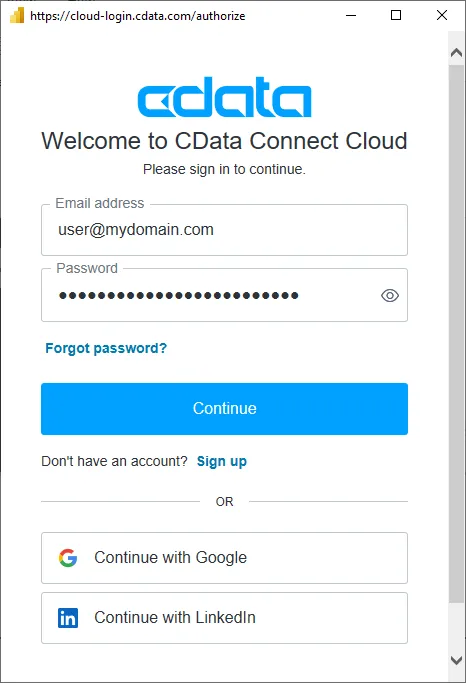
- Click "Sign in" and authenticate with your CData Connect AI account
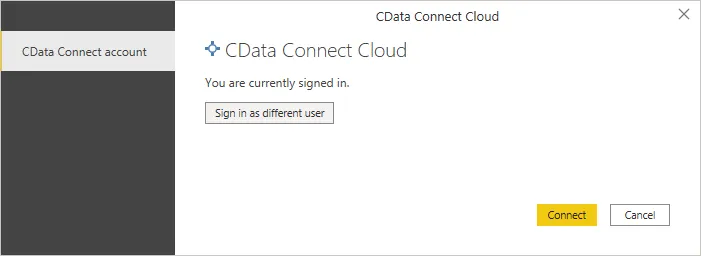
- After signing in, click "Connect"
- Select tables in the Navigator dialog
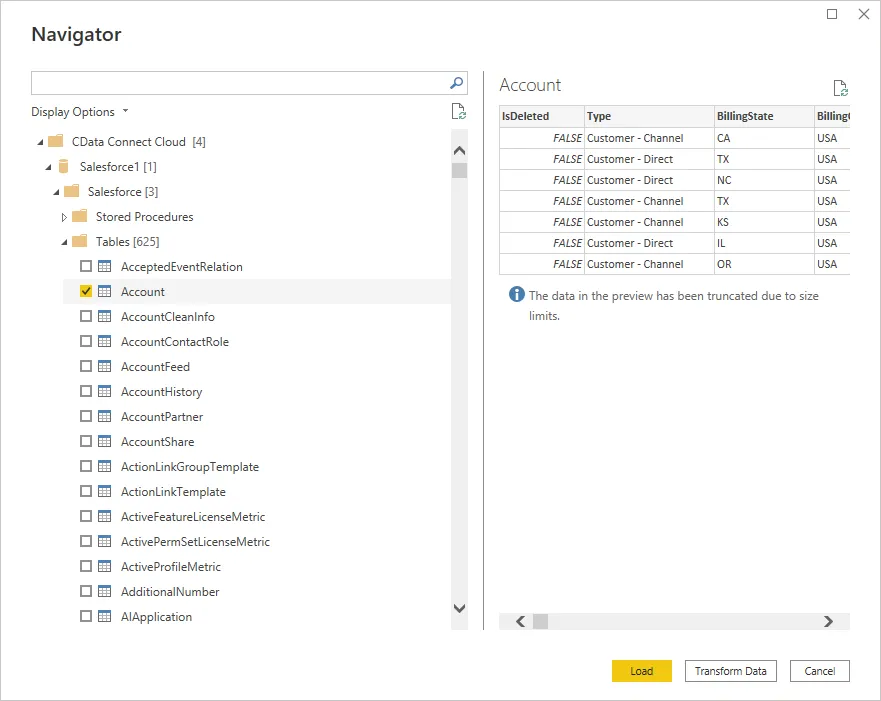
- Click Load to establish the connection to your Sage 300 data from Power BI
Create Sage 300 Data Visualizations
After connecting to the data into Power BI, you can create data visualizations in the Report view by dragging fields from the Fields pane onto the canvas. Select the dimensions and measures you wish to visualize along with the chart type.
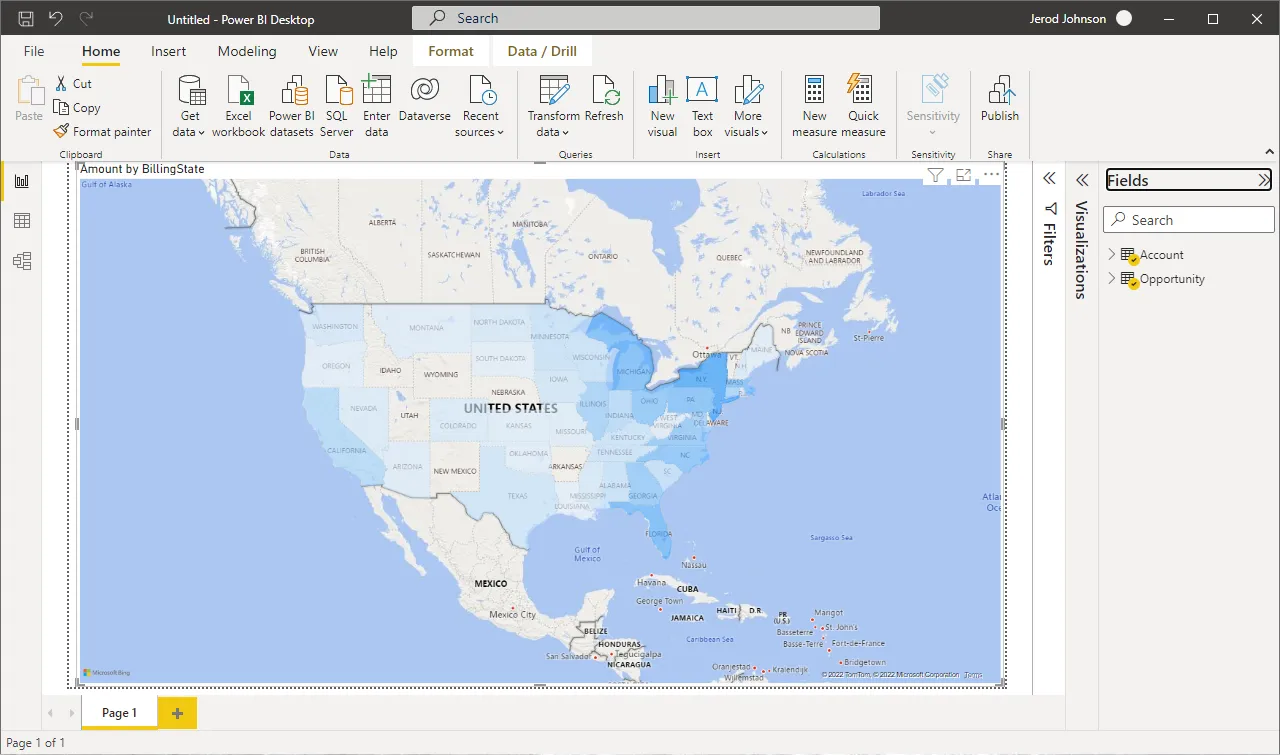
Click Refresh to synchronize your report with any changes to the data.
Live Access to Sage 300 Data from Data Applications
With CData Connect AI you have a direct connection to Sage 300 data from Power BI. You can import more data, create new visualizations, build reports, and more — all without replicating Sage 300 data.
To get SQL data access to hundreds of SaaS, Big Data, and NoSQL sources (including Sage 300) directly from your on-premise BI, reporting, ETL and other data applications, visit the CData Connect AI page and start a free trial.