








Access Live SendPulse Data in Excel 365 Online (Excel for the web)

Microsoft Excel for the web represents a cloud-native iteration of Microsoft Excel. When integrated with CData Connect AI, you gain immediate access to SendPulse data directly from within Excel. This access facilitates data analysis, collaborative work, calculations, and more. This article provides a step-by-step guide on connecting to SendPulse within your Connect AI instance and accessing live SendPulse data in Excel for the web spreadsheets, whether for viewing or updating purposes.
CData Connect AI provides a pure cloud-to-cloud interface for SendPulse, allowing you to easily access live SendPulse data in Excel for the web. Simply use the Connect AI Add-In to query live data (or write your own). Using optimized data processing out of the box, CData Connect AI pushes all supported query operations (filters, JOINs, etc) directly to SendPulse, leveraging server-side processing to quickly return SendPulse data.
This setup requires a CData Connect AI instance and the CData Connect AI Add-In for Excel. To get started, sign up a free trial of Connect AI and install the free Connect AI Excel Add-In.
Configure SendPulse Connectivity for Excel
Connectivity to SendPulse from Excel is made possible through CData Connect AI. To work with SendPulse data from Excel, we start by creating and configuring a SendPulse connection.
- Log into Connect AI, click Sources, and then click Add Connection
- Select "SendPulse" from the Add Connection panel
-
Enter the necessary authentication properties to connect to SendPulse.
Start by setting the Profile connection property to the location of the SendPulse Profile on disk (e.g. C:\profiles\SendPulse.apip). Next, set the ProfileSettings connection property to the connection string for SendPulse (see below).
SendPulse API Profile Settings
Log into your SendPulse account, navigate to Profile > Account Settings > API, and retrieve your API ID and Secret to use as your OAuth Client ID and Secret.

- Click Save & Test
-
Navigate to the Permissions tab in the Add SendPulse Connection page and update the User-based permissions.



With the connection configured, you are ready to connect to SendPulse data from Excel for the web.
Access Live SendPulse Data in Excel for the web
The steps below outline connecting to CData Connect AI from Excel to access live SendPulse data.
- Log into Excel, create a new sheet (or open an existing one).
- Click Insert and click Office Add-ins. (if you have already installed the Add-In, jump to step 4).
- Search for CData Connect Spreadsheets Add-In and install the Add-in.
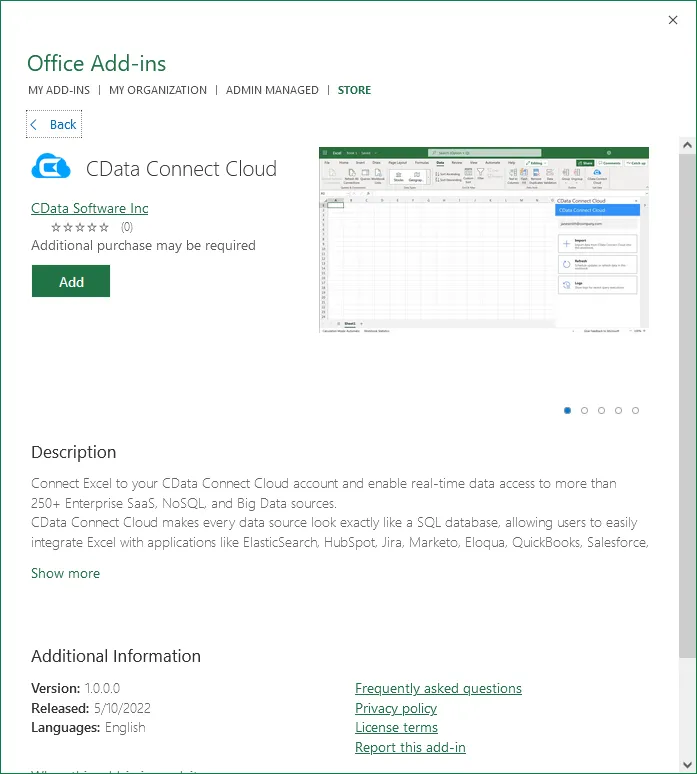
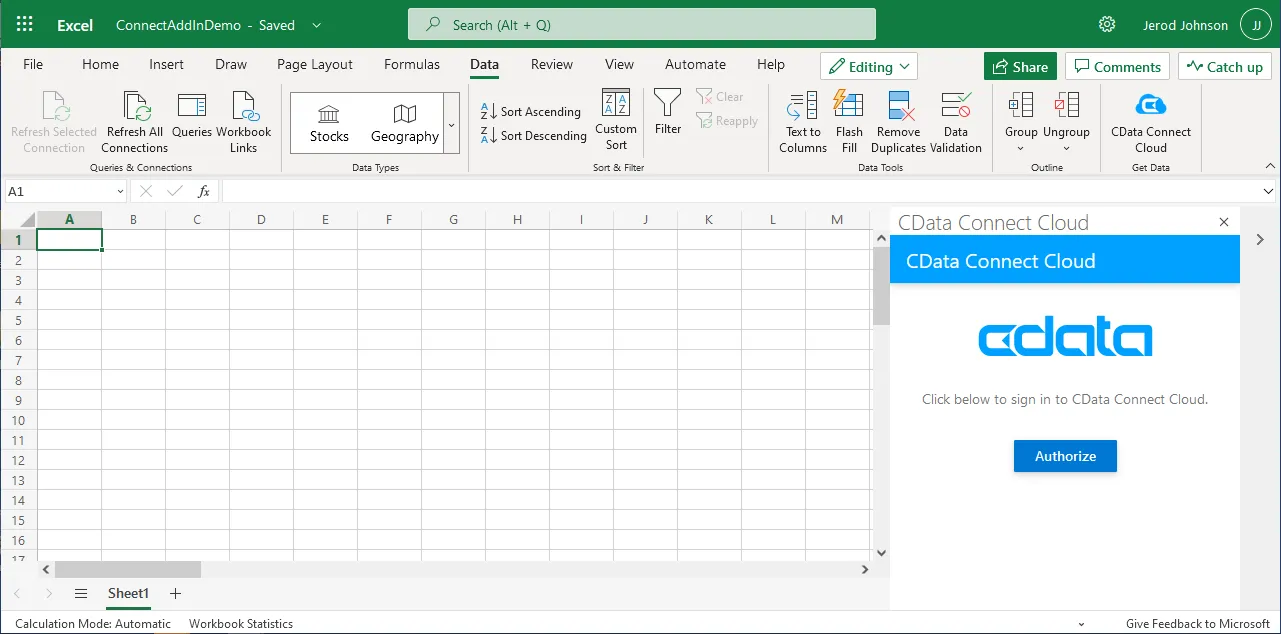
- Click Data and open the CData Connect Spreadsheets Add-In.
- In the Add-In panel, click Login or Sign-up to authenticate with your CData Connect AI instance
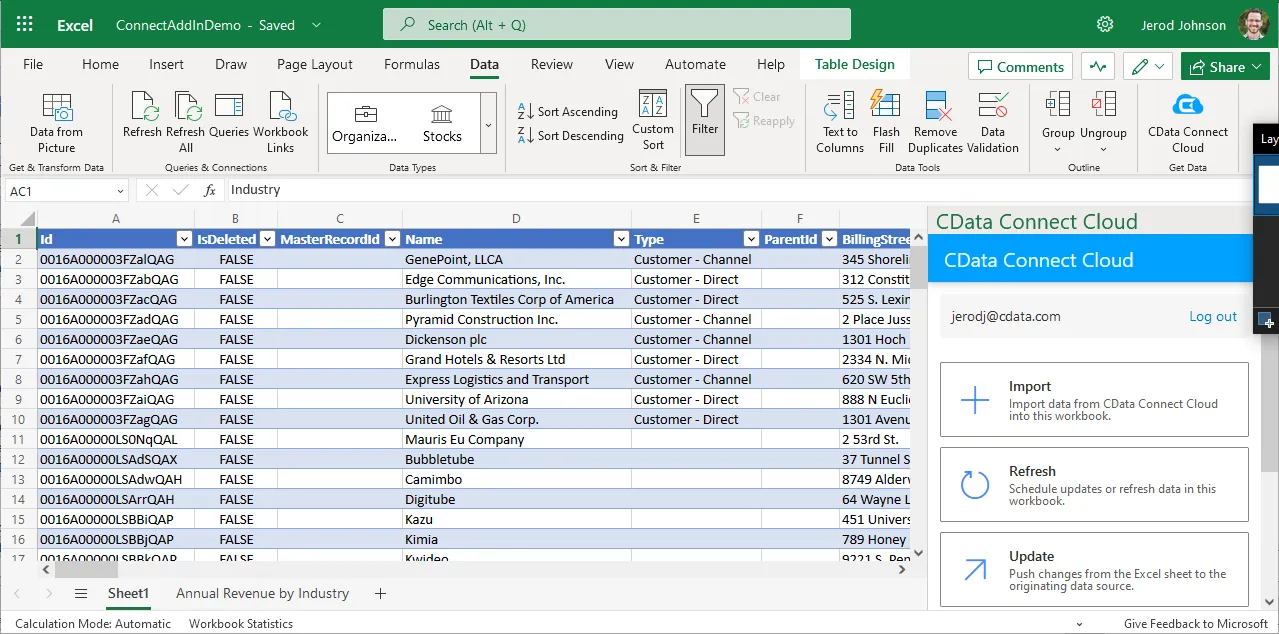
- In the CData Connect Spreadsheets panel in Excel, click Import
- Choose a Connection (e.g. API1), Table (e.g. AutomationFlowsStatistics), and Columns to import
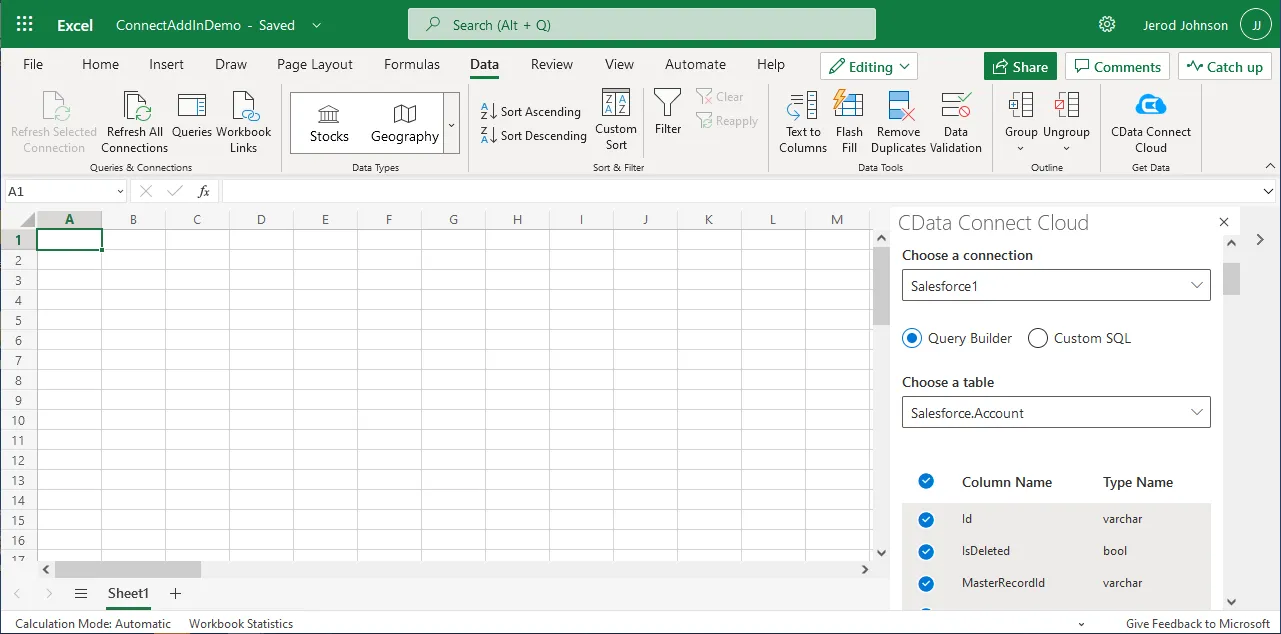
- Optionally add Filters, Sorting, and a Limit
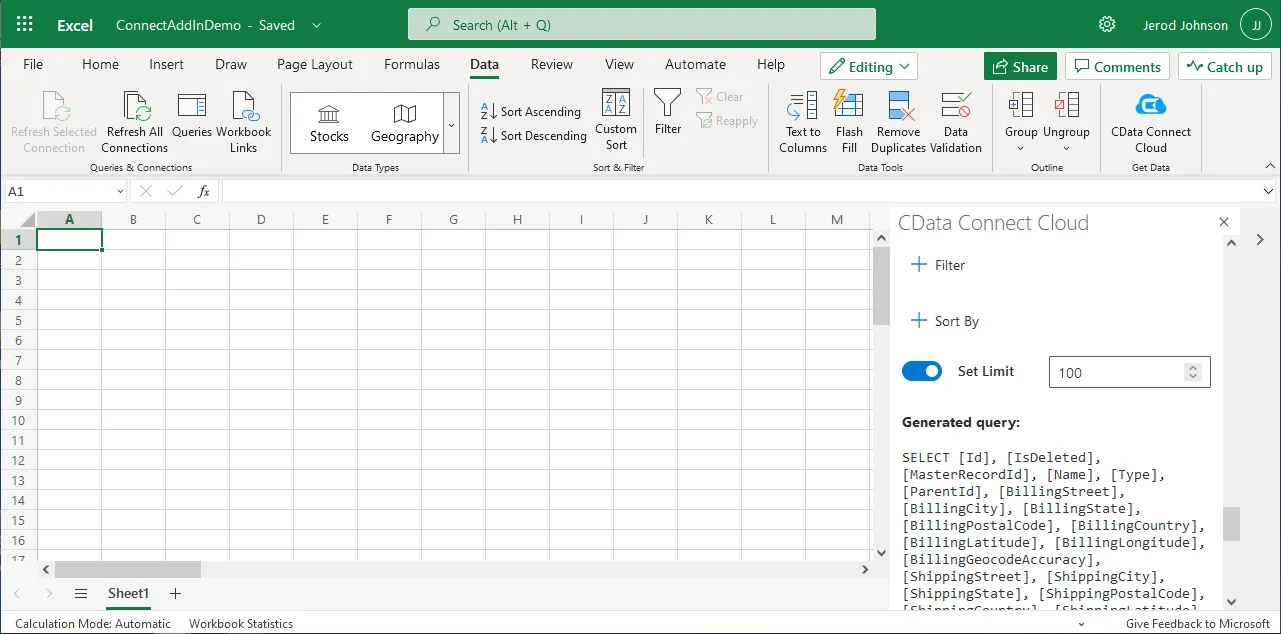
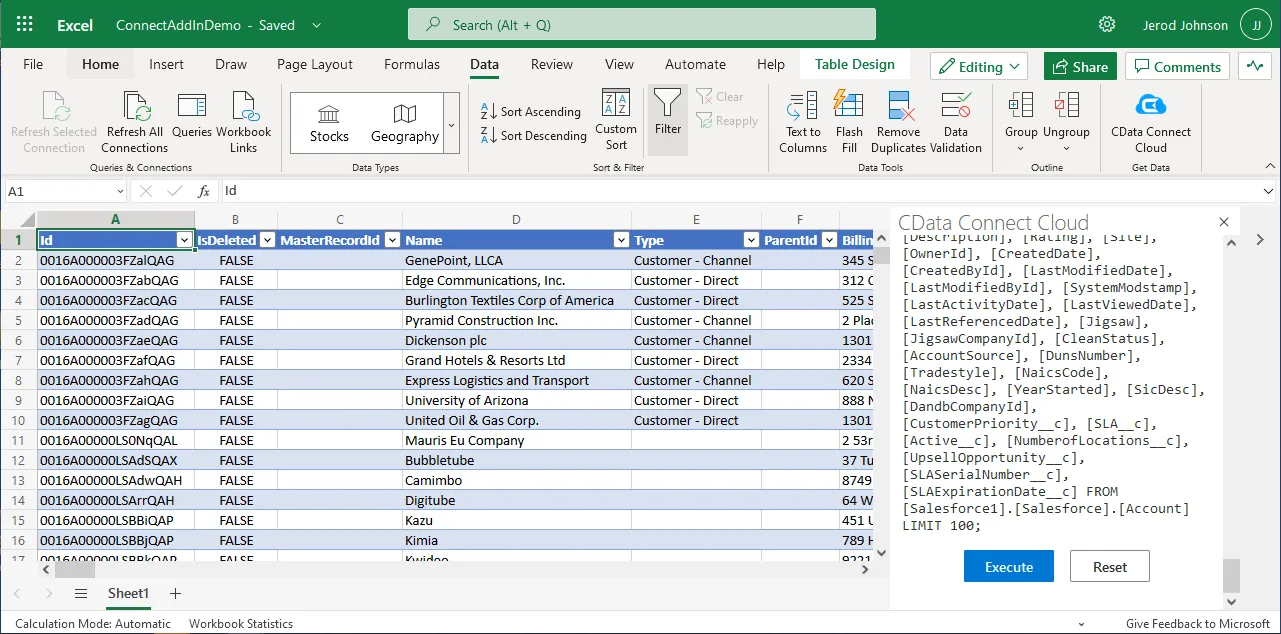
- Click Execute to import the data
Live Access to SendPulse Data from Cloud Applications
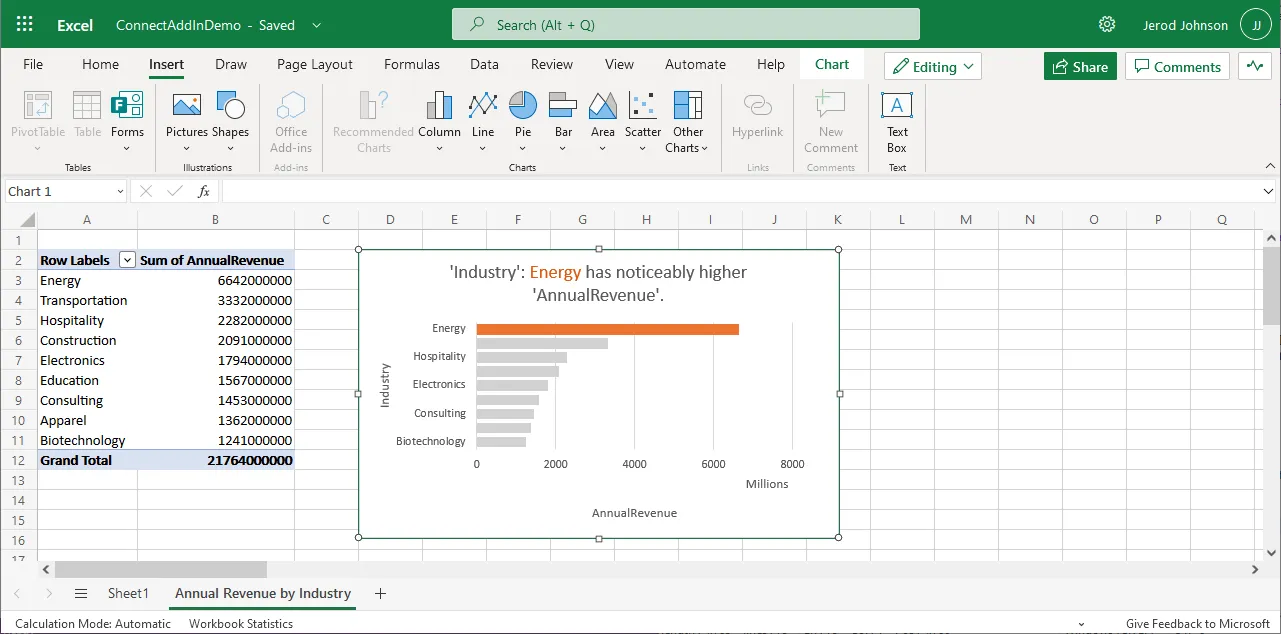
New, you have a direct, cloud-to-cloud connection to live SendPulse data from your Excel workbook. You can add more data to your workbook for calculations, aggregations, collaboration, and more.
Try CData Connect AI and get real-time data access to hundreds of SaaS, Big Data, and NoSQL sources directly from your cloud applications.