








Build Automated TaxJar-Connected Workflows in Zapier

Zapier is an online automation tool that connects your apps and services. When paired with CData Connect AI, you get access to live TaxJar data for your workflows. This article shows how to connect to TaxJar and build workflows with live TaxJar data in Zapier.
Connect to TaxJar from Zapier
To work with TaxJar in Zapier, we need to connect to TaxJar from Connect AI, provide user access to the connection, and create a Workspace for the TaxJar data.
Connect to TaxJar from Connect AI
CData Connect AI uses a straightforward, point-and-click interface to connect to data sources.
- Log into Connect AI, click Sources, and then click Add Connection
- Select "TaxJar" from the Add Connection panel
-
Enter the necessary authentication properties to connect to TaxJar.
To authenticate to the TaxJar API, first obtain the API Key from the TaxJar UI.
NOTE: the API is available only for Professional and Premium TaxJar plans.
If you already have a Professional or Premium plan you can find the API Key by logging in the TaxJar UI and navigating to Account -> TaxJar API. After obtaining the API Key, you can set it in the APIKey connection property.
Additional Notes
- By default, the CData connector will retrieve data of the last 3 months in cases where the entity support date range filtering. You can set StartDate to specify the minimum creation date of the data retrieved.
- If the API Key has been created for a sandbox API account please set UseSandbox to true, but not all endpoints will work as expected. For more information, refer to the TaxJar developer documentation.

- Click Save & Test
-
Navigate to the Permissions tab in the Add TaxJar Connection page and update the User-based permissions.



Add a Personal Access Token
When connecting to Connect AI through the REST API, the OData API, or the Virtual SQL Server, a Personal Access Token (PAT) is used to authenticate the connection to Connect AI. It is best practice to create a separate PAT for each service to maintain granularity of access.
- Click on the Gear icon () at the top right of the Connect AI app to open the settings page.
- On the Settings page, go to the Access Tokens section and click Create PAT.
-
Give the PAT a name and click Create.

- The personal access token is only visible at creation, so be sure to copy it and store it securely for future use.
Configure TaxJar Endpoints for Zapier
After connecting to TaxJar, create a workspace for your desired table(s).
-
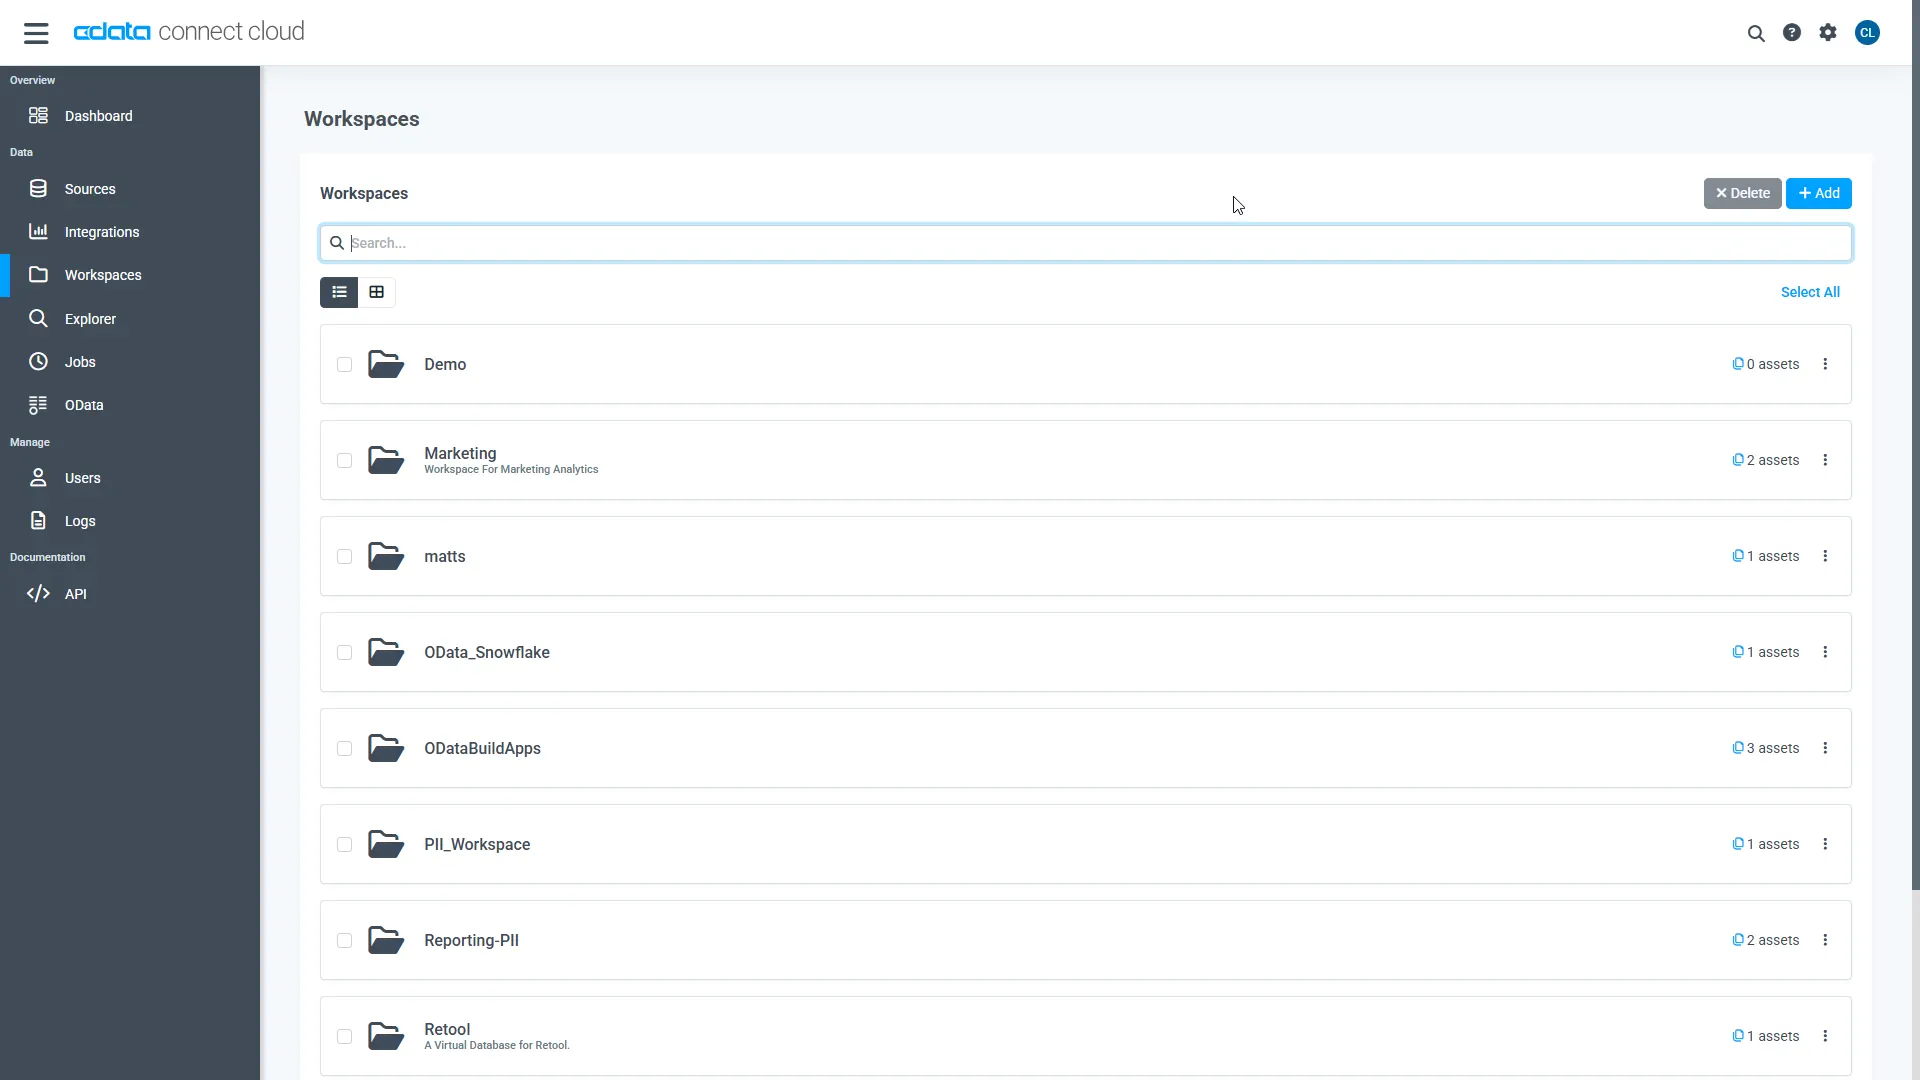
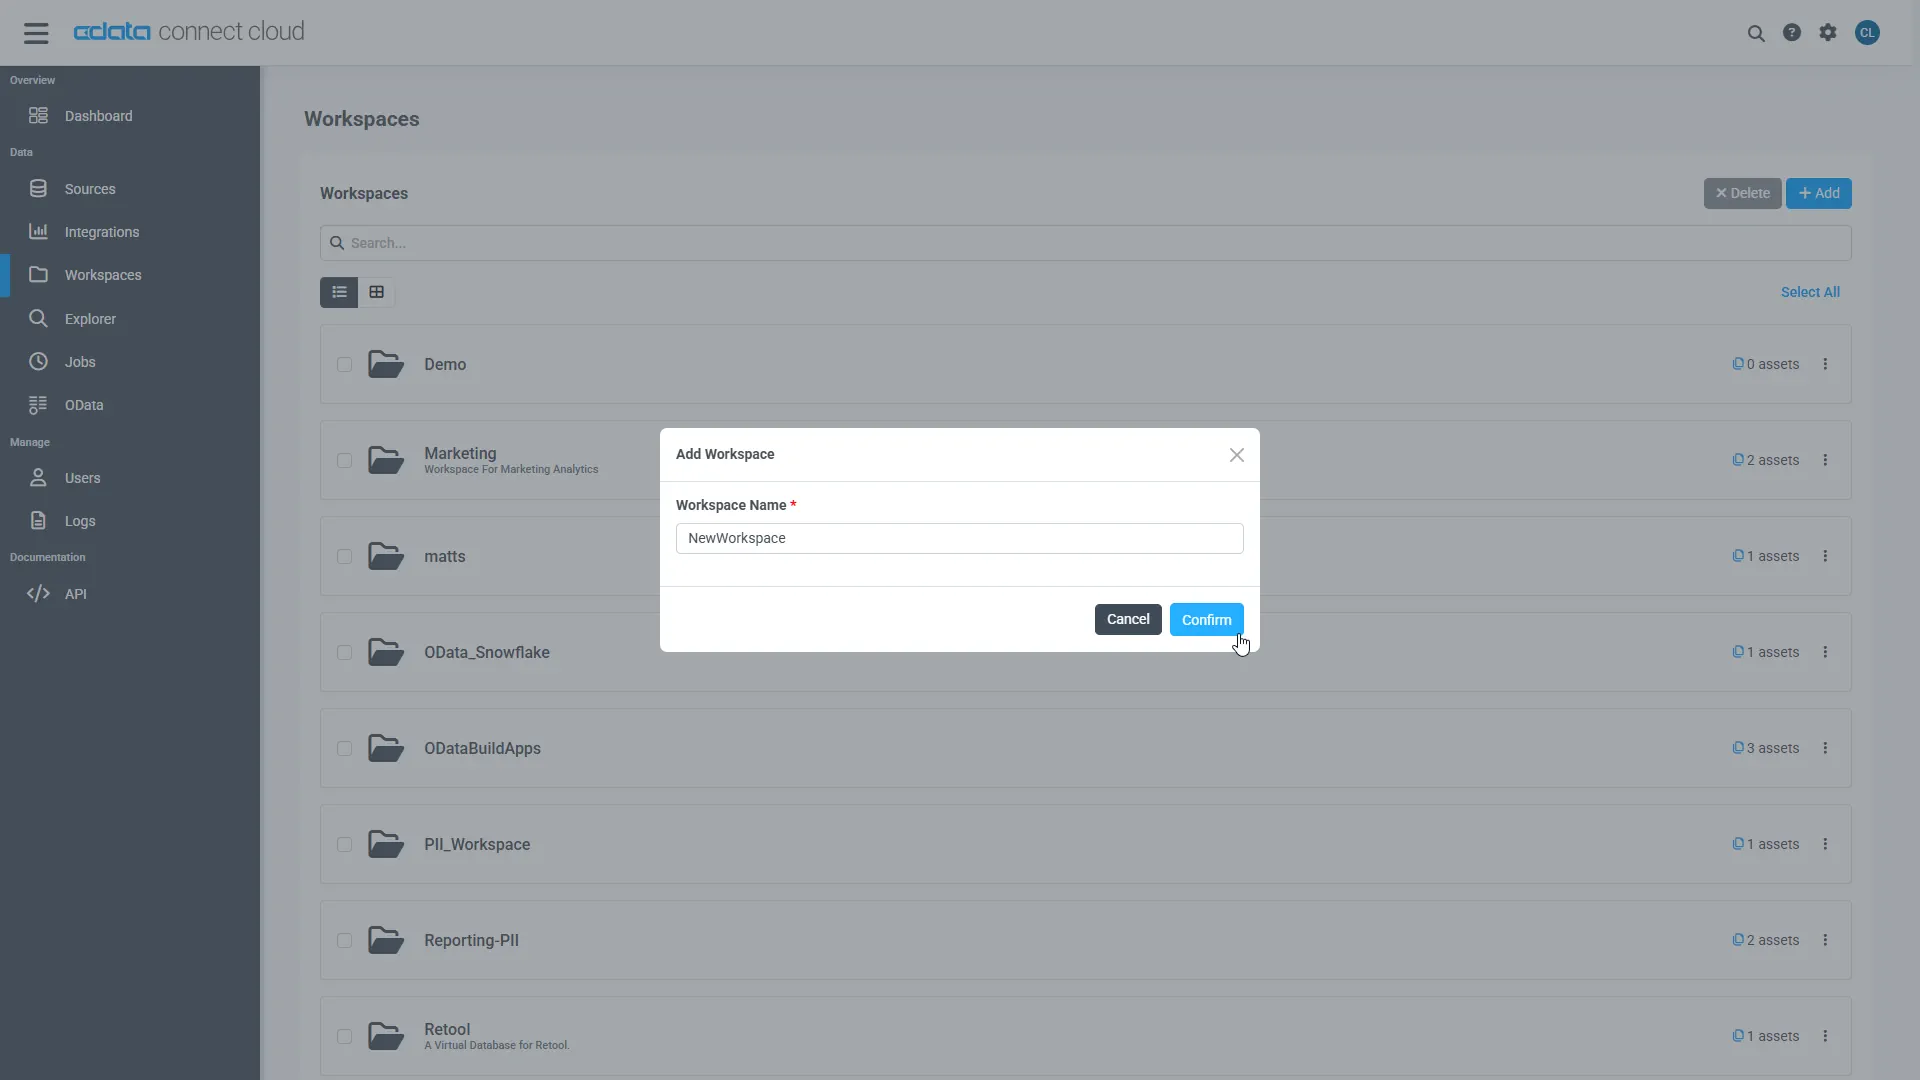
Navigate to the Workspaces page and click Add to create a new Workspace (or select an existing workspace).
- Click Add to add new assets to the Workspace.
-
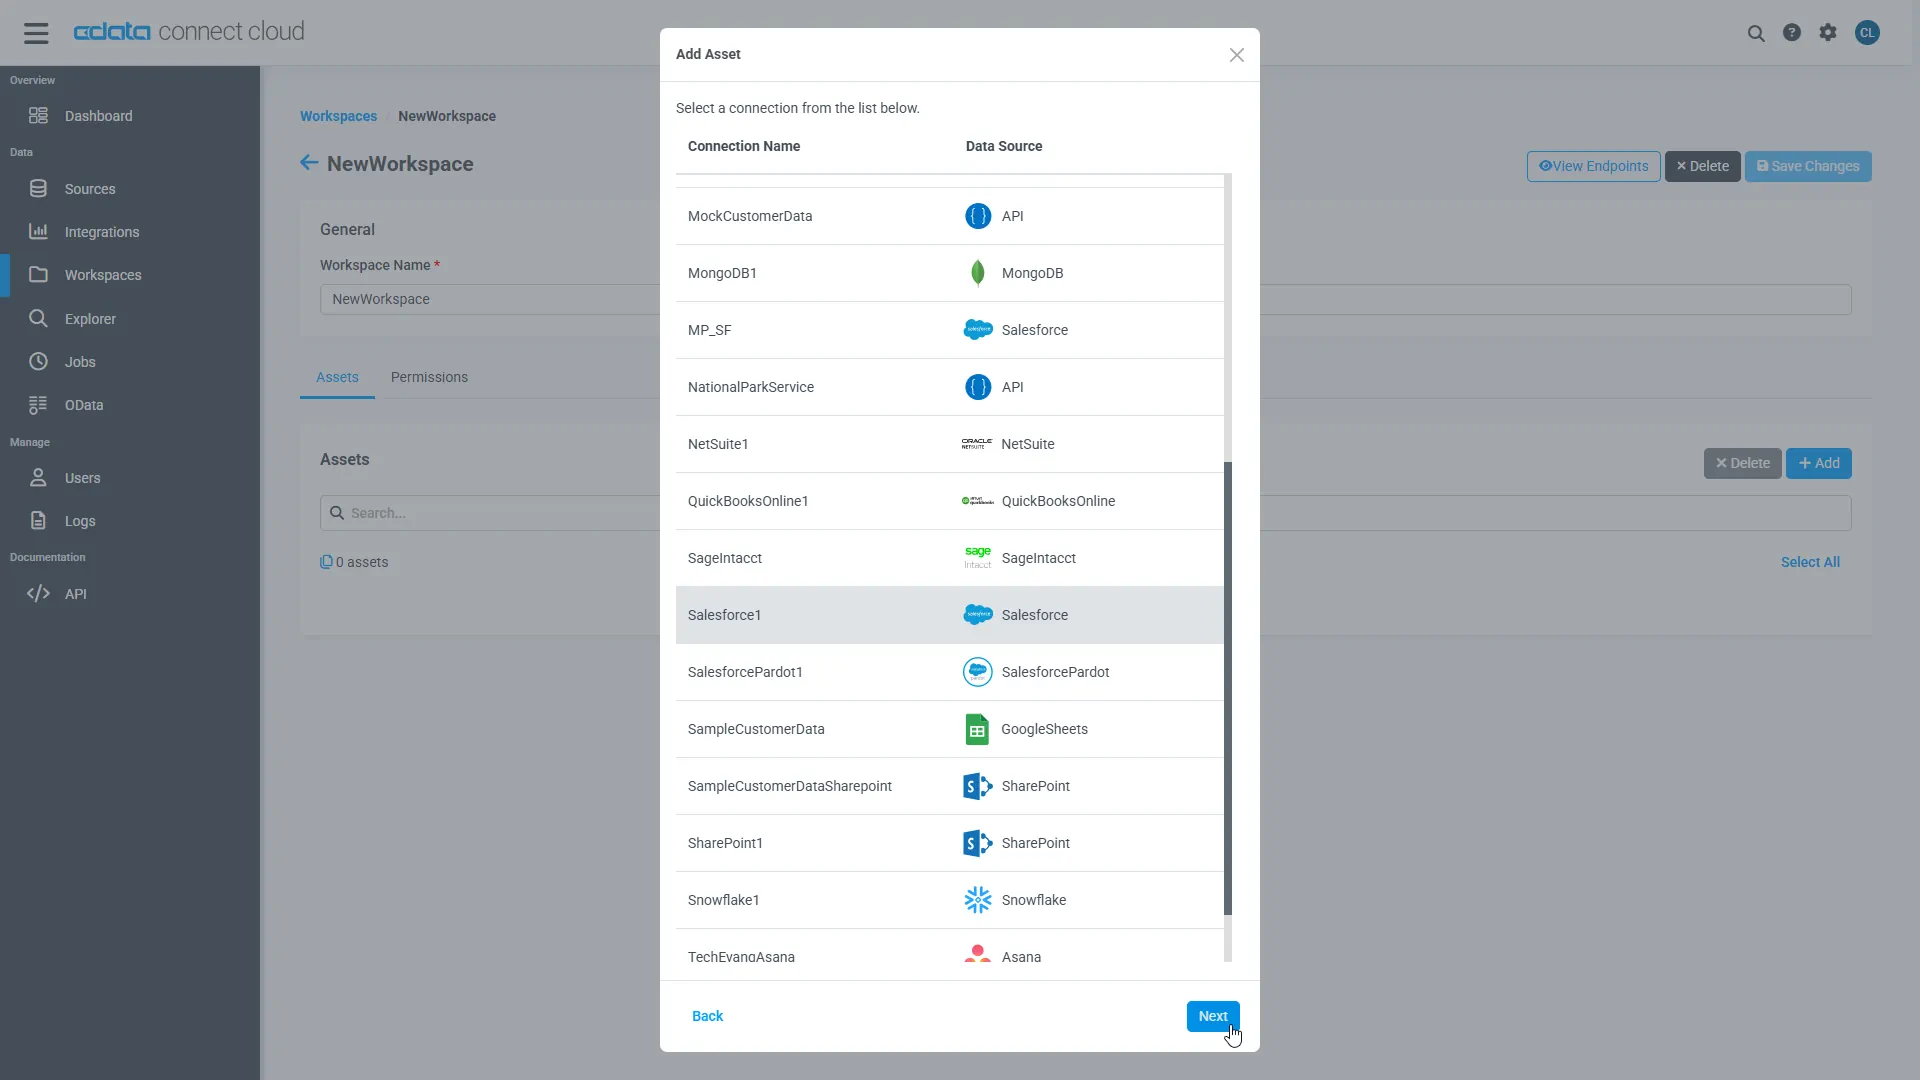
Select the TaxJar connection (e.g. TaxJar1) and click Next.
-
Select the table(s) you wish to work with and click Confirm.
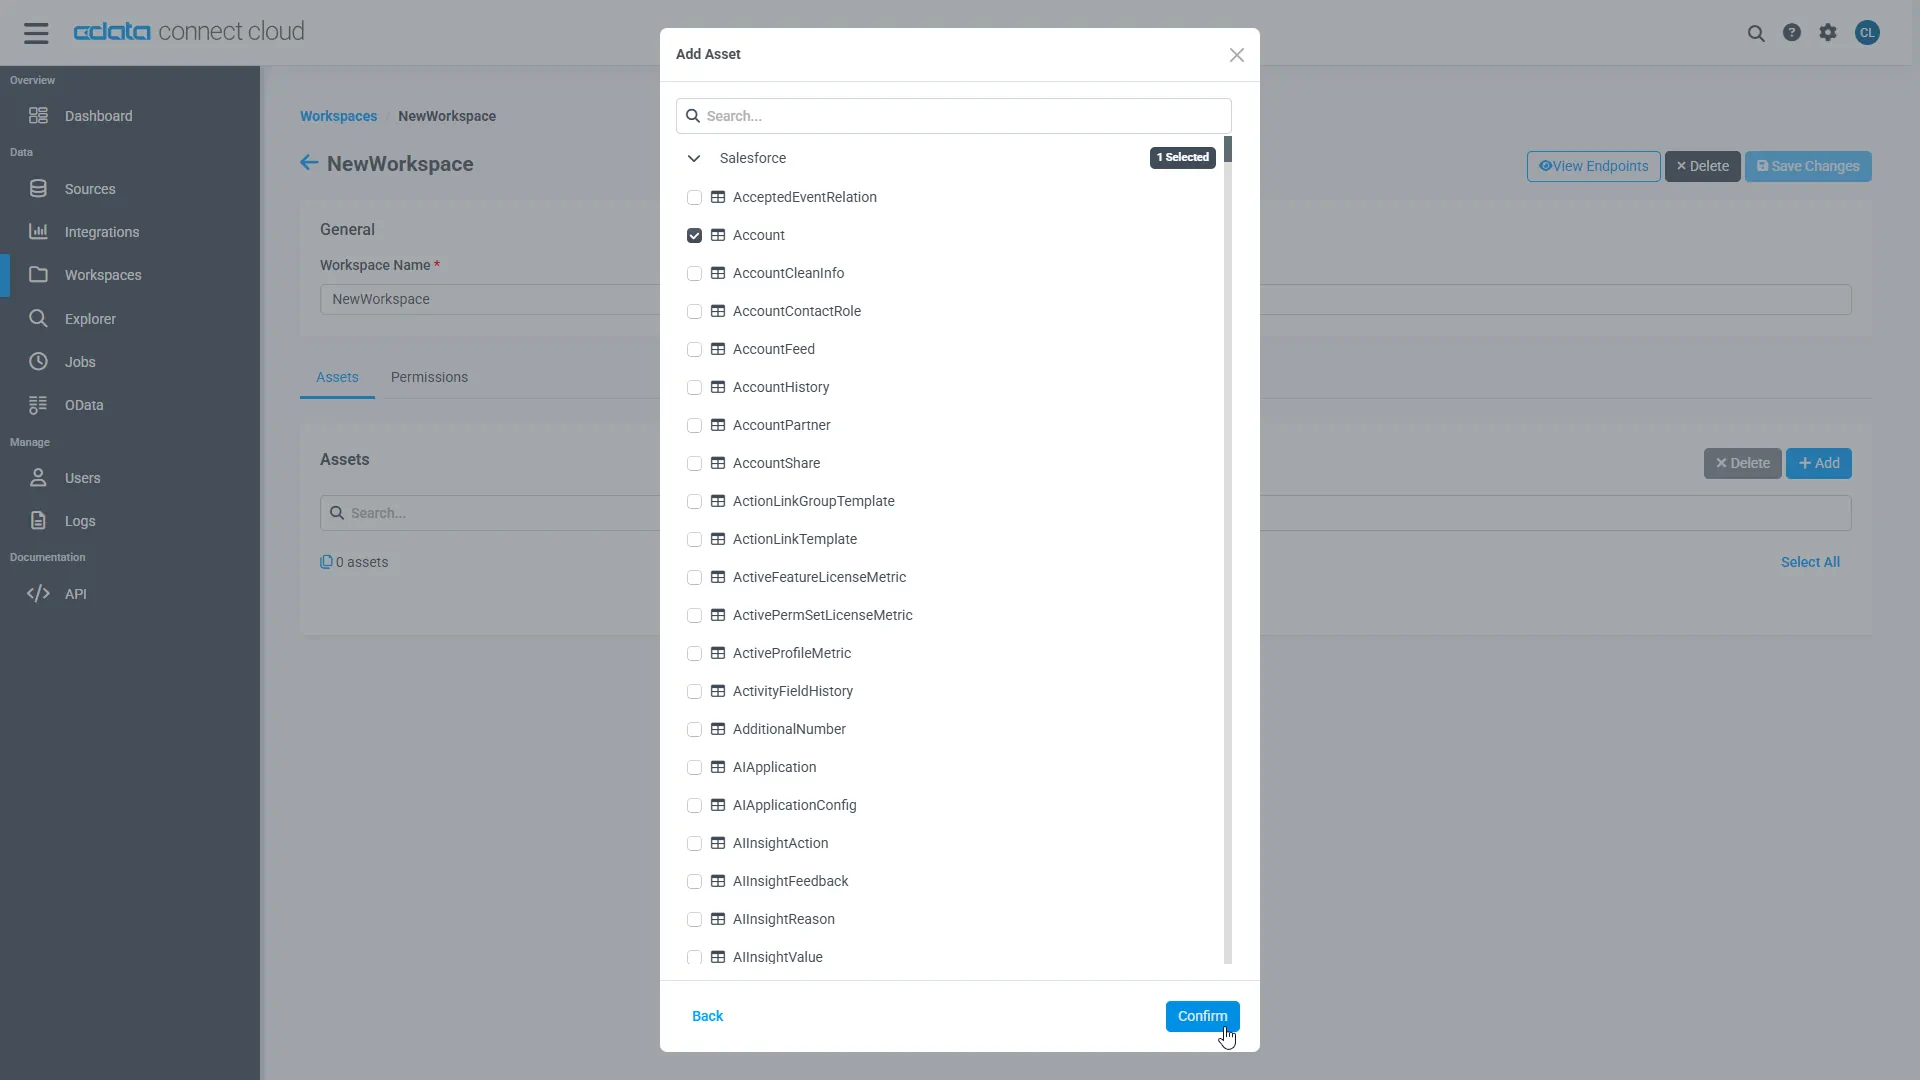
- Make note of the OData Service URL for your workspace, e.g. https://cloud.cdata.com/api/odata/{workspace_name}
With the connection, PAT, and Workspace configured, you are ready to connect to TaxJar data from Zapier.
Connect to TaxJar Data in Zapier Workflows
To establish a connection from Zapier to CData Connect AI using the OData protocol, follow these steps.
- Log into Zapier.
- Click Create Zap.
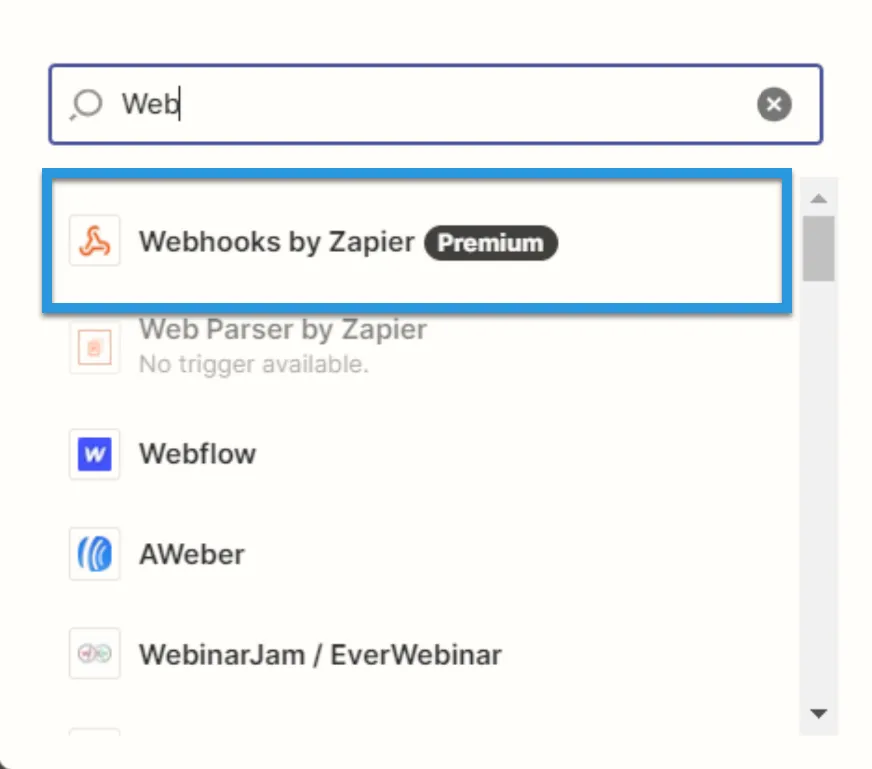
- In the dialog that appears, search for "Webhooks by Zapier", and click the option underneath.
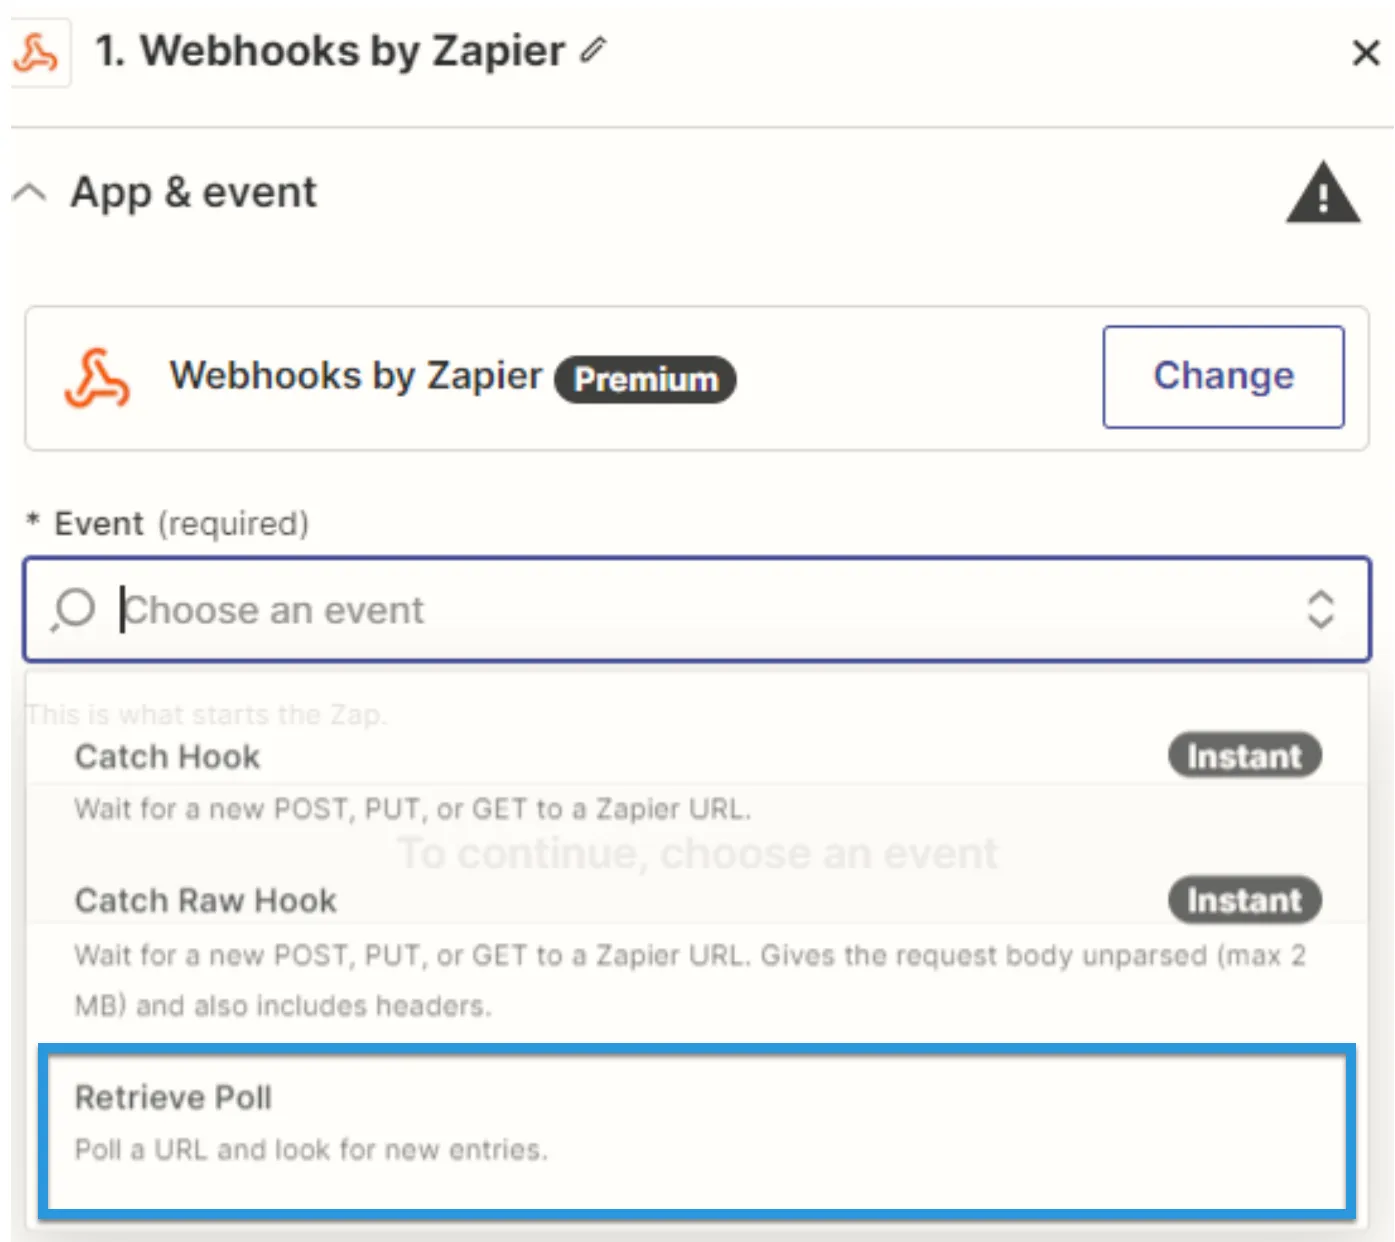
- Under Event, select Retrieve Poll.
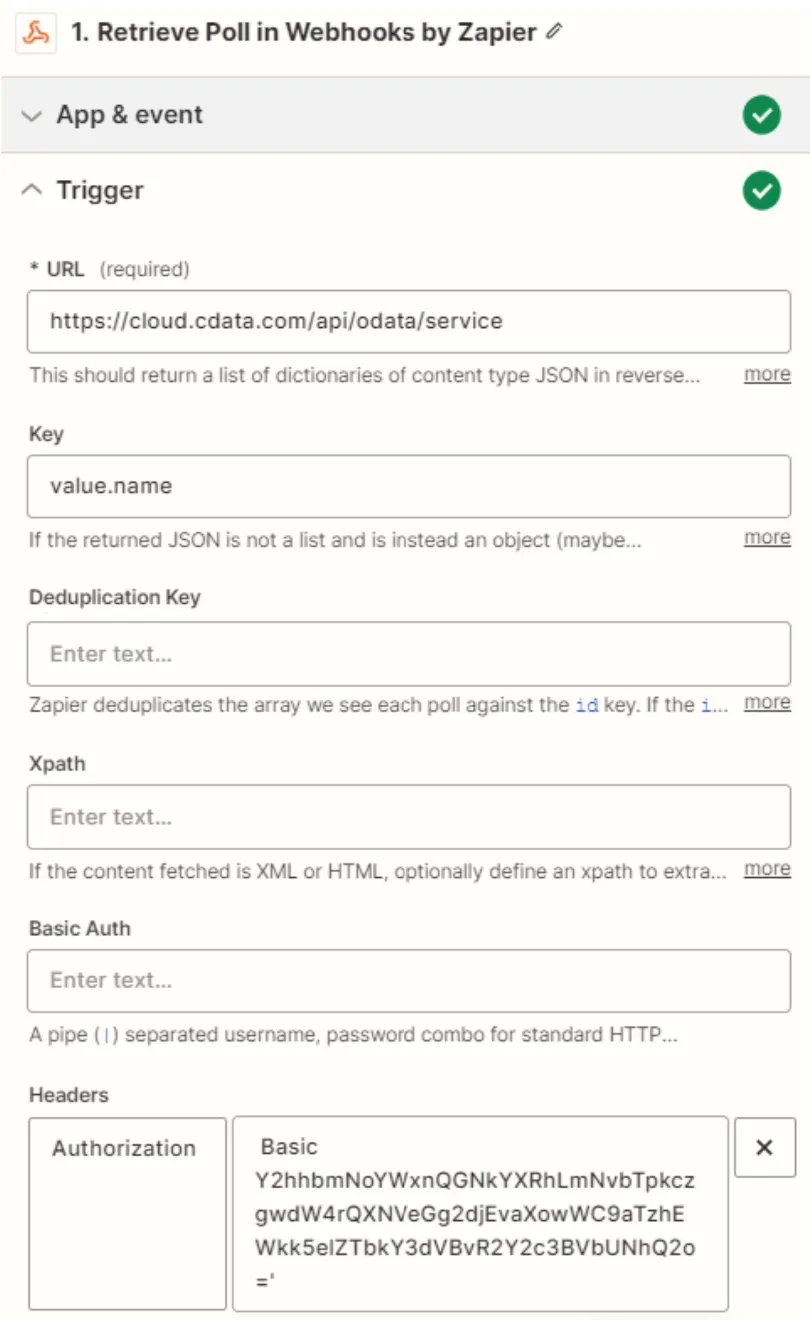
- Fill in the connection details:
- URL: Enter the OData URL (e.g. https://cloud.cdata.com/api/odata/{workspace_name}).
- Key: Enter "value.name."
- Authentication details: Fill in the Basic Auth or Headers. The basic option requires a user (your Connect AI username, e.g. [email protected]) and password (the PAT you've previously created) separated by a pipe symbol: |. The headers option requires a request type header with encoded credentials.
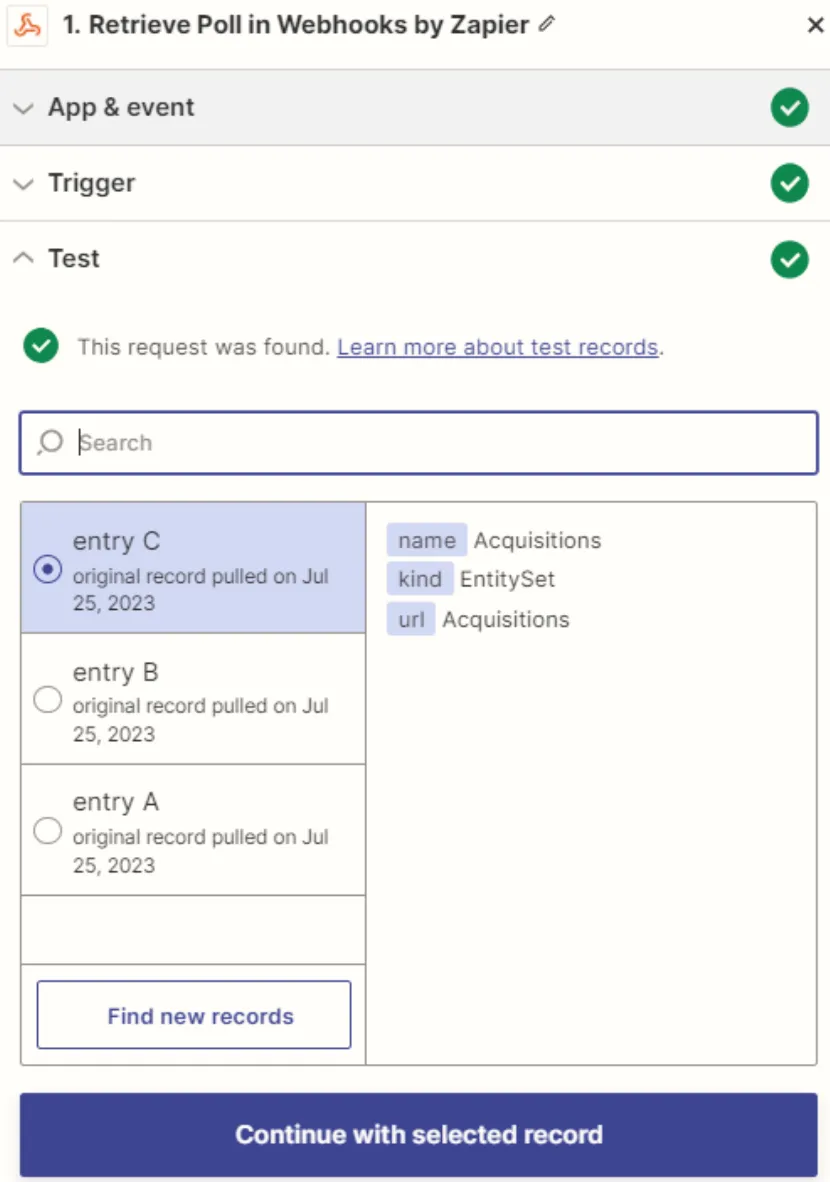
- Click Test. If the connection is set up properly, sample records will appear.
Simplified Access to TaxJar Data from Cloud Applications
At this point, you have a direct, cloud-to-cloud connection to live TaxJar data from Zapier. For more information on gaining simplified access to data from more than 100 SaaS, Big Data, and NoSQL sources in cloud applications like Zapier, refer to our Connect AI page.