








Build Teradata-Connected Apps in Bubble

Bubble is a no-code platform that simplifies the process of developing and launching apps and businesses. When coupled with CData Connect AI, you gain effortless no-code access to Teradata data for streamlined app development. This article guides you through the integration process from Bubble to Teradata using CData Connect AI.
CData Connect AI provides a pure cloud-to-cloud OData interface for Teradata data that allows you to integrate from Bubble to Teradata data in real time.
Connect to Teradata from Bubble
To work with Teradata data from Bubble, we need to connect to Teradata from Connect AI, provide user access to the connection, and create a Workspace for the Teradata data.
Connect to Teradata from Connect AI
CData Connect AI uses a straightforward, point-and-click interface to connect to data sources.
- Log into Connect AI, click Sources, and then click Add Connection
- Select "Teradata" from the Add Connection panel
-
Enter the necessary authentication properties to connect to Teradata.
To connect to Teradata, provide authentication information and specify the database server name.
- User: Set this to the username of a Teradata user.
- Password: Set this to the password of the Teradata user.
- DataSource: Specify the Teradata server name, DBC Name, or TDPID.
- Port: Specify the port the server is running on.
- Database: Specify the database name. If not specified, the default database is used.

- Click Save & Test
-
Navigate to the Permissions tab in the Add Teradata Connection page and update the User-based permissions.



Add a Personal Access Token
When connecting to Connect AI through the REST API, the OData API, or the Virtual SQL Server, a Personal Access Token (PAT) is used to authenticate the connection to Connect AI. It is best practice to create a separate PAT for each service to maintain granularity of access.
- Click on the Gear icon () at the top right of the Connect AI app to open the settings page.
- On the Settings page, go to the Access Tokens section and click Create PAT.
-
Give the PAT a name and click Create.

- The personal access token is only visible at creation, so be sure to copy it and store it securely for future use.
Configure Teradata Endpoints for Bubble
After connecting to Teradata, create a workspace for your desired table(s).
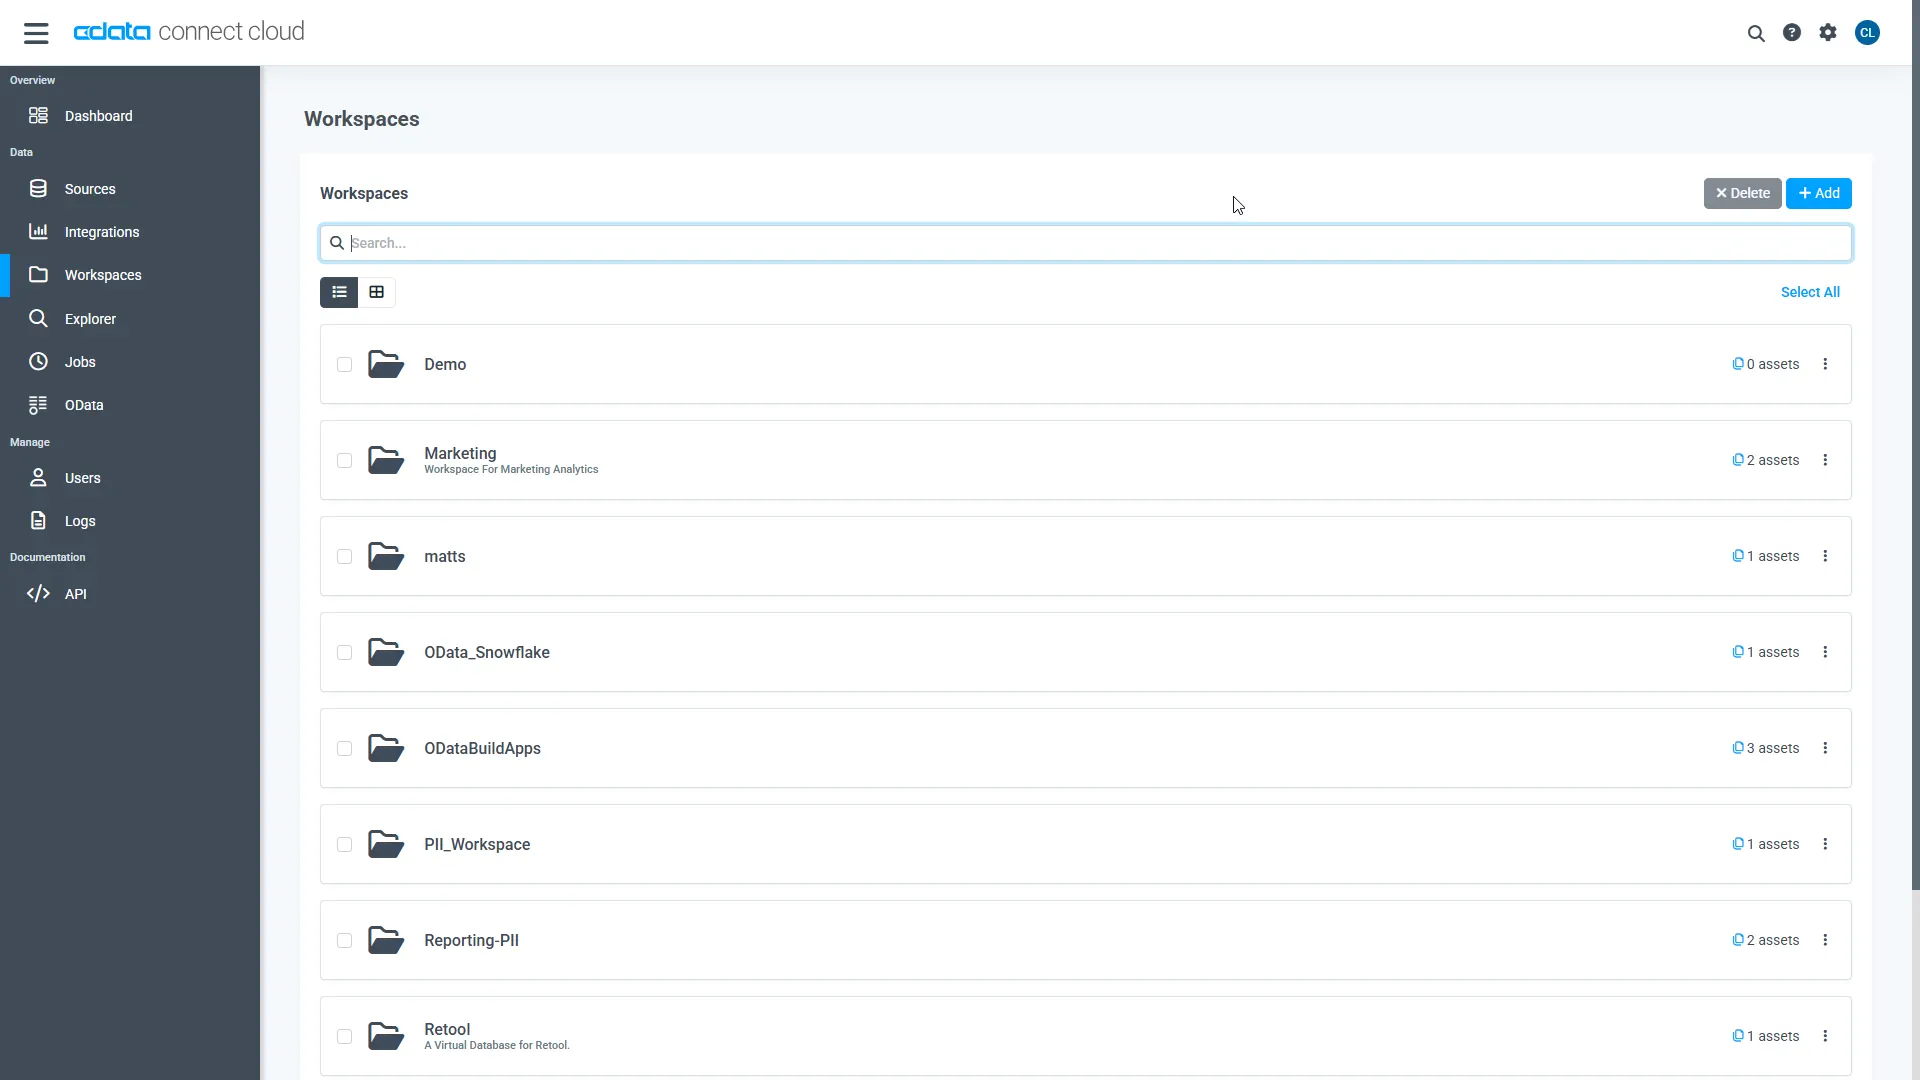
- Navigate to the Workspaces page and click Add to create a new Workspace (or select an existing workspace).
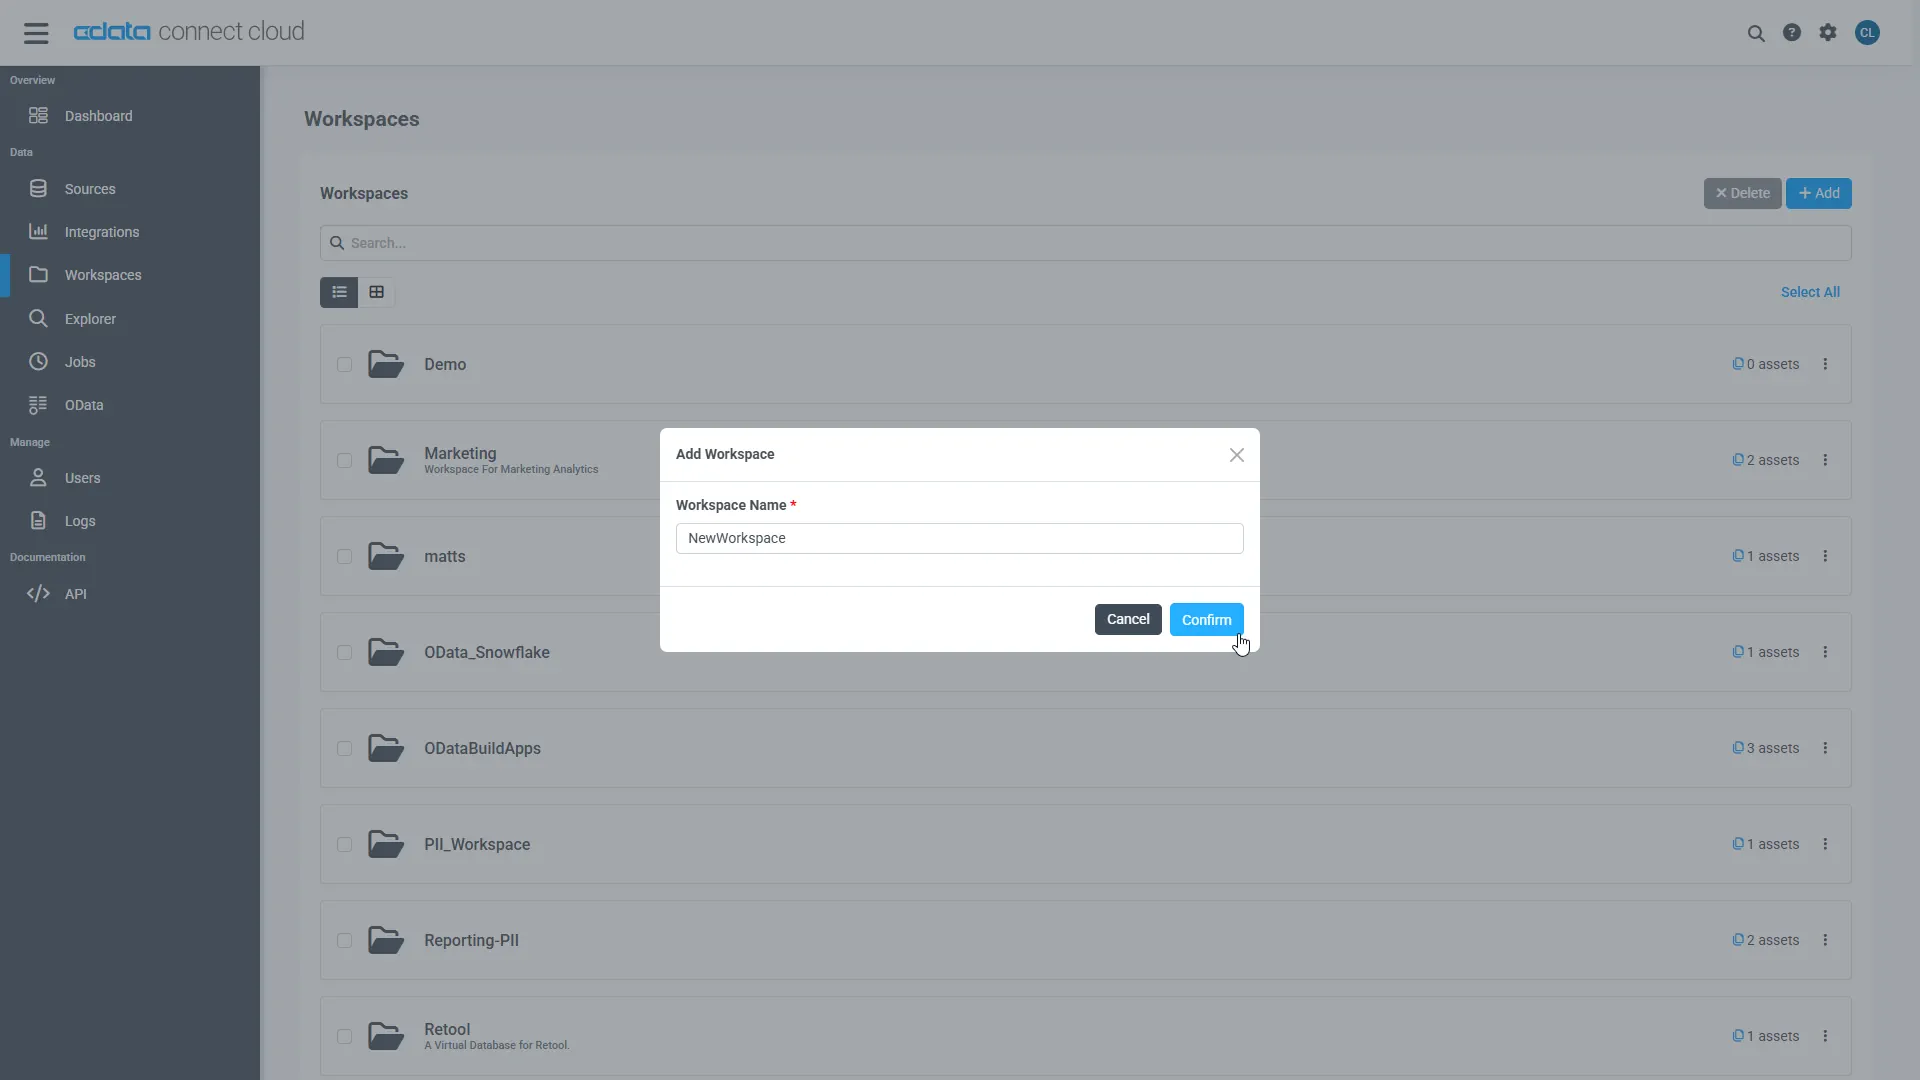
- Click Add to add new assets to the Workspace.
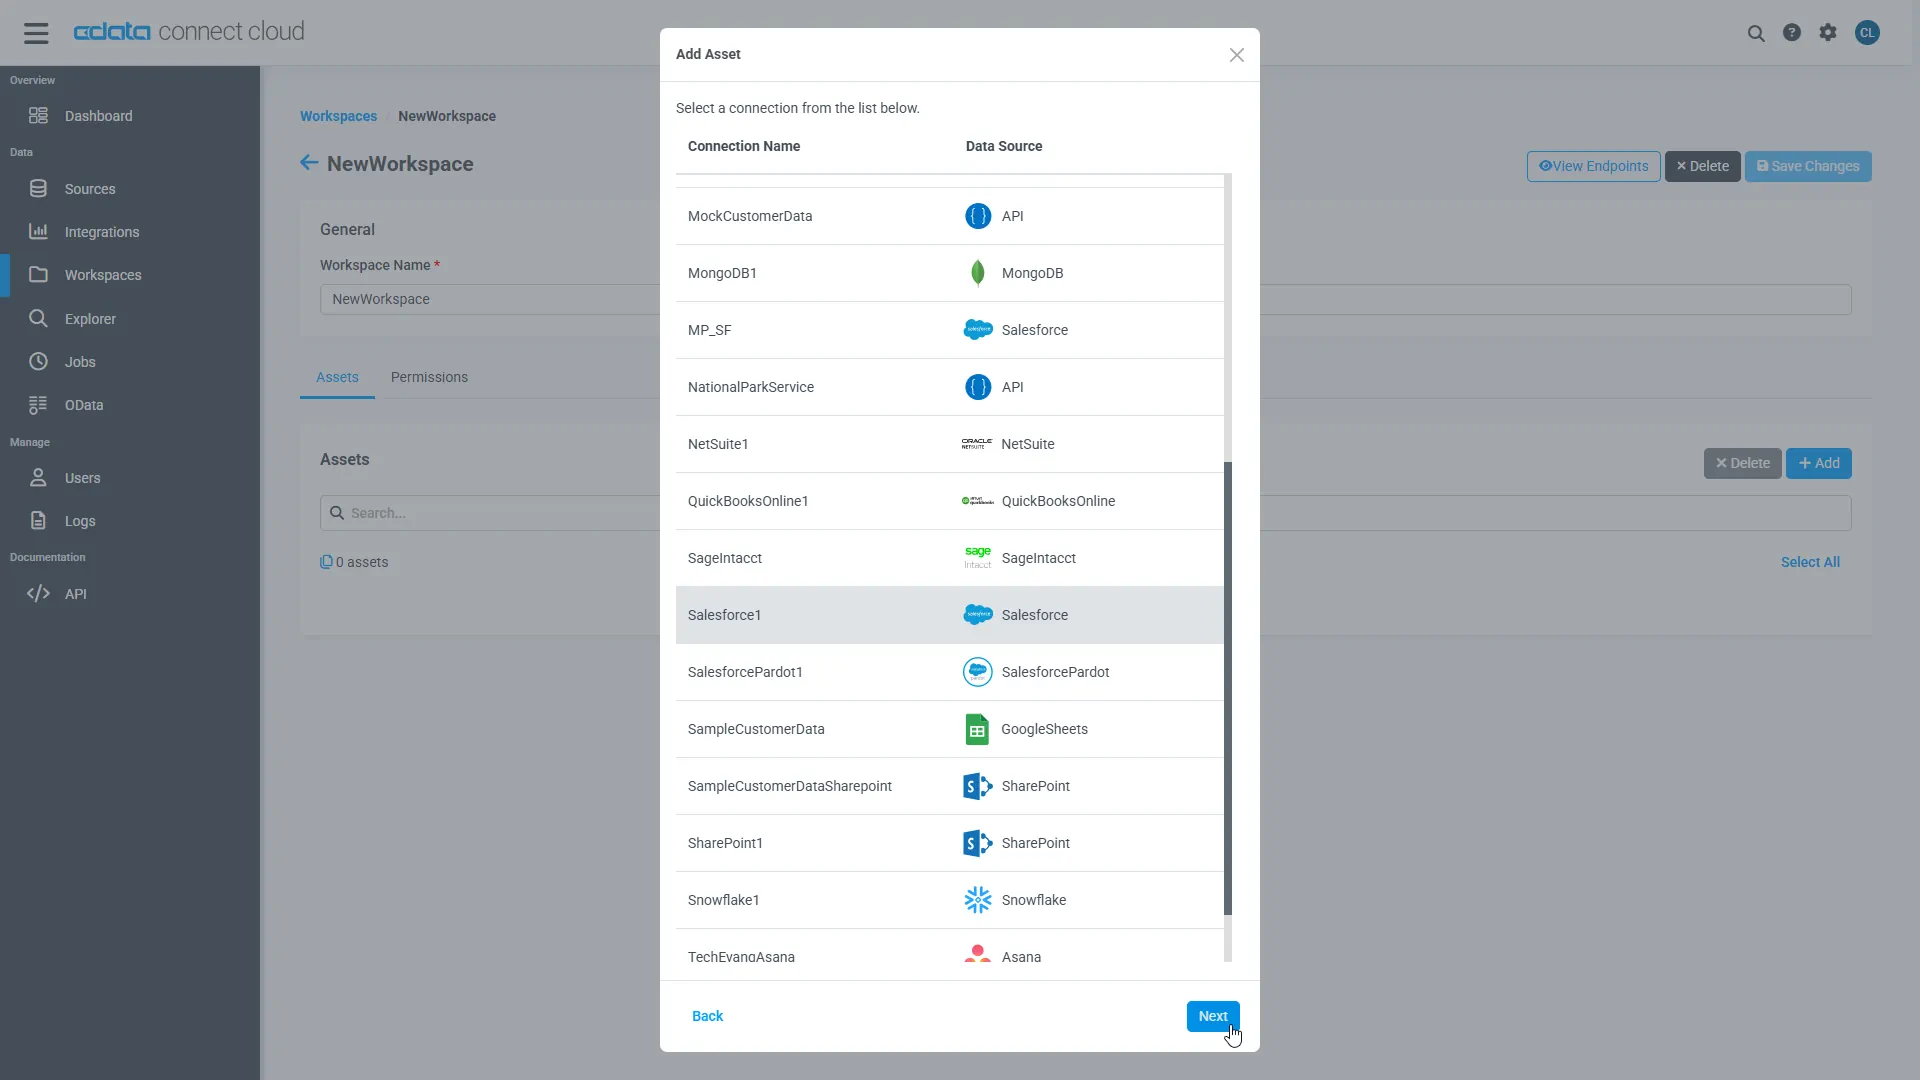
- Select the Teradata connection (e.g. Teradata1) and click Next.
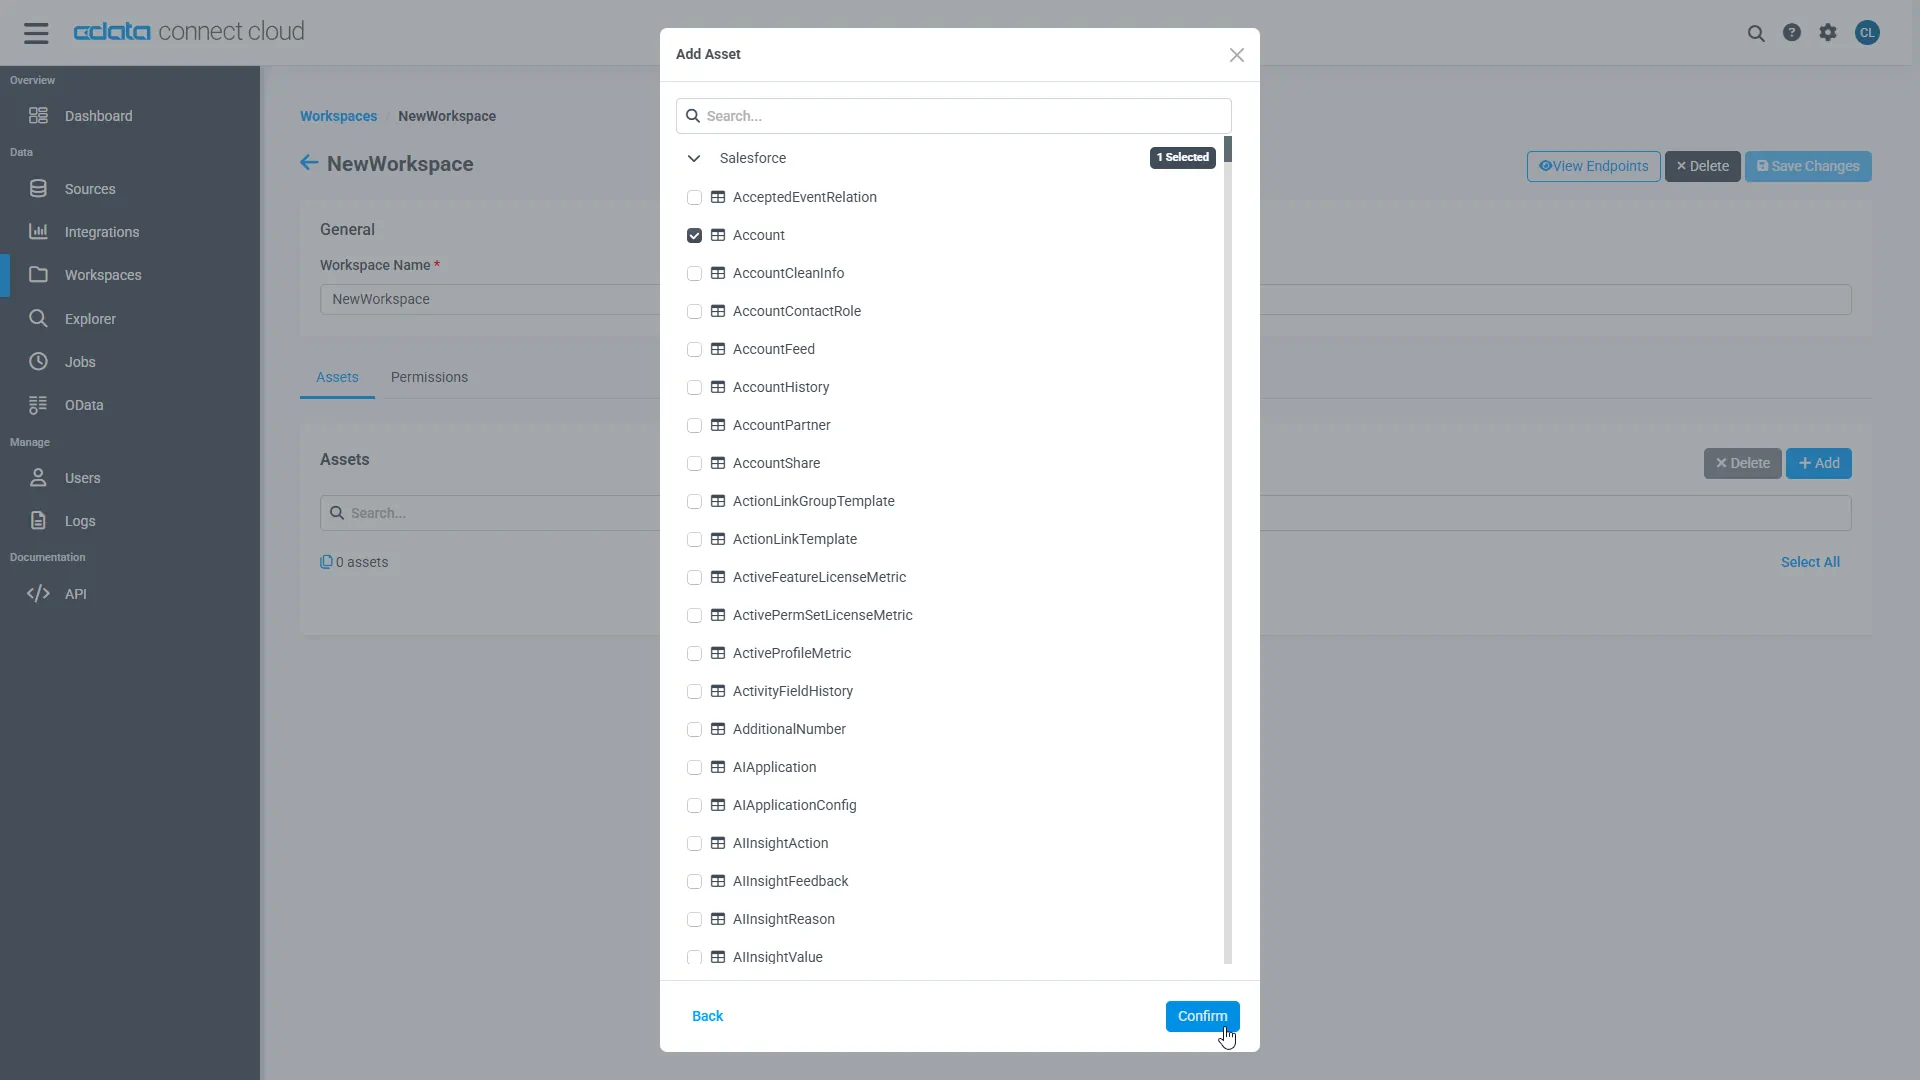
- Select the table(s) you wish to work with and click Confirm.
- Make note of the OData Service URL for your workspace, e.g. https://cloud.cdata.com/api/odata/{workspace_name}
With the connection, PAT, and Workspace configured, you are ready to connect to Teradata data from Bubble.
Build a Teradata-Connected App
With OData endpoints added to Connect AI, you can build an app in Bubble with live access to Teradata data.
Configure the Bubble API Connector
To start, Configure the API Connector for accessing CData Connect AI from Bubble.
- In your app, click the Plugins tab and click Add plugins
- Search for "API Connector" and click Install
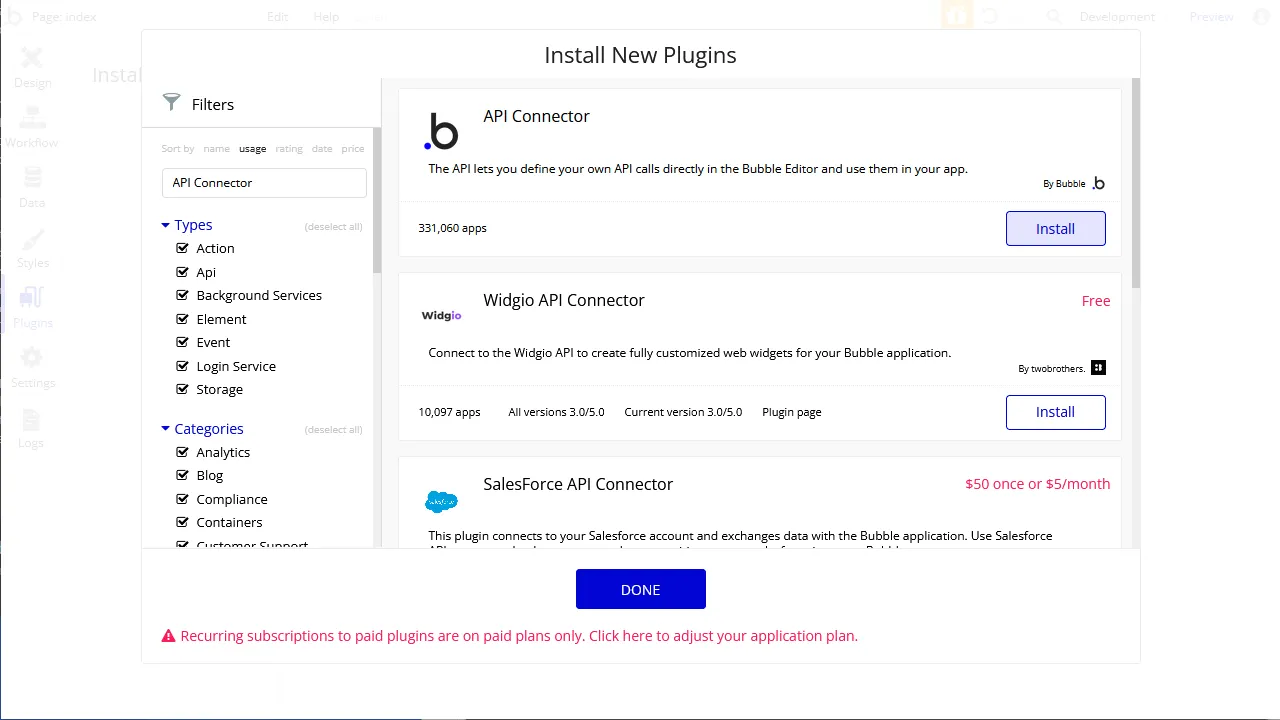
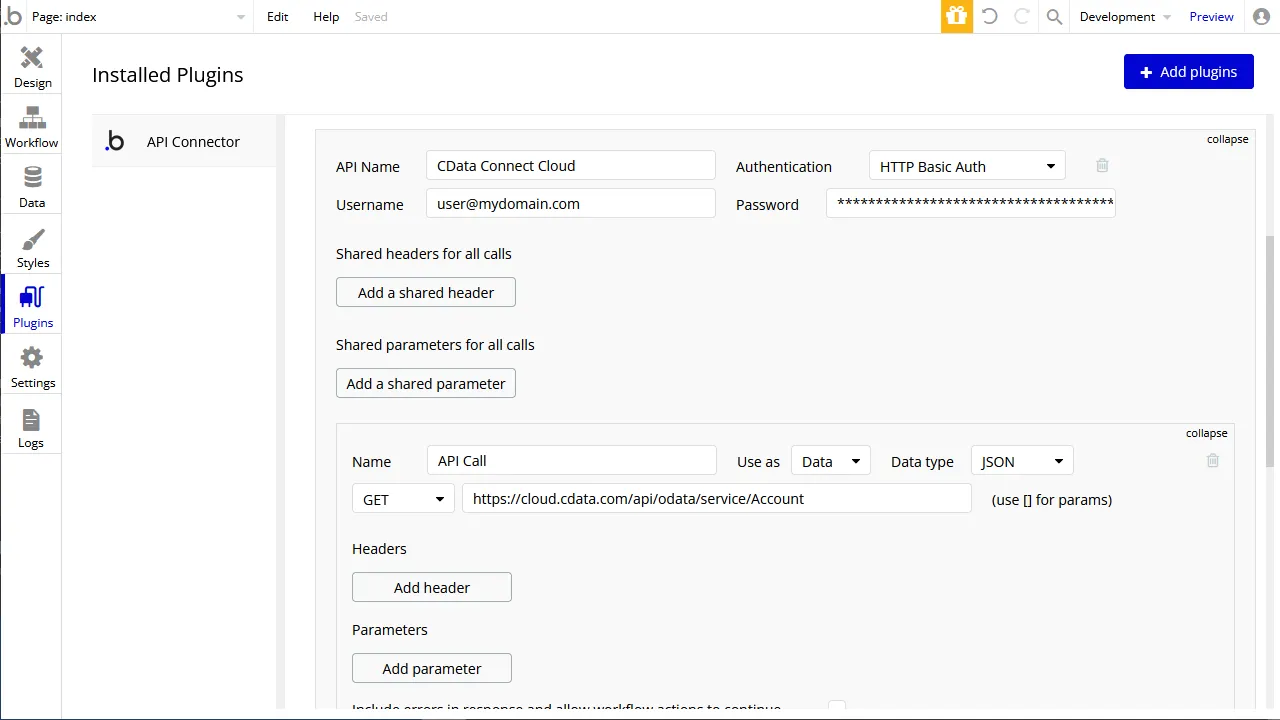
- After installation, click the "Add another API" button and configure the API:
- Name the API
- Set Authentication to "HTTP Basic Auth"
- Set Username to a Connect AI user (e.g. [email protected])
- Set Password to the PAT for the user
- Expand the API Call, select the "GET" command and set the URL to a Workspace endpoint you previously configured (e.g. https://cloud.cdata.com/api/odata/{workspace_name}/NorthwindProducts)
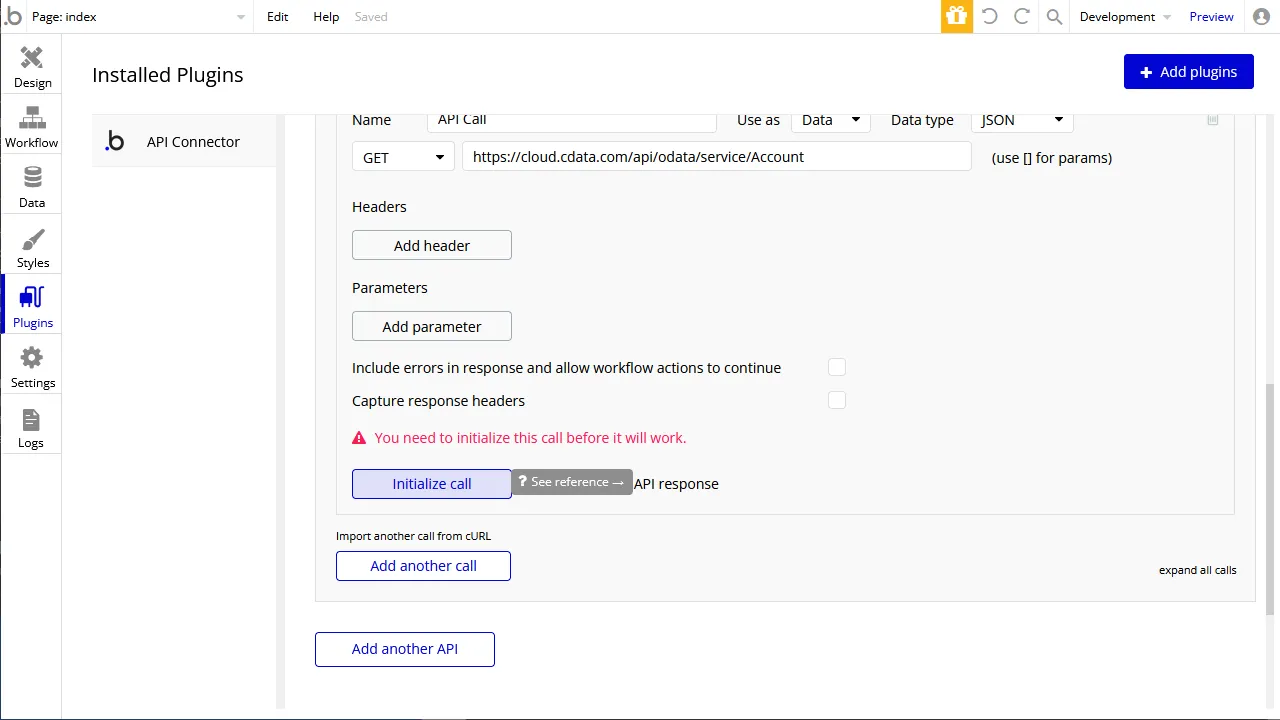
- Click the "Initialize call" button to adjust data types in the response (as needed)
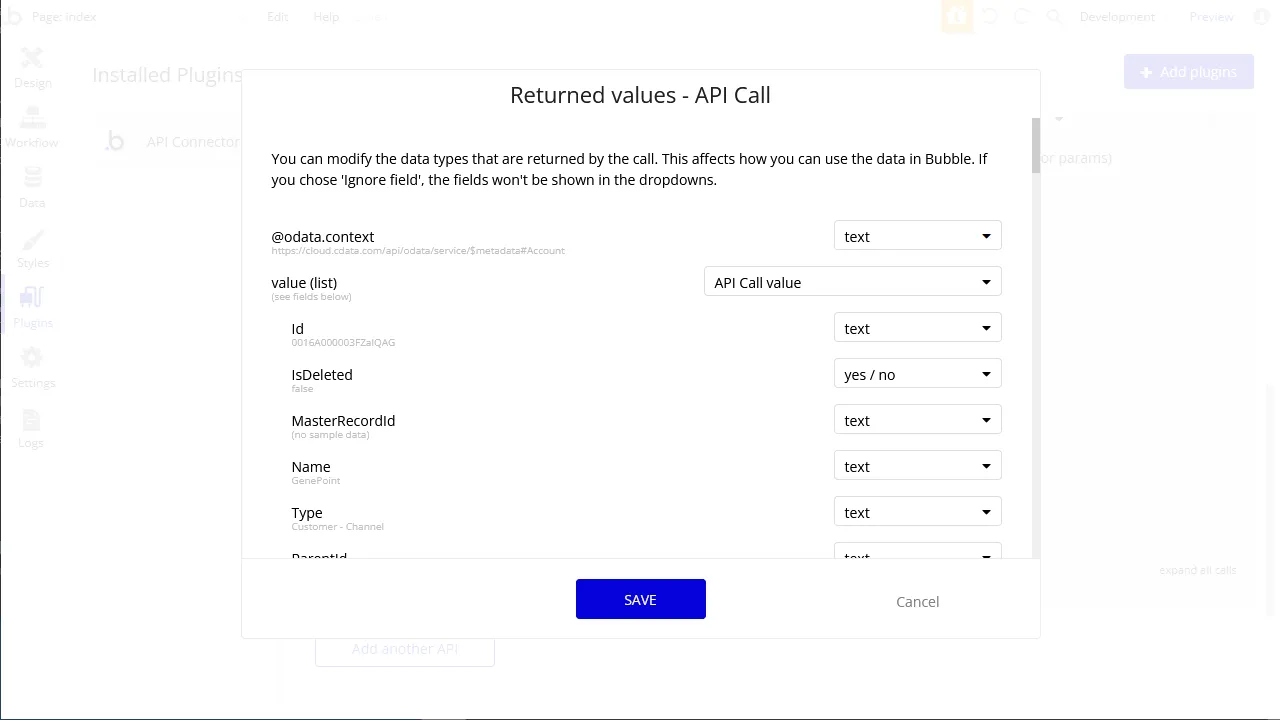
- After making any necessary changes, click "Save"
Configure the App UI
With the API Connector configure, you are ready to retrieve Teradata data in your Bubble app. In this article, we request the data with a UI component that can display an Excel-like table.
-
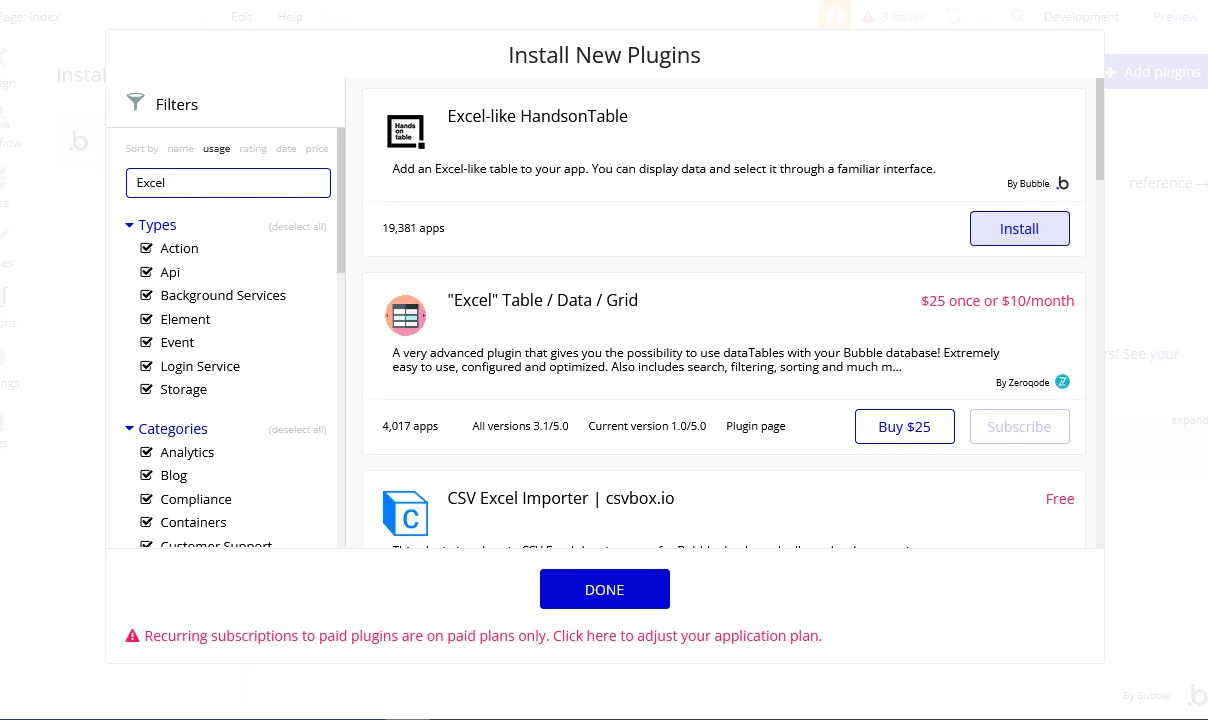
On the Plugin tab, install the "Excel-like HandsonTable"
- On the Design tab, add an "Excel Table" to the workspace
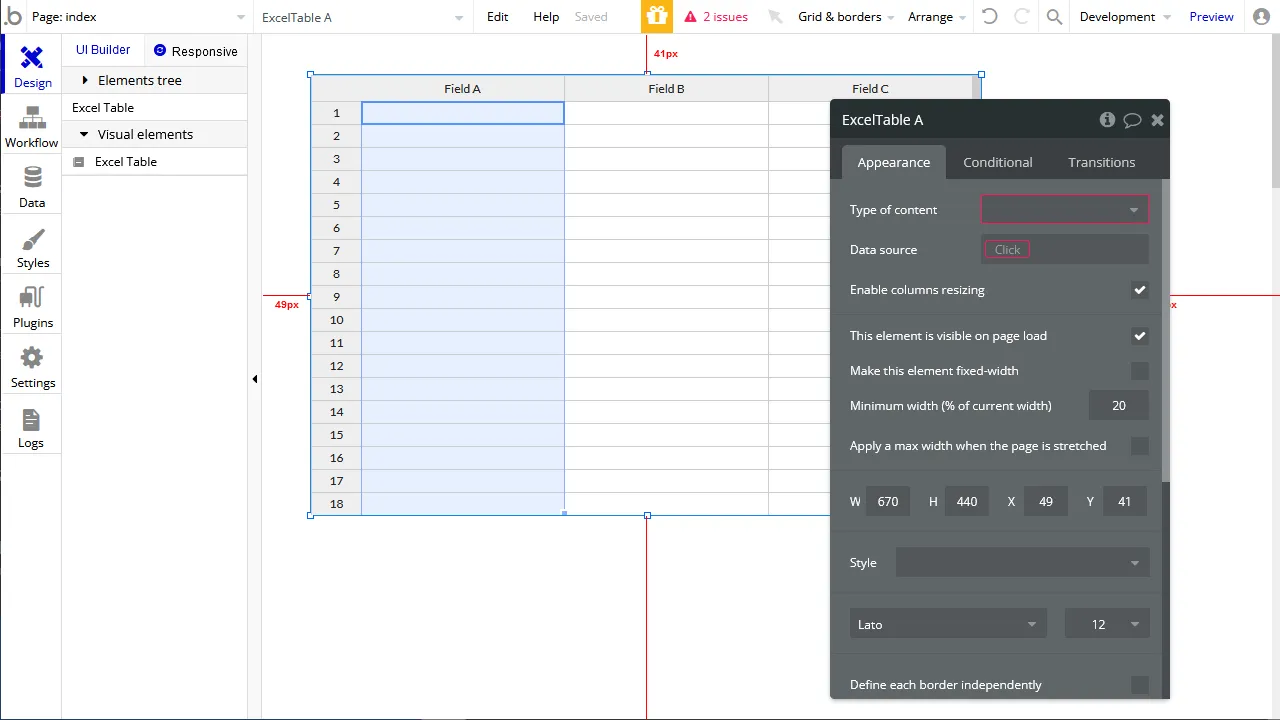
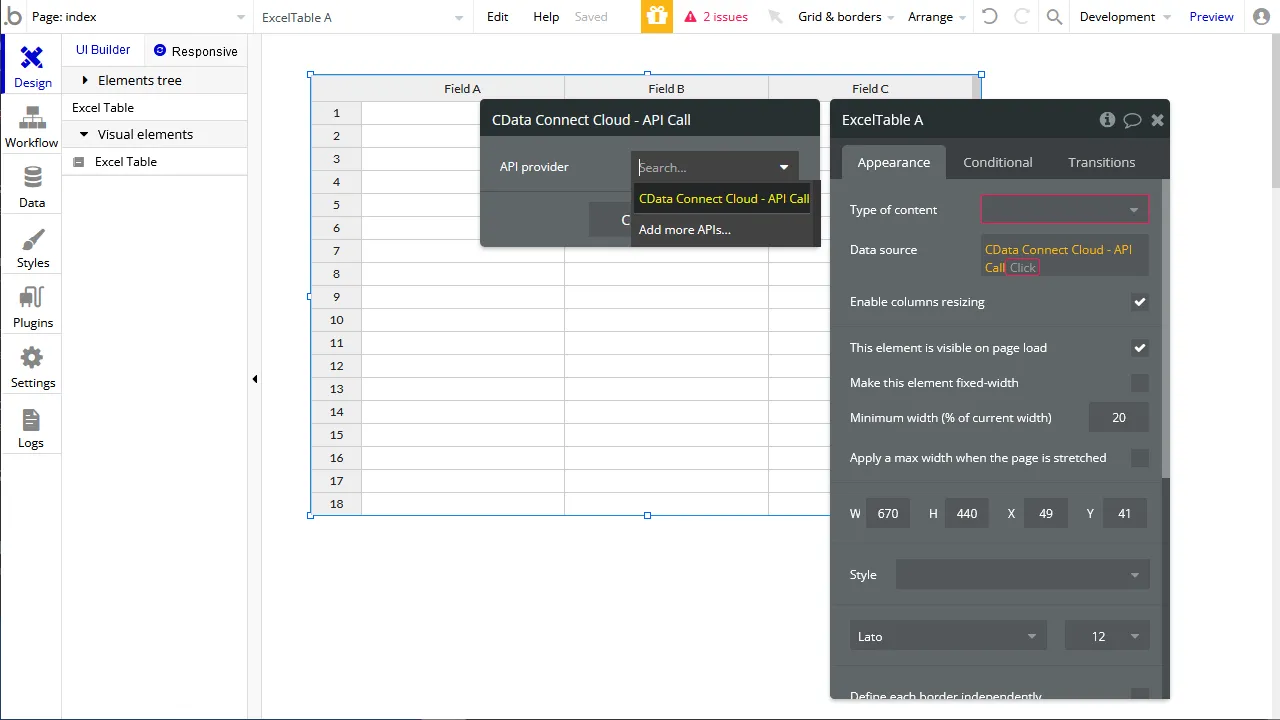
- In the Excel Table, in Data source, select "Get data from an external API"
- Set Type of content to "API Call value"
- Set Data source to "CData Connect AI - API Call's value" (or equivalent)
- Click "Preview" to ensure the data was retrieved from Teradata.
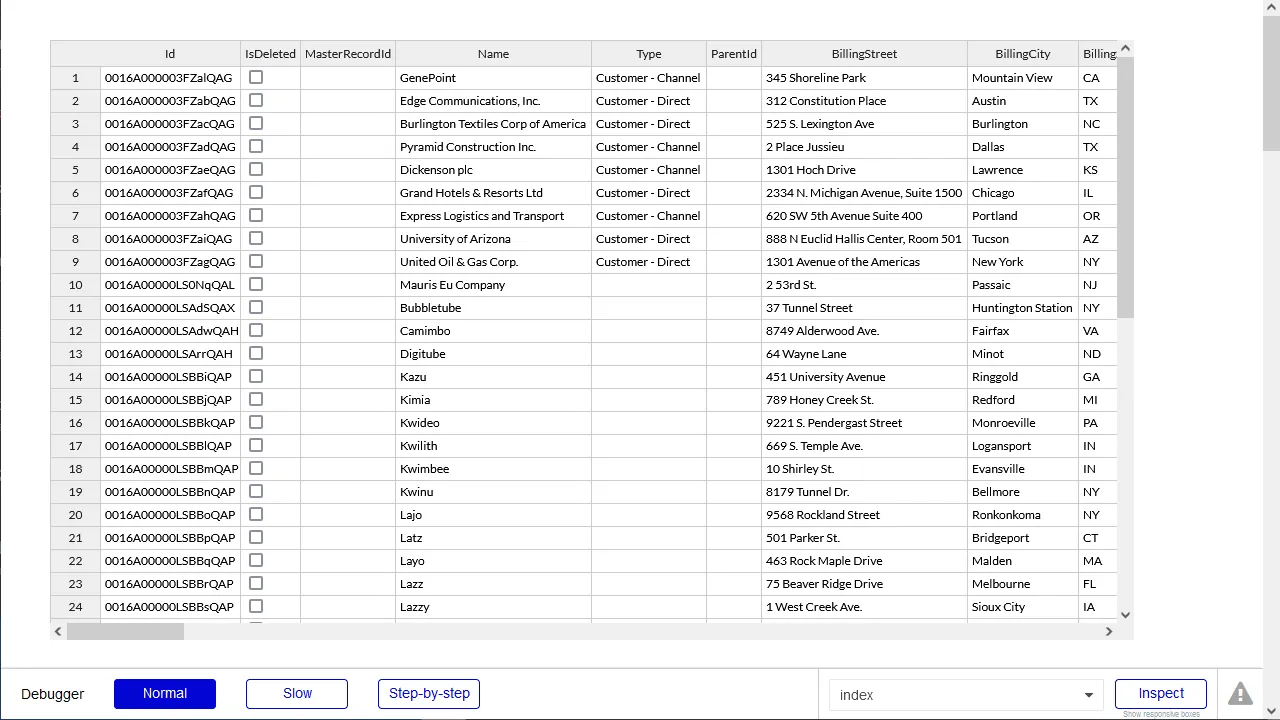
At this point, you can develop applications with live access to Teradata data without needing to know the complexities of the back-end API.
Live Access to Teradata Data from Cloud Applications
Now you have a direct connection to live Teradata data from Bubble. You can create more Teradata-connected apps — all without writing any code or replicating Teradata data.
To get live data access to hundreds of SaaS, Big Data, and NoSQL sources directly from your cloud applications, see the CData Connect AI.