








Build Agents in Relevance AI with Access to Live Typeform Data via CData Connect AI

Relevance AI is an AI automation and agent-building platform that enables organizations to create autonomous workflows powered by natural language reasoning. Users can visually design agents that interact with APIs, databases, and third-party systems to complete everyday business tasks or data operations.
By integrating Relevance AI with CData Connect AI through the built-in MCP (Model Context Protocol) Server, your agents can query, summarize, and act on live Typeform data in real time. This connection bridges Relevance AI intelligent workflow engine with the governed enterprise connectivity of CData Connect AI ensuring every query runs securely against authorized sources without manual data export.
This article outlines the steps to configure Typeform connectivity in Connect AI, register Connect AI in Relevance AI, and build an agent that interacts with live Typeform data.
Step 1: Configure Typeform Connectivity for Relevance AI
Connectivity to Typeform from Relevance AI is made possible through CData Connect AI's Remote MCP Server. To interact with Typeform data from Relevance AI, we start by creating and configuring a Typeform connection in CData Connect AI.
- Log into Connect AI, click Sources, and then click Add Connection
- Select Typeform from the Add Connection panel
-
Enter the necessary authentication properties to connect to Typeform.
Start by setting the Profile connection property to the location of the TypeForm Profile on disk (e.g. C:\profiles\TypeForm.apip). Next, set the ProfileSettings connection property to the connection string for TypeForm (see below).
TypeForm API Profile Settings
Authentication to TypeForm uses the OAuth standard.
To authenticate to TypeForm, you must first register and configure an OAuth application with TypeForm here: https://admin.typeform.com/account#/section/tokens. Your app will be assigned a client ID and a client secret which can be set in the connection string. More information on setting up an OAuth application can be found at https://developer.typeform.com/get-started/.
Note that there are several different use scenarios which all require different redirect URIs:
- CData Desktop Applications: CData desktop applications (Sync, API Server, ArcESB) accept OAuth tokens at /src/oauthCallback.rst. The host and port is the same as the default port used by the application. For example, if you use http://localhost:8019/ to access CData Sync then the redirect URI will be http://localhost:8019/src/oauthCallback.rst.
- CData Cloud Applications: CData cloud applications are similar to their desktop counterparts. If you access Connect AI at https://1.2.3.4/ then you should use the redirect https://1.2.3.4/src/oauthCallback.rst.
- Desktop Application: When using a desktop application, the URI https://localhost:33333 is recommended.
- Web Application: When developing a web application using the driver, use your own URI here such as https://my-website.com/oauth.
After setting the following connection properties, you are ready to connect:
- AuthScheme: Set this to OAuth.
- InitiateOAuth: Set this to GETANDREFRESH. You can use InitiateOAuth to manage the process to obtain the OAuthAccessToken.
- OAuthClientId: Set this to the Client Id that is specified in your app settings.
- OAuthClientSecret: Set this to Client Secret that is specified in your app settings.
- CallbackURL: Set this to the Redirect URI you specified in your app settings.

- Click Save & Test
- Navigate to the Permissions tab and update user-based permissions



Add a Personal Access Token
A Personal Access Token (PAT) is used to authenticate the connection to Connect AI from Relevance AI. It is best practice to create a separate PAT for each integration to maintain granular access control.
- Click the gear icon () at the top right of the Connect AI app to open Settings
- On the Settings page, go to the Access Tokens section and click Create PAT
- Give the PAT a descriptive name and click Create
- Copy the token when displayed and store it securely. It will not be shown again

With the Typeform connection configured and a PAT generated, Relevance AI can now connect to Typeform data through Connect AI.
Step 2: Configure Connectivity in Relevance AI
The CData Connect AI MCP endpoint and authorization details are registered within Relevance AI so that agents can call live data from Connect AI.
- Sign in to Relevance AI and create an account if you do not already have one
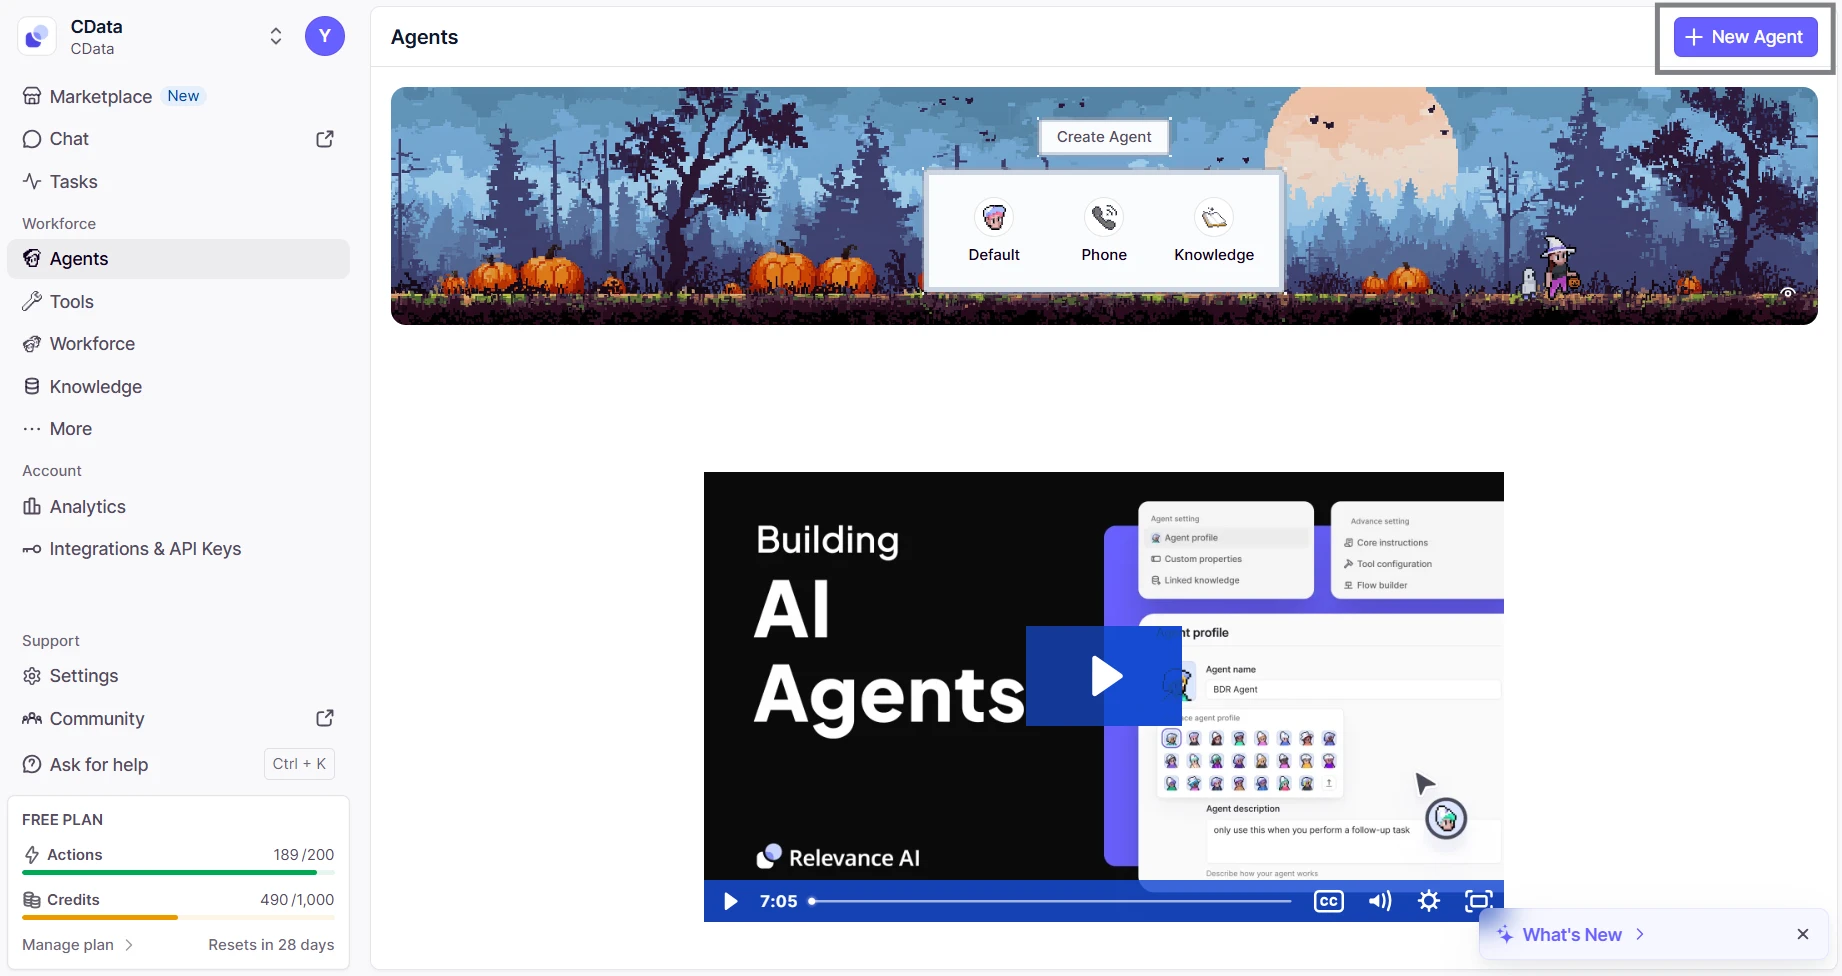
- From the sidebar, navigate to Agents and then click on New Agent
- Select Build from scratch and name the agent (eg; CData MCP Server)
- Inside the agent editor, select Advanced and then switch to the MCP Server tab
- Click + Add Remote MCP Tools
- In the dialog that appears, fill out the fields as follows:
- URL: https://mcp.cloud.cdata.com/mcp
- Label: Any custom label (eg; cdata_mcp_server)
- Authentication: Select Custom headers
- Add header key:value pair. Combine your email and PAT as email:PAT and encode that string in Base64 and then prefix with the word Basic
- Key: Authorization
- Value: Basic base64(email:PAT)


Click Connect to establish the connection. Relevance AI will verify your credentials and register the CData Connect AI MCP Server for use in agents.
Step 3: Build and Run a Relevance AI Agent with Live Typeform Data
- Switch to the Run tab for your agent
- Enter a task for example, "List the five most recent incidents from ServiceNow"
- The agent will query Connect AI via the MCP endpoint and display live results from Typeform data


With the connection complete, Relevance AI agents can now issue queries, retrieve records, and perform AI-driven tasks over live Typeform data through CData Connect AI MCP Server.
Get CData Connect AI
To access hundreds of SaaS, Big Data, and NoSQL sources directly from your cloud applications, try CData Connect AI today!