








Build Agents in Relevance AI with Access to Live XML Data via CData Connect AI

Relevance AI is an AI automation and agent-building platform that enables organizations to create autonomous workflows powered by natural language reasoning. Users can visually design agents that interact with APIs, databases, and third-party systems to complete everyday business tasks or data operations.
By integrating Relevance AI with CData Connect AI through the built-in MCP (Model Context Protocol) Server, your agents can query, summarize, and act on live XML data in real time. This connection bridges Relevance AI intelligent workflow engine with the governed enterprise connectivity of CData Connect AI ensuring every query runs securely against authorized sources without manual data export.
This article outlines the steps to configure XML connectivity in Connect AI, register Connect AI in Relevance AI, and build an agent that interacts with live XML data.
Step 1: Configure XML Connectivity for Relevance AI
Connectivity to XML from Relevance AI is made possible through CData Connect AI's Remote MCP Server. To interact with XML data from Relevance AI, we start by creating and configuring a XML connection in CData Connect AI.
- Log into Connect AI, click Sources, and then click Add Connection
- Select XML from the Add Connection panel
-
Enter the necessary authentication properties to connect to XML.
Connecting to Local or Cloud-Stored (Box, Google Drive, Amazon S3, SharePoint) XML Files
CData Drivers let you work with XML files stored locally and stored in cloud storage services like Box, Amazon S3, Google Drive, or SharePoint, right where they are.
Setting connection properties for local files
Set the URI property to local folder path.
Setting connection properties for files stored in Amazon S3
To connect to XML file(s) within Amazon S3, set the URI property to the URI of the Bucket and Folder where the intended XML files exist. In addition, at least set these properties:
- AWSAccessKey: AWS Access Key (username)
- AWSSecretKey: AWS Secret Key
Setting connection properties for files stored in Box
To connect to XML file(s) within Box, set the URI property to the URI of the folder that includes the intended XML file(s). Use the OAuth authentication method to connect to Box.
Dropbox
To connect to XML file(s) within Dropbox, set the URI proprerty to the URI of the folder that includes the intended XML file(s). Use the OAuth authentication method to connect to Dropbox. Either User Account or Service Account can be used to authenticate.
SharePoint Online (SOAP)
To connect to XML file(s) within SharePoint with SOAP Schema, set the URI proprerty to the URI of the document library that includes the intended XML file. Set User, Password, and StorageBaseURL.
SharePoint Online REST
To connect to XML file(s) within SharePoint with REST Schema, set the URI proprerty to the URI of the document library that includes the intended XML file. StorageBaseURL is optional. If not set, the driver will use the root drive. OAuth is used to authenticate.
Google Drive
To connect to XML file(s) within Google Drive, set the URI property to the URI of the folder that includes the intended XML file(s). Use the OAuth authentication method to connect and set InitiateOAuth to GETANDREFRESH.
The DataModel property is the controlling property over how your data is represented into tables and toggles the following basic configurations.
- Document (default): Model a top-level, document view of your XML data. The data provider returns nested elements as aggregates of data.
- FlattenedDocuments: Implicitly join nested documents and their parents into a single table.
- Relational: Return individual, related tables from hierarchical data. The tables contain a primary key and a foreign key that links to the parent document.
See the Modeling XML Data chapter for more information on configuring the relational representation. You will also find the sample data used in the following examples. The data includes entries for people, the cars they own, and various maintenance services performed on those cars.

- Click Save & Test
- Navigate to the Permissions tab and update user-based permissions



Add a Personal Access Token
A Personal Access Token (PAT) is used to authenticate the connection to Connect AI from Relevance AI. It is best practice to create a separate PAT for each integration to maintain granular access control.
- Click the gear icon () at the top right of the Connect AI app to open Settings
- On the Settings page, go to the Access Tokens section and click Create PAT
- Give the PAT a descriptive name and click Create
- Copy the token when displayed and store it securely. It will not be shown again

With the XML connection configured and a PAT generated, Relevance AI can now connect to XML data through Connect AI.
Step 2: Configure Connectivity in Relevance AI
The CData Connect AI MCP endpoint and authorization details are registered within Relevance AI so that agents can call live data from Connect AI.
- Sign in to Relevance AI and create an account if you do not already have one
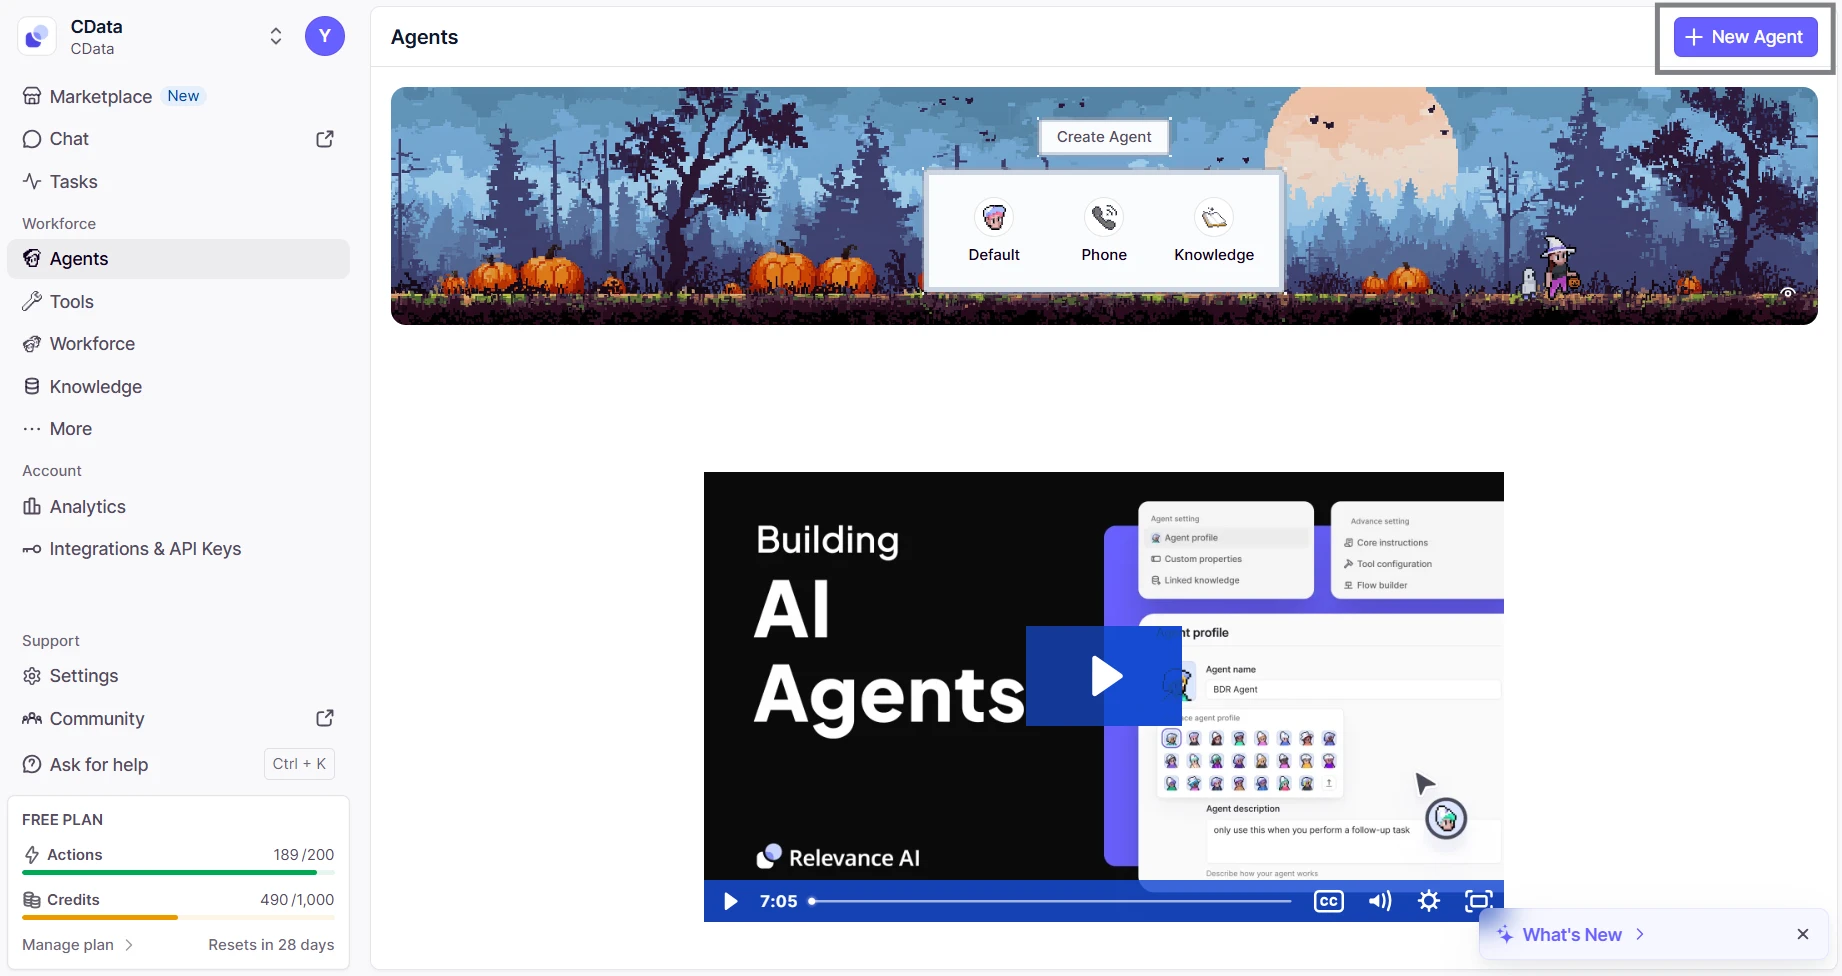
- From the sidebar, navigate to Agents and then click on New Agent
- Select Build from scratch and name the agent (eg; CData MCP Server)
- Inside the agent editor, select Advanced and then switch to the MCP Server tab
- Click + Add Remote MCP Tools
- In the dialog that appears, fill out the fields as follows:
- URL: https://mcp.cloud.cdata.com/mcp
- Label: Any custom label (eg; cdata_mcp_server)
- Authentication: Select Custom headers
- Add header key:value pair. Combine your email and PAT as email:PAT and encode that string in Base64 and then prefix with the word Basic
- Key: Authorization
- Value: Basic base64(email:PAT)


Click Connect to establish the connection. Relevance AI will verify your credentials and register the CData Connect AI MCP Server for use in agents.
Step 3: Build and Run a Relevance AI Agent with Live XML Data
- Switch to the Run tab for your agent
- Enter a task for example, "List the five most recent incidents from ServiceNow"
- The agent will query Connect AI via the MCP endpoint and display live results from XML data


With the connection complete, Relevance AI agents can now issue queries, retrieve records, and perform AI-driven tasks over live XML data through CData Connect AI MCP Server.
Get CData Connect AI
To access hundreds of SaaS, Big Data, and NoSQL sources directly from your cloud applications, try CData Connect AI today!