








Use Claude to Talk to Your ZohoDesk Data via CData Connect AI

Claude is a family of advanced large language models (LLMs) built by Anthropic, an AI research company founded in 2021. These models power the Claude conversational assistant and developer tools.
CData Connect AI offers a dedicated cloud-to-cloud interface for connecting to ZohoDesk data. The CData Connect AI Remote MCP Server enables secure communication between Claude and ZohoDesk. This allows you to ask questions and take actions on your ZohoDesk data using Claude, all without the need for data replication to a natively supported database. With its inherent optimized data processing capabilities, CData Connect AI efficiently channels all supported SQL operations, including filters and JOINs, directly to ZohoDesk. This leverages server-side processing to swiftly deliver the requested ZohoDesk data.
Step 1: Configure ZohoDesk Connectivity for Claude
Connectivity to ZohoDesk from Claude is made possible through CData Connect AI Remote MCP. To interact with ZohoDesk data from Claude, we start by creating and configuring a ZohoDesk connection in CData Connect AI.
- Log into Connect AI, click Sources, and then click Add Connection
- Select "ZohoDesk" from the Add Connection panel
-
Enter the necessary authentication properties to connect to ZohoDesk.
To connect to Zoho Desk, register a Server-based Application in the Zoho Developer Console (accounts.zoho.com/developerconsole). Set the Authorized Redirect URI to https://oauth.cdata.com/oauth/. Note the Client Id and Client Secret. Then set the following:
- OAuth Client Id: The Client Id from your Zoho Developer Console application.
- OAuth Client Secret: The Client Secret from your Zoho Developer Console application.
- Organization: (Optional) The Id of your Zoho Desk organization, found in the Organizations table.
- Domain: (Optional) Your Zoho region domain — .com (default), .eu, .com.au, or .in.
Click Sign In to complete OAuth authentication.

- Click Save & Test


Step 2: Connect Claude to CData Connect AI
Follow these steps to add a CData Connect AI connector in Claude:
- Sign in to Claude.ai or create a new account.
- Expand the left navigation menu.
- In the bottom-left corner, click your user name and select Settings from the menu. The Settings screen appears.
- In the Settings screen, click Connectors.
- Click the button to Browse Connectors.
- Search for "CData Connect AI" and click the listing.
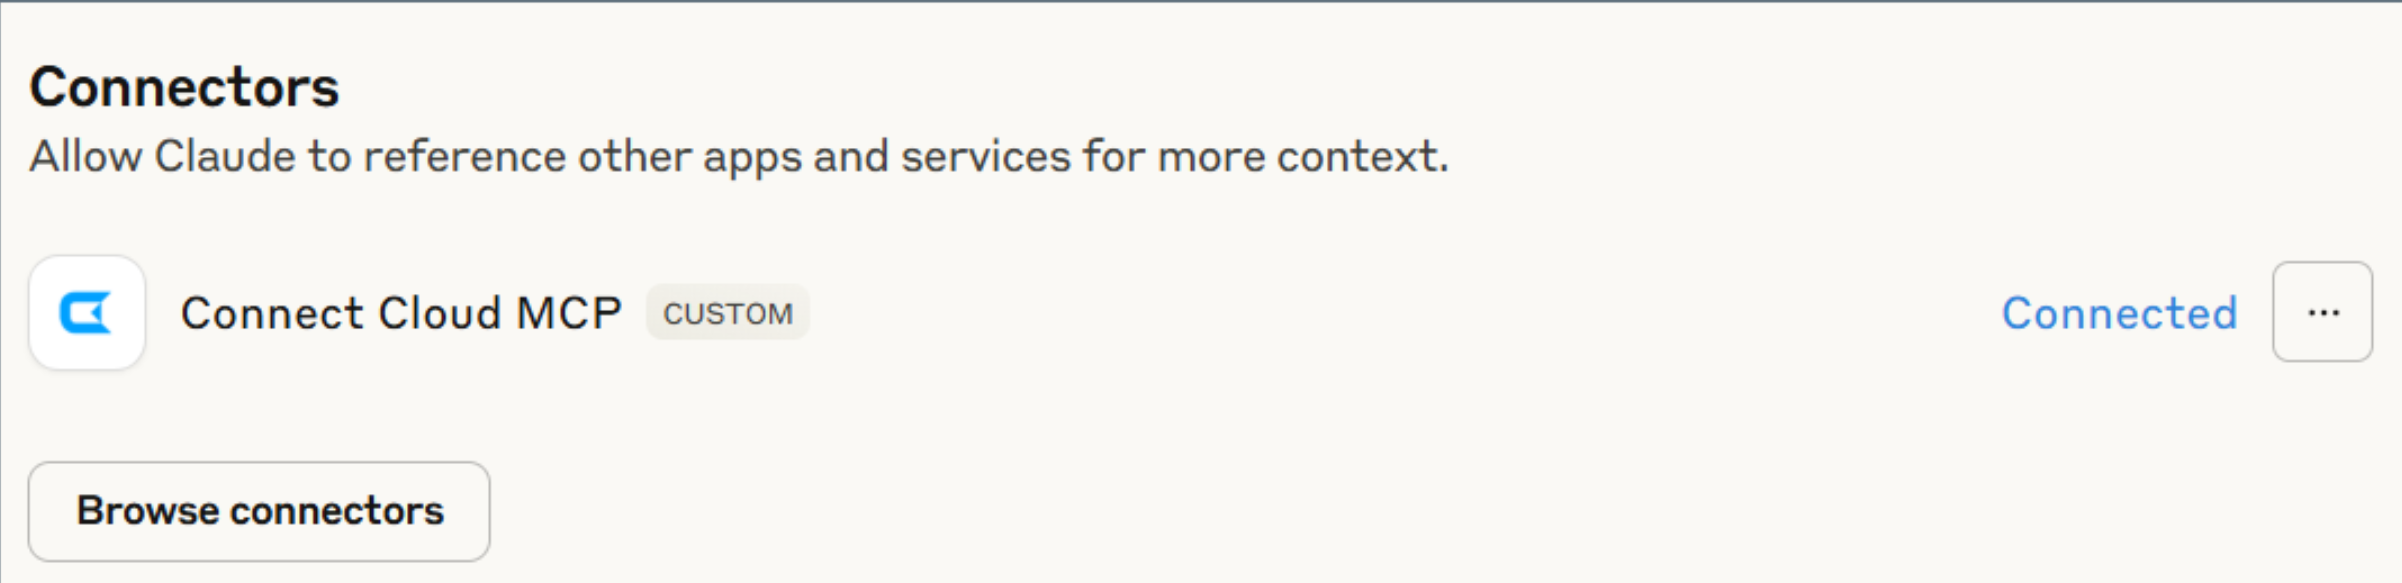
- Click "Connect" and sign into your Connect AI account.
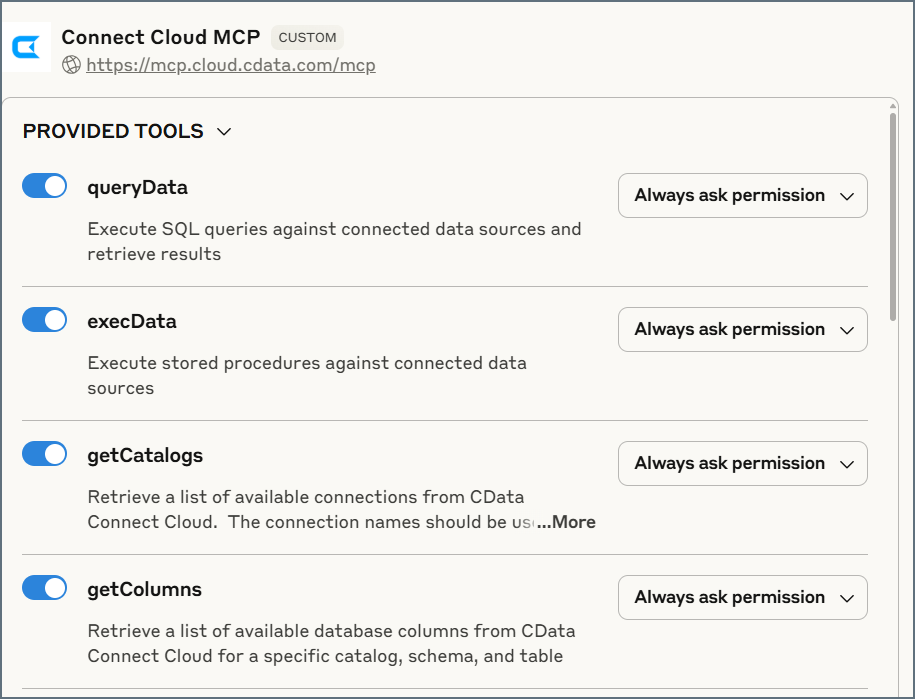
- After connecting, Claude opens a new chat.
Step 3: Explore Live ZohoDesk Data with Claude
- You can now start exploring your data with natural language prompts. Claude outlines the steps it uses to retrieve data from the source in CData Connect AI. Refer to CData's prompt library for prompt ideas.
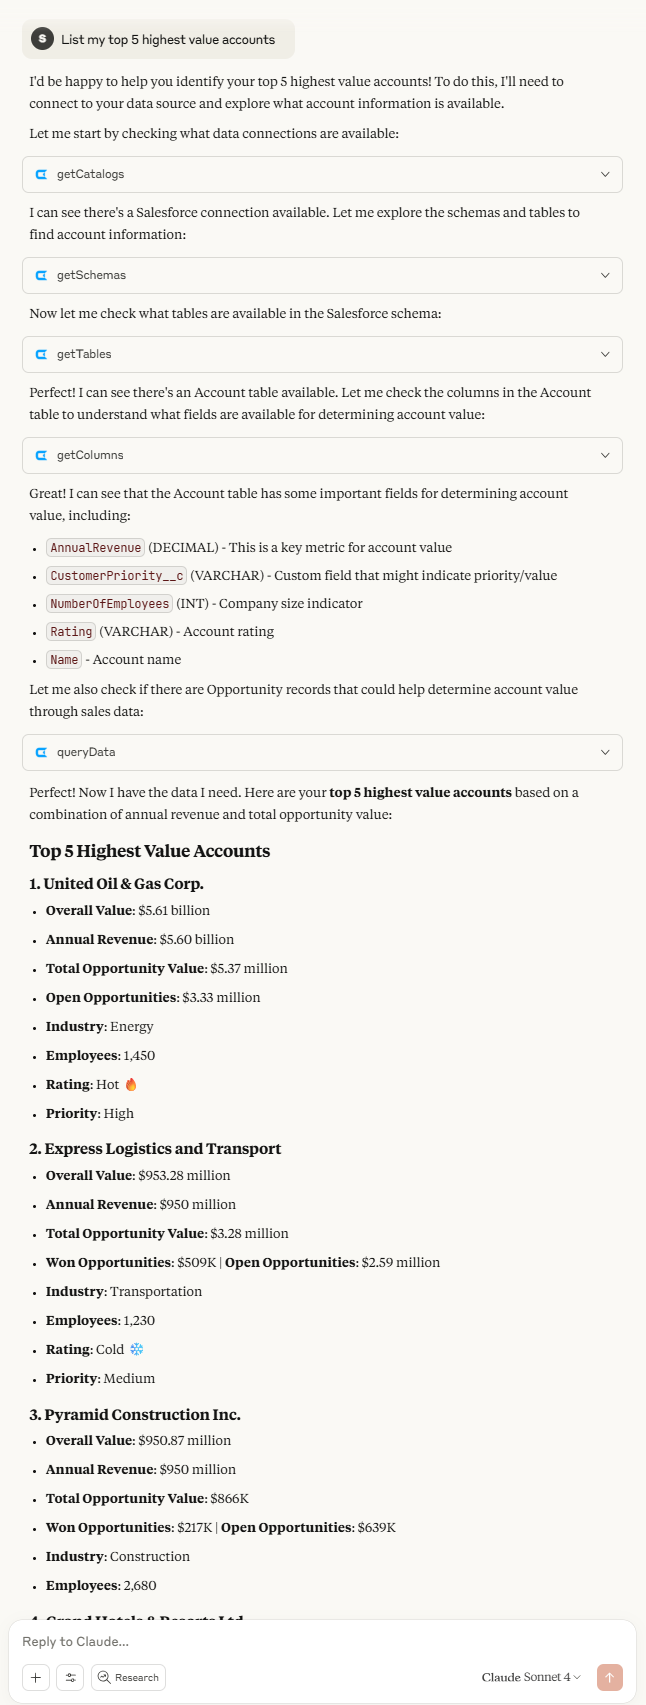
NOTE: Claude's setup process is subject to change. Refer to Claude's documentation for the latest setup information.
Get CData Connect AI
To get live data access to hundreds of SaaS, Big Data, and NoSQL sources directly from your cloud applications, try CData Connect AI today!