








Build PingOne-Connected Apps in Mendix

Mendix is a high-productivity app platform that allows you to build and maintain both mobile and web applications at-scale. When paired with CData Connect AI, Mendix provides instant, cloud-to-cloud access to PingOne data for applications. This article demonstrates how to connect to a CData Connect AI data source from within Mendix.
CData Connect AI provides a pure cloud-to-cloud interface for PingOne, allowing you to import data from live PingOne data in Mendix — without replicating the data to a natively supported database. As you build web and mobile applications from within Mendix, CData Connect AI pushes all supported SQL operations (filters, JOINs, etc.) directly to PingOne, leveraging server-side processing to return the requested PingOne data quickly.
Configure PingOne Connectivity for Mendix
To work with PingOne data from Mendix, we need to connect to PingOne from Connect AI, provide user access to the connection, and create a Workspace for the PingOne data.
Connect to PingOne from Connect AI
CData Connect AI uses a straightforward, point-and-click interface to connect to data sources.
- Log into Connect AI, click Sources, and then click Add Connection
- Select "PingOne" from the Add Connection panel
-
Enter the necessary authentication properties to connect to PingOne.
To connect to PingOne, configure these properties:
- Region: The region where the data for your PingOne organization is being hosted.
- AuthScheme: The type of authentication to use when connecting to PingOne.
- Either WorkerAppEnvironmentId (required when using the default PingOne domain) or AuthorizationServerURL, configured as described below.
Configuring WorkerAppEnvironmentId
WorkerAppEnvironmentId is the ID of the PingOne environment in which your Worker application resides. This parameter is used only when the environment is using the default PingOne domain (auth.pingone). It is configured after you have created the custom OAuth application you will use to authenticate to PingOne, as described in Creating a Custom OAuth Application in the Help documentation.
First, find the value for this property:
- From the home page of your PingOne organization, move to the navigation sidebar and click Environments.
- Find the environment in which you have created your custom OAuth/Worker application (usually Administrators), and click Manage Environment. The environment's home page displays.
- In the environment's home page navigation sidebar, click Applications.
- Find your OAuth or Worker application details in the list.
-
Copy the value in the Environment ID field.
It should look similar to:
WorkerAppEnvironmentId='11e96fc7-aa4d-4a60-8196-9acf91424eca'
Now set WorkerAppEnvironmentId to the value of the Environment ID field.
Configuring AuthorizationServerURL
AuthorizationServerURL is the base URL of the PingOne authorization server for the environment where your application is located. This property is only used when you have set up a custom domain for the environment, as described in the PingOne platform API documentation. See Custom Domains.
Authenticating to PingOne with OAuth
PingOne supports both OAuth and OAuthClient authentication. In addition to performing the configuration steps described above, there are two more steps to complete to support OAuth or OAuthCliet authentication:
- Create and configure a custom OAuth application, as described in Creating a Custom OAuth Application in the Help documentation.
- To ensure that the driver can access the entities in Data Model, confirm that you have configured the correct roles for the admin user/worker application you will be using, as described in Administrator Roles in the Help documentation.
- Set the appropriate properties for the authscheme and authflow of your choice, as described in the following subsections.
OAuth (Authorization Code grant)
Set AuthScheme to OAuth.
Desktop Applications
Get and Refresh the OAuth Access Token
After setting the following, you are ready to connect:
- InitiateOAuth: GETANDREFRESH. To avoid the need to repeat the OAuth exchange and manually setting the OAuthAccessToken each time you connect, use InitiateOAuth.
- OAuthClientId: The Client ID you obtained when you created your custom OAuth application.
- OAuthClientSecret: The Client Secret you obtained when you created your custom OAuth application.
- CallbackURL: The redirect URI you defined when you registered your custom OAuth application. For example: https://localhost:3333
When you connect, the driver opens PingOne's OAuth endpoint in your default browser. Log in and grant permissions to the application. The driver then completes the OAuth process:
- The driver obtains an access token from PingOne and uses it to request data.
- The OAuth values are saved in the location specified in OAuthSettingsLocation, to be persisted across connections.
The driver refreshes the access token automatically when it expires.
For other OAuth methods, including Web Applications, Headless Machines, or Client Credentials Grant, refer to the Help documentation.

- Click Save & Test
-
Navigate to the Permissions tab in the Add PingOne Connection page and update the User-based permissions.



Add a Personal Access Token
When connecting to Connect AI through the REST API, the OData API, or the Virtual SQL Server, a Personal Access Token (PAT) is used to authenticate the connection to Connect AI. It is best practice to create a separate PAT for each service to maintain granularity of access.
- Click on the Gear icon () at the top right of the Connect AI app to open the settings page.
- On the Settings page, go to the Access Tokens section and click Create PAT.
-
Give the PAT a name and click Create.

- The personal access token is only visible at creation, so be sure to copy it and store it securely for future use.
Configure PingOne Endpoints for Mendix
After connecting to PingOne, create a workspace for your desired table(s).
-
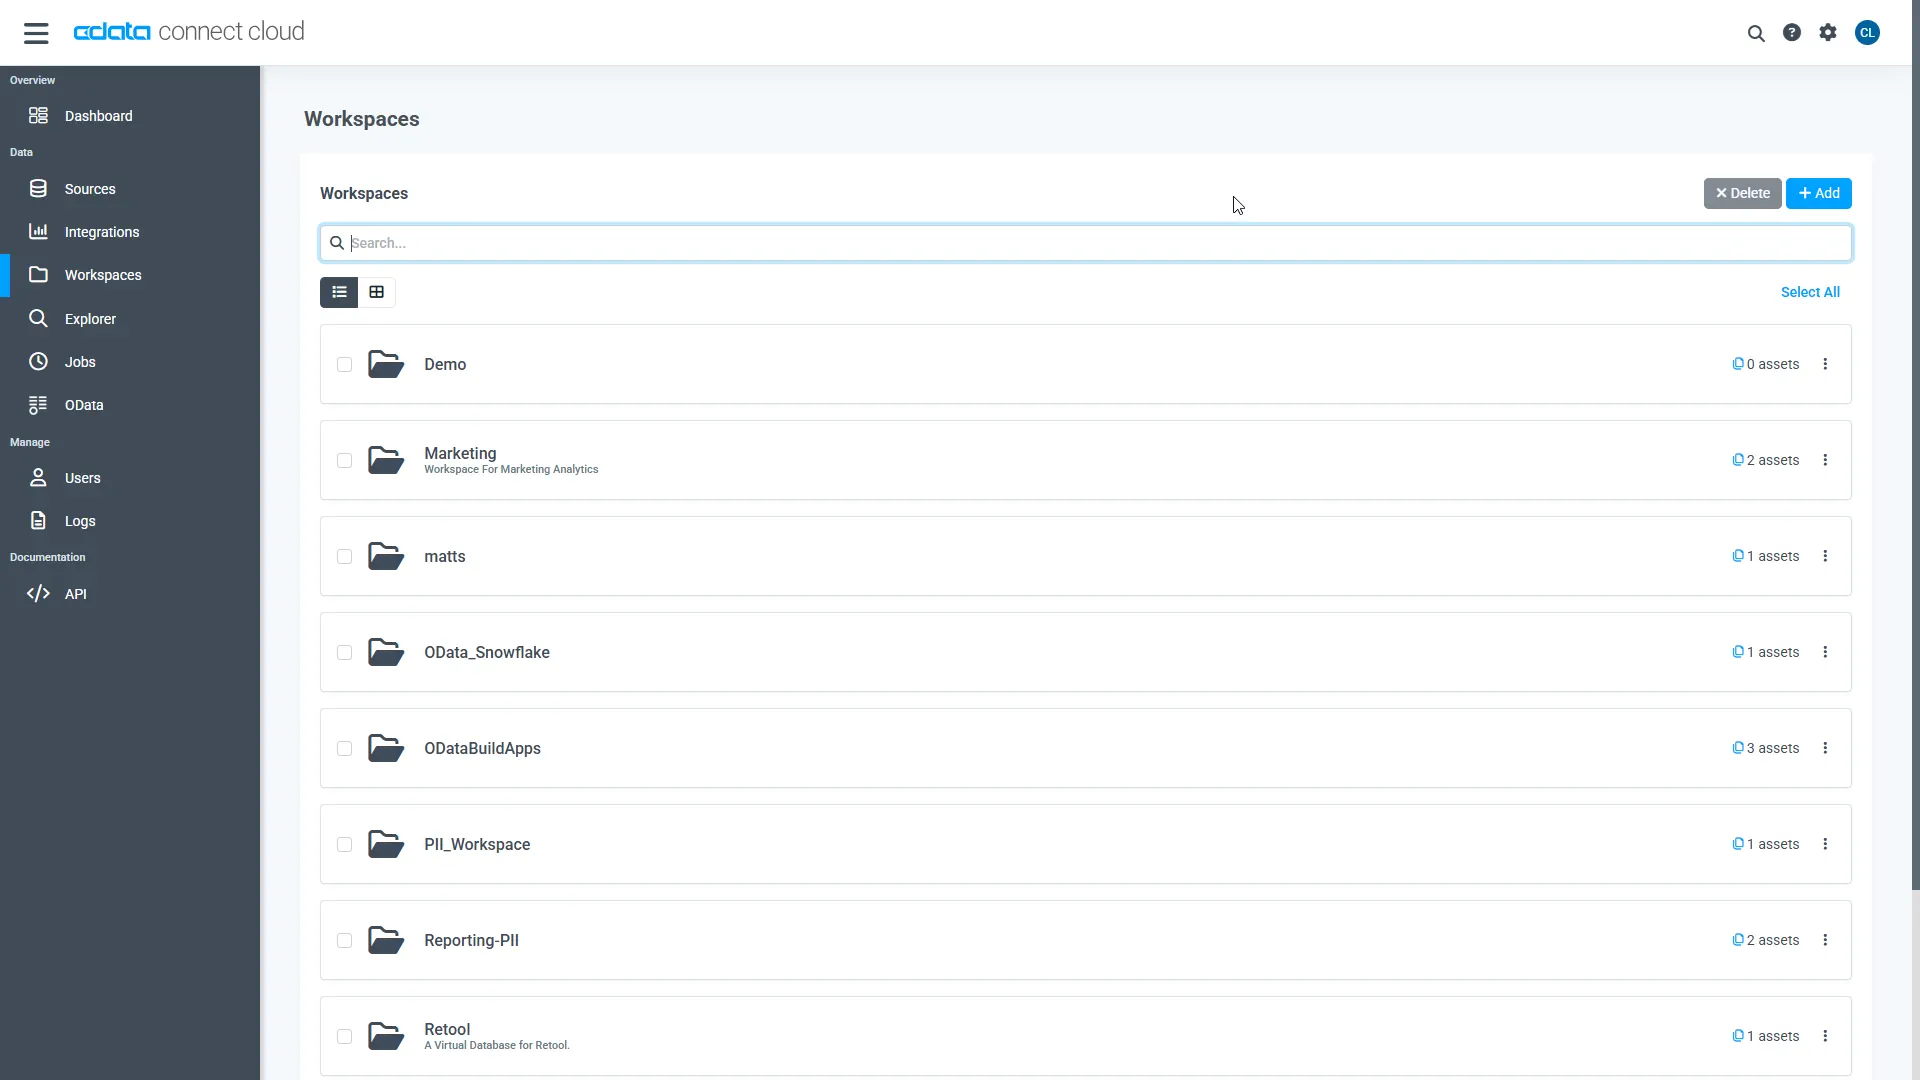
Navigate to the Workspaces page and click Add to create a new Workspace (or select an existing workspace).
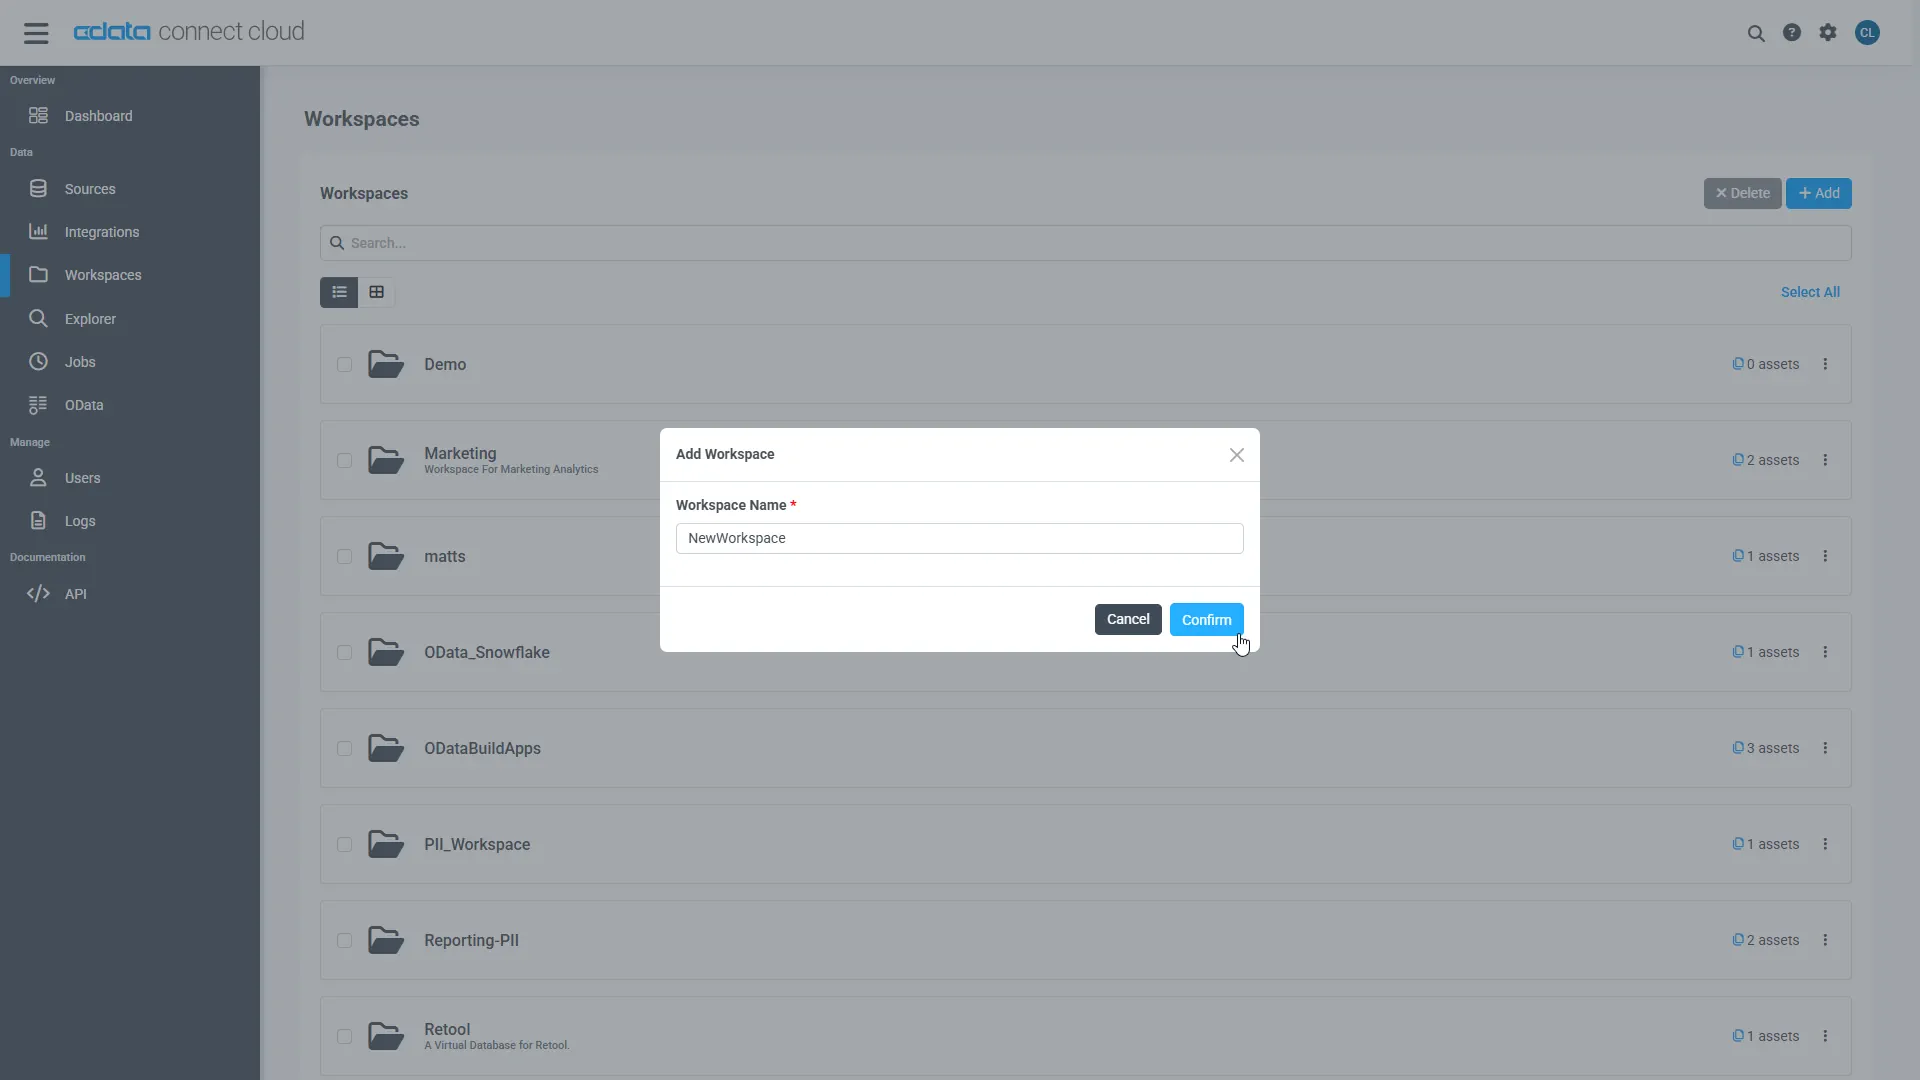
- Click Add to add new assets to the Workspace.
-
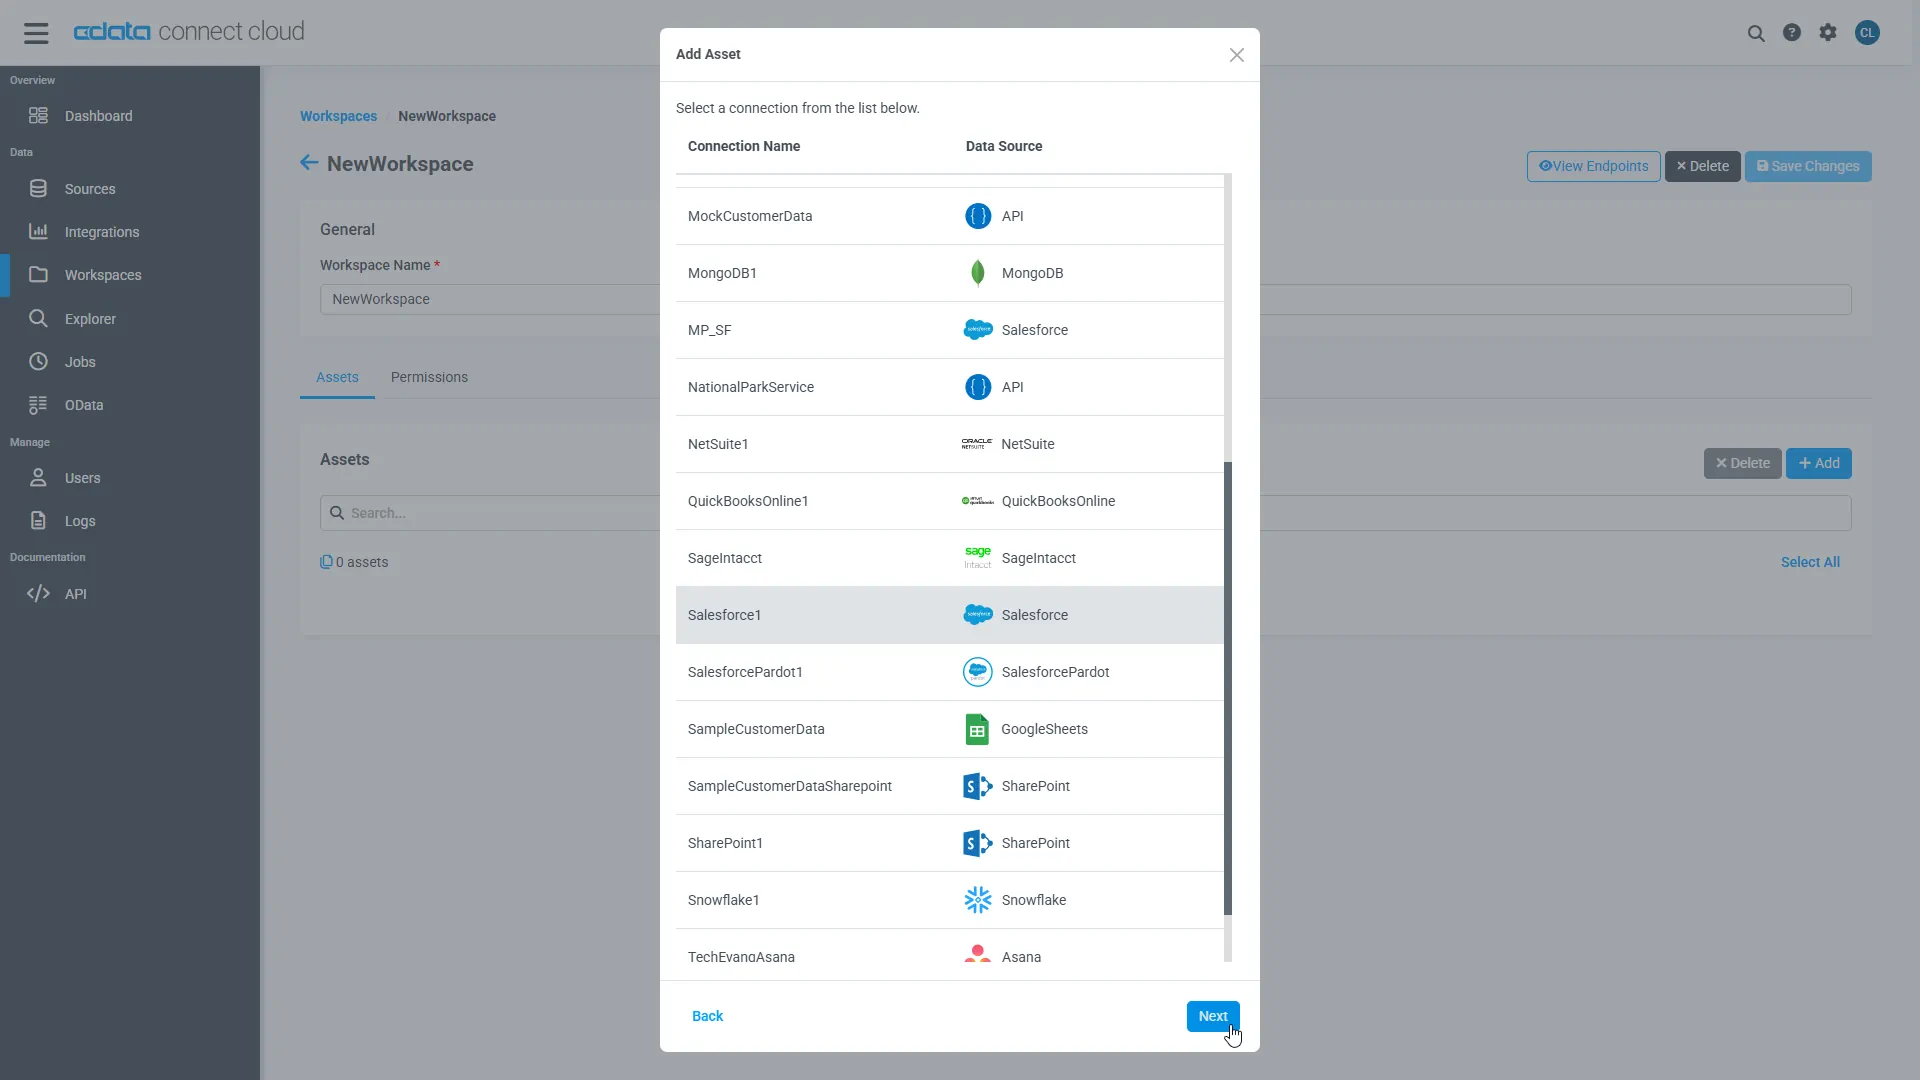
Select the PingOne connection (e.g. PingOne1) and click Next.
-
Select the table(s) you wish to work with and click Confirm.
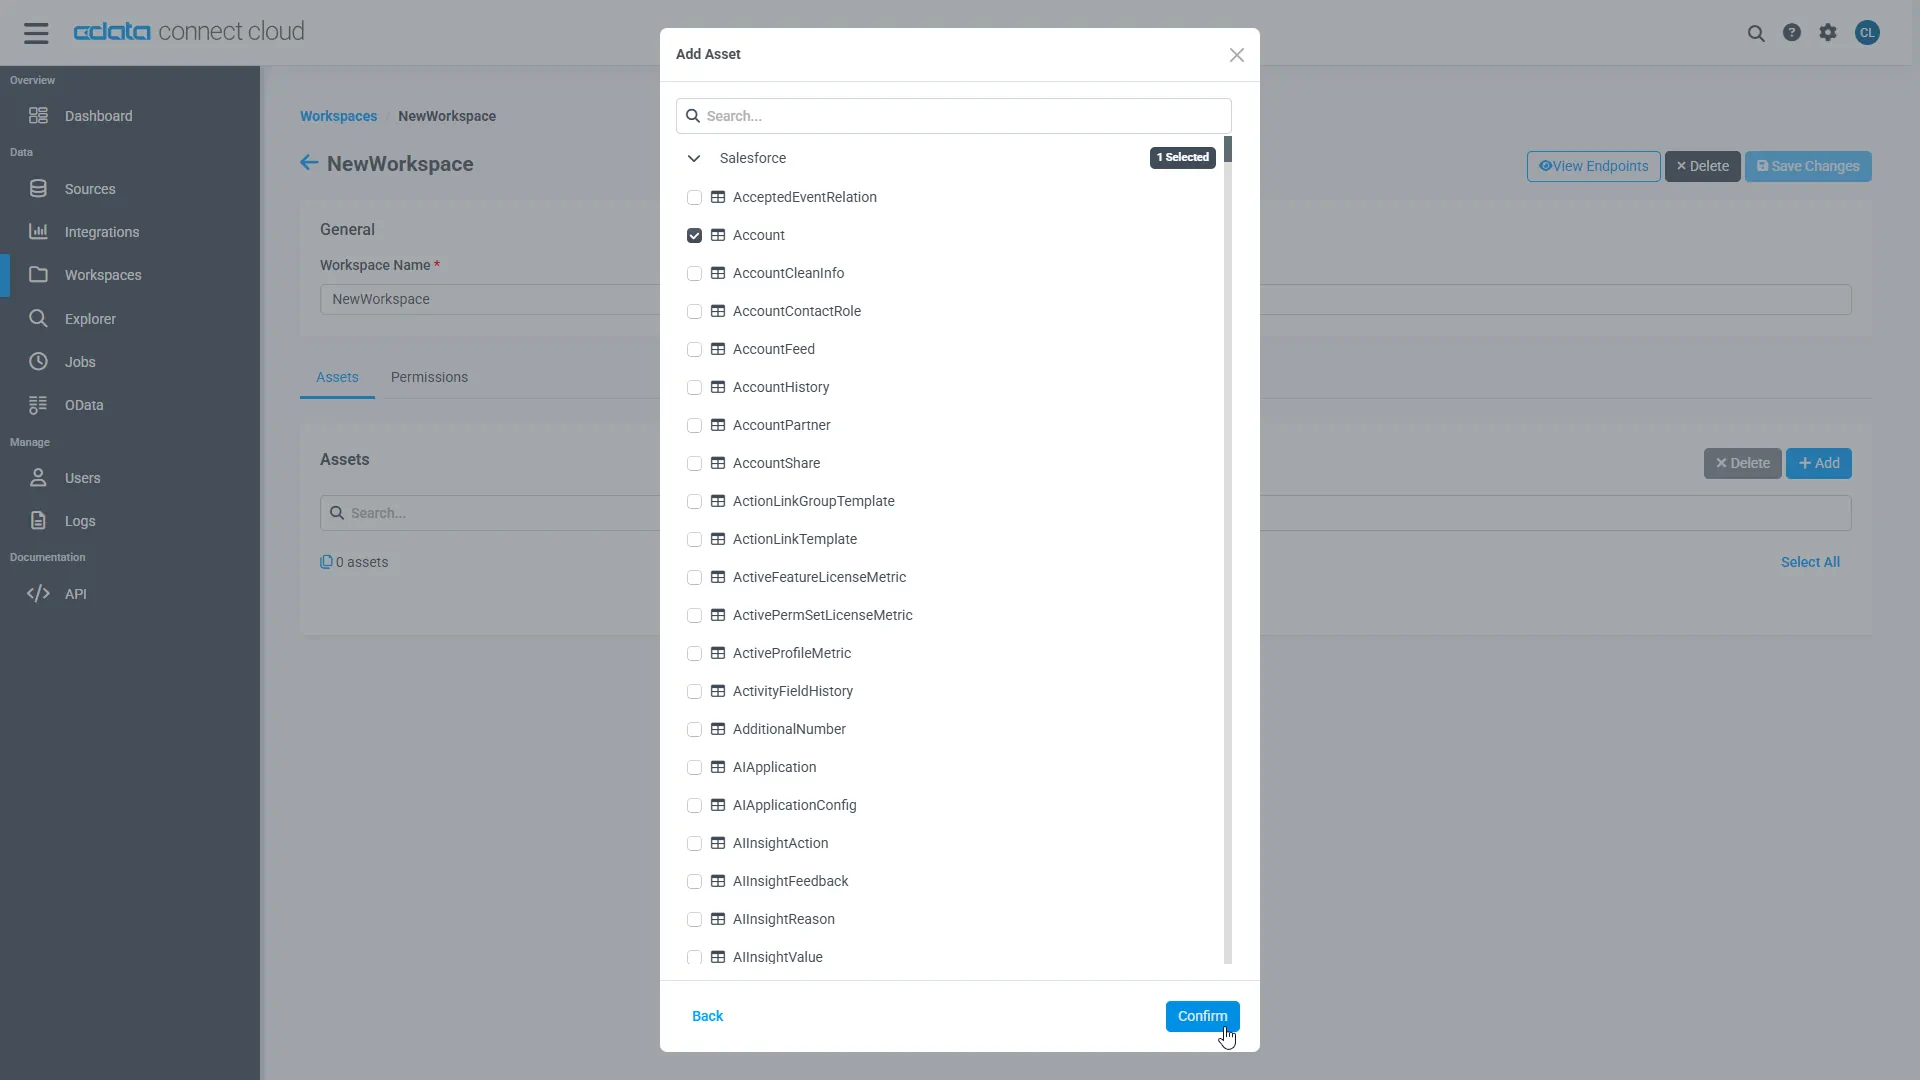
- Make note of the OData Service URL for your workspace, e.g. https://cloud.cdata.com/api/odata/{workspace_name}
With the connection, PAT, and Workspace configured, you are ready to connect to PingOne data from Mendix.
Build a PingOne-Connected App
Downloading the OData Metadata File
When creating a connection in Mendix, the connection flow requires a Data Source Contract File. Follow these steps to download the OData metadata file for CData Connect AI using curl, a command line tool:
- Open a command-line window for your operating system. On Windows, open the start menu, type cmd, and press the Enter key to open a command prompt. On macOS and Linux, open a Terminal window.
- To check if curl is installed on your system, type curl -help and press the enter key. If it is not installed, install it from the curl website.
-
Issue the following curl command, replacing USER with your CData Connect AI username and PAT with the PAT you generated above:
curl -u USER:PAT https://cloud.cdata.com/api/odata/{workspace_name}/$metadata -o metadata.xml - Locate the metadata.xml file that the curl command created and move it to an accessible location.
Connecting to CData Connect AI in Mendix
Follow these steps to establish a connection from Mendix to CData Connect AI:
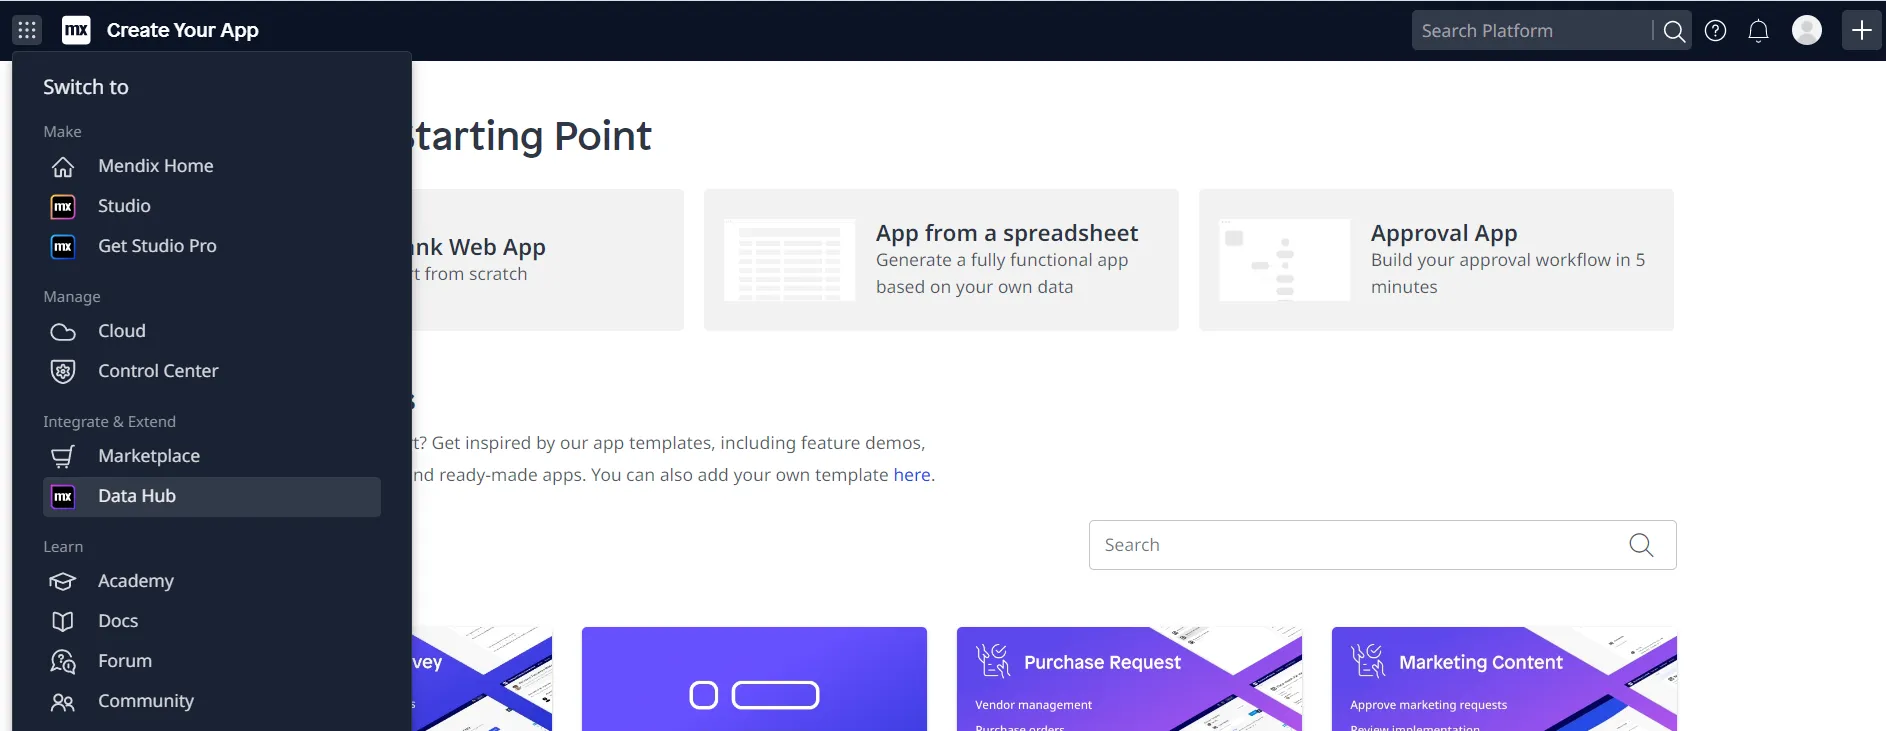
- Login to Mendix and open the Data Hub page.
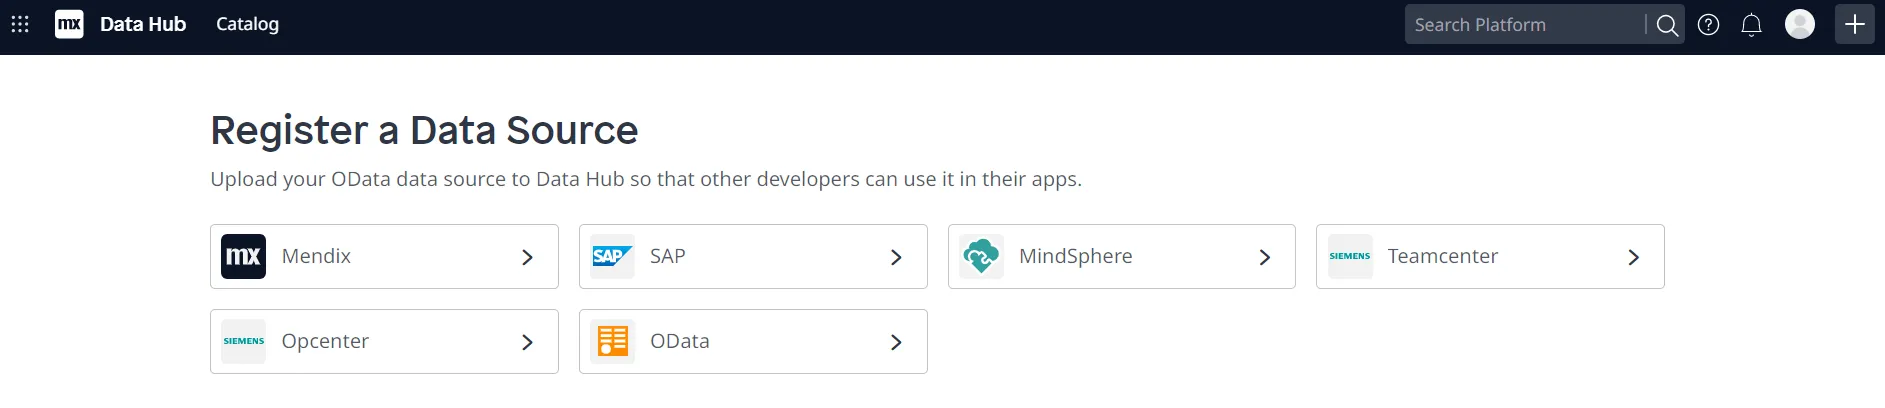
- In the Register a Data Source section, select OData.
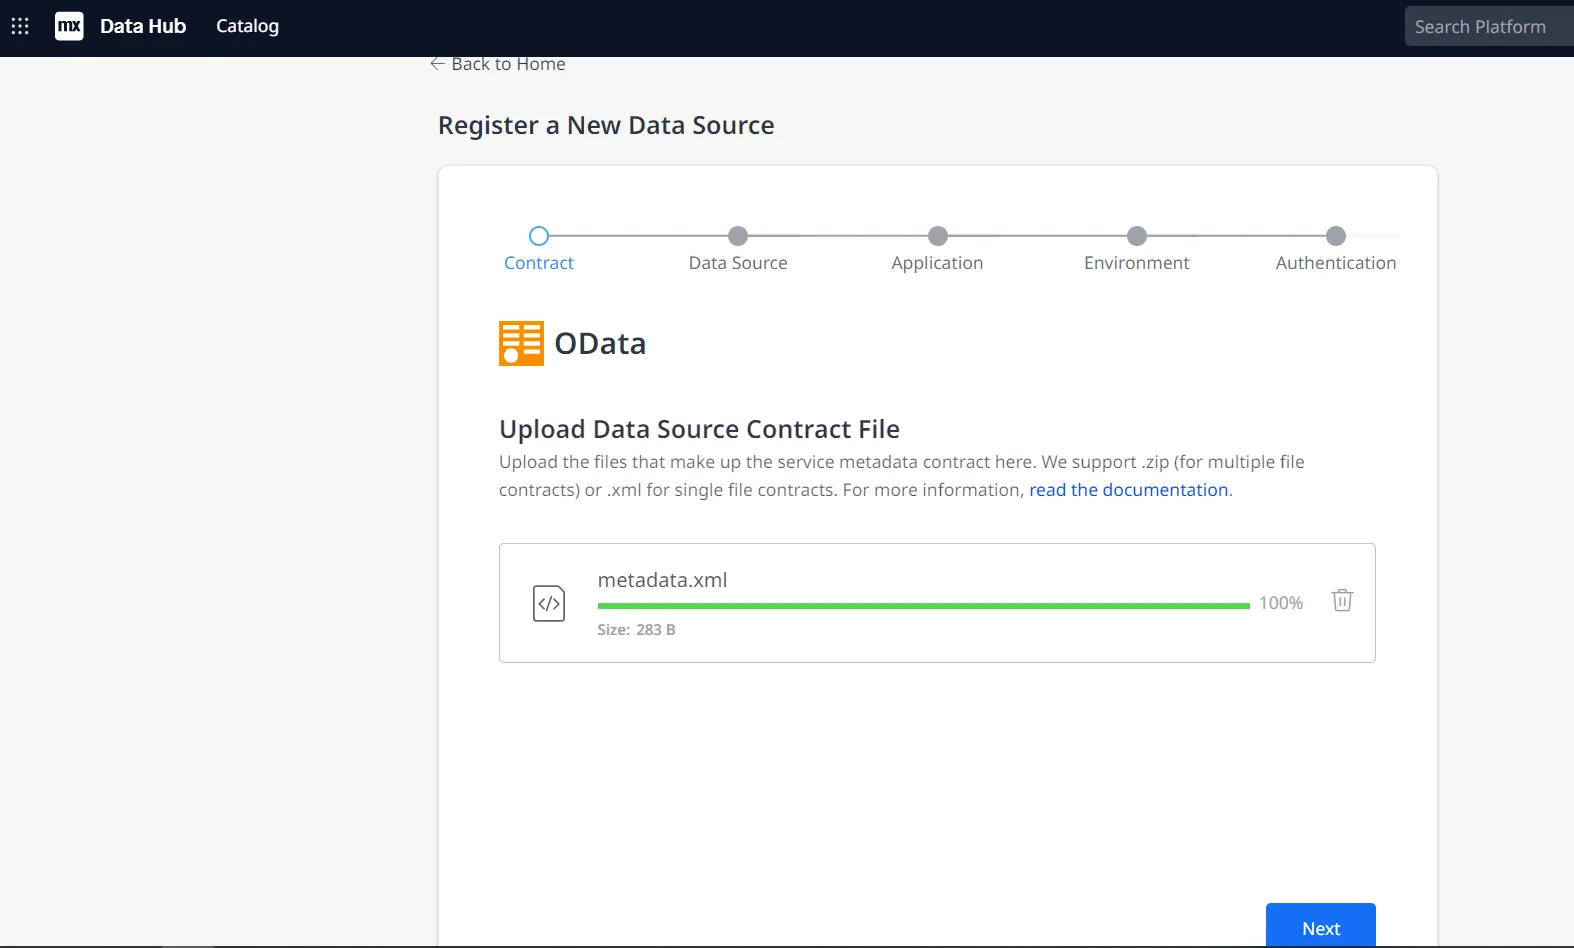
- Upload the metadata.xml file from the steps above and click Next.
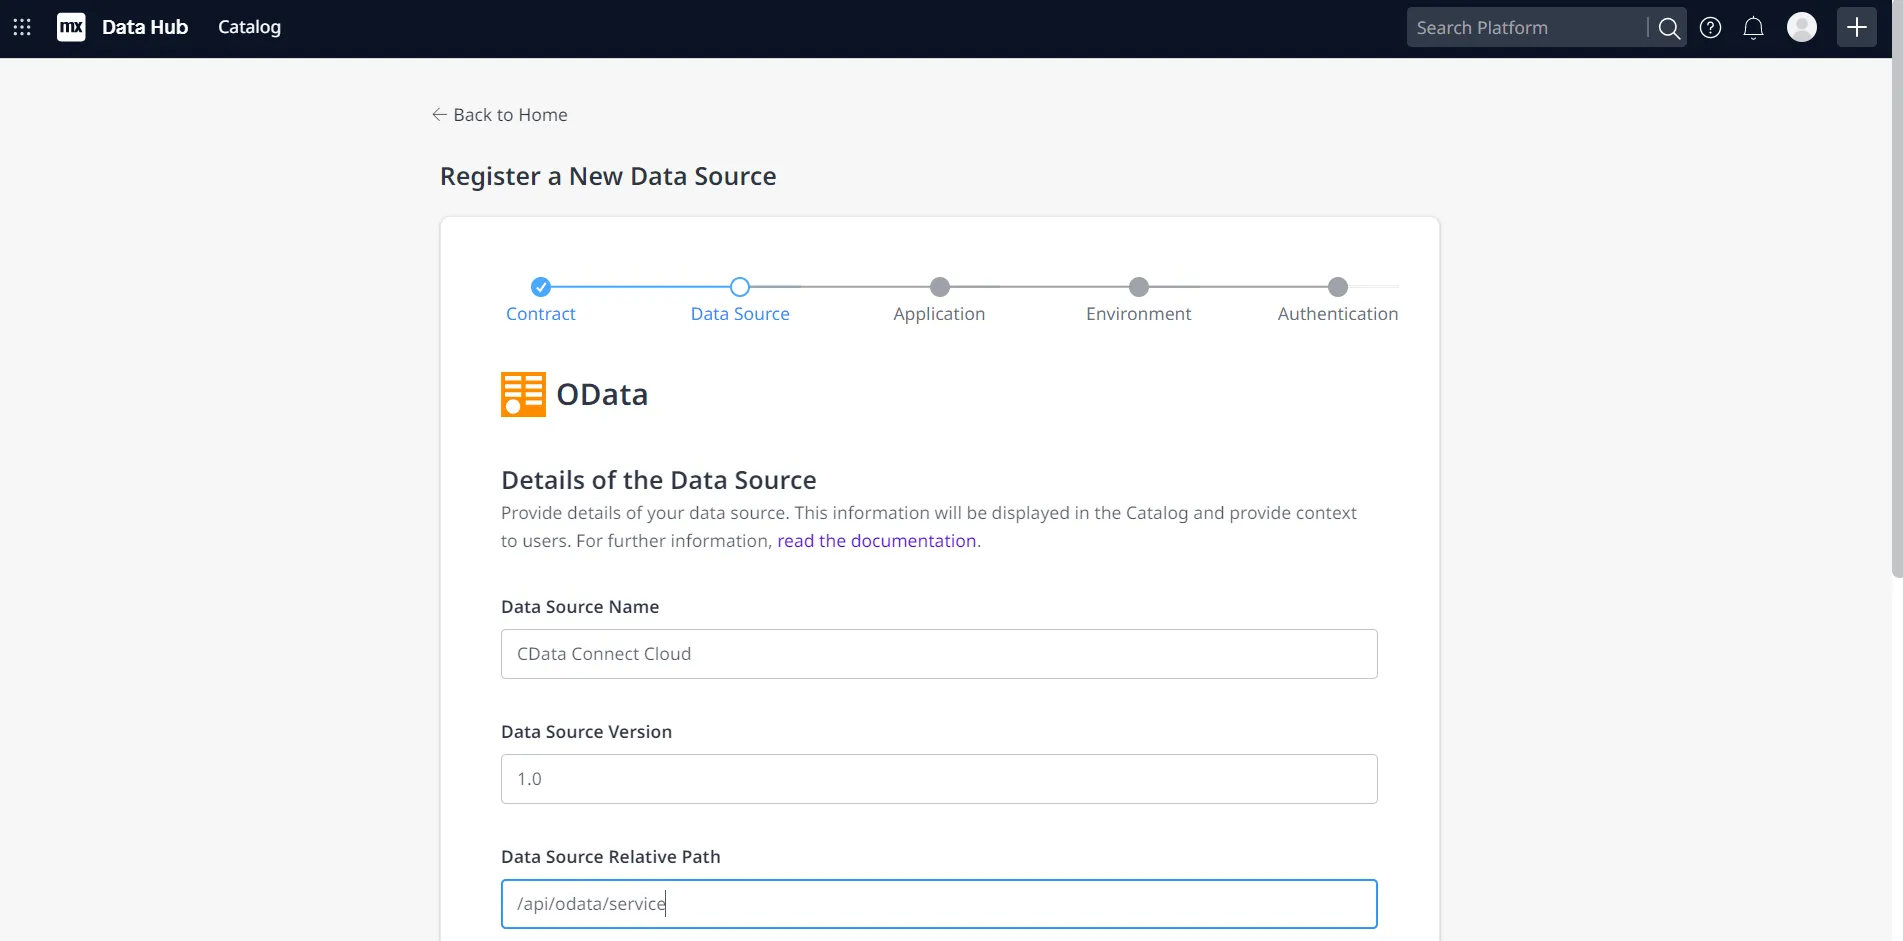
- Enter your desired values for Data Source Name and Data Source Version. In the Data Source Relative Path field, enter /api/odata/{workspace_name} and click Next.
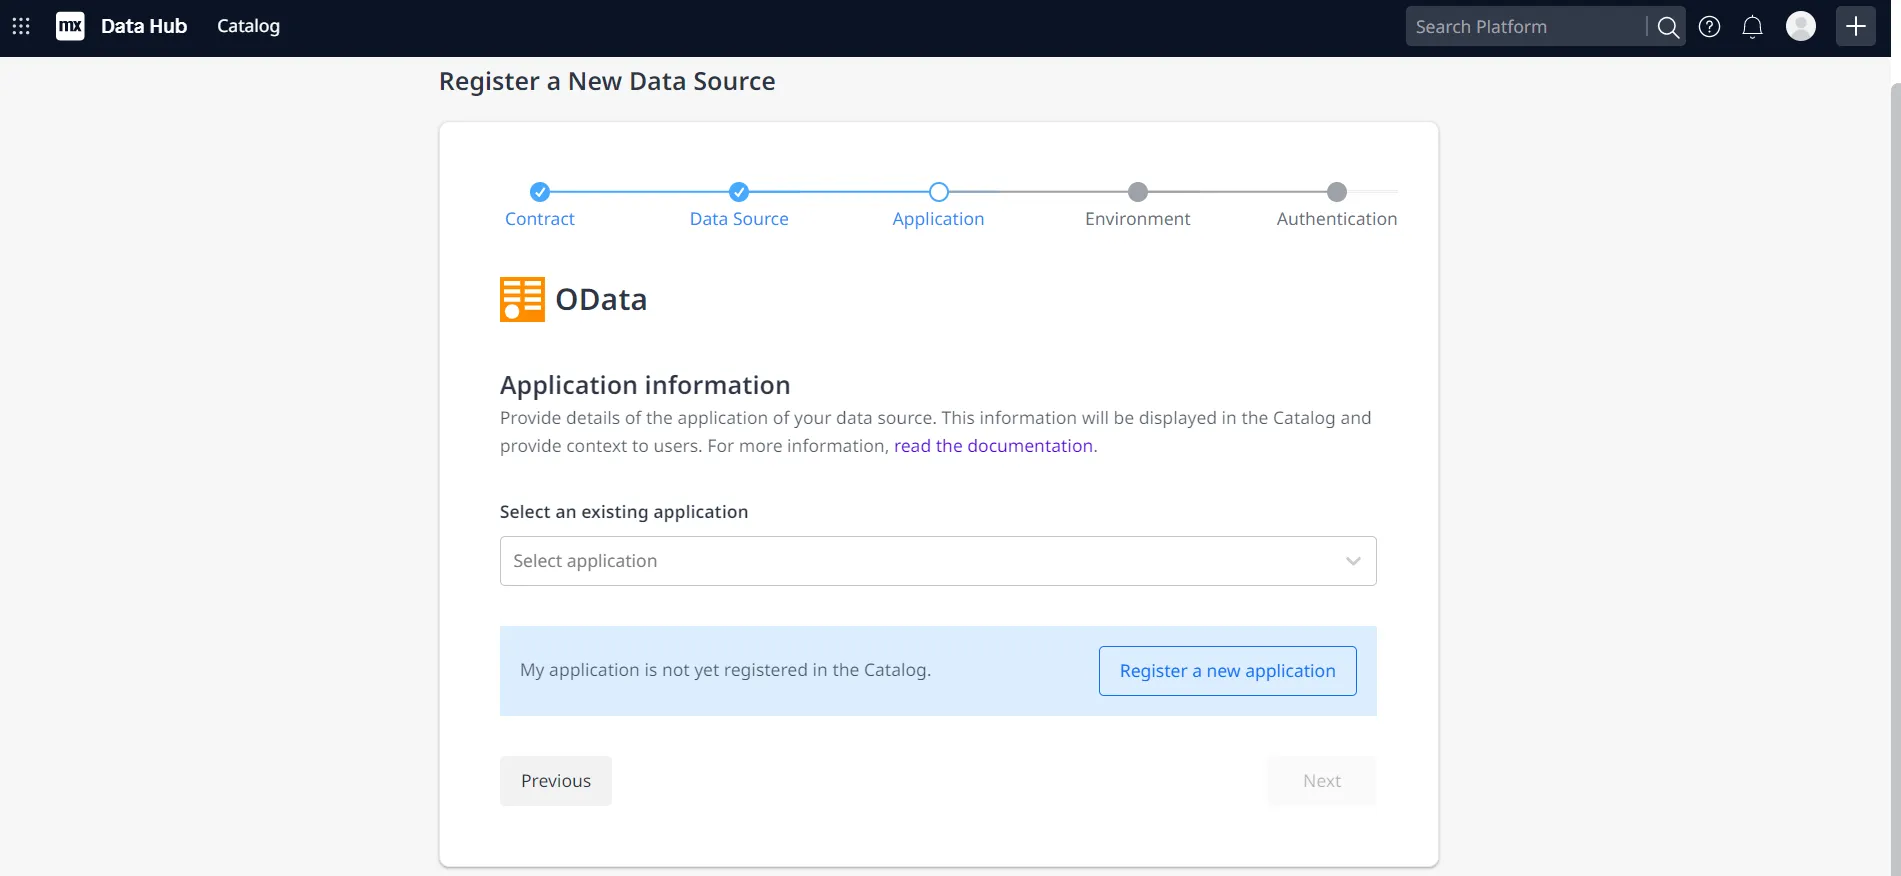
- On the Application information page, click Register a new application.
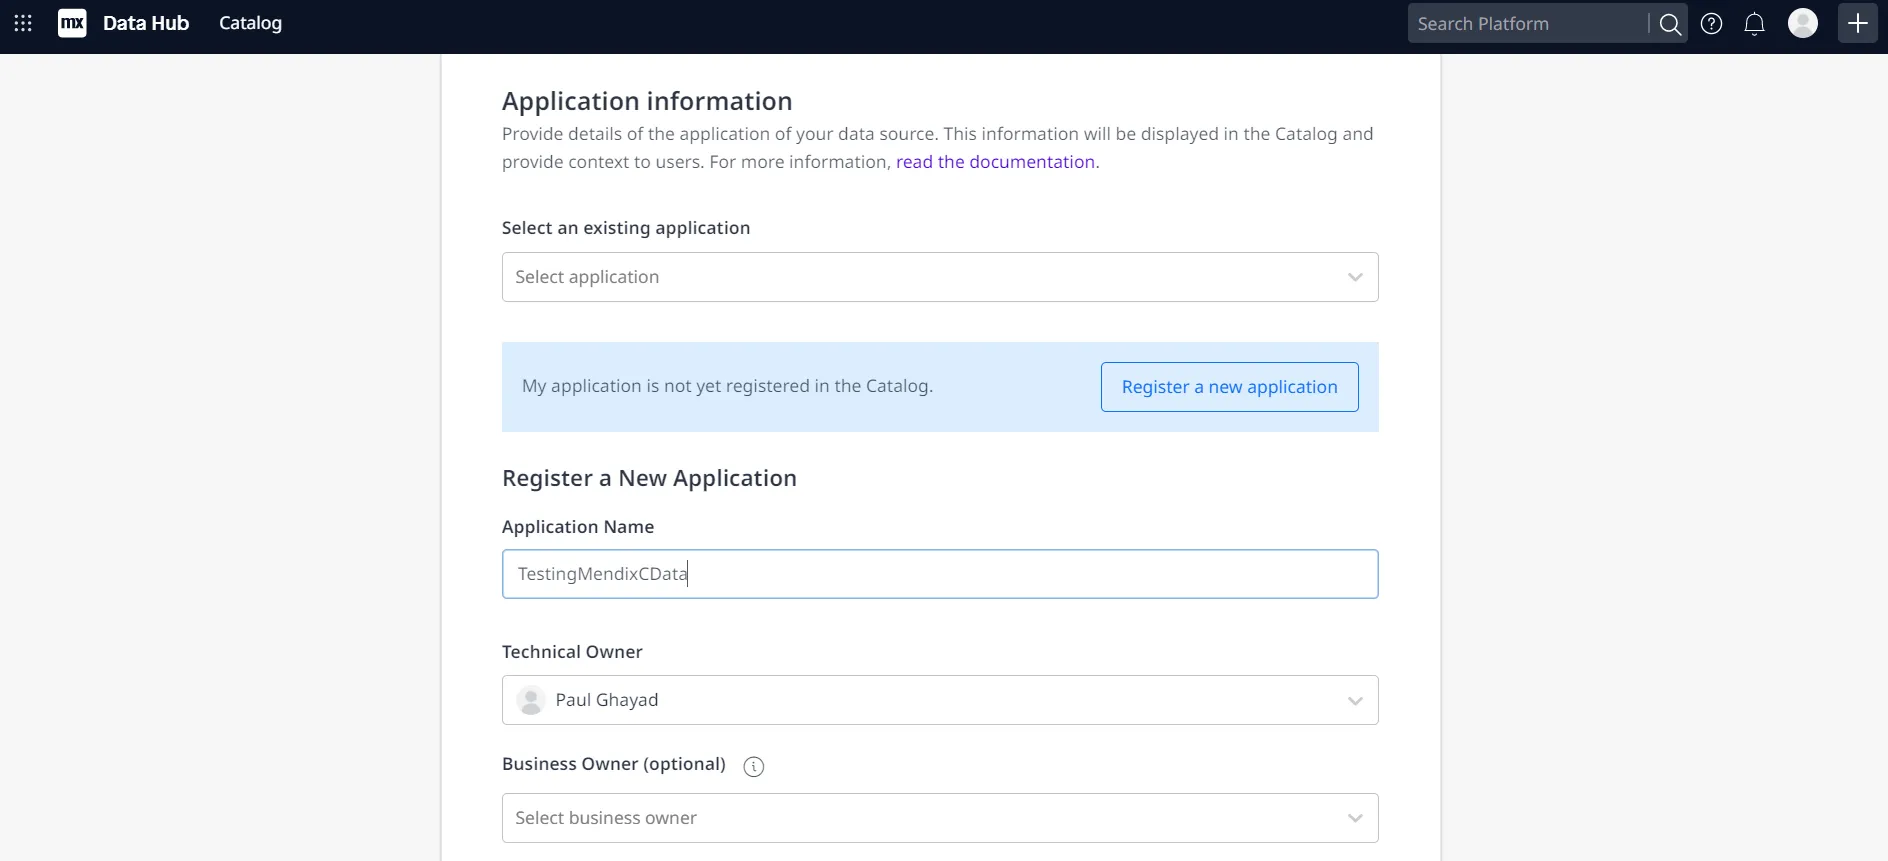
- Enter a name in Application Name and select a technical owner (by default, this is the user who is currently logged in).
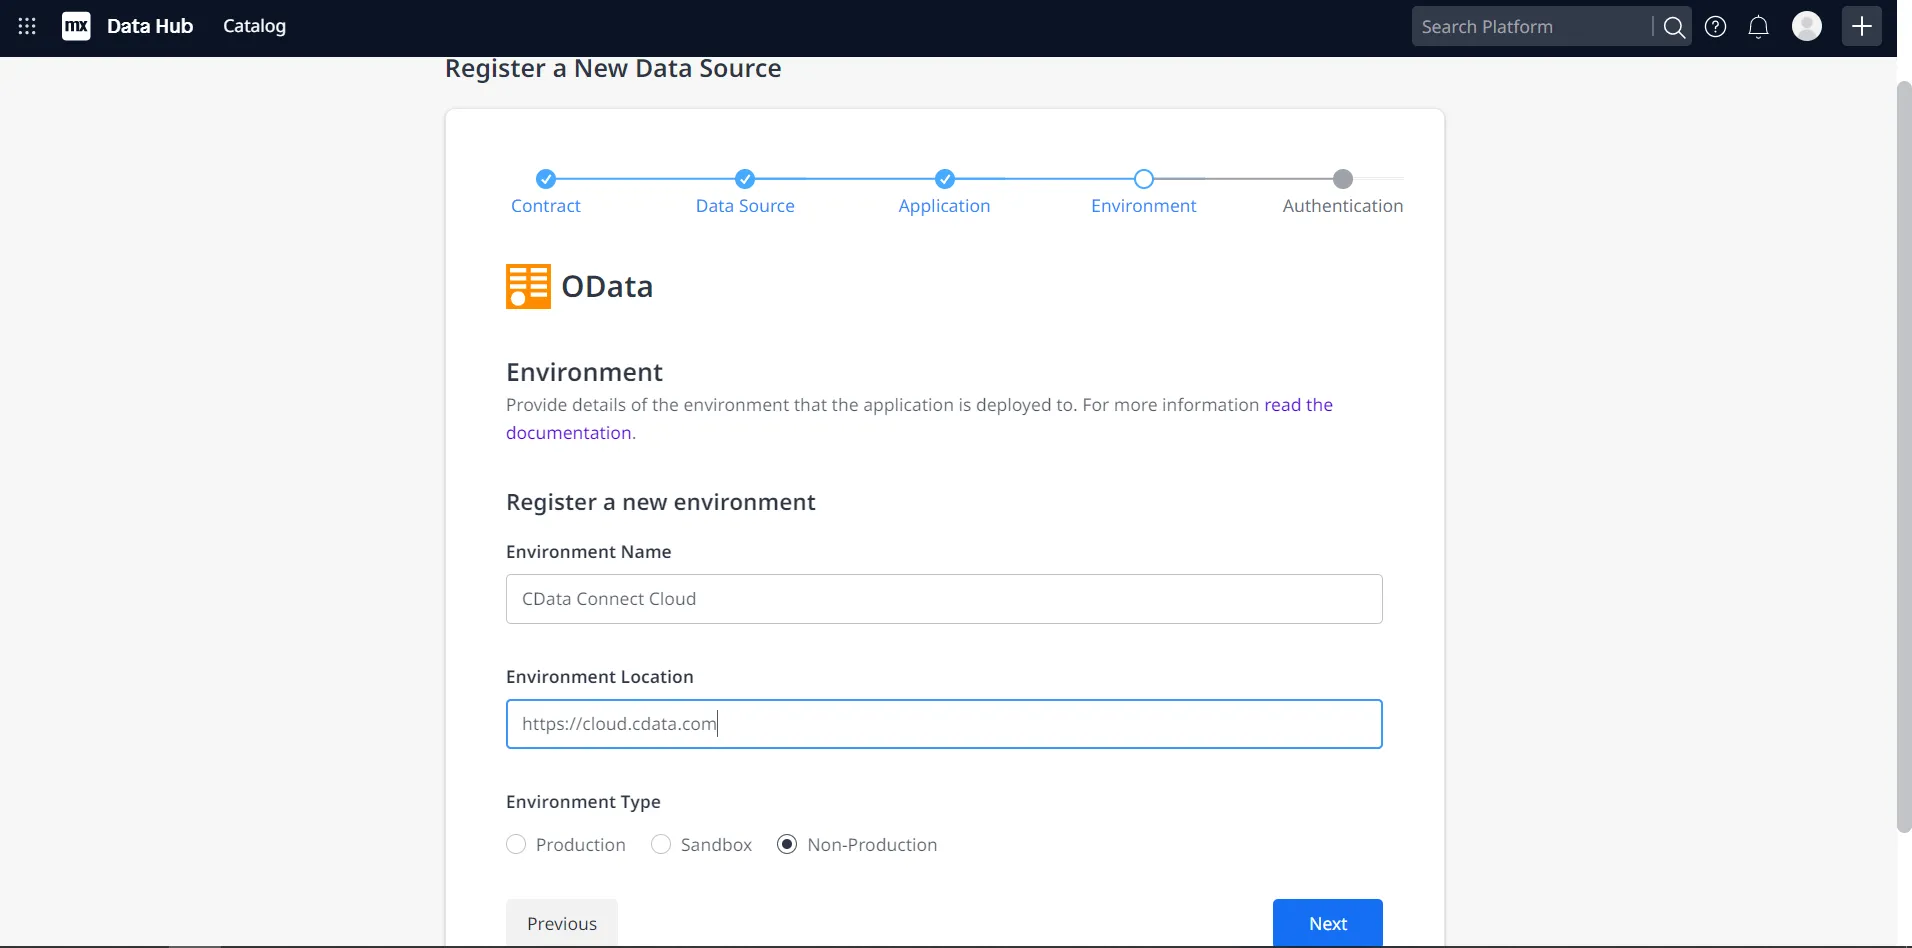
- Click Next. In the Environment Name field, enter a desired name (for example, CData Connect AI). In the Environment Location field, enter https://cloud.cdata.com and select the appropriate Environment Type (e.g. Production), depending on what is needed.
- Click Done! to create your connection.
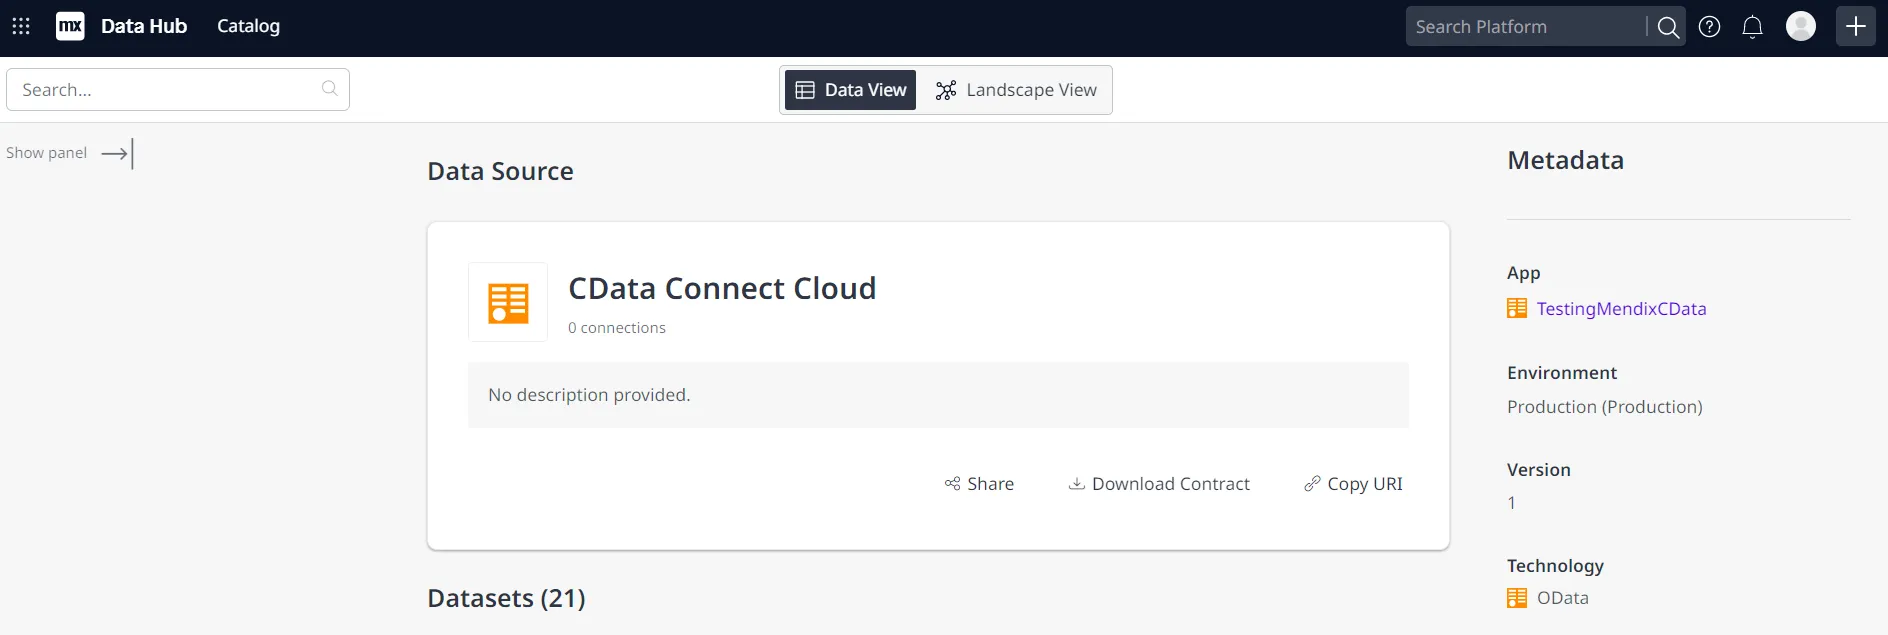
You can now use your connection in Mendix Studio Pro to easily create applications with access to live PingOne data.
Get CData Connect AI
To get live data access to hundreds of SaaS, Big Data, and NoSQL sources directly from your cloud applications, try CData Connect AI today!