 AI tools like chatbots and virtual agents are now everywhere, helping teams automate tasks and access information quickly. Yet many still rely on outdated data. The usual method of retrieving data from an API, storing it in a database, and querying it later adds delays and creates unnecessary complexity.
The Model Context Protocol (MCP) addresses this issue by providing AI systems, including large language models and intelligent agents, with a direct means to connect to live data and external tools. Instead of depending on static data snapshots, they can work with real-time information and respond immediately.
CData Connect AI extends this capability. With its API connector, you can turn any existing RESTful API into a live and ready-to-use integration. Once your API connection is configured, your AI agent can access it through Connect AI's MCP server at any time. Agents can retrieve data, understand results, and act instantly without the need for separate integrations or complicated pipelines.
In this blog, we explore ways to build an MCP Server with Connect AI using the API Connector. It explains how your AI agents, such as Claude (used in this blog for demonstration), can interact directly with external APIs, access real-time data, and deliver intelligent responses.
Prerequisites
An account in CData Connect AI
An existing API endpoint (could be REST, GraphQL, SOAP, or any HTTP/HTTPS-based service)
An account in Claude.ai (or any other supported AI agent)
Set up your API endpoint connection in Connect AI
Configuring your API endpoint correctly in Connect AI ensures secure and reliable access to your professional network data.
Below are the steps to create a new connection to a public API endpoint from ApiCountries.com. This blog focuses on an endpoint that returns detailed information about all countries, but the principals apply to any endpoint for any API.
Open the Sources page of the Connect AI dashboard and click + AddConnection.
Select API as the data source.

Provide a name to the connection (e.g., API1).
In the Auth Scheme, for this API, we use the “No Auth” option since we are connecting to a free public API endpoint.
You can also choose from multiple authentication types such as No Auth, Basic, Digest, OAuth 1.0, OAuth 2.0, OAuth Client, or OAuth Password, depending on your API’s security policy.
Click Save Changes.
Navigate to the Tables tab and add a new table with the given details and click Configure. To continue with the countries API example, set the following:
Table Name: Any name of your choice (e.g., Country-Information)
Request URL: https://www.apicountries.com/countries
Response Type: JSON

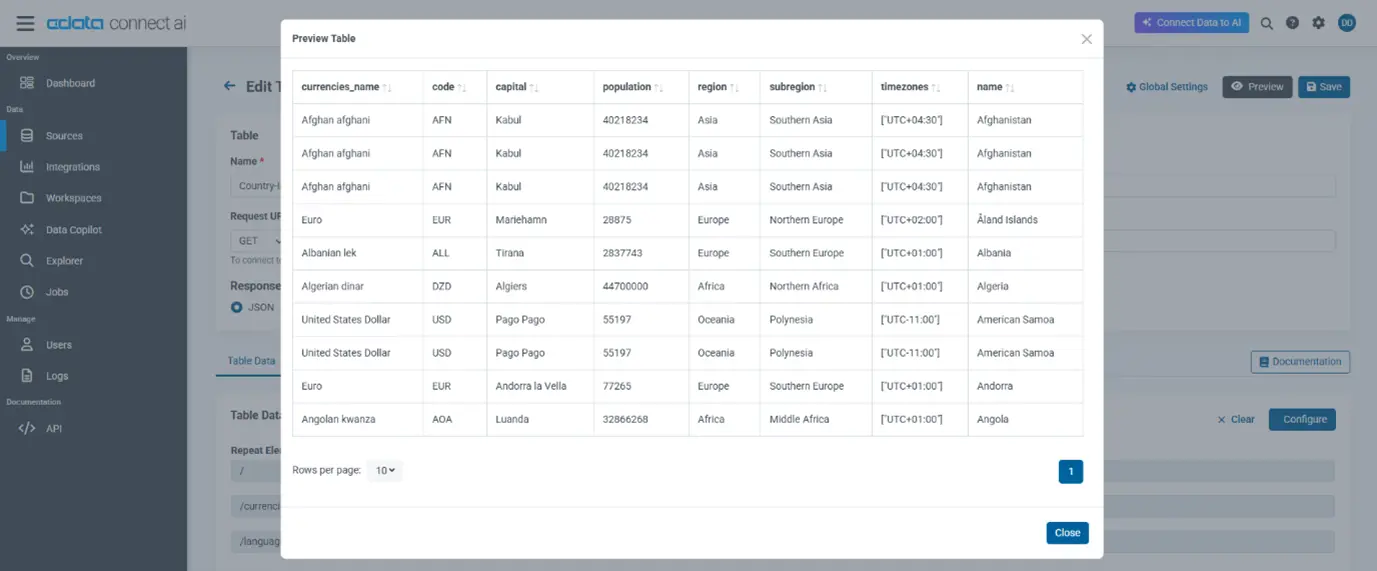
Configure the “Country-Information” table by following the given steps: Preview Request, Add Repeat Elements, Add Columns, and Preview Table.
You can also add Parameters, Headers, and Filters, if needed, once the Table Data populates after configuration.
Click Save and Preview to confirm the configuration and check the table data.
In the Permissions tab, assign the users the necessary permissions (Select, Insert, Update, Delete, and Execute), and Save Changes.
The availability of OAuth is essential for ensuring secure access to sensitive APIs. OAuth 2.0 provides a modern, token-based authentication method that replaces static credentials with time-bound access tokens.
This significantly reduces the risk of credential exposure, enabling secure, delegated access across cloud and enterprise APIs without compromising authentication flows.
Connect Claude to your API data
Once the connection is configured, Claude can access the API endpoint through the Connect AI MCP server, creating a seamless connection between AI and the API data (e.g., Country Information).
To connect Claude to Connect AI, follow these steps:
Sign in to Claude.ai and navigate to Settings, then Connectors.
Add Connect AI as a Custom Connector.
In the Remote MCP Server URL field, enter: "https://mcp.cloud.cdata.com/mcp".
Configure tool permissions and access controls for your API data entities, such as invoices or payments, to ensure proper governance.
Save and Test the configuration to ensure connectivity.
One connected, Claude can then interpret natural-language queries and, through the Connect AI MCP server, access live data from any API endpoint in real time.

Query the API endpoint data with natural language
Once the API endpoint is configured in Connect AI and exposed via the MCP server, the AI agent (for example, Claude) can interpret natural‐language queries and fetch live data from the API in real time. Connect AI acts as the bridge between the human-friendly text and the structured API calls.
For example, try these natural language queries (make sure to mention the catalog name at the beginning so the agent knows which connection to query):
“From the country information table in the API1 catalog, list all countries in Asia along with their capitals.”
“Show me the top five most populous countries in Africa.”
“Which countries use the Euro as their official currency?”
Here’s how it works behind the scenes:
Claude (AI Agent) receives a natural-language prompt.
Using the MCP server setup in Connect AI, the prompt is translated into a structured query (or API call) based on your defined table/endpoint schema.
Connect AI executes the API call (or SQL facade) and retrieves the live data from your API endpoint, no data replication or stale extract.
The agent returns the results in conversational form, optionally with visualizations, summaries or drilldowns.
Scale and optimize your integration
Connect AI allows you to optimize performance, manage scalability, and maintain governance as you add more users, queries, and complex analysis. Connect AI provides several built-in capabilities to help you achieve this efficiently.
Auto-scaling infrastructure: Connect AI runs on a fully managed, elastic SaaS platform that automatically scales to handle spikes in query volume or API usage, no server management required.
Query pushdown and caching: Connect AI optimizes performance by translating prompts into efficient queries, pushing computation to the source when possible, and caching frequent results to reduce latency.
Monitoring and audit trails: Use the dashboard to monitor query times, API usage, and user activity. Audit logs track who accessed which endpoints and when, ensuring visibility and compliance.
Governance and permissions: Define permissions at table, column, or row levels so only authorized users or agents can access sensitive API data.
Feedback and optimization: Review query logs to find common or slow requests. Create optimized tool definitions or filtered views to improve response times and reduce API load.
Capacity planning: Watch for API rate limits and schedule heavy queries or batch operations during off-peak hours to avoid throttling and maintain reliability.
“Companies can’t scale their AI solutions without also reshaping their technology function... Just scaling AI at volume requires redesigning architecture, workflows and governance.” - Bain & Company, Updating Enterprise Technology to Scale to “AI Everywhere”
Governance, security, and compliance
CData Connect AI delivers centralized governance across all connected systems. It manages authentication, authorization, and auditing through a unified management layer, including role-based access, credential rotation, and complete logging of all data access events with timestamp and user context. The platform adheres to enterprise compliance frameworks such as SOC 2, ISO/IEC 27001, and GDPR.
Frequently asked questions
Can Claude or another AI agent copy data out of our API system?
No. With Connect AI, the data remains in place. The platform queries your live API endpoint without full data replication, and user-level permissions are passed through, so data isn't unconstrained.
Can I restrict access so that only certain endpoints, entities or columns are exposed to the AI?
Yes. Connect AI allows you to configure table-, column-, and row-level permissions. You publish only the tool definitions you want the agent to use and control which users or roles have access.
What should we do if the API's schema or authentication changes?
Update your connection definition in Connect AI: adjust the Global Settings (headers, auth, pagination), edit affected Tables to reflect new endpoints or JSON structure, then test and deploy. Because you've created a semantic layer, you avoid changing the agent's prompts.
How do I handle large result sets or heavy usage from the API?
Use filtering (e.g., date ranges), define specialized views for common queries (to reduce volume), enable caching in Connect AI, and monitor usage via the dashboard. If your backend API has rate limits, consider batching or scheduling certain workloads.
Which AI tools are supported?
Connect AI supports major AI assistants and agents, including Claude, ChatGPT, Gemini, Copilot, and others, via MCP. Once you publish your endpoint in Connect AI and configure the connector, the AI tool can reason over your live data.
Talk to your API data today with Connect AI
Start querying your live API data with natural language in minutes. Connect AI makes it simple to connect Claude and other AI agents directly to any REST, GraphQL, or HTTP-based API through a secure MCP connection.
Sign up for a 14-day free trial of CData Connect AI and enable real-time insights from your APIs today. For enterprise environments, CData also offers dedicated deployment support and managed configuration services to help you scale securely and efficiently.
Explore CData Connect AI today
See how Connect AI excels at streamlining business processes for real-time insights.


